Page 196 of 389
194
12 V battery
the battery is located under the bonnet.to gain access to it:
F
o
pen the bonnet using the interior release
lever, then the exterior safety catch,
F
s
ecure the bonnet stay,
Access to the battery
Procedure for charging your battery when it is flat or for starting the engine using another battery and jump leads.
F
r
emove the retaining pins A,
F
r
emove the protective cover B,F
r
emove the retaining pins C,
F
r
emove the air duct D.
Practical information
Page 197 of 389
195
Check the electrolyte level and top up if
necessary (see "Checking levels").
Starting using another
battery
F Connect the red cable to the positive terminal (+) of the flat battery A , then to the
positive terminal (+) of the slave battery B. F
C onnect one end of the green or black
cable to the negative terminal (-) of the
slave battery B .
F
C
onnect the other end of the green or black
cable to the earth point C on your vehicle
(engine mounting).
F
O
perate the starter, let the engine run.
F
W
ait until the engine returns to idle and
disconnect the cables.
F
R
aise the protective cover on
the
(+)
terminal.
7
Practical information
Page 198 of 389

196
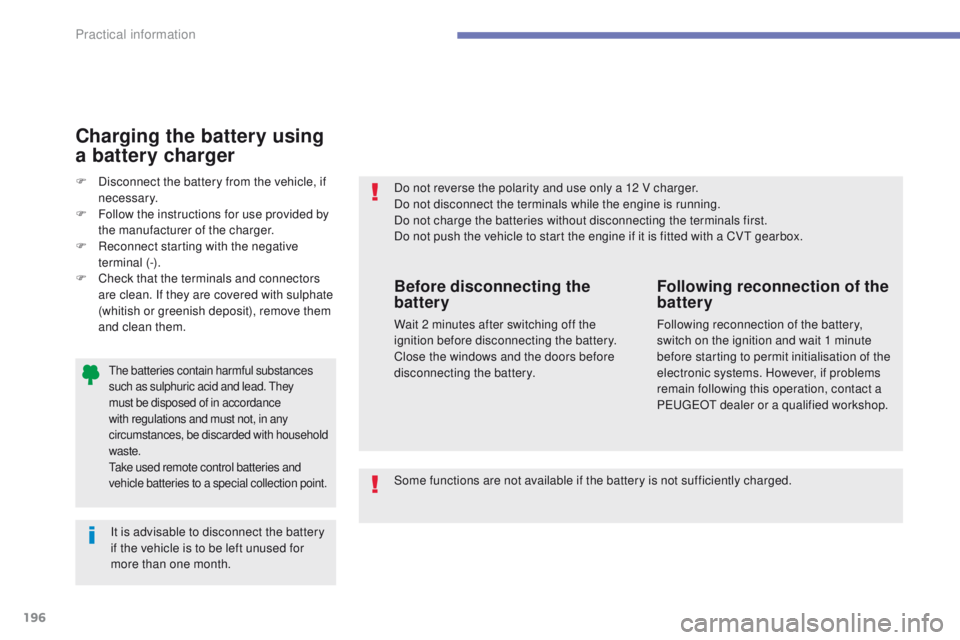
the batteries contain harmful substances
such as sulphuric acid and lead. th ey
must be disposed of in accordance
with regulations and must not, in any
circumstances, be discarded with household
waste.
ta
ke used remote control batteries and
vehicle batteries to a special collection point.
Do not reverse the polarity and use only a 12 V charger.
Do not disconnect the terminals while the engine is running.
Do not charge the batteries without disconnecting the terminals first.
Do not push the vehicle to start the engine if it is fitted with a CV
t
gearbox.
It is advisable to disconnect the battery
if the vehicle is to be left unused for
more than one month.
Before disconnecting the
battery
Wait 2 minutes after switching off the
ignition before disconnecting the battery.
Close the windows and the doors before
disconnecting the battery.
Following reconnection of the
battery
Following reconnection of the battery,
switch on the ignition and wait 1 minute
before starting to permit initialisation of the
electronic systems. However, if problems
remain following this operation, contact a
P
e
uge
Ot
dealer or a qualified workshop.
F
D
isconnect the battery from the vehicle, if
necessary.
F
F
ollow the instructions for use provided by
the manufacturer of the charger.
F
R
econnect starting with the negative
terminal (-).
F
C
heck that the terminals and connectors
are clean. If they are covered with sulphate
(whitish or greenish deposit), remove them
and clean them.
Charging the battery using
a battery charger
Some functions are not available if the battery is not sufficiently charged.
Practical information
Page 218 of 389

216
Checks
12 V battery
Electrolyte level
For access to the battery, refer to the
"12V battery" section.Refer to the warranty and
maintenance record for details of
the replacement intervals for these
components.
Air filter and passenger compartment filter
Replace the oil filter each time the
engine oil is changed.
Refer to the warranty and
maintenance record for details of
the replacement interval for this
component.
Oil filter
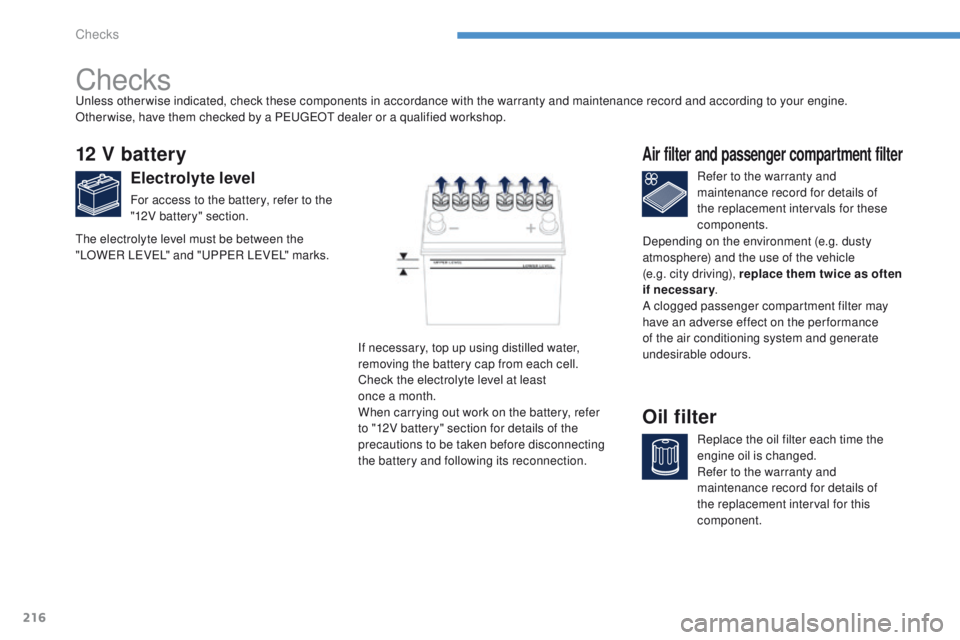
If necessary, top up using distilled water,
removing the battery cap from each cell.
Check the electrolyte level at least
once a month.
When carrying out work on the battery, refer
to "12V battery" section for details of the
precautions to be taken before disconnecting
the battery and following its reconnection.
un
less other wise indicated, check these components in accordance with the warranty and maintenance record and according to your engine.
Other wise, have them checked by a P
e
uge
Ot
dealer or a qualified workshop.
th
e electrolyte level must be between the
"LOW
eR LeVeL
" and "
uP
P
eR LeVeL
" marks.
Depending on the environment (e.g. dusty
atmosphere) and the use of the vehicle
(e.g. city driving), replace them twice as often
if necessary
.
A clogged passenger compartment filter may
have an adverse effect on the per formance
of the air conditioning system and generate
undesirable odours.
Checks
Page 251 of 389
249
TOUCH SCREEN AUDIO-TELEMATIC
System
the system is protected in such a way that it will only
operate in your vehicle.01 First steps - Control panel
For safety reasons, the driver must carry out operations
which require prolonged attention while the vehicle is
stationary.
When the engine is switched off and to prevent
discharging of the battery, the system switches off
following the activation of the energy economy mode.
CONTENTS
03
General
operation
04
Navigation
05
Media
06
Settings
07
Information p.
p.
p.
p.
p.
p.
p. 250
251
253
254
270
282
284
02
Steering mounted
controls p.
288
08
BLUETOOTH
® streaming - telephone
Page 291 of 389
289
TOUCH SCREEN AUDIO-CD System
the system is protected in such a way that it will only
operate in your vehicle.
01 First steps - Control panel
For safety reasons, the driver must carry out operations
which require prolonged attention while the vehicle is
stationary.
When the engine is switched off and to prevent
discharging of the battery, the system switches off
following the activation of the energy economy mode.
Contents
03
General
operation
02
Steering mounted
controls
04
Radio
05
Music
06
Bluetooth
® telephone p.
p. p.
p.
p.
p. 290
291
293
300
303
308
Page 313 of 389
3 11
AUDIO-CD system
the system is protected in such a way that it will only
operate in your vehicle.01 First steps - Control panel
For safety reasons, the driver must carry out operations
which require prolonged attention while the vehicle is
stationary.
When the engine is switched off and to prevent
discharging of the battery, the system switches off
following the activation of the energy economy mode.
CONTENTS
02
Steering mounted
controls
03
General
operation
04
Radio
05
Music media players
06
USB player
07
BLUETOOTH
® streaming
Error messages p.
p.
p.
p.
p.
p.
p.
p. 312
314
315
317
323
328
330
332
Page 320 of 389

04
318Press one of the six buttons "1" to "6" until an
audible signal is heard.
t
he sound cuts out then becomes audible again
when the station has been preset.
t
he number of the button and the associated radio
frequency appear in the screen. Manual station presetting
to recall the pre-set stored setting, press the button and release it
within two seconds.
RADIO
You can preset up to six stations on each waveband.
Presetting a new station replaces the previous station. Automatic station presetting
Disconnecting the battery terminals clears the preset radio stations. Stations can only be preset automatically on wavebands FM1,
FM2 and FM3.
Presetting new stations replaces the previous stations.
t
his presetting can be activated automatically irrespective of the
waveband selected.
Press the RADIO button for more than
two seconds.
t
he six stations offering the best
reception are preset and classified
from the weakest to the strongest on
the six corresponding buttons.
Recalling preset stations
Press one of the six buttons "1" to "6".
t
he station
corresponding to the waveband selected appears on
the screen.