Page 263 of 415
261
Starting using another
battery
First check that the slave battery has a
nominal voltage of 12 V and a capacity
at least equal to that of the discharged
battery.
Do not try to start the engine by
connecting a battery charger.
Do not disconnect the (+) terminal when
the engine is running.
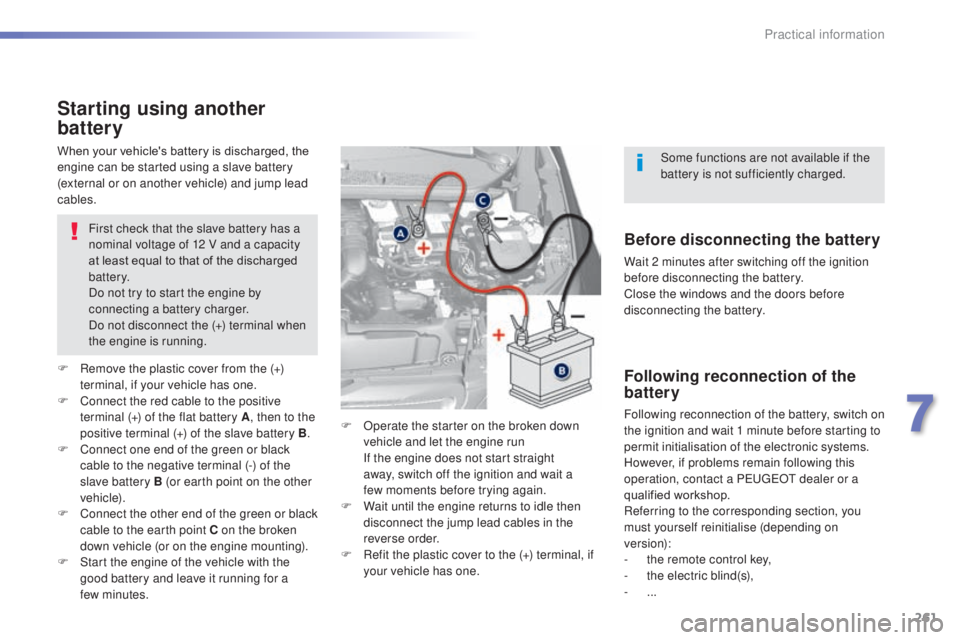
F
R
emove the plastic cover from the (+)
terminal, if your vehicle has one.
F
C
onnect the red cable to the positive
terminal (+) of the flat battery A , then to the
positive terminal (+) of the slave battery B.
F
C
onnect one end of the green or black
cable to the negative terminal (-) of the
slave battery B (or earth point on the other
vehicle).
F
C
onnect the other end of the green or black
cable to the earth point C on the broken
down vehicle (or on the engine mounting).
F
S
tart the engine of the vehicle with the
good battery and leave it running for a
few
minutes. F
O
perate the starter on the broken down
vehicle and let the engine run
I
f the engine does not start straight
away, switch off the ignition and wait a
few
moments before trying again.
F
W
ait until the engine returns to idle then
disconnect the jump lead cables in the
reverse order.
F
R
efit the plastic cover to the (+) terminal, if
your vehicle has one.
When your vehicle's battery is discharged, the
engine can be started using a slave battery
(external or on another vehicle) and jump lead
cables.Before disconnecting the battery
Wait 2 minutes after switching off the ignition
before disconnecting the battery.
Close the windows and the doors before
disconnecting the battery.
Following reconnection of the
battery
Following reconnection of the battery, switch on
the ignition and wait 1 minute before starting to
permit initialisation of the electronic systems.
However, if problems remain following this
operation, contact a P
e
uge
Ot
dealer or a
qualified workshop.
Referring to the corresponding section, you
must yourself reinitialise (depending on
version):
-
t
he remote control key,
-
t
he electric blind(s),
-
...Some functions are not available if the
battery is not sufficiently charged.
7
Practical information
Page 266 of 415
264
Changing a wiper blade
Before removing a front
wiper blade
RemovingFitting
After fitting a front wiper
blade
F Within one minute after switching off
the ignition, operate the wiper stalk to
position the wiper blades vertically on
the
windscreen. F
P ut the corresponding new wiper blade in
place and clip it.
F
F
old down the wiper arm carefully.
F
Ra
ise the corresponding wiper arm.
F
u
n
clip the wiper blade and remove it. F
S
witch on the ignition.
F
O
perate the wiper stalk again to park the
wiper blades.
Practical information
Page 280 of 415
278
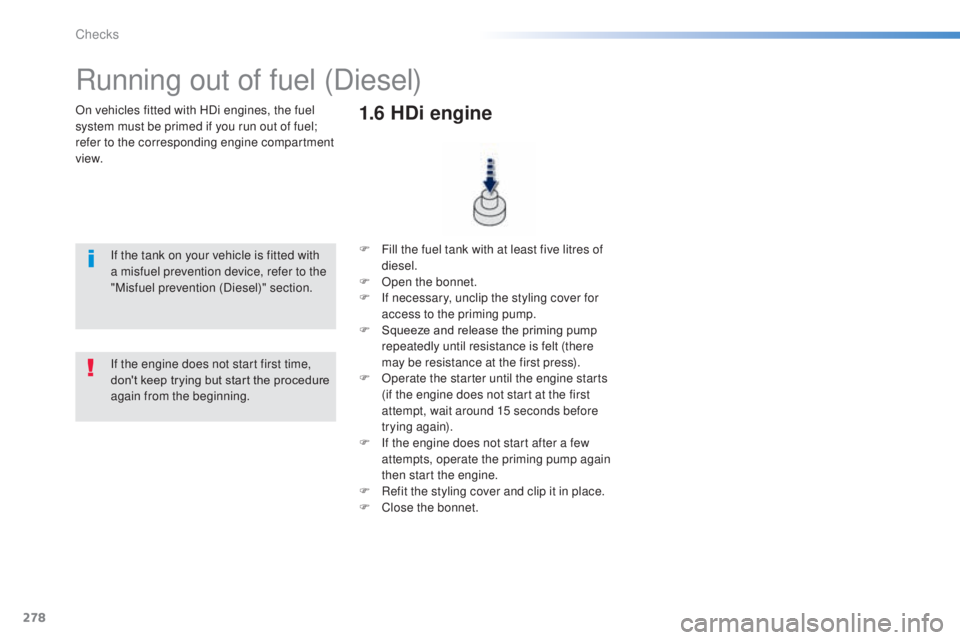
On vehicles fitted with HDi engines, the fuel
system must be primed if you run out of fuel;
refer to the corresponding engine compartment
view.
Running out of fuel (Diesel)
If the tank on your vehicle is fitted with
a misfuel prevention device, refer to the
"Misfuel prevention (Diesel)" section.F
F ill the fuel tank with at least five litres of
diesel.
F
O
pen the bonnet.
F
I
f necessary, unclip the styling cover for
access to the priming pump.
F
S
queeze and release the priming pump
repeatedly until resistance is felt (there
may be resistance at the first press).
F
O
perate the starter until the engine starts
(if the engine does not start at the first
attempt, wait around 15 seconds before
trying again).
F
I
f the engine does not start after a few
attempts, operate the priming pump again
then start the engine.
F
R
efit the styling cover and clip it in place.
F
C
lose the bonnet.
1.6 HDi engine
If the engine does not start first time,
don't keep trying but start the procedure
again from the beginning.
Checks
Page 281 of 415
279
AdBlue® additive and SCR system
for BlueHDi Diesel engines
to assure respect for the environment and
conformity with the new
eu ro 6 emissions
standard, without adversely affecting the
per formance or fuel consumption of Diesel
engines, P
e
uge
Ot
has taken the decision to
equip its vehicles with an effective system that
associates SCR (Selective Catalytic Reduction)
with a particle filter (FAP) for the treatment of
exhaust gases.
Presentation of the SCR system
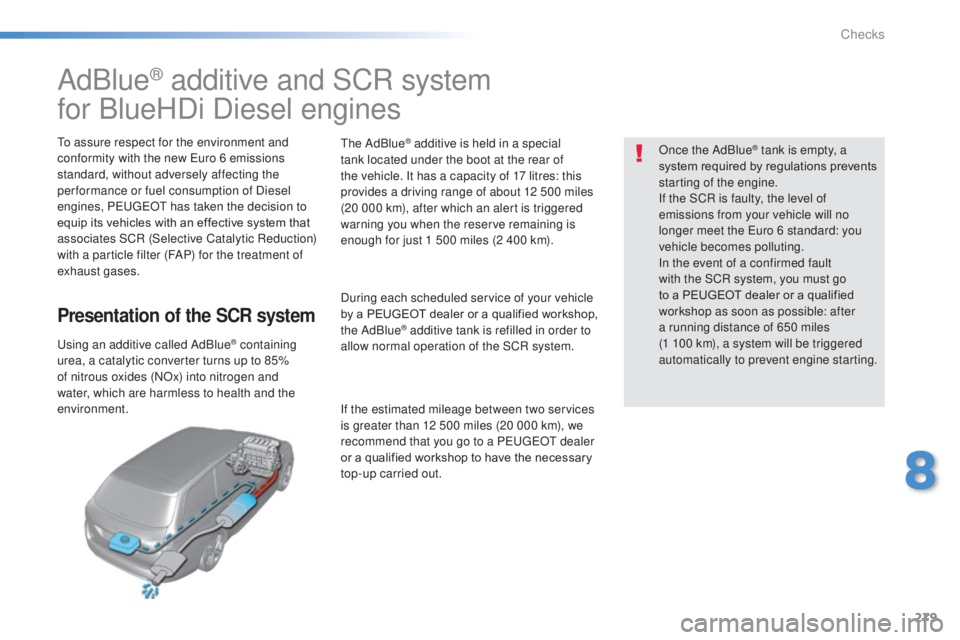
using an additive called AdBlue® containing
urea, a catalytic converter turns up to 85%
of nitrous oxides (NOx) into nitrogen and
water, which are harmless to health and the
environment.
th
e AdBlue
® additive is held in a special
tank located under the boot at the rear of
the vehicle. It has a capacity of 17 litres: this
provides a driving range of about 12 500 miles
(20 000 km), after which an alert is triggered
warning you when the reserve remaining is
enough for just 1 500 miles (2 400 km).
During each scheduled service of your vehicle
by a PEUGEOT dealer or a qualified workshop,
the AdBlue
® additive tank is refilled in order to
allow normal operation of the SCR system.
If the estimated mileage between two services
is greater than 12 500 miles (20 000 km), we
recommend that you go to a P
e
uge
Ot
dealer
or a qualified workshop to have the necessary
top-up carried out. Once the AdBlue
® tank is empty, a
s
ystem required by regulations prevents
starting of the engine.
If the SCR
is faulty, the level of
emissions from your vehicle will no
longer meet the
e
u
ro 6 standard: you
vehicle becomes polluting.
In the event of a confirmed fault
with the SCR system, you must go
to a PEUGEOT dealer or a qualified
workshop as soon as possible: after
a running distance of 650 miles
(1
100 km), a system will be triggered
automatically to prevent engine starting.
8
Checks
Page 290 of 415
288
Checking levels
take care when working under the bonnet, as certain areas of the engine may be extremely
hot (risk of burns) and the cooling fan could start at any time (even with the ignition off).
Oil level
the check is carried out either when the
ignition is switched on using the oil level
indicator in the instrument panel (depending
on version), or using the dipstick.Engine oil change
Refer to the manufacturer's service schedule
for details of the interval for this operation.
In order to maintain the reliability of the engine
and emission control system, never use
additives in the engine oil.
Oil specification
the oil must be the correct grade for your
engine and conform to the manufacturer's
recommendations.
Check all of these levels regularly, in line with the manufacturer's service schedule. Top them up if necessary, unless other wise indicated.
If a level drops significantly, have the corresponding system checked by a PEUGEOT dealer or a qualified workshop.
Dipstick
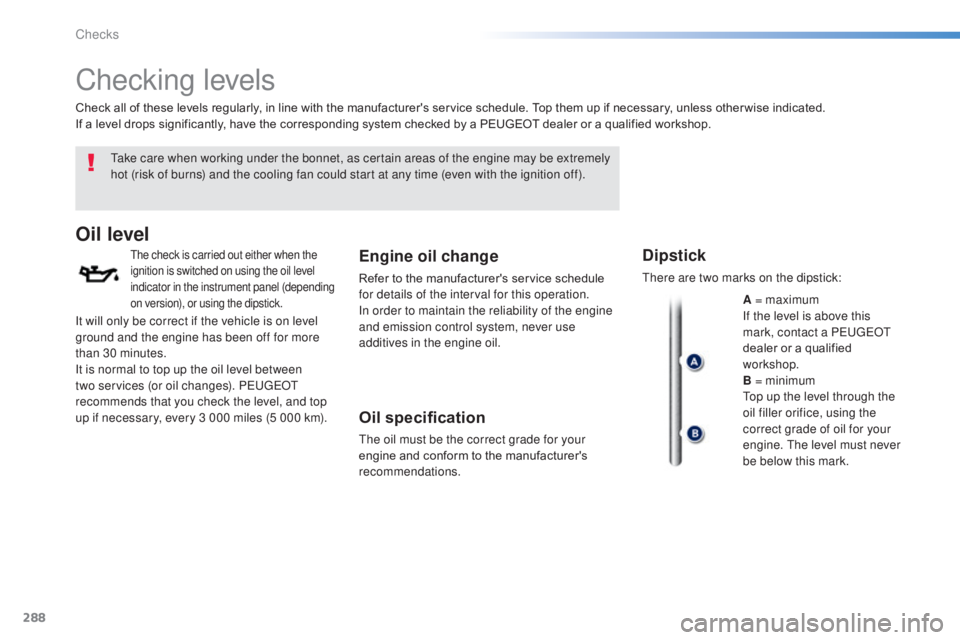
there are two marks on the dipstick:
A = maximum
If the level is above this
mark, contact a P
e
uge
Ot
dealer or a qualified
workshop.
B = minimum
to
p up the level through the
oil filler orifice, using the
correct grade of oil for your
engine.
t
h
e level must never
be below this mark.
It will only be correct if the vehicle is on level
ground and the engine has been off for more
than 30 minutes.
It is normal to top up the oil level between
two services (or oil changes). P
e
uge
Ot
recommends that you check the level, and top
up if necessary, every 3 000 miles (5 000 km).
Checks
Page 301 of 415
299
DENON EqUIPMENT
The new DENON Hi-Fi system in the PEUGEOT 308 is a tailored technological solution comprising 9 speakers and a digital amplifier.
The DENON technology offers efficient components providing high
performance:
-
4 flexibl
e membrane tweeters with resonance chamber to minimise
audio distortion. 100% active at the front of the vehicle.
-
4 CosConetM woofers: a technology allowing a high level of sensitivity
and speaker cone travel, generating high bass performance despite a
very flat form.
-
1 sub-woofer with a 100W speaker
installed under the boot floor, without
affecting the load volume of the boot.
-
1 Class-D 8-way digital amplifier
. Improved control of running noises.
2 audio distributio
n settings available to suit the number of occupants in
the vehicle (driver or passengers).
-
"Digital Coloratio
n" technology giving the engine a more sporty and
refined sound.
Page 316 of 415
04
Preset a station
Press on "Preset".
Select a radio station or frequency
(refer to the corresponding section).
Select a number in the list to preset the
previously chosen radio station.
A long press on a number presets (memorises)
the station.
Or
A press on this button presets all of the stations
one after the other.
Recall pre-set stations
Press on Media to display the primary page
then select "Save".
RADIO
314
Page 319 of 415
04
317
RADIO
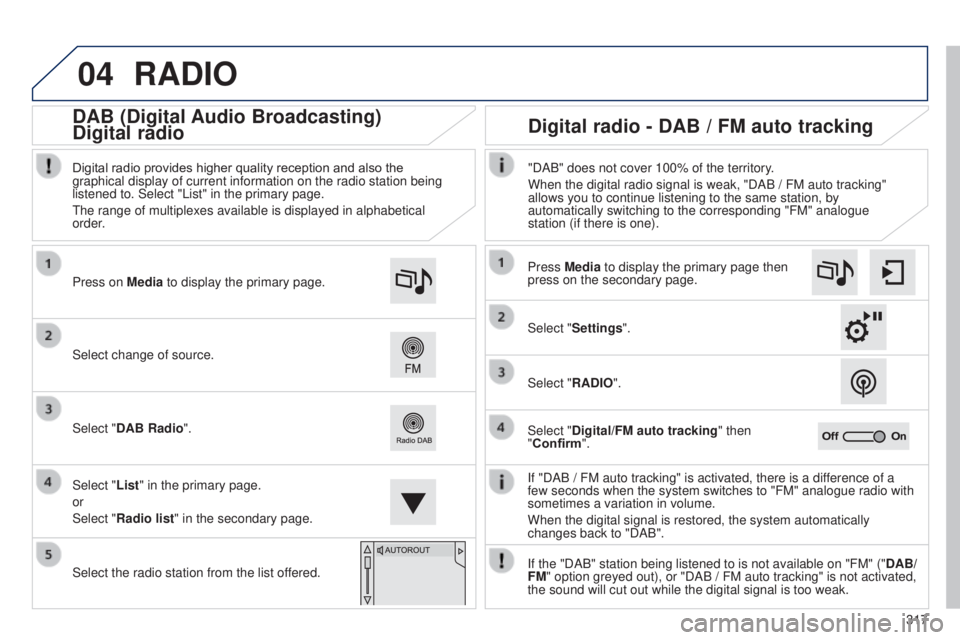
If "DAB / FM auto tracking" is activated, there is a difference of a
few seconds when the system switches to "FM" analogue radio with
sometimes a variation in volume.
When the digital signal is restored, the system automatically
changes back to "DAB".
Select change of source. Press on
Media to display the primary page.
Select "DAB Radio".
Select "List" in the primary page.
or
Select "Radio list" in the secondary page.
Select the radio station from the list offered. Digital radio provides higher quality reception and also the
graphical display of current information on the radio station being
listened to. Select "List" in the primary page.
t
he range of multiplexes available is displayed in alphabetical
order.
Press Media to display the primary page then
press on the secondary page.
Select "Settings".
Select "RADIO".
Select "Digital/FM auto tracking" then
"Confirm". "DAB" does not cover 100% of the territory.
When the digital radio signal is weak, "DAB / FM auto tracking"
allows you to continue listening to the same station, by
automatically switching to the corresponding "FM" analogue
station (if there is one).
If the "DAB" station being listened to is not available on "FM" (" DAB/
FM" option greyed out), or "DAB / FM auto tracking" is not activated,
the sound will cut out while the digital signal is too weak.
Digital radio - DAB / FM auto tracking
DAB (Digital Audio Broadcasting)
Digital radio