Page 82 of 344

80
Programming the heating
Programming the departure time
Press the buttons 1 to display the programming
time.
Activation - deactivation
Once the programming time has been
displayed by means of the buttons 1, press
button 5 (ON) until the message "OK" appears.
This symbol is displayed.
Once the programming time has been
displayed, press buttons 4 and 5
simultaneously within 10 seconds. This symbol flashes.
Set the time by pressing the buttons
1 and
press buttons 4 and 5 simultaneously to save it.
This symbol is displayed (fixed). This symbol is displayed when the
heater starts. When the signal has been received,
the message "OK"
is displayed along
with the symbol "HTM" .
To deactivate the programming, press button 4
(OFF) until the message "OK" appears.
The symbol "HTM" is switched off.
You must programme your departure time in
order for the system to calculate the optimum
heater start time automatically.
HTM: Heat Thermo Management.
When carrying out these operations, if
the message " F A I L" appears, the signal
has not been received. Repeat the
procedure after changing your location.
Ease of use and comfort
Page 83 of 344
81
Switching off the heating
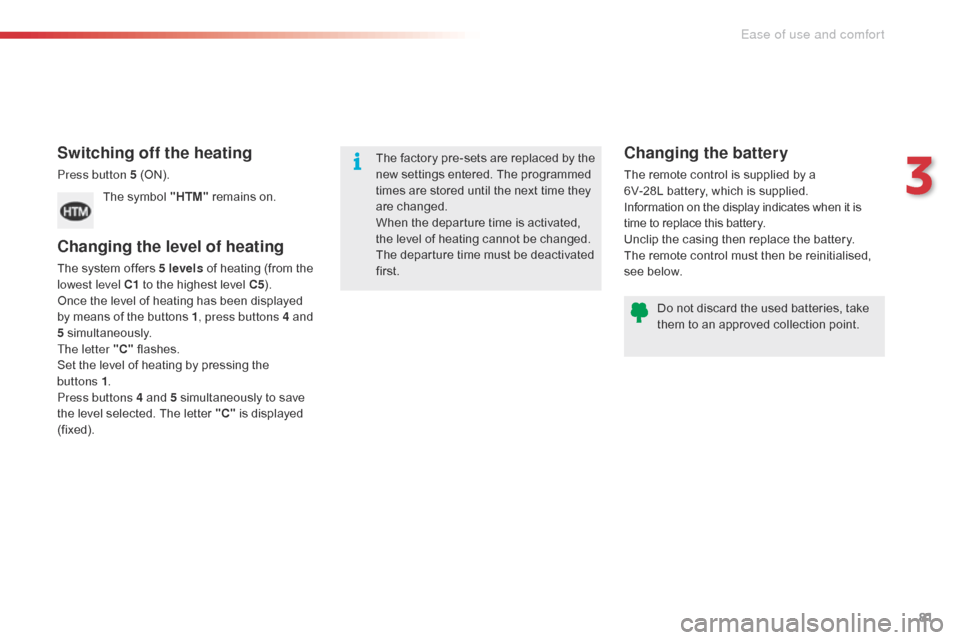
Press button 5 (ON).The symbol "HTM" remains on.
Changing the level of heating
The system offers 5 levels of heating (from the
lowest level C1 to the highest level C5 ).
Once the level of heating has been displayed
by means of the buttons
1, press buttons 4 and
5 simultaneously.
The letter "C" flashes.
Set the level of heating by pressing the
buttons 1 .
Press buttons 4 and 5 simultaneously to save
the level selected. The letter "C" is displayed
(fixed). The factory pre-sets are replaced by the
new settings entered. The programmed
times are stored until the next time they
are changed.
When the departure time is activated,
the level of heating cannot be changed.
The departure time must be deactivated
first.
Changing the battery
The remote control is supplied by a
6V-28L battery, which is supplied.
Information on the display indicates when it is
time to replace this battery.
Unclip the casing then replace the battery.
The remote control must then be reinitialised,
see below.
Do not discard the used batteries, take
them to an approved collection point.
3
Ease of use and comfort
Page 86 of 344
84
Interior mood lightingYour vehicle is equipped with interior mood lighting for the centre console and the door handles.
Central consoleLighting for door opening
controls
Operation
These lamps are activated with the automatic
illumination of headlamps, when the ambient
light is poor. They are deactivated when the
instrument panel is off.
The intensity of the lighting varies along with
that of the instrument panel.
F
P
ress buttons A to increase or reduce the
intensity of the lighting. This is located on the front and rear interior
door opening controls.
The rear door opening controls lighting is
deactivated if the child lock is on.
The lamps are located on the roof console,
near the front interior lamp. They illuminate the
central console.
Ease of use and comfort
Page 295 of 344
07
293
Press the button on the numerical keypad to recall a
preset station.
Or press then turn the thumb wheel at the steering
mounted controls.
Presetting a station
After selecting a station, press one of the buttons
on the numerical keypad for 2 seconds to preset the
current station.
An audible signal confirms that the station has been
preset.
Press RADIO.
Activate / Deactivate RDS
RDS, if activated, allows you to continue listening to the same
station by automatic retuning to alternative frequencies. However
,
in certain conditions, coverage of an RDS station may not be
assured throughout the entire country as radio stations do not
cover 100 % of the territory. This explains the loss of reception of
the station during a journey.
Select "Guidance options " then
confirm.
Activate or deactivate "RDS" then
confirm.
RADIO
Page 300 of 344
08
298
Audio streaming
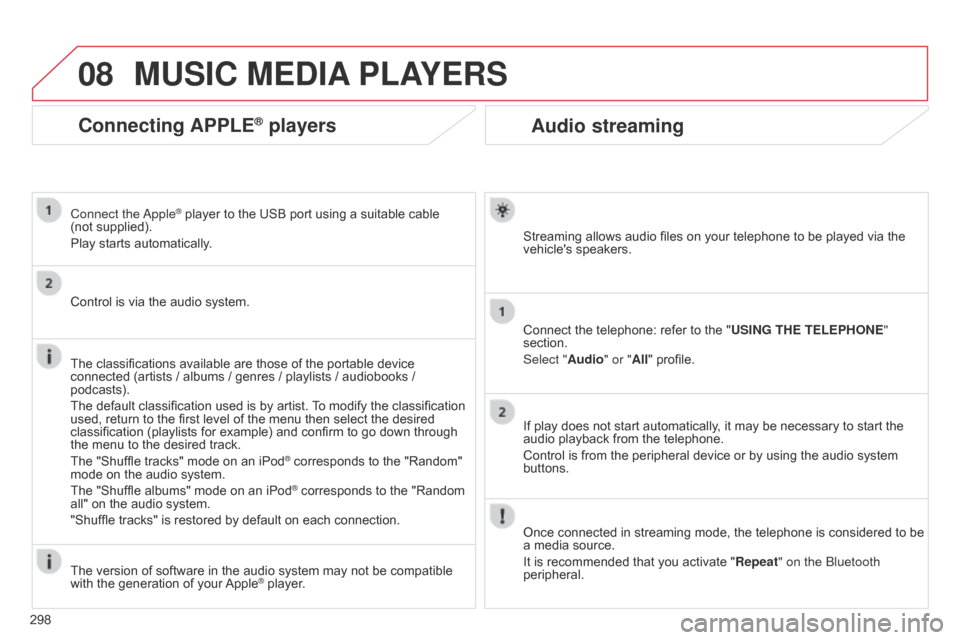
Streaming allows audio files on your telephone to be played via the
vehicle's speakers.
Connect the telephone: refer to the "USING THE TELEPHONE"
section.
Select "Audio" or "All" profile.
If play does not start automatically, it may be necessary to start the
audio playback from the telephone.
Control is from the peripheral device or by using the audio system
buttons.
Once connected in streaming mode, the telephone is considered to be
a media source.
It is recommended that you activate "Repeat" on the
b luetooth
peripheral.
MUSIC MEDIA PLAYERS
Connecting APPLE® players
Connect the apple® player to the USB port using a suitable cable
(not
supplied).
Play starts automatically.
Control is via the audio system.
The classifications available are those of the portable device
connected (artists
/ albums / genres / playlists / audiobooks /
podcasts).
The default classification used is by artist. To modify the classification
used, return to the first level of the menu then select the desired
classification (playlists for example) and confirm to go down through
the menu to the desired track.
The "Shuffle tracks" mode on an iPod
® corresponds to the "Random"
mode on the audio system.
The "Shuffle albums" mode on an iPod
® corresponds to the "Random
all" on the audio system.
"Shuffle tracks" is restored by default on each connection.
The version of software in the audio system may not be compatible
with the generation of your Apple
® player.
Page 316 of 344
01
314
FIRST STEPS
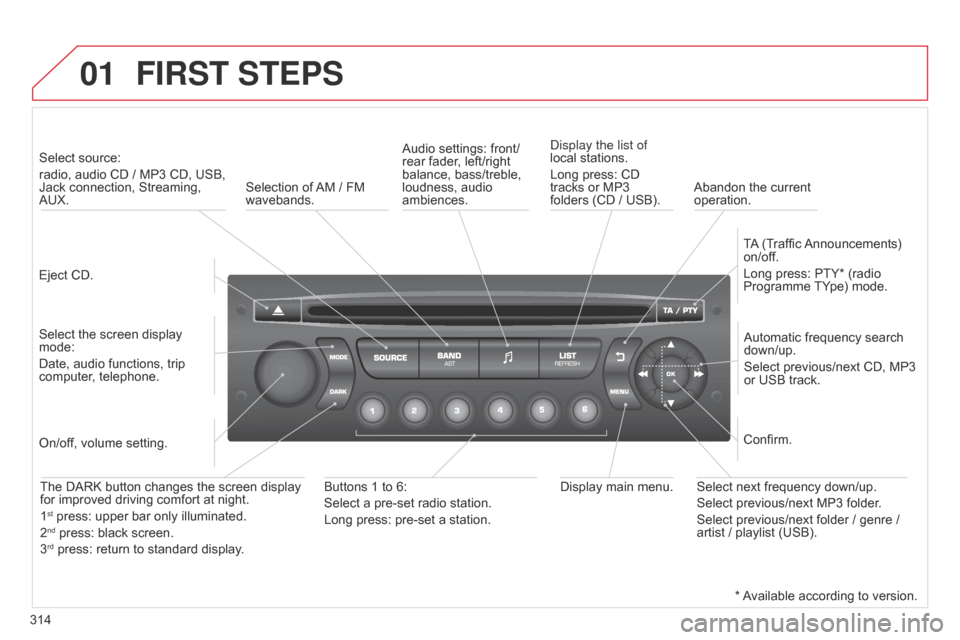
Eject CD.Select source:
radio, audio CD / MP3 CD, USB,
Jack connection, Streaming,
AUX.
Select the screen display
mode:
Date, audio functions, trip
computer, telephone. Automatic frequency search
down/up.
Select previous/next CD, MP3
or USB track.
Audio settings: front/
rear fader, left/right
balance, bass/treble,
loudness, audio
ambiences.
d
isplay the list of
local stations.
Long press: CD
tracks or MP3
folders (CD / USB).
TA (Traffic Announcements)
on/off.
Long press: PTY* (radio
Programme TYpe) mode.
Display main menu.
The DARK button changes the screen display
for improved driving comfort at night.
1
st press: upper bar only illuminated.
2nd press: black screen.
3rd press: return to standard display.
On/off, volume setting.
Buttons 1 to 6:
Select a pre-set radio station.
Long press: pre-set a station. Select next frequency down/up.
Select previous/next MP3 folder.
Select previous/next folder / genre /
artist / playlist (USB).Confirm.
Selection of AM / FM
wavebands.
Abandon the current
operation.
* Available according to version.
Page 319 of 344
04
317
AUDIO
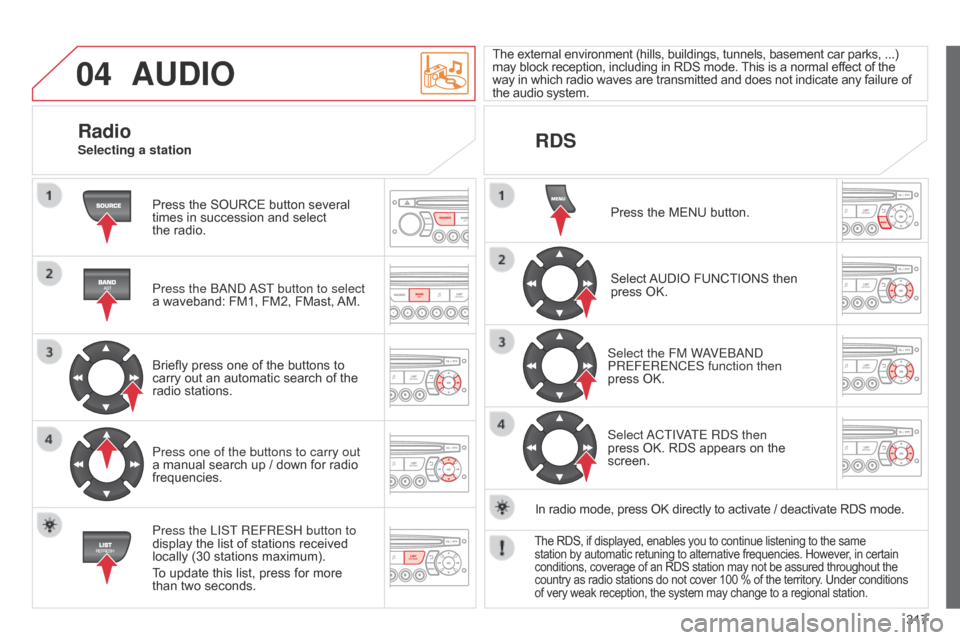
Press the SOURCE button several
times in succession and select
the radio.
Press the
band
a
ST button to select
a waveband: FM1, FM2, FMast, AM.
Briefly press one of the buttons to
carry out an automatic search of the
radio stations.
Press one of the buttons to carry out
a manual search up / down for radio
frequencies.
Press the LIST REFRESH button to
display the list of stations received
locally (30 stations maximum).
To update this list, press for more
than two seconds. The external environment (hills, buildings, tunnels, basement car parks, ...)
may block reception, including in RDS mode. This is a normal effect of the
way in which radio waves are transmitted and does not indicate any failure of
the audio system.
RDS
RadioSelecting a station
Press the MENU button.
Select AUDIO FUNCTIONS then
press OK.
Select the FM W
aVE
band
PREFERE
n CES function then
press OK.
Select
a
CTIV
aTE R
d S then
press OK. RDS appears on the
screen.
In radio mode, press OK directly to activate / deactivate RDS mode.
The RDS, if displayed, enables you to continue listening to the same
station by automatic retuning to alternative frequencies. However, in certain
conditions, coverage of an RDS station may not be assured throughout the
country as radio stations do not cover 100 % of the territory. Under conditions
of very weak reception, the system may change to a regional station.
Page 320 of 344
04
318
AUDIO
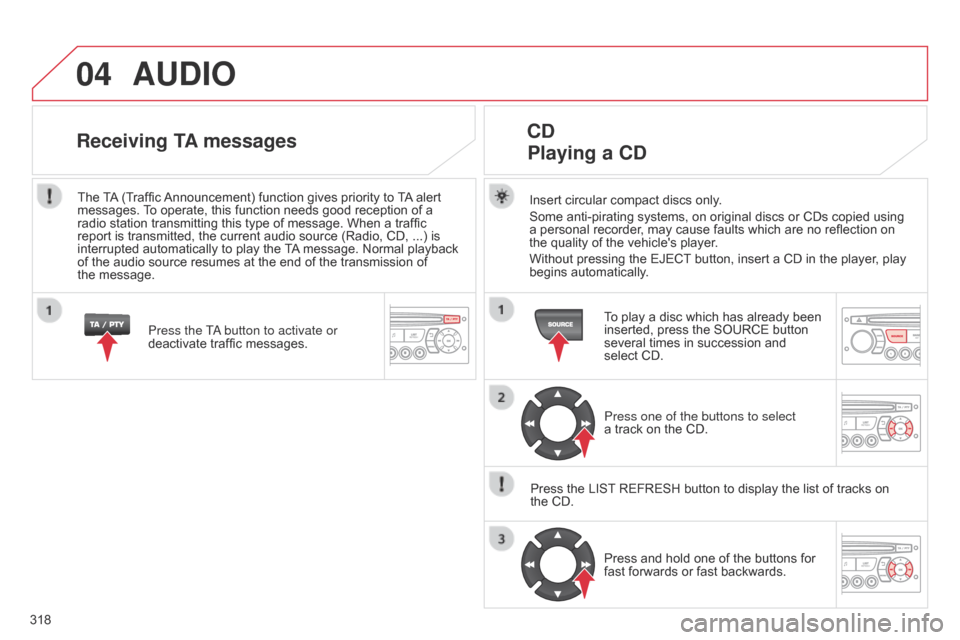
Insert circular compact discs only.
Some anti-pirating systems, on original discs or CDs copied using
a personal recorder, may cause faults which are no reflection on
the
quality of the vehicle's player.
Without pressing the EJECT button, insert a CD in the player, play
begins automatically.
CD Playing a CD
To play a disc which has already been
inserted, press the SOURCE button
several times in succession and
select CD.
Press one of the buttons to select
a
track on the CD.
Press the LIST REFRESH button to display the list of tracks on
the CD. Press and hold one of the buttons for
fast forwards or fast backwards.
Receiving TA messages
Press the Ta button to activate or
deactivate traffic messages.
The
TA (Traffic Announcement) function gives priority to TA alert
messages. To operate, this function needs good reception of a
radio station transmitting this type of message. When a traffic
report is transmitted, the current audio source (Radio, CD, ...) is
interrupted automatically to play the TA message. Normal playback
of the audio source resumes at the end of the transmission of
the
message.