2013 VOLKSWAGEN TRANSPORTER trailer
[x] Cancel search: trailerPage 2 of 486
Table of Contents
About this owner's manual . . . . . . 4
Overview of the vehicle . . . . . . . . . . 5
Exterior views
-Side view . . . . . . . . . . . . . . . . . . . . . . . . . . . . 5
-Front view . . . . . . . . . . . . . . . . . . . . . . . . . . . 6
-Rear view (vehicles with tailgate) . . . . . 7
-Rear view (vehicles with wing doors) 8
Vehicle interior
-Overview of the driver door . . . . . . . . . . . 9
-Overview of the driver side . . . . . . . . . . . 10
-Overview of the centre console . . 12
-Overview of the front passenger side . . . 14
-Headliner . . . . . . . . . . . . . . . . . . . . 15
Instrument cluster
-Warning and indicator lamps . . . . . . . . . . 16
-Instruments . . . . . . . . . . . . . . . . . . . . . . . . . . 19
-Volkswagen information system . . . . . . . . 24
Before the journey . . . . . . . . . . . . . . . . 33
Before setting off
-Driving tips . . . . . . . . . . . . . . . . . . . . . . . . . . 33
Opening and closing
-Vehicle key set . . . . . . . . . . . . . . . . . . . . . . . 36
-Central locking system . . . . . . . . . . . . . . . . 39
-Doors.... . . . . . . . . . . . . . . . . . . . . . . . . . 45
-Sliding doors . . . . . . . . . . . . . . . . . . . . . . . . 46
-Tailgate . . . . . . . . . . . . . . . . . . . . . . . . . . . . 49
-Wing doors . . . . . . . . . . . . . . . . . . . . . . . . . 52
-Windows . . . . . . . . . . . . . . . . . . . . . . . . . 55
-Sliding/tilting roof. . . . . . . . . . . . . . . . 58
Sitting correctly and safely
-Adjusting the seat position . . . . . . . . . . . . 61
-Seat functions, front . . . . . . . . . . . . . . . . . . 69
-Seat functions, rear . . . . . . . . . . . . . . . . . . 72
-Seat belts . . . . . . . . . . . . . . . . . . . . . . . . . . 79
-Airbag system . . . . . . . . . . . . . . . . . . . . . . . 87
-Child seats (accessories) . . . . . . . . . . . . . 96
-Integrated child seat .................. 1 02
Lights and vision
-Lights ............................... 106
-Protection from the sun ............... 115
-Wipers and washer . . . . . . . . . . . . . 116
-Mirrors .............................. 121
Table ot Contents
Transporting items
-Driving notes ........................ 125
-Luggage compartment ................ 130
-Guide rail system in the rear vehicle floor ................................ 133
-Roof carrier ........ , ................. 137
-Towing a trailer ...................... 139
Practical equipment
-Stowage area ........................ 150
-Torches ............................. 152
-Drink holders . . . • . . . . . . . . . . . . . . . . . . 153
-Tables .............................. 155
-Cool box ............................ 158
-Ashtray and cigarette lighter ........... 161
-Electrical sockets . . . . . . . . . . . . . . . . . . . . 163
-Rear Seat Entertainment (RSE) system 165
-Tachograph . . . . . . . . . . . . . . . . . . . . . . . . . . 172
-Digital voice enhancement ............ 173
Equipment, Multivan
-Darkening the interior of the vehicle, Multivan ............................. 175
Equipment, Business
-Vehicle overview, Business . . . . . . . . . . . . 180
-Seat functions, rear, Business ......... 182
-Rear-seat telephony, Business ........ 187
Equipment, California
-Vehicle overview, California . . . . . . . . . . . 192
-Seat functions, rear, California ......... 193
-Central control panel, California ........ 204
-Interior lights, California ............... 208
-Stowage areas, California ............. 21 0
-Darkening the interior of the vehicle, California . . . . . . . . ................... 215
-Manual pop-up roof, California ......... 218
-Electric pop-up roof, California ......... 221
-Awning, California .................... 226
-Tables and camping chairs, California .. 229
-Gas system, California ................ 233
-Water supply and disposal, California .. 237
-Refrigerator box, California ............ 241
-Power supply in the vehicle, California .. 242
-Air conditioning system, California ..... 250
-Supplementary heater, California ...... 251
-Practical tips, California ............... 252
Page 18 of 486

Symbol Meaning=>& See
Lane change assist system currently not available. =>page 312 .
The fog light is switched on. =>page 106
.......,,...., Turn signal, left or right. =>page 106 r., Hazard warning lights switched on. =>page 411
Trailer turn signals in operation. =>page 139
Lit up: depress the brake pedal. Changing gear
CS» =>page 260 Flashing: the lock button in the selector lever is not engaged. Braking, stopping and parking =>page 269
The cruise control system (CCS) is controlling the speed. =>page 295
(") Adaptive cruise control (ACC) active. No vehicle has been detec-ted ahead. =>page 298
th. Lit up: Hill Descent Assist switched on. =>page 285 Flashing: the lock button in the selector lever is not engaged.
Main beam is switched on or the headlight flasher is being opera!-=>page 106 ed.
When displayed in white: Adaptive cruise control (ACC) active.
B'
Vehicle detected ahead.
When displayed in grey: Adaptive cruise control (ACC) not active. =>page 298
System switched on, does not regulate.
Main beam assist (Light Assist) is activated. =>page 110
Lit up: service interval display. =>page 22
,....c. Flashes alternately with selector lever display, e.g. 0: fault in dual clutch gearbox (DSG®. =>page 260
(A) The starUstop system is available, automatic engine stop is active.
The starUstop system is not available. =>page 282
(J9 OR: the starUstop system has switched off the engine automatical-ly.
*
Black ice warning. The outside temperature is below =>page 19 +4·c (+39.F).
® A mobile telephone is connected via Bluetooth to the factory-fitted => Booklet Radio, pro-provision for mobile telephone. vision for mobile tele-
Mobile telephone battery charge level. Only for factory-fitted provi-phone, infotainment system, navigation sion for mobile telephone. system
A WARNING A WARNING (Continued)
Failure to observe illuminated warning lamps and text messages can lead to your vehicle breaking down in traffic, and can cause acci-dent and serious injury.
• Never ignore any illuminated warning lamps or text messages.
Overv1ew of the vehicle
• Stop the vehicle as soon as possible and when safe to do so.
• Stop the vehicle at a safe distance away from moving traffic and ensure that no part of the exhaust system can come Into contact with any inflammable material underneath the vehicle, e.g. dry grass or fuel. ll>
Page 34 of 486

Checklist (Continued)
..( Fasten your seat belt correctly before set-ting off and keep it properly fastened throughout the journey. This also applies to all passengers 79 .
..!
..!
..!
..!
..!
Each vehicle occupant must sit in a seat of their own and must have their own seat belt.
Never drive if your driving ability is impaired, e.g. by medication, alcohol or drugs.
Do not allow yourself to be distracted from the traffic, e.g. by passengers, telephone calls, opening menus and making adjust-ments to settings .
Always adapt your speed and driving style to suit visibility, weather, road and traffic conditions.
Observe traffic regulations and speed limits.
Driving abroad
r-f'n First read and observe the introductory l.-J=.U information and safety warnings.& on page 33.
Checklist
In some countries, special safety standards and emissions-related regulations apply that the vehi-cle may not comply with. Volkswagen Commercial Vehicles recommends that you visit your Volkswa-gen Commercial Vehicles dealer before travelling abroad to find out about any legal requirements and the following points concerning your destina-tion:
..( Does the vehicle need any technical modifi-cations for driving abroad, e.g. masking or switching the headlights over?
..( Are the necessary tools, diagnostic equip-ment and spare parts available for service and repair work?
..( Are there any Volkswagen Commercial Ve-hicles dealerships in the country of destina-tion?
..( For petrol engines: is unleaded petrol with the correct octane number available?
34 Before the journey
..( When travelling long distances, stop and take a break regularly-at least every 2 hours.
..( Secure animals in the vehicle using a sys-tem that is suitable for their weight and size.
A WARNING
Always observe current traffic regulations and speed limits, and think ahead when driv-Ing. Correct interpretation of a driving situa-tion can make the difference between reach-Ing your destination safely and having an ac-cident with serious Injuries.
W Regular servicing of your vehicle not only W maintains its value, it also ensures that your vehicle remains roadworthy and in perfect working order. Servicing work should therefore be carried out in accordance with the service schedule. Some work may have to be carried out before the due date of the next service if the vehicle is subjected to severe operating conditions. Severe operating conditions are, for example, regular stop and go driving, regular driving with a trailer and driving in areas with high levels of dust. Additional informa-tion is available from your Volkswagen Commercial Vehicles dealership or qualified workshop.
..( Are the correct engine oil 353 and other service fluids in accordance with the specifications of Volkswagen Commercial Vehicles available in the destination coun-try?
..( Will the factory-fitted navigation system work with the navigation data available in the destination country?
..( Are special tyres necessary for travelling in the destination country?
CD
Volkswagen Commercial Vehicles is not re-sponsible for any vehicle damage which Is caused by low-quality fuel, inadequate servic-ing work or lack of availability of Genuine Parts.
Page 39 of 486
Replacing the battery
• Fold out the key bit of the remote control key =>page 37.
• Pull up the cover on the rear side of the remote control key =>Fig. 20 in the direction of the arrow =>
• Insert the new battery as shown =>Fig. 21 and push it into the battery compartment against the di-rection of the arrow =>
Synchronising the remote control key
,--m First read and observe the introductory L-.lo:.ll information and safety warnings & on page 36.
The vehicle may no longer be able to be locked or unlocked with the remote control if you press the @ button repeatedly outside of the effective range of the remote control key. If this is the case. the re-mote control key has to be re-synchronised as fol-lows:
Central locking system
CQ Introduction
This chapter contains information on the following subjects:
Description of the central locking system . . . . 40
Locking and unlocking the vehicle from outside . . . . . . . . . . . . . . . . . . . . . . . . . . . . . . . . 40
Locking and unlocking the vehicle from inside
SAFELOCK mechanism ................. .
Anti-theft alarm ........................ .
Interior monitoring system and anti-tow alarm
42
42
43
44
The central locking system will only work correctly when all doors and the tailgate are properly closed. The vehicle cannot be locked with the remote con-trol key if the driver door is open.
CD
• The remote control key can be damaged if the battery is not changed properly.
• Unsuitable batteries can damage the remote control keys. Only replace discharged batteries with a new battery of the same voltage rating, size and specification.
• Ensure that the battery Is fitted the right way round.
r:lib Dispose of discharged batteries in accord-W ance with regulations governing the protec-tion of the environment.
r:lib The battery in the remote control key may W contain perchlorate. Please comply with any legal requirements and regulations when handling and disposing of these batteries.
• Press button @in the remote control key. Re-main standing close to the vehicle.
• Lock the vehicle with the key bit in the driver door lock.
• Switch on the ignition using the remote control key. The synchronisation process is complete.
Additional information and warnings:
• Exterior views =>page 5
• Vehicle key set =>page 36
• Doors => page 45
• Sliding doors =>page 46
• Tailgate =>page 49
• Wing doors =>page 52
• Electric windows =>page 55
• Sliding/tilting roof =>page 58
• Towing a trailer =>page 139
Opening and closing 39
Page 44 of 486
m Due to the current legislation on the Israel W market, the acoustic warning signals are de-activated there.
m The alarm will be triggered again if a person W gains access to the same or a different se-cured zone after the alarm has been switched off. For example, if the tailgate is opened after a door had been opened.
m The anti-theft alarm will not be activated if W the vehicle is locked from the Inside using the central locking button @.
m If you unlock the driver door mechanically us-L!J ing the vehicle key, only the driver door is un-locked, and not the whole vehicle. The SAFELOCK mechanism on all doors is not deactivated and the central locking button is not activated until you switch on the ignition (however the doors will not be unlocked).
m The anti-theft alarm will not function correctly W if the vehicle battery is weak or discharged.
m lt is not possible to include the trailer in the W anti-theft alarm system.
81f·01U
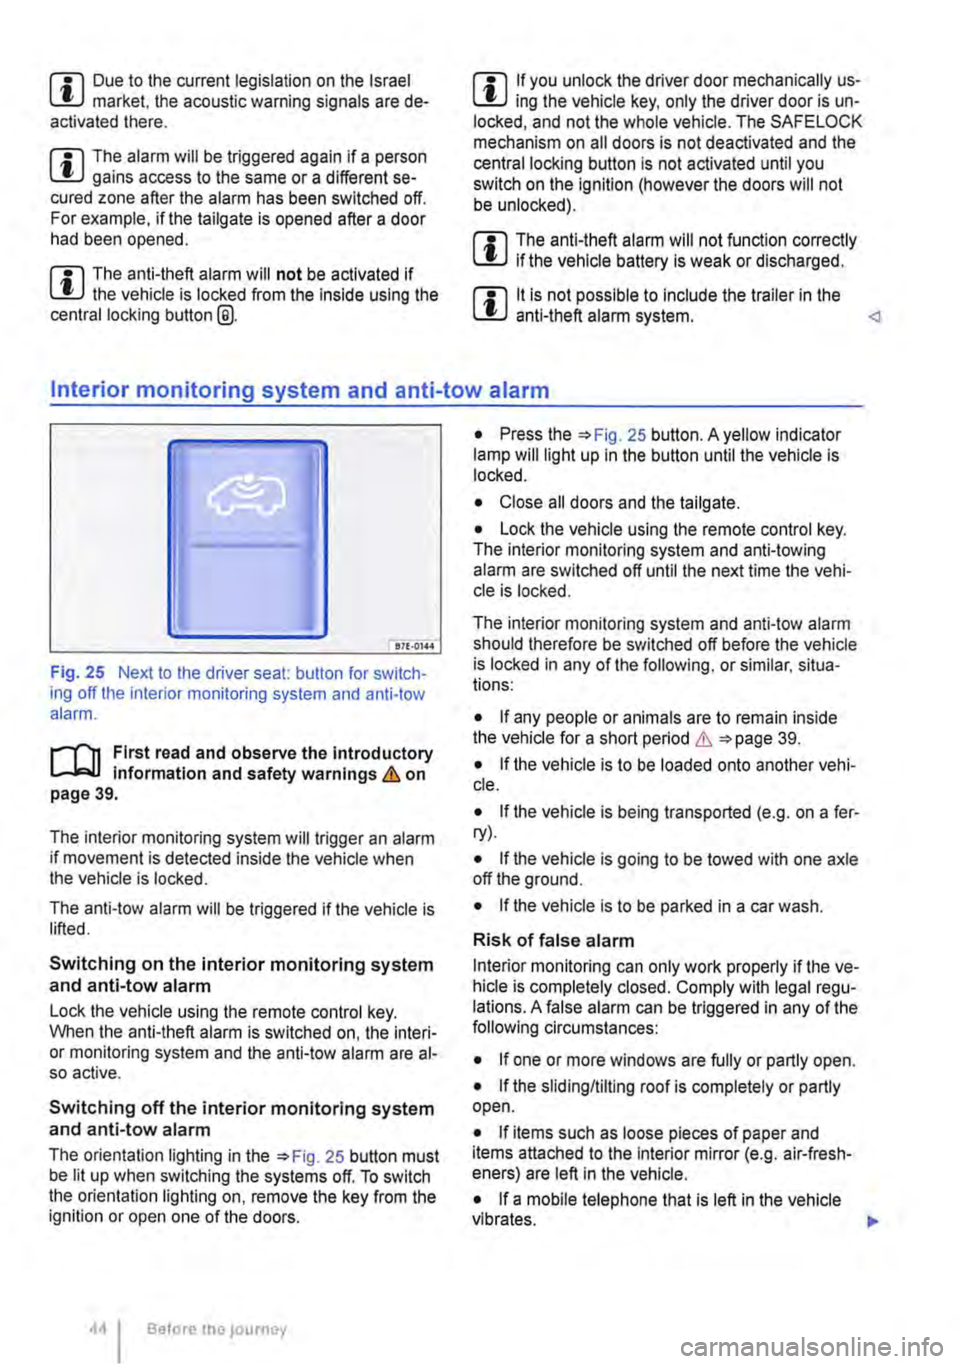
Fig. 25 Next to the driver seat: button for switch-ing off the interior monitoring system and anti-tow alarm.
r-f"n First read and observe the introductory information and safety warnings & on page 39.
The interior monitoring system will trigger an alarm if movement is detected inside the vehicle when the vehicle is locked.
The anti-tow alarm will be triggered if the vehicle is lifted.
Switching on the interior monitoring system and anti-tow alarm
Lock the vehicle using the remote control key. When the anti-theft alarm is switched on, the interi-or monitoring system and the anti-tow alarm are al-so active.
Switching off the interior monitoring system and anti-tow alarm
The orientation lighting in the =>Fig. 25 button must be lit up when switching the systems off. To switch the orientation lighting on, remove the key from the ignition or open one of the doors.
Before the journey
• Press the =>Fig. 25 button. A yellow indicator lamp will light up in the button until the vehicle is locked.
• Close all doors and the tailgate.
• Lock the vehicle using the remote control key. The interior monitoring system and anti-towing alarm are switched off until the next time the vehi-cle is locked.
The interior monitoring system and anti-tow alarm should therefore be switched off before the vehicle is locked in any of the following, or similar, situa-tions:
• If any people or animals are to remain inside the vehicle for a short period & =>page 39.
• If the vehicle is to be loaded onto another vehi-cle.
• If the vehicle is being transported (e.g. on a fer-ry).
• If the vehicle is going to be towed with one axle off the ground.
• If the vehicle is to be parked in a car wash.
Risk of false alarm
Interior monitoring can only work properly if the ve-hicle is completely closed. Comply with legal regu-lations. A false alarm can be triggered in any of the following circumstances:
• If one or more windows are fully or partly open.
• If the slidingflilting roof is completely or partly open.
• If items such as loose pieces of paper and items attached to the Interior mirror (e.g. air-fresh-eners) are left in the vehicle.
• If a mobile telephone that is left in the vehicle vibrates. 11>-
Page 50 of 486
CD
Before opening the tailgate, please check that there is enough space to open and close the tailgate, e.g. when towing a trailer or when in a garage.
Warning lamp
CD
Never use the gas-filled strut on the tallgate to fix or hold a load. This could lead to damage and make it Impossible to close the tallgate.
Lit up Possible cause
c:5 The taiigate is open or not properly closed.
Several warning and indicator lamps will light up briefly as a functional check when the ignition is switched on. They will go out after a few seconds.
A warning lamp c:s appears in the instrument clus-ter display if the taiigate is open or not property closed.
Symbols may be displayed in the instrument clus-ter instead of warning lamps, depending on the ve-hicle's equipment level. These symbols are also visible when the ignition is switched off. The dis-play will go out approximately 15 seconds after the vehicle has been locked.
Solution
e Do not drive on I Open the tailgate and close it again.
A WARNING
If the tail gate is not properly closed it could open suddenly while the vehicle is in motion. This could lead to severe injuries.
• Stop as soon as possible and close the tailgate.
• After closing the tailgate, always check that it is properly secured.
m The symbol can differ depending on the ver-L!J sion of the instrument cluster.
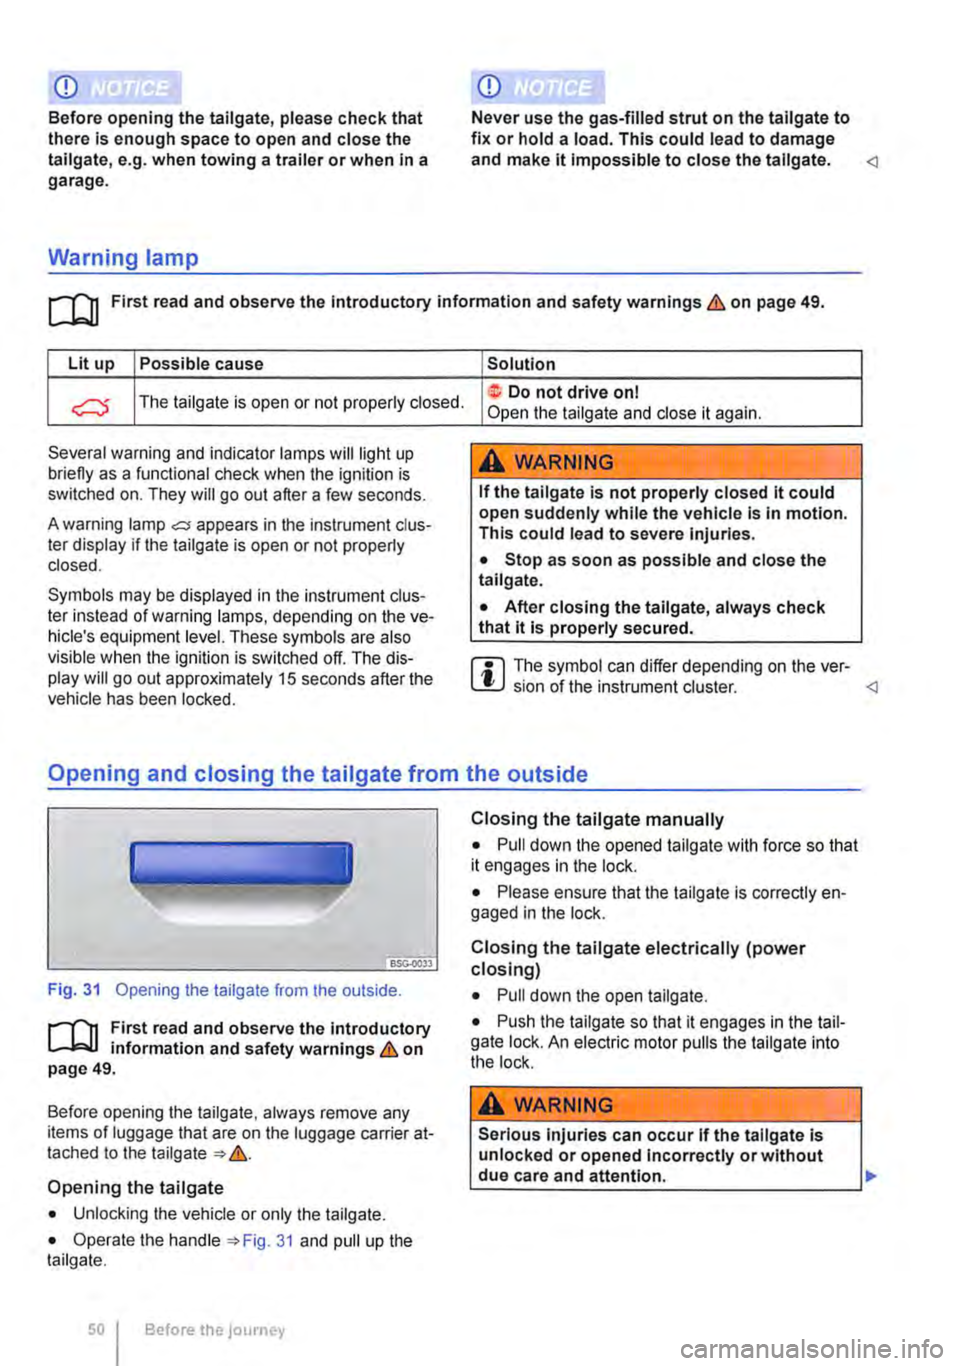
Fig. 31 Opening the tailgate from the outside.
r-Ill First read and observe the introductory L-Wl information and safety warnings & on page 49.
Before opening the taiigate, always remove any items of luggage that are on the luggage carrier at-tached to the tailgate &.
Opening the tailgate
• Unlocking the vehicle or only the tailgate.
• Operate the handle 31 and pull up the tailgate.
Before the journey
Closing the tailgate manually
• Pull down the opened tailgate with force so that it engages in the lock.
• Please ensure that the taiigate is correctly en-gaged in the lock.
Closing the tailgate electrically (power closing)
• Pull down the open tailgate.
• Push the taiigate so that it engages in the tail-gate lock. An electric motor pulls the tailgate into the lock.
A WARNING
Serious injuries can occur if the tallgate is unlocked or opened Incorrectly or without
________________
Page 53 of 486
A WARNING (Continued)
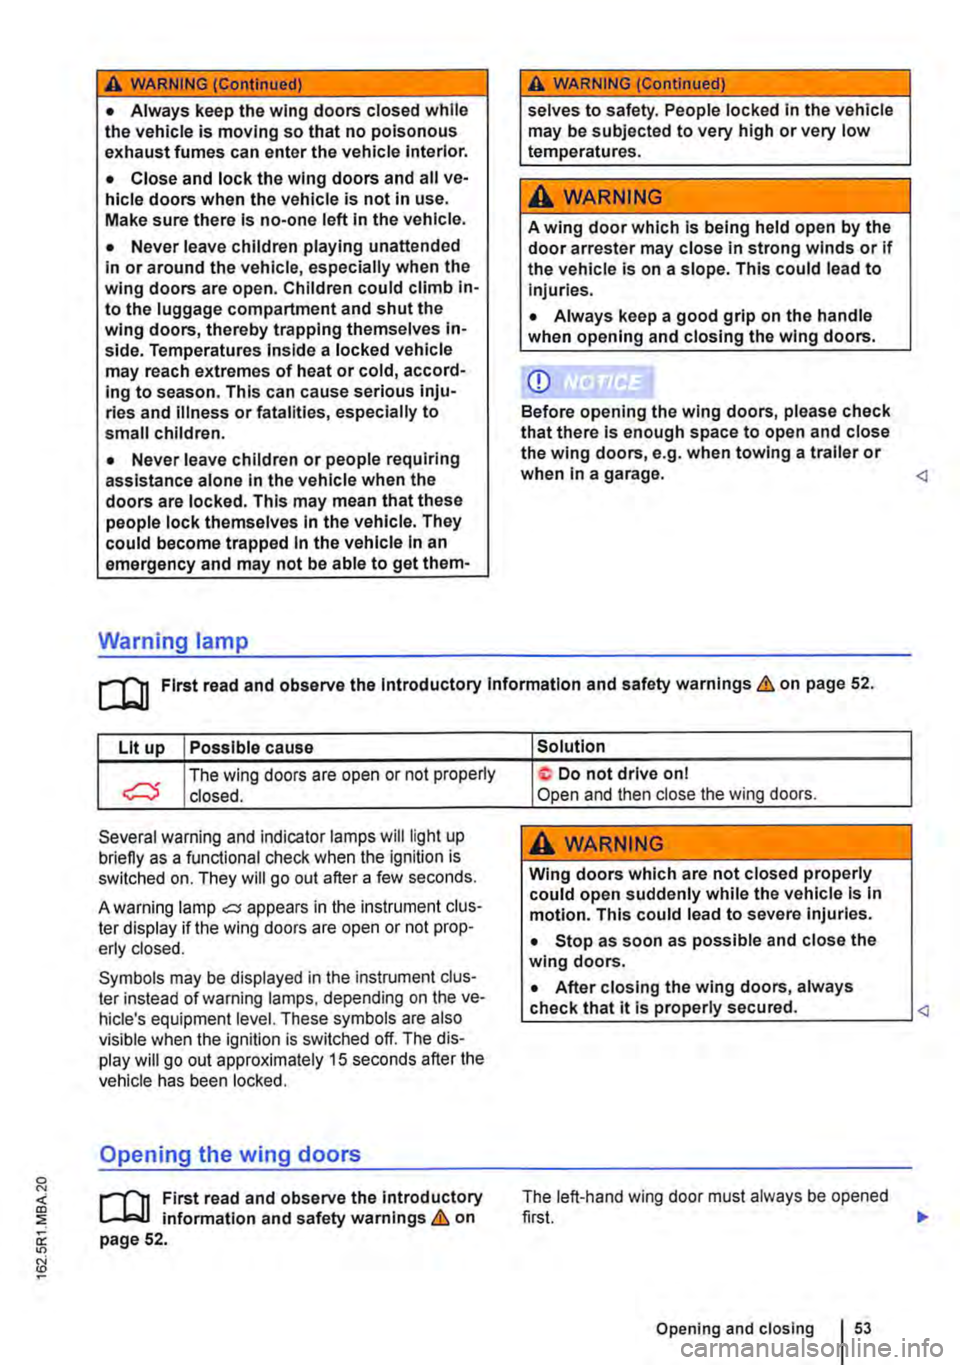
• Always keep the wing doors closed while the vehicle is moving so that no poisonous exhaust fumes can enter the vehicle Interior.
• Close and lock the wing doors and all ve-hicle doors when the vehicle is not in use. Make sure there Is no-one left In the vehicle.
• Never leave children playing unattended In or around the vehicle, especially when the wing doors are open. Children could climb In-to the luggage compartment and shut the wing doors, thereby trapping themselves In-side. Temperatures Inside a locked vehicle may reach extremes of heat or cold, accord-Ing to season. This can cause serious Inju-ries and Illness or fatalities, especially to small children.
• Never leave children or people requiring assistance alone In the vehicle when the doors are locked. This may mean that these people lock themselves In the vehicle. They could become trapped In the vehicle In an emergency and may not be able to get them-
Warning lamp
A WARNING (Continued)
selves to safety. People locked In the vehicle may be subjected to very high or very low temperatures.
A WARNING
A wing door which Is being held open by the door arrester may close In strong winds or if the vehicle is on a slope. This could lead to Injuries.
• Always keep a good grip on the handle when opening and closing the wing doors.
CD
Before opening the wing doors, please check that there Is enough space to open and close the wing doors, e.g. when towing a trailer or when In a garage.
Lit up Possible cause
The wing doors are open or not property C) closed.
Several warning and indicator lamps will light up briefly as a functional check when the ignition is switched on. They will go out after a few seconds.
A warning lamp oC;j appears in the instrument clus· ter display if the wing doors are open or not prop-erly closed.
Symbols may be displayed in the instrument dus-ter instead of warning lamps, depending on the ve-hicle's equipment level. These symbols are also visible when the ignition is switched off. The dis· play will go out approximately 15 seconds after the vehicle has been locked.
Opening the wing doors
r'l""n First read and observe the introductory L-Jc.LI information and safety warnings & on page 52.
Solution
not drive on I Open and then close the wing doors.
A WARNING
Wing doors which are not closed properly could open suddenly while the vehicle Is In motion. This could lead to severe Injuries.
• Stop as soon as possible and close the wing doors.
• After closing the wing doors, always
Lc.:..h.:..e.:..c.:..k_t.:..h_a_t _it_is_.!.,p_ro_:p_e_r..!.ly.:..s_e_c_u_r_ed_. ____ __j
Opening and closing
Page 106 of 486
Lights and vision
Lights
0::0 Introduction
This chapter contains information on the following subjects:
Indicator lamps . . . . . . . . . . . . . . . . . 106
Turn signal and main beam lever . . 107 Switching lights on and off . . . . . . . . 108
Lights and vision -functions . . . . . . . . . . . . . . 109
Main beam assist ....................... 110
Masking or switching over headlights for driving abroad . . . . . . . . . 111
Coming Home and Leaving Home functions (orientation lighting).............. 112
Headlight range control, instrument and switch lighting . . . . . 113 Interior and reading lights . . . . . . . . . 114
Observe any country-specific regulations when us-ing vehicle lighting.
The driver is responsible for the correct headlight position and the correct headlight setting.
Additional information and warnings:
• Exterior views ""page 5
• Volkswagen information system =oo page 24
• Changing bulbs =oo page 432
Indicator lamps
A WARNING
Accidents and serious injuries can occur if roads are not sufficiently Illuminated and oth-er road users have difficulty seeing the vehi-cle, or cannot see it at all.
• Always switch the dipped beam head-lights on if it is dark, raining or visibility is poor.
A WARNING
Setting headlights too high, and the incorrect use of the main beam, could distract and daz-zle other road users. This can lead to acci-dents and serious injuries.
• Always ensure that the headlights are ad-j usted correctly.
• Never use the main beam or the headlight flasher if other road users could be dazzled.
[Qj First read and observe the introductory information and safety warnings & on page 106.
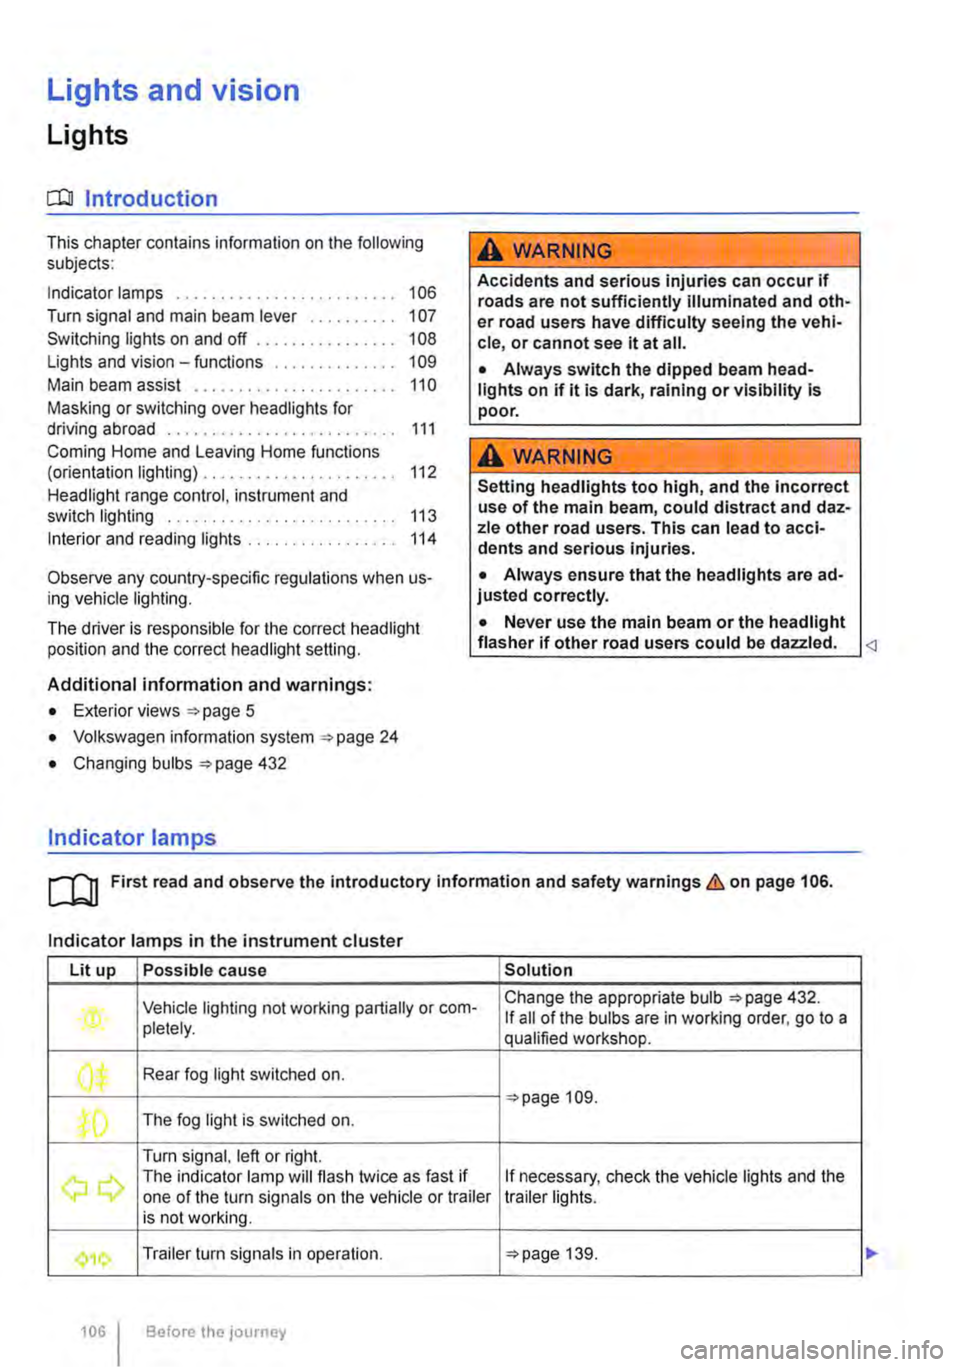
Indicator lamps in the instrument cluster
Lit up Possible cause Solution
Vehicle lighting not working partially or corn-Change the appropriate bulb 432. If all of the bulbs are in working order. go to a pletely. qualified workshop.
' Rear fog light switched on. J", =oopage 109.
,( The fog light is switched on.
Turn signal, left or right.
r The indicator lamp will flash twice as fast if If necessary, check the vehicle lights and the one of the turn signals on the vehicle or trailer trailer lights. is not working.
'111 Trailer turn signals in operation. 139.
106 Before the journey