Page 196 of 552
196 2-2. Instrument cluster
VERSO-S_EE
Changing the display
Items displayed can be switched
by pressing the display change
button.
Odometer
Tr ip m eter
Stop & Start system operation time (if equipped)
Displays the total distance the vehicle has been
driven.
Displays the distance the vehicle has been driven
since the meter was last reset. Trip meters A and
B can be used to record and display different dis-
tances independently.
Pressing and holding the display change button will
reset the trip meter that is currently displayed.
Displays the total amount of time the Stop & Start
system has operated (total engine stop time due to
the Stop & Start system) from the engine switch
being turned to “ON” until it is turned to “LOCK”
(vehicles without smart entry & start system) or from
the “ENGINE START STOP” switch being changed
to IGNITION ON mode until it is changed to off (vehi-
cles with a smart entry & start system).
Page 197 of 552
197 2-2. Instrument cluster
2
When driving
VERSO-S_EEStop & Start system total operation time (if equipped)
Instantaneous fuel consumption
P. 208
Average fuel consumption
P. 209
Driving range
P. 209
Meter light controlDisplays the total amount of time that the engine
has been stopped due to operation of the Stop &
Start system since the system was last reset.
Press and hold the button to reset.
Displays the brightness of the meter light when
the headlight switch is on.
Pressing and holding the button will adjust bright-
ness of the meter light.
Page 209 of 552

209 2-2. Instrument cluster
2
When driving
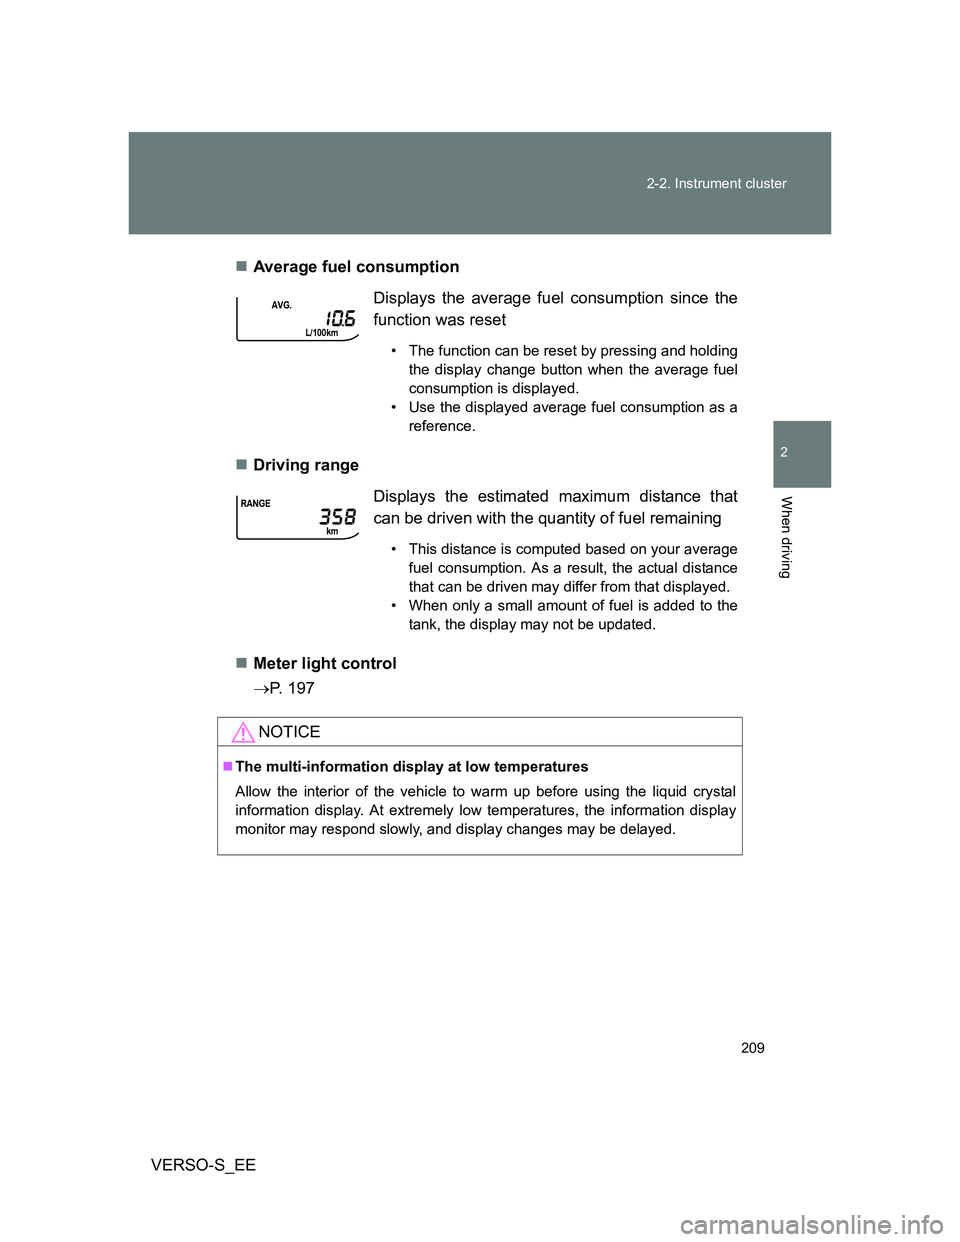
VERSO-S_EEAverage fuel consumption
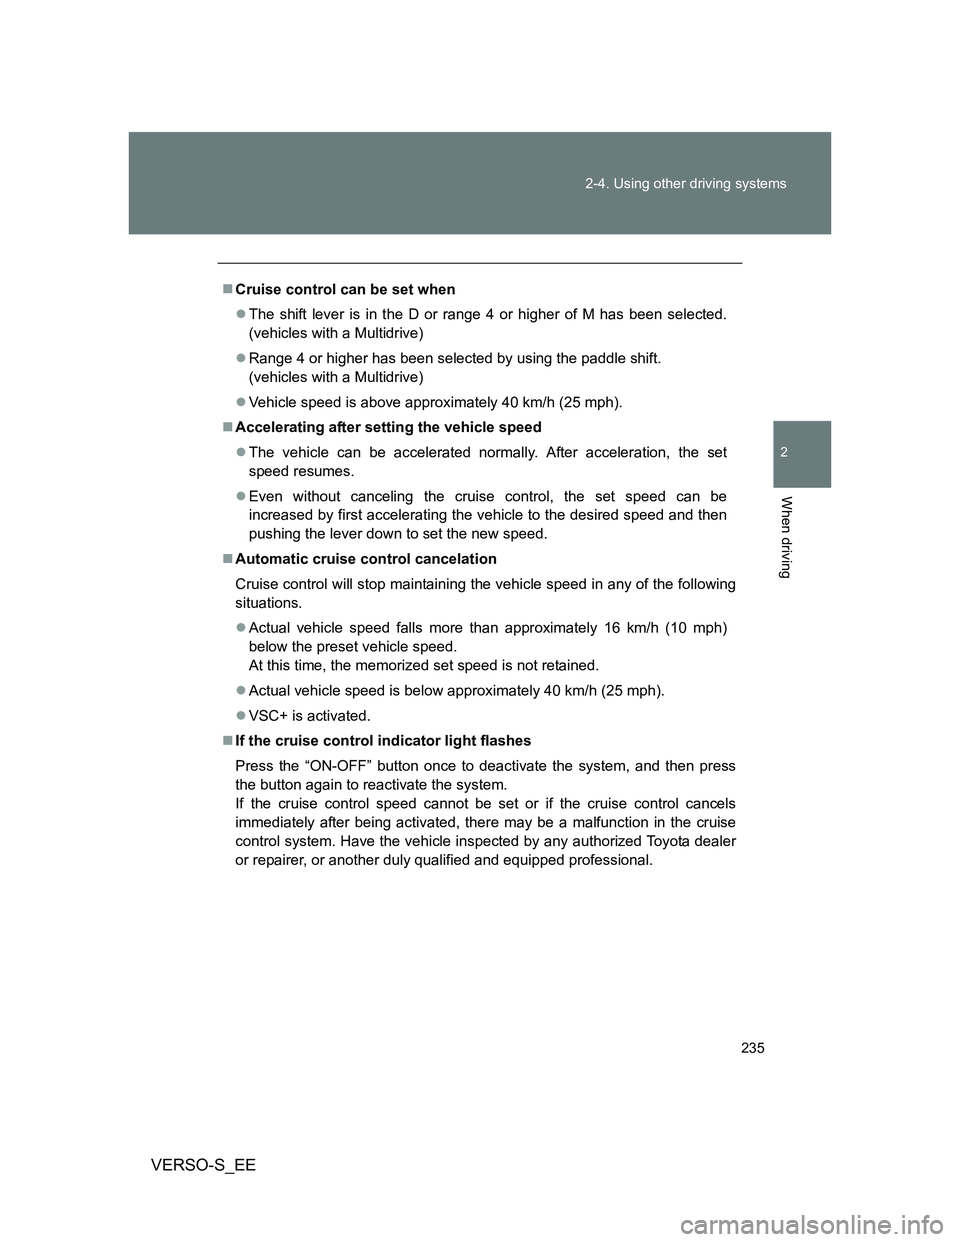
Driving range
Meter light control
P. 197Displays the average fuel consumption since the
function was reset
• The function can be reset by pressing and holding
the display change button when the average fuel
consumption is displayed.
• Use the displayed average fuel consumption as a
reference.
Displays the estimated maximum distance that
can be driven with the quantity of fuel remaining
• This distance is computed based on your average
fuel consumption. As a result, the actual distance
that can be driven may differ from that displayed.
• When only a small amount of fuel is added to the
tank, the display may not be updated.
NOTICE
The multi-information display at low temperatures
Allow the interior of the vehicle to warm up before using the liquid crystal
information display. At extremely low temperatures, the information display
monitor may respond slowly, and display changes may be delayed.
Page 235 of 552

235 2-4. Using other driving systems
2
When driving
VERSO-S_EE
Cruise control can be set when
The shift lever is in the D or range 4 or higher of M has been selected.
(vehicles with a Multidrive)
Range 4 or higher has been selected by using the paddle shift.
(vehicles with a Multidrive)
Vehicle speed is above approximately 40 km/h (25 mph).
Accelerating after setting the vehicle speed
The vehicle can be accelerated normally. After acceleration, the set
speed resumes.
Even without canceling the cruise control, the set speed can be
increased by first accelerating the vehicle to the desired speed and then
pushing the lever down to set the new speed.
Automatic cruise control cancelation
Cruise control will stop maintaining the vehicle speed in any of the following
situations.
Actual vehicle speed falls more than approximately 16 km/h (10 mph)
below the preset vehicle speed.
At this time, the memorized set speed is not retained.
Actual vehicle speed is below approximately 40 km/h (25 mph).
VSC+ is activated.
If the cruise control indicator light flashes
Press the “ON-OFF” button once to deactivate the system, and then press
the button again to reactivate the system.
If the cruise control speed cannot be set or if the cruise control cancels
immediately after being activated, there may be a malfunction in the cruise
control system. Have the vehicle inspected by any authorized Toyota dealer
or repairer, or another duly qualified and equipped professional.
Page 282 of 552
282
3-2. Using the audio system
VERSO-S_EE
Using the radio
Setting station presets
Search for desired stations by turning or pressing “
”
or “” on .
Press and hold the button (from [1] to [6]) the
station is to be set to until you hear a beep.
: If equipped
Vo lu m e
Displaying
station listStation selector
Seeking
the
frequencyAdjusting the
frequency or
selecting items
AM/FM mode
buttonPowerAF/region code/TA
mode setup
Back button
STEP1
STEP2
Page 285 of 552

285 3-2. Using the audio system
3
Interior features
VERSO-S_EE
Certification for the radio (for Italy)
IL PRODUTTORE Panasonic Corporation Automotive Systems Company
4261, Ikonobe-cho, Tsuzuki-ku, Yokohama, 224-8520, JAPAN
DI QUESTO APPARECCHIO MODELLO 86120 52B00 DICHIARA CHE
ESSO E’CONFORME AL D.M.28.08.1995 Nr.548, OTTEMPERANDO ALLE
PRESCRIZIONI DI CUI AL D.M.25.6.1985 (PARAGRAFO 3,ALL.A) ED AL
D.M.27.8.1987 (PARAGRAFO 3,ALL.I)
EON (Enhanced Other Network) system (for traffic announcement
function)
If the RDS station (with EON data) you are listening to is not broadcasting a
traffic information program and the audio system is in the TA (traffic
announcement) mode, the radio will be switched automatically to a station
broadcasting a traffic information program in the EON AF list when traffic
information begins.
When the battery is disconnected
Stations presets are erased.
Reception sensitivity
Maintaining perfect radio reception at all times is difficult due to the con-
tinually changing position of the antenna, differences in signal strength
and surrounding objects, such as trains, transmitters, etc.
The radio antenna is mounted on the rear roof. The antenna can be
removed from the base by turning it.
Digital Audio Broadcast (DAB) radio
The optional radio antenna and tuner are necessary for the use of Digital
Audio Broadcast (DAB) radio.
NOTICE
To prevent damage, remove the antenna in the following cases.
The antenna will touch the ceiling of a garage.
A cover will be put on the roof.
Page 303 of 552

303 3-2. Using the audio system
3
Interior features
VERSO-S_EE
About iPod
Apple is not responsible for the operation of this device or its compliance
with safety and regulatory standards.
iPod is a trademark of Apple Inc., registered in the U.S. and other coun-
tries.
iPod functions
When an iPod is connected and the audio source is changed to iPod
mode, the iPod will resume play from the same point in which it was last
used.
Depending on the iPod that is connected to the system, certain functions
may not be available. If a function is unavailable due to a malfunction (as
opposed to a system specification), disconnecting the device and recon-
necting it once again may resolve the problem.
While connected to the system, the iPod cannot be operated with its own
controls. It is necessary to use the controls of the vehicle’s audio system
instead.
iPod problems
To resolve most problems encountered when using your iPod, disconnect
your iPod from the vehicle iPod connection and reset it.
For instructions on how to reset your iPod, refer to your iPod Owner’s Man-
ual.
Display
P. 288
Error messages
“ERROR”: This indicates a problem in the iPod or its connection.
“NO SONGS”: This indicates that there is no music data in the iPod.
“NO PLAYLISTS”: This indicates that some available songs are not found in
a selected playlist.
“UPDATE YOUR IPOD”: This indicates that the version of the iPod is not
compatible. Upgrade your iPod software to the lat-
est version.
Page 318 of 552
318 3-2. Using the audio system
VERSO-S_EE
Adjusting the volume
Press “+” on to increase the volume and “-” to decrease the
volume.
Hold down “+” or “-” on to continue increasing or decreasing the
volume.
Silencing a sound
Press and hold .
To cancel, press and hold again.
Selecting a radio station
Press to select the radio mode.
Press “” or “” on to select a preset station.
To scan for receivable stations, press and hold “” or “” on
until you hear a beep.
Selecting a track/file or song
Press to select CD, iPod or USB memory mode.
Press “” or “” on to select the desired track/file or
song.
Selecting a folder (MP3 and WMA or USB memory)
Press to select CD or USB memory mode.
Press and hold “” or “” on until you hear a beep.
STEP1
STEP2
STEP1
STEP2
STEP1
STEP2