Page 57 of 752
57
1-2. Opening, closing and locking the doors
1
Before driving
■
Removing the tailgate
Open the tailgate to the angle
where you can release the
brackets on the support cables
from the lugs on both sides.
Lift the support cable bracket up
and slide it off.
To unhook the support cable
bracket, keep pulling up the clip
on the bracket and unhook the
bracket.
Support cable bracket
Clip
Tilt the tailgate to about 45° from
vertical and pull up the right side
of the tailgate to unhook the right
side.
Tilt the tailgate up to 15°.
Page 58 of 752
58 1-2. Opening, closing and locking the doors
Slide the tailgate a little to the
right to unhook the left side.
To attach the tailgate, follow the
removal procedure in reverse
order.
Rear step bumperType A For rear end protection and eas-
ier step-up loading.
To get on the rear step bumper,
use the shaded area in the illus-
tration.
Type B
Page 59 of 752

59
1-2. Opening, closing and locking the doors
1
Before driving
CAUTION
■
Before removing the tailgate (vehic les with rear view monitor system)
Disconnect the wire harness between the back-up camera and the vehicle.
Failure to do so may result in serious personal injury or damage to the vehi-
cle components.
■ Caution while driving
Observe the following precautions.
Failure to do so may result in death or serious personal injury.
●Do not drive with the tailgate open.
● Do not get on the rear step bumper.
NOTICE
■To prevent damage to the tailgate wire harness (vehicles with rear view
monitor system)
Do not pull out all of the tailgate wire harness before open the tailgate.
■ To prevent damage to the camera lens (vehicles with rear view monitor
system)
Store the removed tailgate with the back-up camera lens facing upward.
■ After closing the tailgate
Try pulling it toward you to make sure it is securely locked.
■ To prevent damage to the rear step bumper
Do not allow more than one person to get on the rear step bumper at a time.
Page 239 of 752

239
2-4. Using other
driving systems
2
When driving
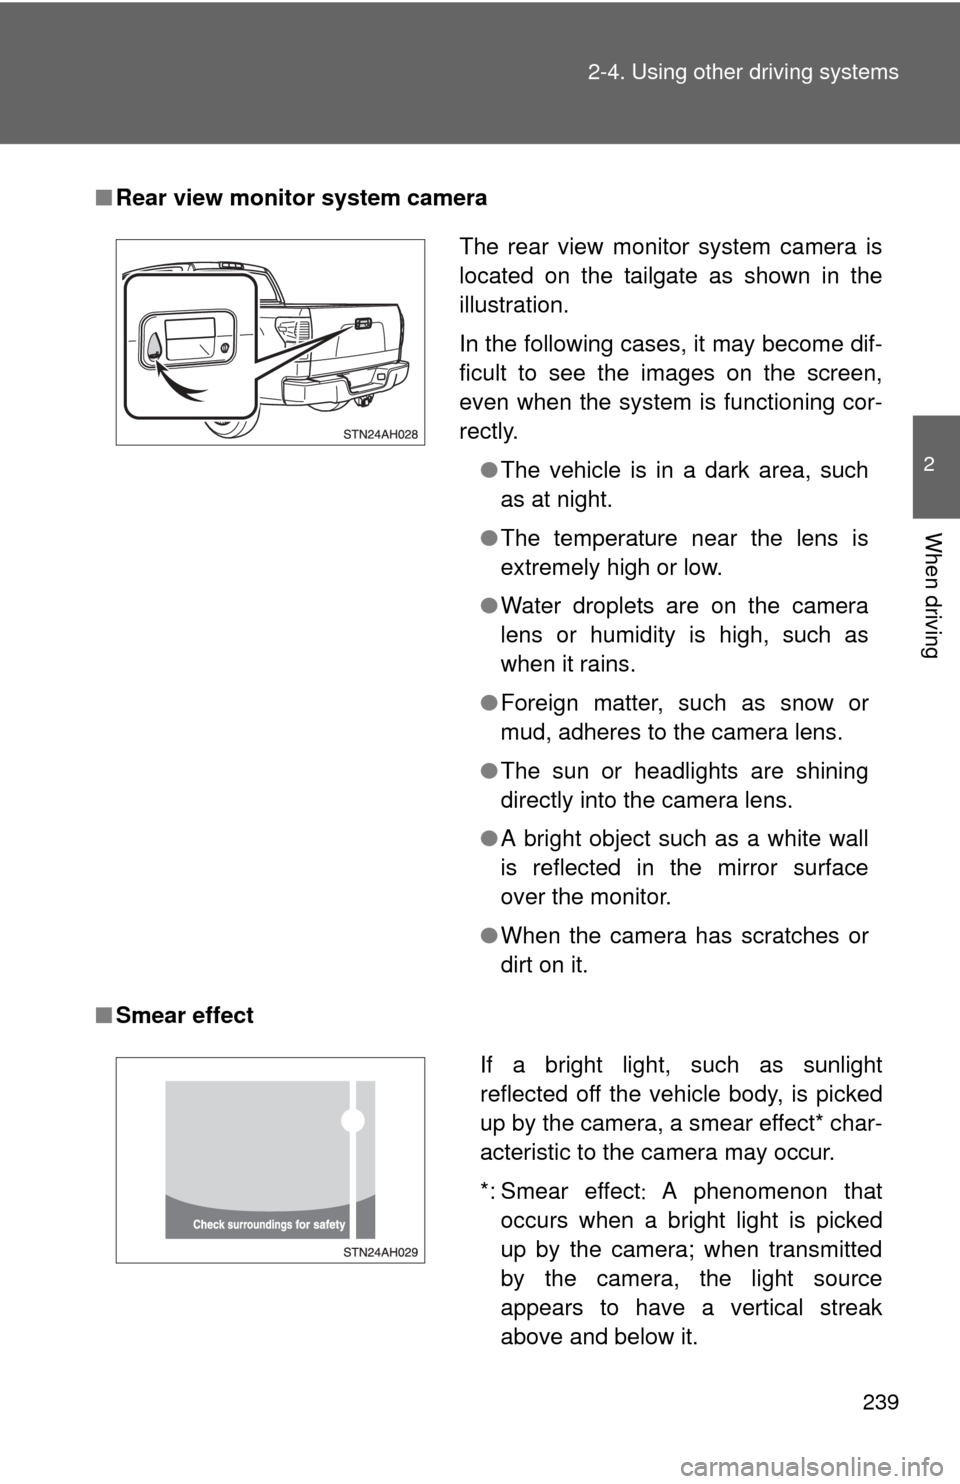
■Rear view monitor system camera
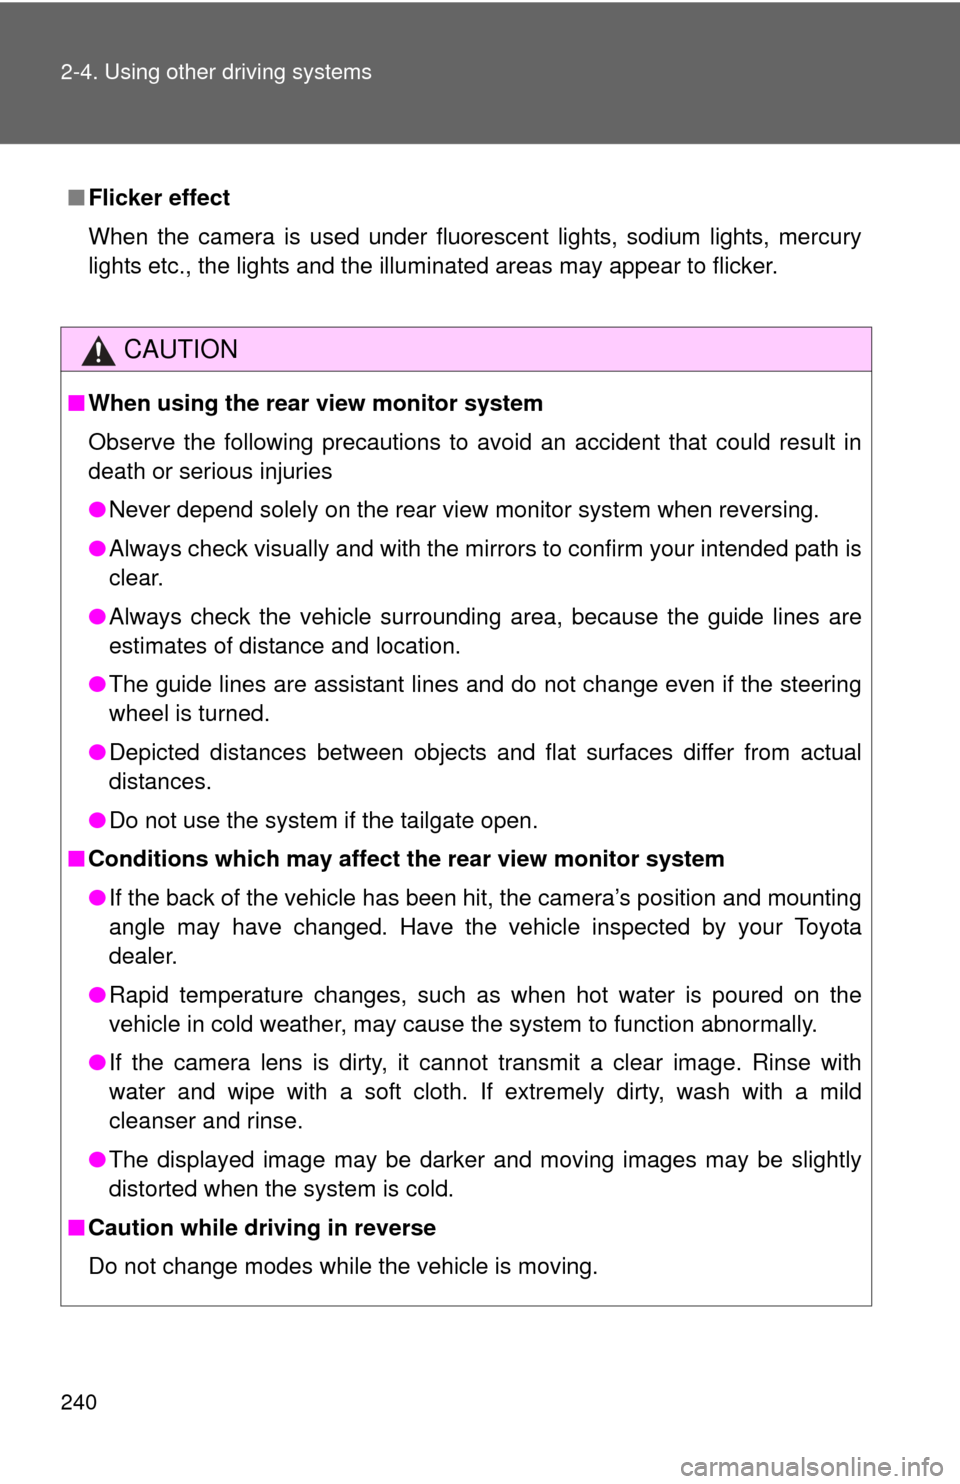
■ Smear effect
The rear view monitor system camera is
located on the tailgate as shown in the
illustration.
In the following cases, it may become dif-
ficult to see the images on the screen,
even when the system is functioning cor-
rectly.
●The vehicle is in a dark area, such
as at night.
● The temperature near the lens is
extremely high or low.
● Water droplets are on the camera
lens or humidity is high, such as
when it rains.
● Foreign matter, such as snow or
mud, adheres to the camera lens.
● The sun or headlights are shining
directly into the camera lens.
● A bright object such as a white wall
is reflected in the mirror surface
over the monitor.
● When the camera has scratches or
dirt on it.
If a bright light, such as sunlight
reflected off the vehicle body, is picked
up by the camera, a smear effect* char-
acteristic to the camera may occur.
*: Smear effect A phenomenon that
occurs when a bright light is picked
up by the camera; when transmitted
by the camera, the light source
appears to have a vertical streak
above and below it.
Page 240 of 752

240 2-4. Using other driving systems
■Flicker effect
When the camera is used under fluorescent lights, sodium lights, mercury
lights etc., the lights and the illuminated areas may appear to flicker.
CAUTION
■When using the rear view monitor system
Observe the following precautions to avoid an accident that could result in
death or serious injuries
● Never depend solely on the rear view monitor system when reversing.
● Always check visually and with the mirrors to confirm your intended path is
clear.
● Always check the vehicle surroundi ng area, because the guide lines are
estimates of distance and location.
● The guide lines are assistant lines and do not change even if the steering
wheel is turned.
● Depicted distances between objects and flat surfaces differ from actual
distances.
● Do not use the system if the tailgate open.
■ Conditions which may affect the rear view monitor system
● If the back of the vehicle has been hit, the camera’s position and mounting
angle may have changed. Have the vehicle inspected by your Toyota
dealer.
● Rapid temperature changes, such as when hot water is poured on the
vehicle in cold weather, may cause the system to function abnormally.
● If the camera lens is dirty, it cannot transmit a clear image. Rinse with
water and wipe with a soft cloth. If extremely dirty, wash with a mild
cleanser and rinse.
● The displayed image may be darker and moving images may be slightly
distorted when the system is cold.
■ Caution while driving in reverse
Do not change modes while the vehicle is moving.
Page 744 of 752

744 Alphabetical index
Tachometer............................... 189
TailgateRemoving the tailgate .............55
Tailgate ...................................54
Tail lights
Replacing light bulbs ............. 596
Switch.................................... 210
Wattage ................................. 684
Talk switch................................ 431
Telephone switch ..................... 431
Theft deterrent system Alarm ..................................... 117
Engine immobilizer system ... 115
Tire inflation pressure ............. 567
Tire information
Glossary ................................ 695
Size ....................................... 692
Tire identification number ...... 691
Uniform tire quality grading ................................ 693
Tires Chains ................................... 269
Checking ............................... 559
Identification number ............. 691
If you have a flat tire .............. 626
Inflation pressure........... 567, 682
Information ............................ 690
Inflation pressure sensor ....... 560
Replacing .............................. 626
Rotating tires ......................... 559
Size ....................................... 682
Snow tires ............................. 268
Tire pressure warning reset switch ......................... 560
Tire pressure warning
system ........................ 559, 613
Warning light ......................... 613 Tissue pocket ........................... 475
Tools ......................................... 626
Total load capacity .................. 266
TOW/HAUL switch ................... 184
Towing
Bumper towing ...................... 284
Dinghy towing ....................... 295
Emergency towing ................ 603
Fifth wheel trailer................... 282
Trailer towing ........................ 272
Traction control ....................... 249
TRAC ......................................... 249
Trip information ....................... 200
Trip meter ................................. 193
Turn signal lights
Replacing light bulbs ..... 593, 596
Switch ................................... 186
Wattage................................. 684T