Page 256 of 500

256 3-3. Using the Bluetooth
® audio system
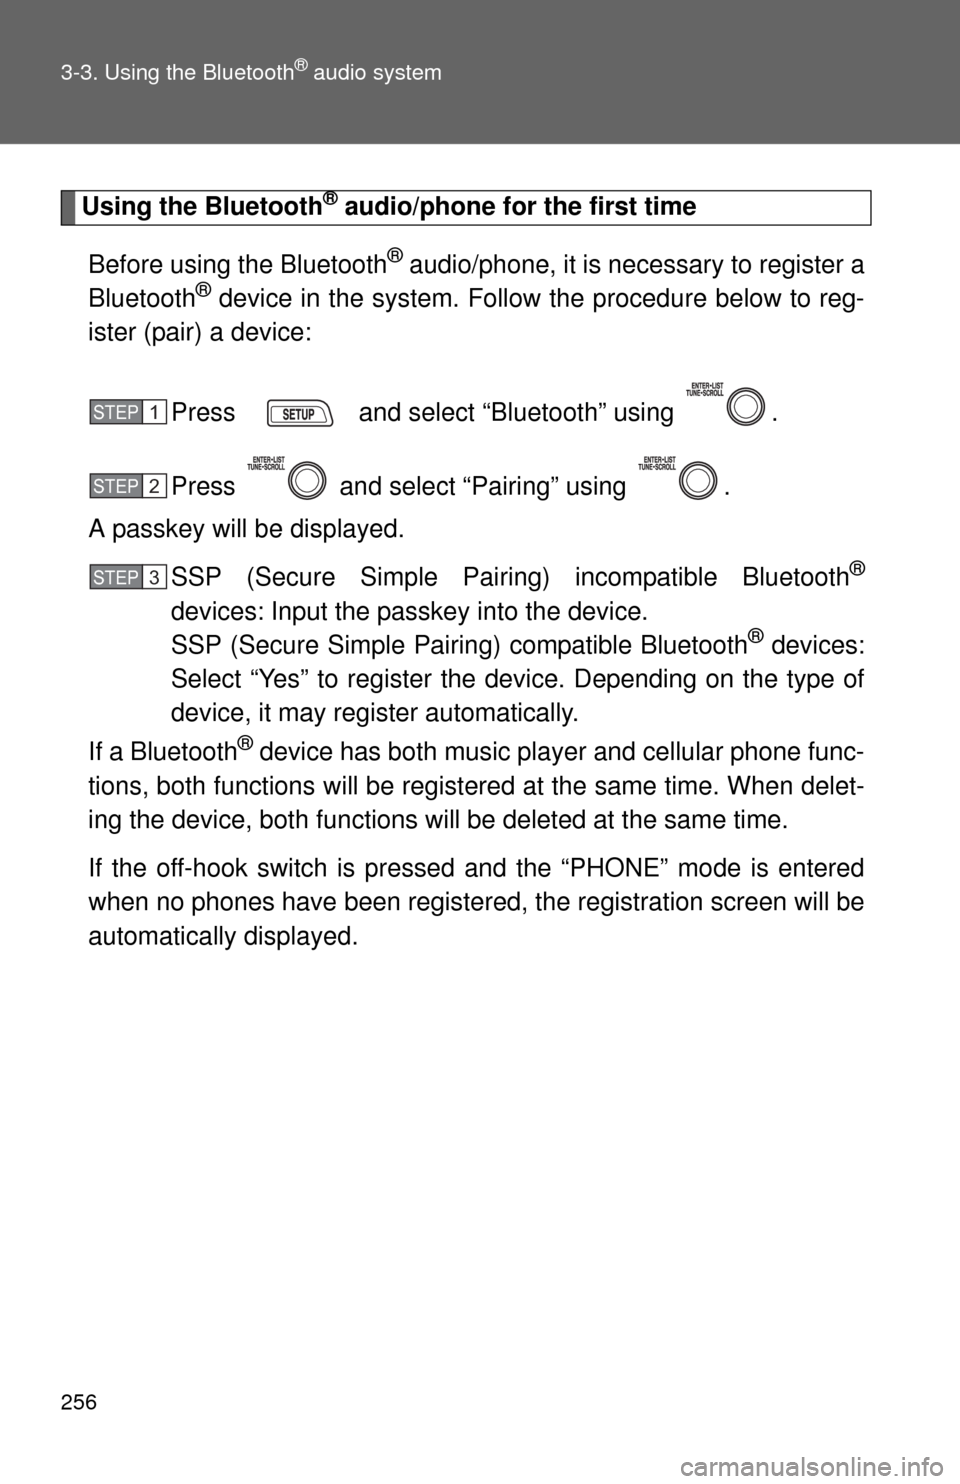
Using the Bluetooth® audio/phone for the first time
Before using the Bluetooth
® audio/phone, it is necessary to register a
Bluetooth® device in the system. Follow the procedure below to reg-
ister (pair) a device:
Press and select “Bluetooth” using .
Press and select “Pairing” using .
A passkey will be displayed.
SSP (Secure Simple Pairing) incompatible Bluetooth
®
devices: Input the passkey into the device.
SSP (Secure Simple Pairing) compatible Bluetooth® devices:
Select “Yes” to register the device. Depending on the type of
device, it may register automatically.
If a Bluetooth
® device has both music player and cellular phone func-
tions, both functions will be registered at the same time. When delet-
ing the device, both functions will be deleted at the same time.
If the off-hook switch is pressed and the “PHONE” mode is entered
when no phones have been registered, the registration screen will be
automatically displayed.
STEP1
STEP2
STEP3
Page 257 of 500
257 3-3. Using the Bluetooth
® audio system
3
Interior features
Menu list of the Bluetooth® audio/phone
First menuSecond menuThird menuOperation details
“Bluetooth”“BT Pairing” -Registering a
Bluetooth
® device
“List Phone” -Listing the registered
cellular phones
“List Audio” -Listing the registered
portable players
“Passkey” - Changing the passkey
“BT Power” -Setting automatic
connection of the device
on or off
“Bluetooth info”“Device Name”
“Device
Address”Displaying the device
status
“Display
Setting”-Setting the automatic
connection confirmation
display to on or off
“Initialize” - Initializing the settings
Page 259 of 500
259
3-3. Using the Bluetooth® audio system
3
Interior features
Operating a Bluetooth® enabled portable player
Selecting an album
Press ( ) or ( ) to select the desired album.
Scanning an album
Press and hold until you hear a beep.
The first 10 seconds of the first track in the each album will be
played.
When the desired album is reached, press again.
Selecting tracks
Press “” or “” on to select the desired track.
Random playback Repeat play
Playback
Playback/PauseDisplays text message
Vol u m e Power
Selecting itemsSelecting an album, fast-forwarding and rewinding
Search playback
Selecting a
track
STEP1
STEP2
Page 260 of 500
260 3-3. Using the Bluetooth
® audio system
Scanning tracks
Press .
The first 10 seconds of all tracks in the album will be played.
When the desired track is reached, press again.
Playing and pausing tracks
Press ( ) to play or pause a track.
Fast-forwarding and reversing tracks
P. 2 2 9
Random playback
Pressing (RDM) changes modes in the following order:
Album random All track random Off
Repeat play
Pressing (RPT) changes modes in the following order:
Track repeat Album repeat* Off
*: Available except when RDM (random playback) is selected
Switching the display
Press .
Track title and Artist name are displayed on the display.
To return to the previous display, press or (BACK).
STEP1
STEP2
Page 267 of 500
267
3-4. Using the hands-free phone system (for cellular phone)
3
Interior features
Using the “SET UP” menu (“Bluetooth” menu)
Registering a Bluetooth® device in the system allows the system to
function. The following functions can be used for registered devices:
■Functions and operation procedures
Press and select “Bluetooth” using .
Press and select one of the following functions
using .
●Registering a Bluetooth
® device
“BT Pairing”
●Listing the registered cellular phones
“List Phone”
●Listing the registered portable players
“List Audio”
●Changing the passkey
“Passkey”
●Setting automatic connection of the device on or off
“BT Power”
●Displaying the device status
“Bluetooth info”
●Setting the automatic connection confirmation display to on or
off
“Display Setting”
●Initialization
“Initialize”
STEP1
STEP2
Page 268 of 500
268 3-4. Using the hands-free phone system (for cellular phone)
Registering a portable player
Select “Pairing” using , and perform the procedure for regis-
tering a portable player. (P. 256)
Listing the registered cellular phones
Select “List Phone” using . The list of registered cellular
phones will be displayed.
●Connecting the registered cellular phone to the audio system
Select the name of the cellular phone to be connected
using .
Select “Select” using .
●Deleting a registered cellular phone
Select the name of the cellular phone to be deleted using
.
Select “Delete” using .
Press (YES).
STEP1
STEP2
STEP1
STEP2
STEP3
Page 269 of 500
269 3-4. Using the hands-free phone system (for cellular phone)
3
Interior features
Listing the registered portable players
Select “List Audio” using . The list of registered portable play-
ers will be displayed.
●Connecting the registered portable player to the audio system
Select the name of the portable player to be connected
using .
Select “Select” using .
●Deleting the registered portable player
Select the name of the portable player to be deleted using
.
Select “Delete” using .
Press (YES).
STEP1
STEP2
STEP1
STEP2
STEP3
Page 271 of 500
271 3-4. Using the hands-free phone system (for cellular phone)
3
Interior features
Displaying the device status
Select “Bluetooth info” using .
●Displaying the device name
Select “Device Name” using .
●Displaying the device address
Select “Device Address” using .
Setting the automatic connection confirmation display to on or off
If the “Display Setting” is set to on, the portable player connection sta-
tus will be displayed when the engine switch is turned to the “ACC” or
“ON” position.
Select “Display Setting” using .
Select “ON” or “OFF” using .
STEP1
STEP2