Page 268 of 720
268 2-4. Using other driving systems
LC200_OM_OM60F57U_(U)■Side-rear simultaneous display monitor
Vehicle icon
Displays the image being shown
by the side-rear simultaneous dis-
play monitor.
Vehicle width line
Indicates the width of the vehicle
including the outside rear view
mirror.
Rear wheel contact point
Shows the position of the vehi-
cle’s rear tire.
Vehicle rear edge line
Shows the position of the vehi-
cle’s rear edge.
■Rear monitor (Toyota park assist monitor)
Refer to “Navigation System Owner’s Manual”.
Page 512 of 720

512
LC200_OM_OM60F57U_(U)
4-1. Maintenance and care
Cleaning and protecting the vehicle exterior
■Automatic car washes
●Fold the mirrors back and retract the antenna before washing the vehicle.
●Brushes used in automatic car washes may scratch the vehicle surface
and harm your vehicle’s paint.
●Rear spoiler (if equipped) may not be washable in some automatic car
washes. There may also be an increased risk of damage to vehicle.
■High pressure car washes
●Do not allow the nozzles of the car wash to come within close proximity
of the windows.
●Before car wash, check that the fuel filler door is closed.
Perform the following to protect the vehicle and maintain it in prime
condition.
●Working from top to bottom, liberally apply water to the vehicle
body, wheel wells and underside of the vehicle to remove any
dirt and dust.
Wash the vehicle body using a sponge or soft cloth, such as a cham-
ois.
●For hard-to-remove marks, use car wash soap and rinse thor-
oughly with water.
●Wipe away any water.
●Wax the vehicle when the waterproof coating deteriorates.
If water does not bead on a clean surface, apply wax when the vehicle
body is cool.
Page 545 of 720

545 4-3. Do-it-yourself maintenance
4
Maintenance and care
LC200_OM_OM60F57U_(U)
Installing tire pressure warning valves and transmitters
When replacing tires or wheels, tire pressure warning valves and
transmitters must also be installed.
When new tire pressure warning valves and transmitters are
installed, new tire pressure warning valve and transmitter ID codes
must be registered in the tire pressure warning computer and tire
pressure warning system must be initialized. Have tire pressure
warning valve and transmitter ID codes registered by your Toyota
dealer. (P. 547)
Initializing the tire pressure warning system
■The tire pressure warning system must be initialized in the fol-
lowing circumstances:
●When rotating the tires on vehicles differing with front and rear
tire inflation pressures.
●When changing the tire inflation pressure by changing traveling
speed or load weight, etc.
●When changing the tire size.
When the tire pressure warning system is initialized, the current
tire inflation pressure is set as the pressure benchmark.
Page 548 of 720

548 4-3. Do-it-yourself maintenance
LC200_OM_OM60F57U_(U)
■Maximum load of tire
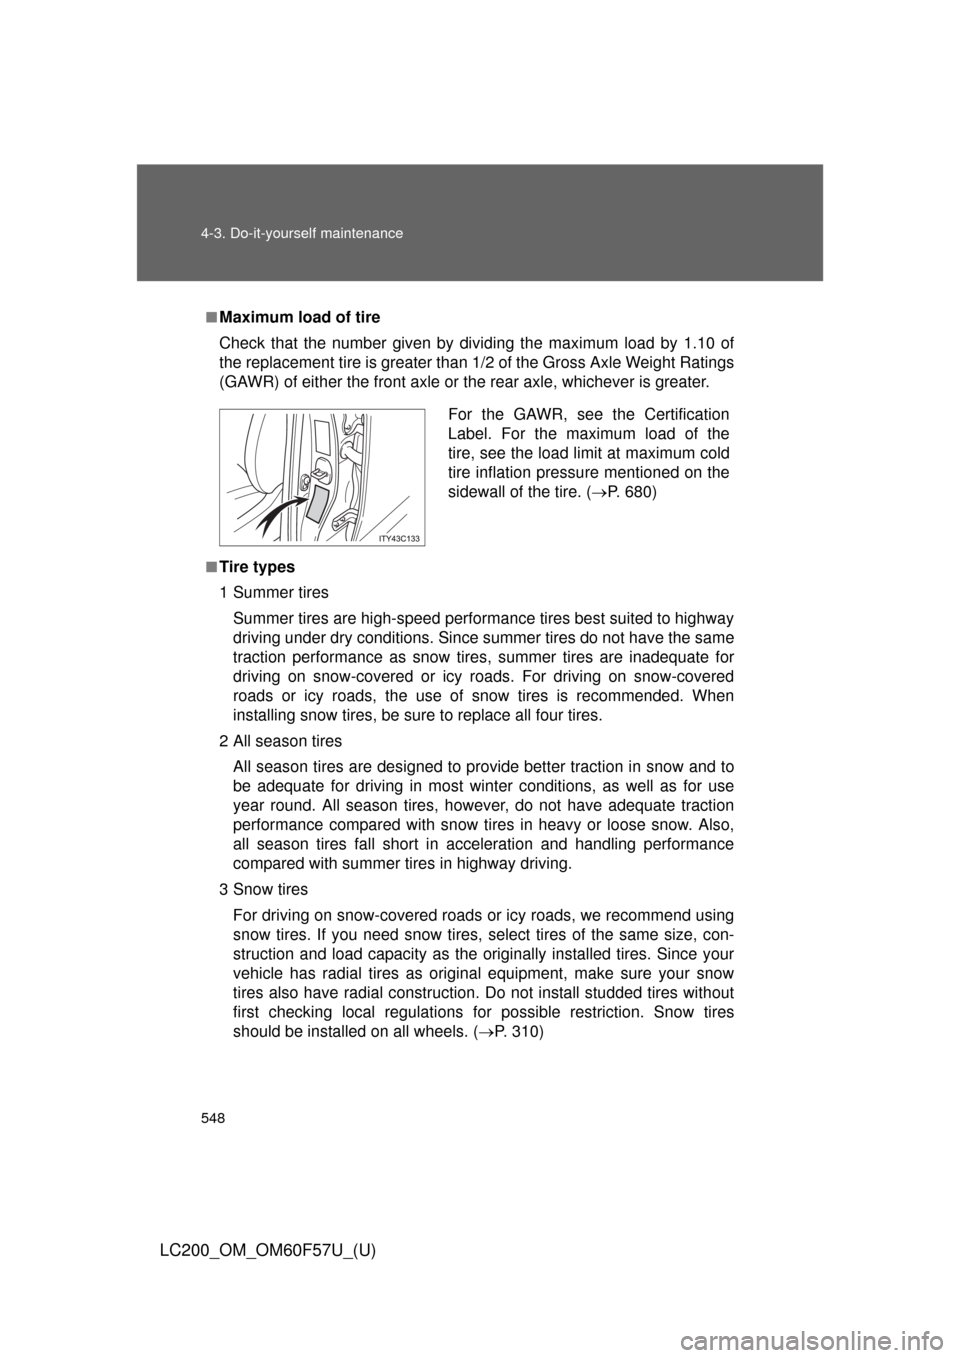
Check that the number given by dividing the maximum load by 1.10 of
the replacement tire is greater than 1/2 of the Gross Axle Weight Ratings
(GAWR) of either the front axle or the rear axle, whichever is greater.
■Tire types
1 Summer tires
Summer tires are high-speed performance tires best suited to highway
driving under dry conditions. Since summer tires do not have the same
traction performance as snow tires, summer tires are inadequate for
driving on snow-covered or icy roads. For driving on snow-covered
roads or icy roads, the use of snow tires is recommended. When
installing snow tires, be sure to replace all four tires.
2 All season tires
All season tires are designed to provide better traction in snow and to
be adequate for driving in most winter conditions, as well as for use
year round. All season tires, however, do not have adequate traction
performance compared with snow tires in heavy or loose snow. Also,
all season tires fall short in acceleration and handling performance
compared with summer tires in highway driving.
3Snow tires
For driving on snow-covered roads or icy roads, we recommend using
snow tires. If you need snow tires, select tires of the same size, con-
struction and load capacity as the originally installed tires. Since your
vehicle has radial tires as original equipment, make sure your snow
tires also have radial construction. Do not install studded tires without
first checking local regulations for possible restriction. Snow tires
should be installed on all wheels. (P. 310)
For the GAWR, see the Certification
Label. For the maximum load of the
tire, see the load limit at maximum cold
tire inflation pressure mentioned on the
sidewall of the tire. (P. 680)
Page 574 of 720
574 4-3. Do-it-yourself maintenance
LC200_OM_OM60F57U_(U)■Driver’s side instrument panel
FuseAmpereCircuit
1CIG15 A Cigarette lighter
2BK/UP LP10 A Back-up lights, trailer
3ACC7.5 AAudio system, multi-display
assembly, main body ECU,
mirror ECU, rear seat enter-
tainment, smart key system,
clock
4PA N E L10 AFour-wheel drive system, ash-
tray, cigarette lighter, brake
controller, cool box, cruise con-
trol, center differential lock,
multi-display assembly, seat
heater, air conditioning system,
glove box light, emergency
flashers, audio system, head-
light cleaner switch, inverter,
driving position memory sys-
tem, outside rear view mirror
switches, overhead module,
roll sensing of curtain shield
airbags off switch, shift lever
switch, steering switches, VSC
OFF switch, console switch
Page 602 of 720
602 5-1. Essential information
LC200_OM_OM60F57U_(U)
Towing with a wheel lift-type truck
From front
Use a towing dolly under the rear
wheels.
From rear
Use a towing dolly under the
front wheels.
NOTICE
■To prevent causing serious damage to the transmission
Never tow this vehicle wheels on the ground.
■To prevent damaging the vehicle
●Do not tow the vehicle with the “ENGINE START STOP” switch OFF.
The steering lock mechanism is not strong enough to hold the front wheel
straight.
●When raising the vehicle, ensure adequate ground clearance for towing at
the opposite end of the raised vehicle. Without adequate clearance, the
vehicle could be damaged while being towed.
Page 638 of 720
638 5-2. Steps to take in an emergency
LC200_OM_OM60F57U_(U)Pull out the spare tire and
remove the holding bracket.
Replacing a flat tire
Chock the tires.
STEP5
STEP1
Flat tireWheel chock position
FrontLeft-hand side Behind the rear right-hand side tire
Right-hand side Behind the rear left-hand side tire
RearLeft-hand side In front of the front right-hand side tire
Right-hand side In front of the front left-hand side tire
Page 641 of 720
5
When trouble arises
641 5-2. Steps to take in an emergency
LC200_OM_OM60F57U_(U)Position the jack at the jack
points as shown.
Front - Under the chassis frame
side rail
Rear - Under the rear axle hous-
ing
Raise the vehicle until the tire is
slightly raised off the ground.
Remove all the wheel nuts and
the tire.
When resting the tire on the
ground, place the tire so that the
wheel design faces up to avoid
scratching the wheel surface.
STEP5
STEP6
STEP7