2013 SUZUKI ERTIGA ECO mode
[x] Cancel search: ECO modePage 50 of 207

Downloaded from www.Manualslib.com manuals search engine 2-35BEFORE DRIVING
60MK0-14E
Note that even though your vehicle may be
moderately damaged in a collision, the col-
lision may not have been severe enough to
trigger the air bags to inflate. If your vehicle
sustains ANY front-end or side damage,
have the air bag system inspected by an
authorized SUZUKI dealer to ensure it is in
proper working order.
Your vehicle is equipped with a diagnostic
module which records information about
the air bag system if the air bags deploy in
a crash. The module records information
about overall system status, which sensors
activated the deployment.Servicing the air bag system
If the air bags inflate, have the air bags and
related components replaced by an autho-
rized SUZUKI dealer as soon as possible.
If your vehicle ever gets in deep water and
the driver’s floor is submerged, the air bag
controller could be damaged. If it does,
have the air bag system inspected by the
SUZUKI dealer as soon as possible.
Special procedures are required for servic-
ing or replacing an air bag. For that reason,
only an authorized SUZUKI dealer should
be allowed to service or replace your air
bags. Please remind anyone who services
your SUZUKI that it has air bags.
Service on or around air bag components
or wiring must be performed only by an
authorized SUZUKI dealer. Improper ser-
vice could result in unintended air bag
deployment or could render the air bag
inoperative. Either of these two conditions
may result in severe injury.
To prevent damage or unintended inflation
of the air bag system, be sure the battery
is disconnected and the ignition switch has
been in the “LOCK” position for at least 90
seconds before performing any electrical
service work on your SUZUKI. Do not
touch air bag system components or wires.
The wires are wrapped with yellow tape or
yellow tubing, and the couplers are yellow
for easy identification.Scrapping a vehicle that has an uninflated
air bag can be hazardous. Ask your dealer,
body repair shop or scrap yard for help
with disposal.
Page 99 of 207

Downloaded from www.Manualslib.com manuals search engine 5-4
OTHER CONTROLS AND EQUIPMENT
60MK0-14E
Ventilation (a)
74LHT0504
Temperature-controlled air comes out of
the center and side air outlets.
Bi-level (b)
74LHT0505
Temperature-controlled air comes out of
the center, side and floor outlets.
Foot (c)
74LHT0506
Temperature-controlled air comes out of
the floor outlets and the side outlets, also
comes out of the windshield outlets and
also comes slightly out of the side outlets.Foot & windshield (d)
74LHT0507
Temperature-controlled air comes out of
the floor outlets, the windshield outlets,
and the side outlets.
Windshield (e)
74LHT0508
Temperature-controlled air comes out of
the windshield outlets and the side outlets.
Air intake selector (4)
68LM511
This selector is used to select the following
modes.Fresh Air (f)
When this mode is selected, the indicator
light will go off and outside air is used.
Recirculated Air (g)
When this mode is selected, the indicator
light will come on, outside air is shut out
and inside air is recirculated. This mode is
suitable when driving through dusty or pol-
luted air such as in a tunnel, or when
attempting to quickly cool down the inte-
rior.
“FRESH AIR” and “RECIRCULATED AIR”
are switched alternately each time the air
intake selector is pushed.
NOTE:
If you select “RECIRCULATED AIR” for an
extended period of time, the air in the vehi-
cle can become contaminated. Therefore,
you should occasionally select “FRESH
AIR”.
System Operating InstructionsNatural ventilation
Select “VENTILATION” and “FRESH AIR”,
the temperature selector to the desired
temperature position, and the blower
speed selector to a position other than
“OFF”. Fresh air will flow through the vehi-
cle during driving.
Forced ventilation
The control settings are the same as for
natural ventilation except you set the
(f) (g)
Page 109 of 207

Downloaded from www.Manualslib.com manuals search engine 5-14
OTHER CONTROLS AND EQUIPMENT
60MK0-14E
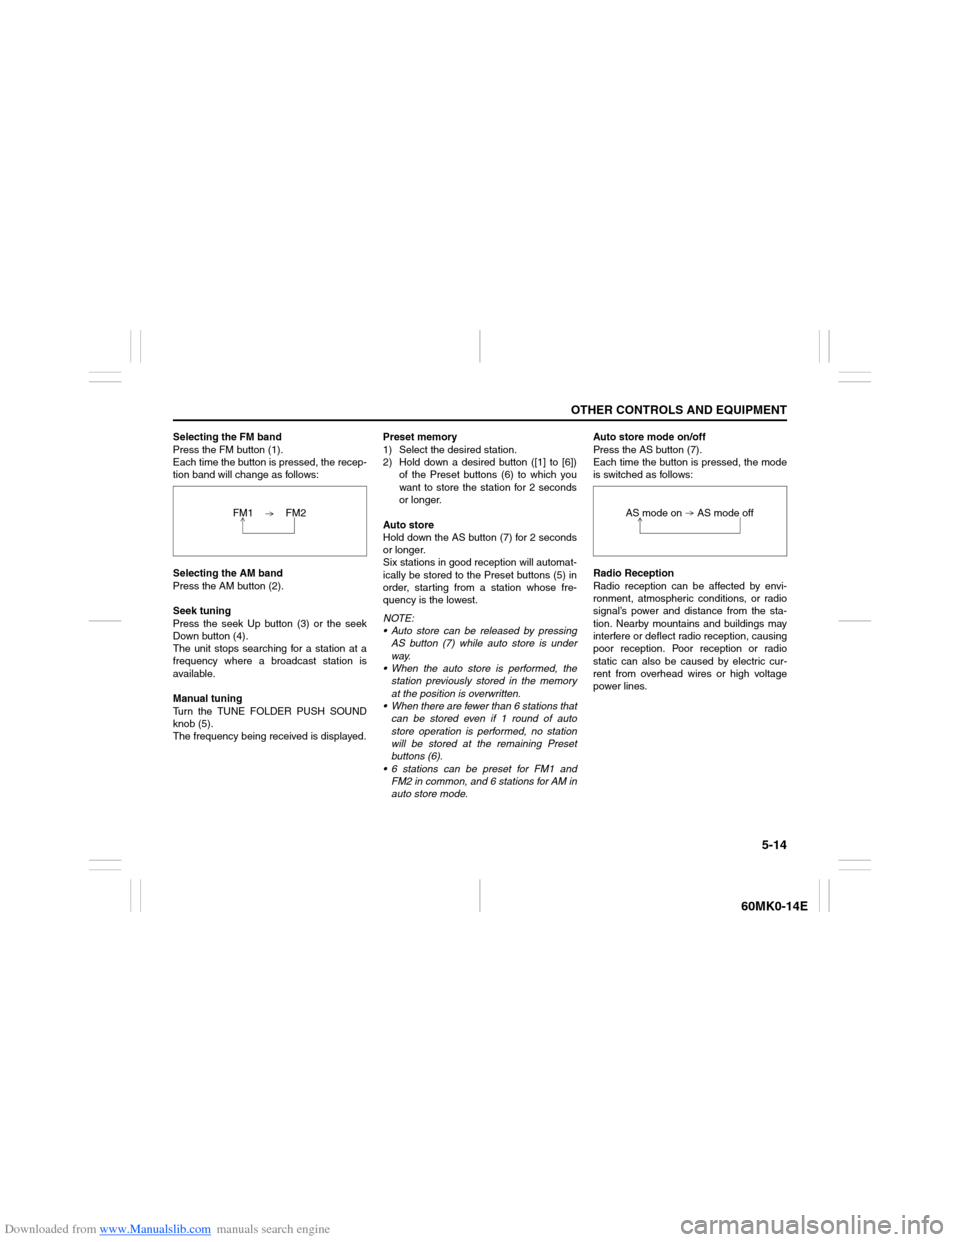
Selecting the FM band
Press the FM button (1).
Each time the button is pressed, the recep-
tion band will change as follows:
Selecting the AM band
Press the AM button (2).
Seek tuning
Press the seek Up button (3) or the seek
Down button (4).
The unit stops searching for a station at a
frequency where a broadcast station is
available.
Manual tuning
Turn the TUNE FOLDER PUSH SOUND
knob (5).
The frequency being received is displayed.Preset memory
1) Select the desired station.
2) Hold down a desired button ([1] to [6])
of the Preset buttons (6) to which you
want to store the station for 2 seconds
or longer.
Auto store
Hold down the AS button (7) for 2 seconds
or longer.
Six stations in good reception will automat-
ically be stored to the Preset buttons (5) in
order, starting from a station whose fre-
quency is the lowest.
NOTE:
Auto store can be released by pressing
AS button (7) while auto store is under
way.
When the auto store is performed, the
station previously stored in the memory
at the position is overwritten.
When there are fewer than 6 stations that
can be stored even if 1 round of auto
store operation is performed, no station
will be stored at the remaining Preset
buttons (6).
6 stations can be preset for FM1 and
FM2 in common, and 6 stations for AM in
auto store mode.Auto store mode on/off
Press the AS button (7).
Each time the button is pressed, the mode
is switched as follows:
Radio Reception
Radio reception can be affected by envi-
ronment, atmospheric conditions, or radio
signal’s power and distance from the sta-
tion. Nearby mountains and buildings may
interfere or deflect radio reception, causing
poor reception. Poor reception or radio
static can also be caused by electric cur-
rent from overhead wires or high voltage
power lines. FM1 FM2
AS mode on AS mode off
Page 111 of 207

Downloaded from www.Manualslib.com manuals search engine 5-16
OTHER CONTROLS AND EQUIPMENT
60MK0-14E
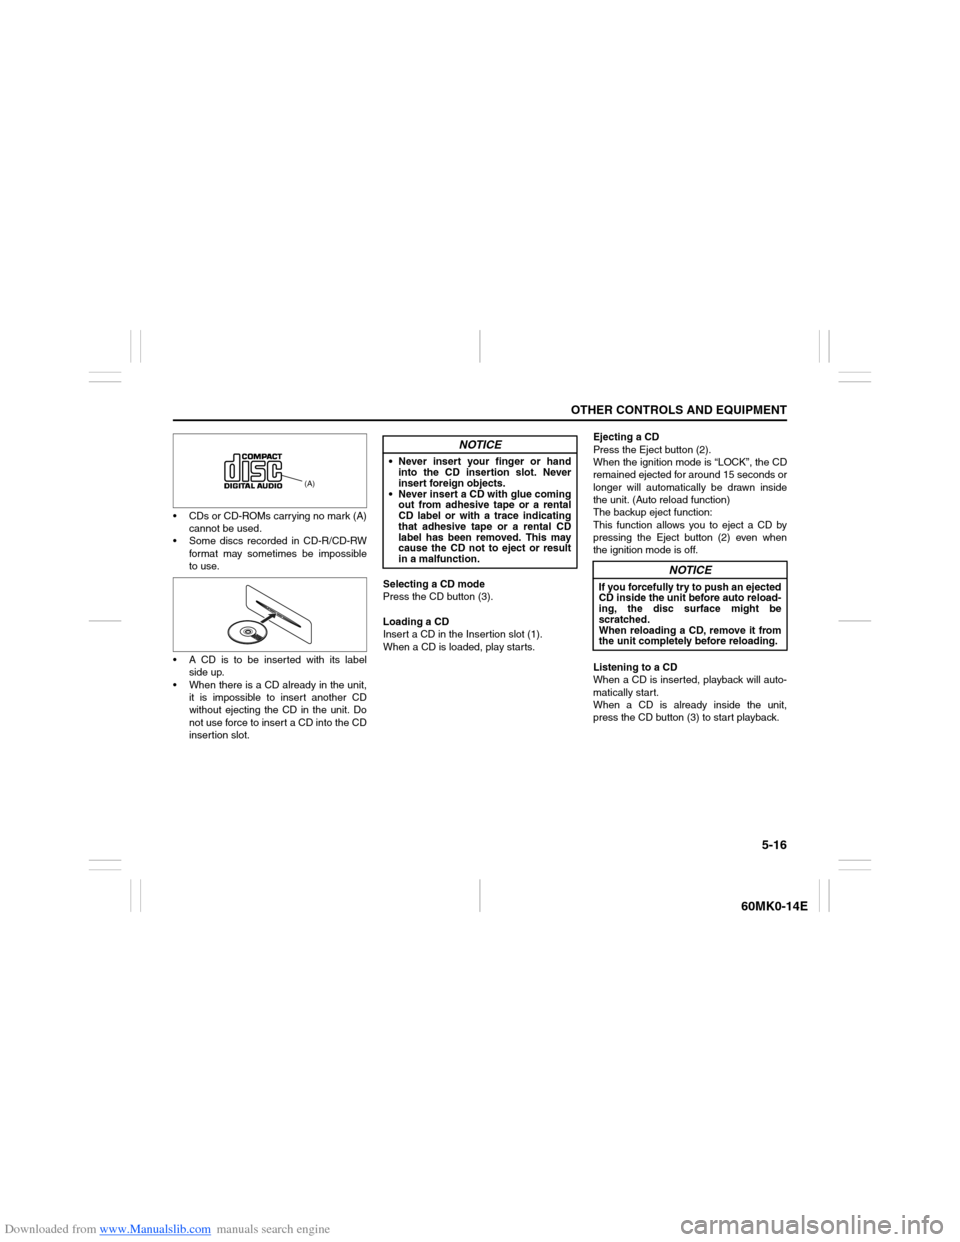
CDs or CD-ROMs carrying no mark (A)
cannot be used.
Some discs recorded in CD-R/CD-RW
format may sometimes be impossible
to use.
A CD is to be inserted with its label
side up.
When there is a CD already in the unit,
it is impossible to insert another CD
without ejecting the CD in the unit. Do
not use force to insert a CD into the CD
insertion slot.Selecting a CD mode
Press the CD button (3).
Loading a CD
Insert a CD in the Insertion slot (1).
When a CD is loaded, play starts.Ejecting a CD
Press the Eject button (2).
When the ignition mode is “LOCK”, the CD
remained ejected for around 15 seconds or
longer will automatically be drawn inside
the unit. (Auto reload function)
The backup eject function:
This function allows you to eject a CD by
pressing the Eject button (2) even when
the ignition mode is off.
Listening to a CD
When a CD is inserted, playback will auto-
matically start.
When a CD is already inside the unit,
press the CD button (3) to start playback.
(A)
NOTICE
Never insert your finger or hand
into the CD insertion slot. Never
insert foreign objects.
Never insert a CD with glue coming
out from adhesive tape or a rental
CD label or with a trace indicating
that adhesive tape or a rental CD
label has been removed. This may
cause the CD not to eject or result
in a malfunction.
NOTICE
If you forcefully try to push an ejected
CD inside the unit before auto reload-
ing, the disc surface might be
scratched.
When reloading a CD, remove it from
the unit completely before reloading.
Page 112 of 207

Downloaded from www.Manualslib.com manuals search engine 5-17OTHER CONTROLS AND EQUIPMENT
60MK0-14E
Selecting a track
Press the Up button (4) to listen to the
next track.
Press the Down button (5) twice to lis-
ten to the previous track.
When the Down button (5) is pressed
once, the track currently being played
will start from the beginning again.
Fast forwarding/Rewinding a track
Hold down the Up button (4) to fast for-
ward the track.
Hold down the Down button (5) to fast
rewind the track.
Random playback
Press the RDM button (7).
Each time the button is pressed, the mode
will change as follows:
TRACK RANDOM
The random indicator “RDM” will light.
The tracks in the loaded disc will be
played in random order.Repeat playback
Press the RPT button (6).
Each time the button is pressed, the mode
will change as follows:
TRACK REPEAT
The repeat indicator “RPT” will light.
The track currently being played will be
played repeatedly.Display change
Press the DISP button (8).
Each time the button is pressed, display
will change as follows:
NOTE:
“NO TITLE” will be displayed when there
is no text information in the disc currently
being played.
If text data contains more than 12 char-
acters, the “>” mark will appear at the
right end. Holding down the DISP button
(8) for 1 second or longer can display the
next page. OFF TRACK RANDOM
OFF TRACK REPEAT
Play time
Disc title
Track title
Page 116 of 207

Downloaded from www.Manualslib.com manuals search engine 5-21OTHER CONTROLS AND EQUIPMENT
60MK0-14E
Notes on MP3/WMAWhat is MP3/WMA?
MP3 (MPEG1/2 Audio Layer-III) and WMA
(Windows Media
TM
Audio) are the com-
pression formats of digital audio. The
former is developed by MPEG (Motion Pic-
ture Experts Group), and the latter is
developed by Microsoft Corporation.
Using these compression formats, you can
record contents of about 10 music CDs on
a single CD media. (This figure refers to
data recorded on a 650 MB CD-R or CD-
RW at a fixed bit rate of 128 kbps and a
sampling frequency of 44.1 kHz.)
Points to remember when making MP3/
WMA files
Common
High bit rate and high sampling fre-
quency are recommended for high
quality sounds.
Selecting VBR (Variable Bit Rate) is not
recommended. Selecting VBR may
cause display of incorrect playing time
and jumpiness of playback.
Playback sound quality varies depend-
ing on the encoding environment. For
details, refer to the user manual of the
encoding software and the writing soft-
ware in use.MP3
It is recommended to set the bit rate to
“128 kbps or more” and “fixed”.
WMA
It is recommended to set the bit rate to
“64 kbps or more” and “fixed”.
Do not set the copy protect attribute on
the WMA file to enable this unit to play-
back.
Recording MP3/WMA files on a CD
media
It is recommended not to write both
CD-DA files and MP3/WMA files on a
disc.
If both CD-DA files and MP3/WMA files
are on the same disc, tracks may not
be played in the correct order or some
tracks may not be played at all.
When storing both MP3 data and WMA
data on the same disc, sort and place
them in different folders. Do not write files other than MP3/WMA
files and unnecessary folders on a disc.
MP3/WMA files should be named to
meet the standards and the file system
specifications as shown below.
The file extension “.mp3” or “.wma”
should be assigned to files based on
their format independently.
You may encounter a trouble in playing
MP3/WMA files or displaying informa-
tion of MP3/WMA files depending on
the writing software or CD recorder in
use.
This unit does not have a play list func-
tion.
It is recommended to write discs in
Disc-at-Once mode even though Multi-
session mode is supported.
Compression formats
MP3
Bit rate
:
MPEG1 Audio Layer III: 64 k - 320 kbps
MPEG2 Audio Layer III: 64 k - 160 kbps
Sampling frequency
:
MPEG1 Audio Layer III: 32 k/44.1 k/48 kHz
MPEG2 Audio Layer III: 16 k/22.05 k/24 kHz
WMA (Ver.7, Ver.8) Bit rate: CBR 48 k -192 kbps
Sampling frequency: 32 k/44.1 k/48 kHz
NOTICE
Never assign the “.mp3”, or “.wma”
file name extension to a file if it is not
in the MP3/WMA format file. Failure to
observe this may result in damage to
the speaker due to noise production.
Page 123 of 207

Downloaded from www.Manualslib.com manuals search engine 5-28
OTHER CONTROLS AND EQUIPMENT
60MK0-14E
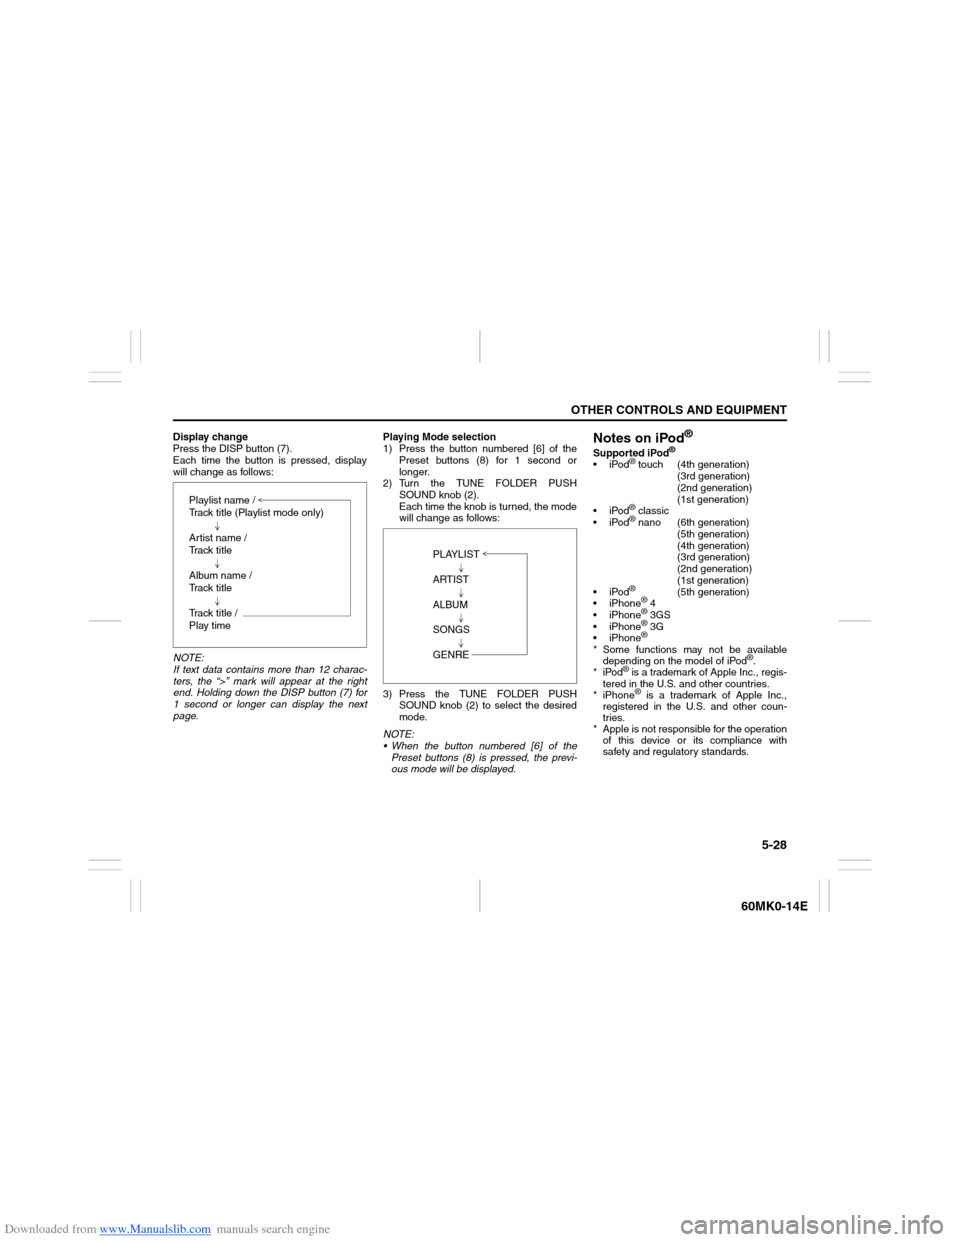
Display change
Press the DISP button (7).
Each time the button is pressed, display
will change as follows:
NOTE:
If text data contains more than 12 charac-
ters, the “>” mark will appear at the right
end. Holding down the DISP button (7) for
1 second or longer can display the next
page.Playing Mode selection
1) Press the button numbered [6] of the
Preset buttons (8) for 1 second or
longer.
2) Turn the TUNE FOLDER PUSH
SOUND knob (2).
Each time the knob is turned, the mode
will change as follows:
3) Press the TUNE FOLDER PUSH
SOUND knob (2) to select the desired
mode.
NOTE:
When the button numbered [6] of the
Preset buttons (8) is pressed, the previ-
ous mode will be displayed.
Notes on iPod
®
Supported iPod
®
iPod
® touch (4th generation)
(3rd generation)
(2nd generation)
(1st generation)
iPod® classic
iPod® nano (6th generation)
(5th generation)
(4th generation)
(3rd generation)
(2nd generation)
(1st generation)
iPod®
(5th generation)
iPhone
® 4
iPhone® 3GS
iPhone® 3G
iPhone®
* Some functions may not be available
depending on the model of iPod
®.
*iPod
® is a trademark of Apple Inc., regis-
tered in the U.S. and other countries.
* iPhone® is a trademark of Apple Inc.,
registered in the U.S. and other coun-
tries.
* Apple is not responsible for the operation
of this device or its compliance with
safety and regulatory standards. Playlist name /
Track title (Playlist mode only)
Artist name /
Track title
Album name /
Track title
Track title /
Play time
PLAYLIST
ARTIST
ALBUM
SONGS
GENRE
Page 125 of 207

Downloaded from www.Manualslib.com manuals search engine 5-30
OTHER CONTROLS AND EQUIPMENT
60MK0-14E
Remote Audio Controls
(if equipped)Controlling of basic functions of the audio
system is available using the switches on
the steering wheel.
60MK036
Adjusting the volume
To increase the volume, hold down “+”
of the VOL switch (1). The volume will
keep on being increased until the
switch is released.
To decrease the volume, hold down “-”
of the VOL switch (1). The volume will
keep on being decreased until the
switch is released.
To mute the sound, press the switch
(2).
Selecting the mode
Press the switch (3).
Each time the button is pressed, the mode
will change as follows:
It is possible to turn on the audio system by
pressing the switch (3).Selecting the radio station (FM1, FM2,
AM mode)
To select the next preset station, press
“ ” of the switch (4) only for a moment.
To select the previous preset station,
press “ ” of the switch (4) only for a
moment.
To scan a higher frequency radio sta-
tion, press “ ” of the switch (4) for 1
second or longer.
To scan a lower frequency radio sta-
tion, press “ ” of the switch (4) for 1
second or longer.
Selecting the track (CD, USB (iPod
®),
mode)
To skip to the next track, press “ ” of
the switch (4) only for a moment.
To skip to the previous track, press “ ”
of the switch (4) twice only for a
moment.
When the switch (4) is pushed down
once only for a moment, the track cur-
rently being played will start from the
beginning again.
Fast forwarding/Rewinding a track
To fast forward, press “ ” of the switch
(4) for 1 second or longer.
To fast rewind, press “ ” of the switch
(4) for 1 second or longer.
(2)
(3)
(1)
(4)
FM1 (Radio)
FM2 (Radio)
CD
USB (iPod
®)
AM (Radio)
<
<
<<
<
<
<<