2013 SUZUKI ERTIGA turn signal
[x] Cancel search: turn signalPage 75 of 207

Downloaded from www.Manualslib.com manuals search engine 3-2
OPERATING YOUR VEHICLE
60MK0-14E
4) Make sure the hood is fully closed and
latched.
5) Check the headlights, turn signal lights,
brake lights and horn for proper opera-
tion.
6) Adjust the seat and head restraint (if
equipped).
7) Check the brake pedal and the parking
brake lever.
8) Adjust the mirrors.
9) Make sure that you and all passengers
have properly fastened your seat belts.
10)Make sure that all warning lights come
on as the key is turned to the “ON” posi-
tion.
11)Check all gauges.
12)Make sure that the BRAKE SYSTEM
WARNING light turns off when the
parking brake is released.
Once a week, or each time you fill your fuel
tank, perform the following under-hood
checks:
1) Engine oil level
2) Coolant level
3) Brake fluid level
4) Battery solution level
5) Windshield washer fluid level
6) Hood latch operation
Pull the hood release handle inside the
vehicle. Make sure that you cannot
open the hood all the way without
releasing the secondary latch. Be sure
to close the hood securely after check-
ing for proper latch operation. See theitem “All latches, hinges and locks” of
“CHASSIS AND BODY” in the “Periodic
Maintenance Schedule” in the
“INSPECTION AND MAINTENANCE”
section for lubrication schedule.
Once a month, or each time you fill your
fuel tank, check the tire pressure using a
tire pressure gauge. Also check the tire
pressure of the spare tire.
Engine Oil ConsumptionIt is normal for the engine to consume
some engine oil during normal vehicle
operation.
The amount of engine oil consumed
depends on the viscosity of the oil, the
quality of the oil and the conditions the
vehicle is driven under.
More oil is consumed during high-speed
driving and when there is frequent acceler-
ation and deceleration. Under high loads,
your engine also will consume more oil.
A new engine also consumes more oil,
since its pistons, piston rings and cylinder
walls have not yet become conditioned.
New engines reach the normal level of oil
consumption only after approximately 5000
km (3000 miles) driving.
Oil consumption:
Max. 1.0 L per 1000 km
(1 Qt. per 600 miles)
When judging the amount of oil consump-
tion, note that the oil may become diluted
and make it difficult to accurately judge the
true oil level.
As an example, if a vehicle is used for
repeated short trips, and consumes a nor-
mal amount of oil, the dipstick may not
show any drop in the oil level at all, even
after 1000 km (600 miles) or more of driv-
ing. This is because the oil is gradually
becoming diluted with fuel or moisture,
WARNING
Make sure the hood is fully closed
and latched before driving. If it is not,
it can fly up unexpectedly during
driving, obstructing your view and
resulting in an accident.
Page 109 of 207

Downloaded from www.Manualslib.com manuals search engine 5-14
OTHER CONTROLS AND EQUIPMENT
60MK0-14E
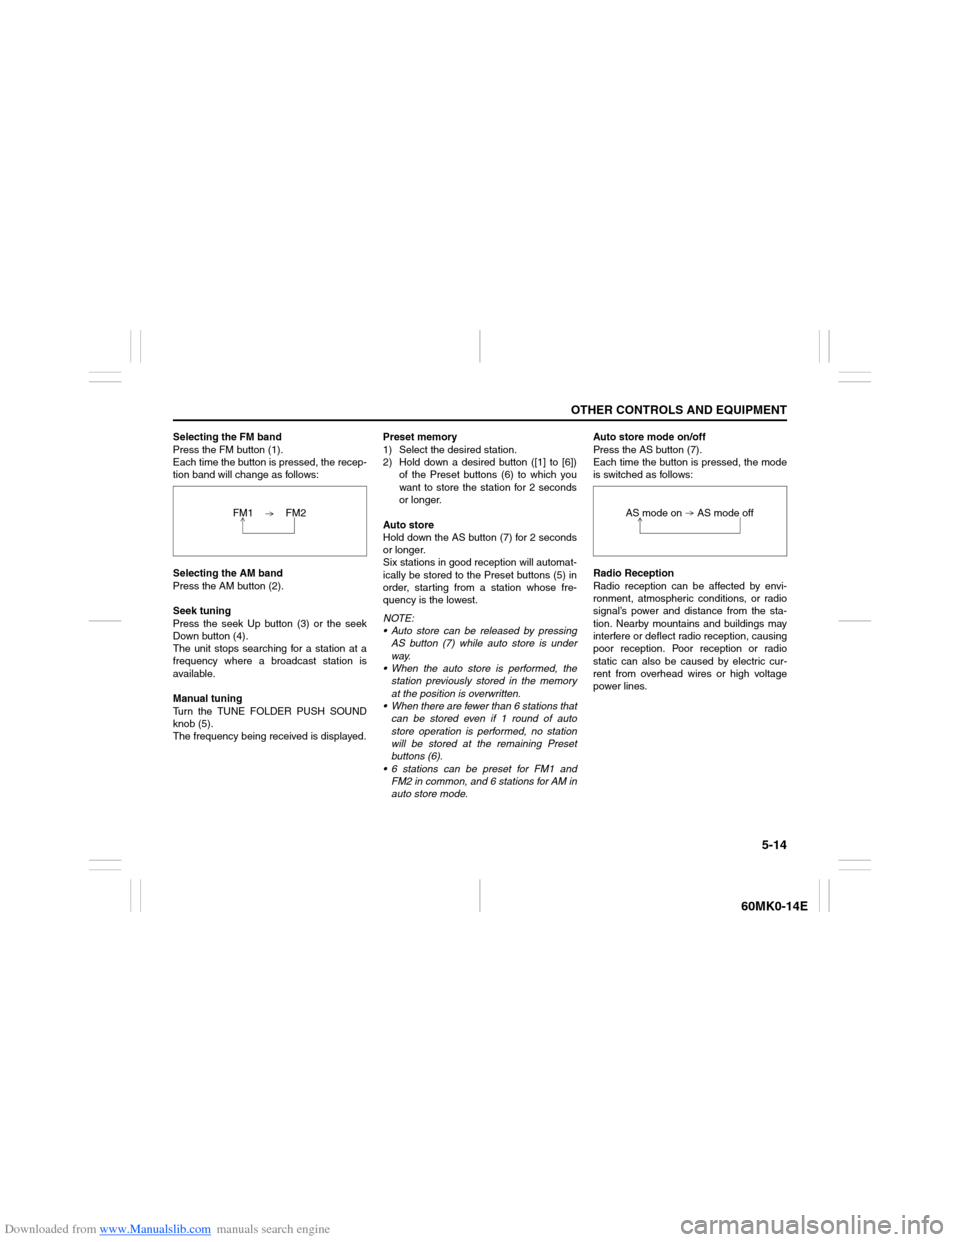
Selecting the FM band
Press the FM button (1).
Each time the button is pressed, the recep-
tion band will change as follows:
Selecting the AM band
Press the AM button (2).
Seek tuning
Press the seek Up button (3) or the seek
Down button (4).
The unit stops searching for a station at a
frequency where a broadcast station is
available.
Manual tuning
Turn the TUNE FOLDER PUSH SOUND
knob (5).
The frequency being received is displayed.Preset memory
1) Select the desired station.
2) Hold down a desired button ([1] to [6])
of the Preset buttons (6) to which you
want to store the station for 2 seconds
or longer.
Auto store
Hold down the AS button (7) for 2 seconds
or longer.
Six stations in good reception will automat-
ically be stored to the Preset buttons (5) in
order, starting from a station whose fre-
quency is the lowest.
NOTE:
Auto store can be released by pressing
AS button (7) while auto store is under
way.
When the auto store is performed, the
station previously stored in the memory
at the position is overwritten.
When there are fewer than 6 stations that
can be stored even if 1 round of auto
store operation is performed, no station
will be stored at the remaining Preset
buttons (6).
6 stations can be preset for FM1 and
FM2 in common, and 6 stations for AM in
auto store mode.Auto store mode on/off
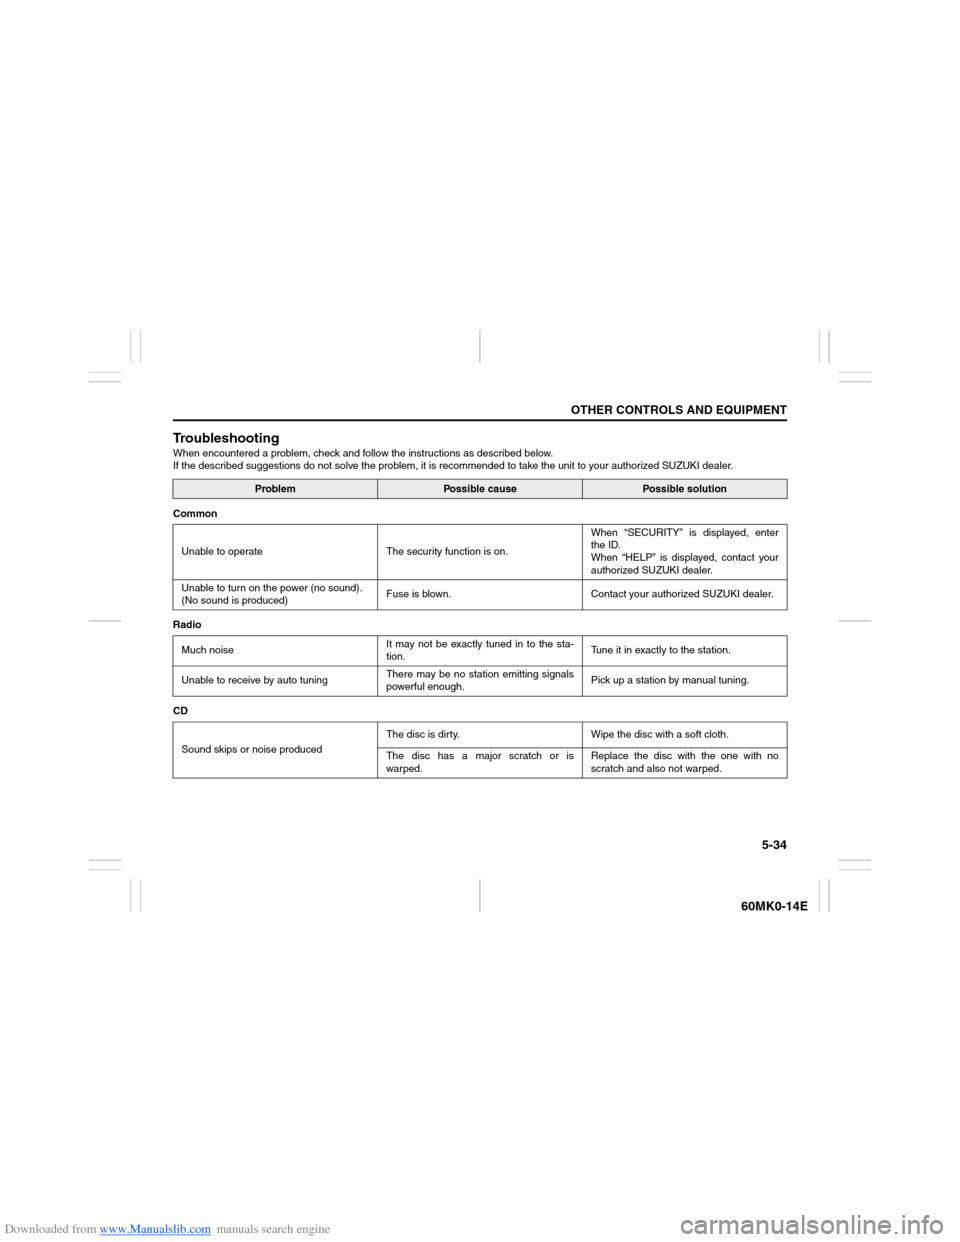
Press the AS button (7).
Each time the button is pressed, the mode
is switched as follows:
Radio Reception
Radio reception can be affected by envi-
ronment, atmospheric conditions, or radio
signal’s power and distance from the sta-
tion. Nearby mountains and buildings may
interfere or deflect radio reception, causing
poor reception. Poor reception or radio
static can also be caused by electric cur-
rent from overhead wires or high voltage
power lines. FM1 FM2
AS mode on AS mode off
Page 129 of 207

Downloaded from www.Manualslib.com manuals search engine 5-34
OTHER CONTROLS AND EQUIPMENT
60MK0-14E
TroubleshootingWhen encountered a problem, check and follow the instructions as described below.
If the described suggestions do not solve the problem, it is recommended to take the unit to your authorized SUZUKI dealer.
Problem
Possible cause
Possible solution
Common
Unable to operate The security function is on.When “SECURITY” is displayed, enter
the ID.
When “HELP” is displayed, contact your
authorized SUZUKI dealer.
Unable to turn on the power (no sound).
(No sound is produced)Fuse is blown. Contact your authorized SUZUKI dealer.
Radio
Much noiseIt may not be exactly tuned in to the sta-
tion.Tune it in exactly to the station.
Unable to receive by auto tuningThere may be no station emitting signals
powerful enough.Pick up a station by manual tuning.
CD
Sound skips or noise producedThe disc is dirty. Wipe the disc with a soft cloth.
The disc has a major scratch or is
warped.Replace the disc with the one with no
scratch and also not warped.
Page 173 of 207

Downloaded from www.Manualslib.com manuals search engine 7-28
INSPECTION AND MAINTENANCE
60MK0-14E
60MH050
NOTE:
You can see the position of retaining spring
(3) from the hole of headlight.
Side Turn Signal Light (if equipped)
64J195
As the bulb is built-in type, the light assem-
bly must be replaced. Remove the light
assembly by sliding the light housing to left
with your finger.
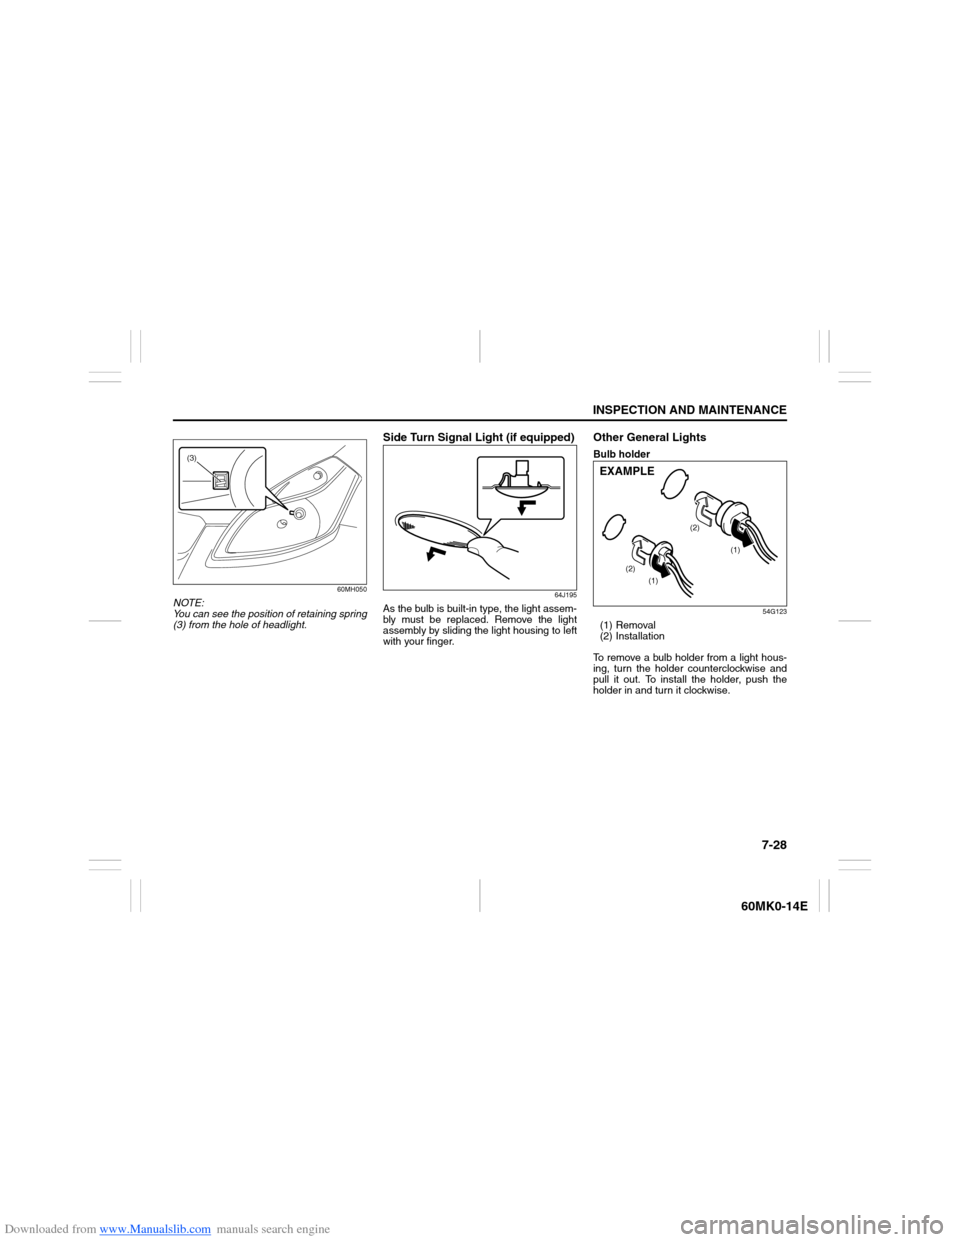
Other General LightsBulb holder
54G123
(1) Removal
(2) Installation
To remove a bulb holder from a light hous-
ing, turn the holder counterclockwise and
pull it out. To install the holder, push the
holder in and turn it clockwise.
(3)
(1)
(1) (2)(2)
EXAMPLE
Page 174 of 207

Downloaded from www.Manualslib.com manuals search engine 7-29INSPECTION AND MAINTENANCE
60MK0-14E
Bulb
54G124
(3) Removal
(4) Installation
There are two types of bulb, “Full glass
type” (1) and “Glass/metal type” (2).
To remove and install a full glass type bulb
(1), simply pull out or push in the bulb.
To remove a glass metal type bulb (2) from
a bulb holder, push in the bulb and turn it
counterclockwise. To install a new bulb,
push it in and turn it clockwise.
You can access the individual bulb or bulb
holders as follows.Front turn signal light (1)
Front position light (2)
60MH051
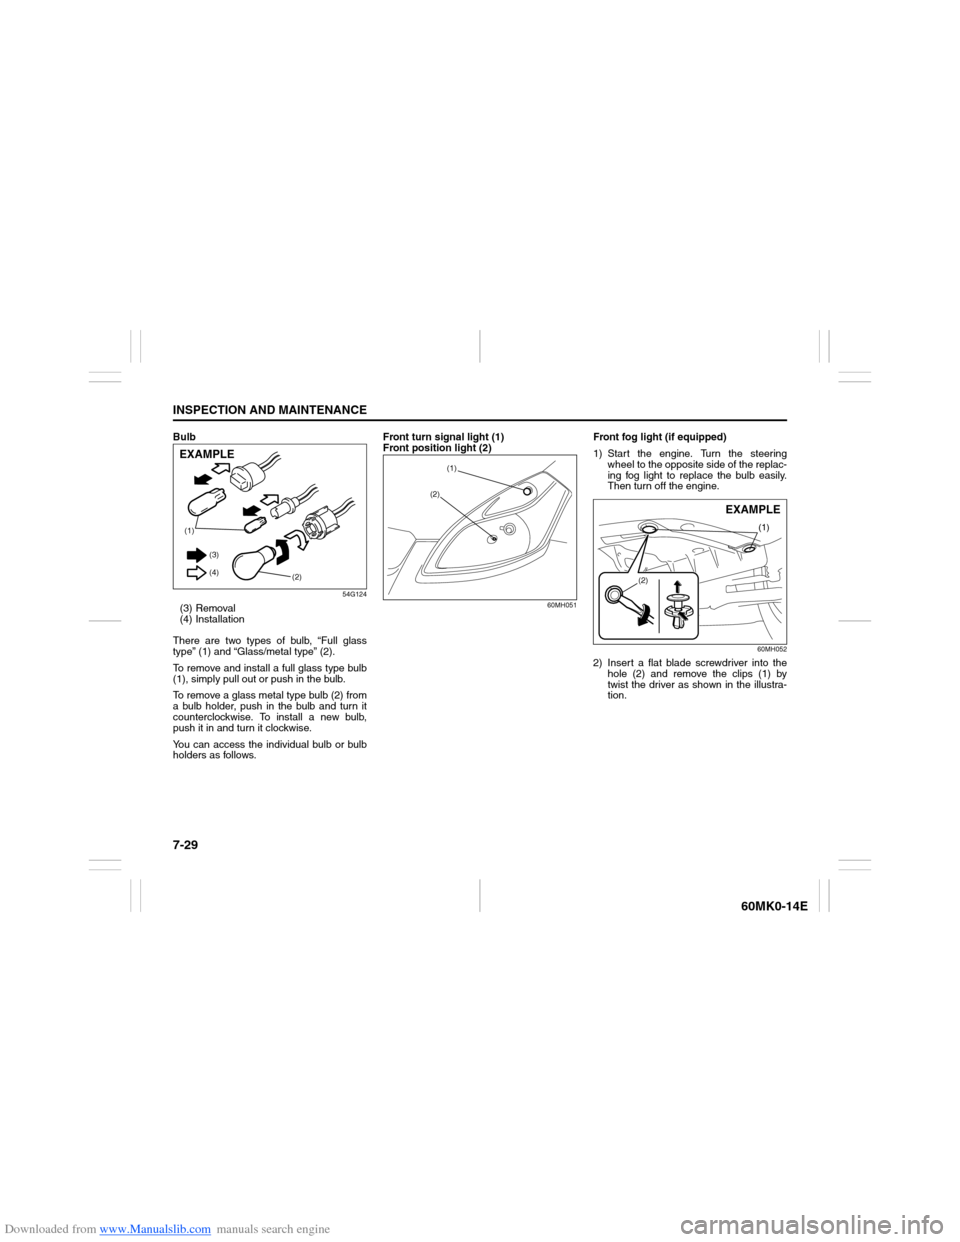
Front fog light (if equipped)
1) Start the engine. Turn the steering
wheel to the opposite side of the replac-
ing fog light to replace the bulb easily.
Then turn off the engine.
60MH052
2) Insert a flat blade screwdriver into the
hole (2) and remove the clips (1) by
twist the driver as shown in the illustra-
tion.
(1)
(2) (3)
(4)EXAMPLE
(1)
(2)
(1)
(2)
EXAMPLE
Page 175 of 207

Downloaded from www.Manualslib.com manuals search engine 7-30
INSPECTION AND MAINTENANCE
60MK0-14E
80JM071
3) Open the fender cover. Disconnect the
coupler with pushing the lock release.
Turn the bulb holder counterclockwise
and remove it.Rear combination light
(tail, stop, turn signal, etc.)
60MH053
Remove the screw (1). Remove the combi-
nation light (2) by pulling it outside.
License plate light
Since special procedures are required, we
recommend you take your vehicle to your
SUZUKI dealer for bulb replacement.High-mount stop light
80J100
To remove a high-mount stop light housing
the following procedure:
1) Open the tailgate, and remove the nuts
(1) as shown in the illustration.
EXAMPLE
(1)
(1)(2)
(1)
EXAMPLE
Page 201 of 207

Downloaded from www.Manualslib.com manuals search engine 11-3
SPECIFICATIONS
60MK0-14E
ITEM: Lights WATTAGE BULB No.
Headlight 12V 60/55W H4
Turn signal light Front 12V 21W PY21W
Rear 12V 21W PY21W
Side turn signal light (on fender) 12V 5W WY5W
Side turn signal light (on outside rearview mirror) LED –
Position light 12V 5W W5W
Tail/brake light 12V 21/5W P21/5W
License plate light 12V 5W W5W
Reversing light 12V 16W W16W
Interior light (front) (center) 12V 10W –
Interior light (rear) 12V 10W –
Front fog light 12V 55W H11
High mount stop light 12V 5W W5W
Page 206 of 207

Downloaded from www.Manualslib.com manuals search engine 12-4INDEX
60MK0-14E
Specified Oil ........................................................................... 7-7
Speedometer ........................................................................ 2-43
Starting a Cold and Warm Engine ........................................ 3-8
Starting the Engine ................................................................ 3-8
Steering ................................................................................ 7-19
Sun Visor .............................................................................. 5-39
Supplemental Restraint System (air bags)........................ 2-30TTachometer .......................................................................... 2-43
Tailgate ................................................................................... 2-4
Temperature Gauge ............................................................. 2-44
Theft Deterrent Alarm System .............................................. 2-7
Thermometer ........................................................................ 2-46
Tilt Steering Lock Lever...................................................... 2-55
Tire Chains ............................................................................. 4-4
Tire Changing Tool ................................................................ 8-1
Tire Inspection ..................................................................... 7-20
Tire Rotation......................................................................... 7-21
Tires ...................................................................................... 7-20
To Raise the Vehicle with a Garage Jack ............................ 8-3
Towing .................................................................................... 8-7
Trailer Towing ........................................................................ 6-1
Transaxle selector position indicator
(for automatic transaxle vehicles)...................................... 2-47
Transaxle Warning Light ..................................................... 2-41
Trip meter ............................................................................. 2-48
Turn Signal Control Lever................................................... 2-52
Turn Signal Indicators ......................................................... 2-42
Turn Signal Operation ......................................................... 2-52
UUniversal Serial Bus (USB) Socket..................................... 5-42
USB device ........................................................................... 5-23
Using the Transaxle ............................................................... 3-9VVehicle Cleaning .................................................................... 9-2
Vehicle Identification ........................................................... 10-1
Vehicle Loading...................................................................... 6-1WWalk-in Type Seats (for 2nd row seats) ............................. 2-17
Warning and Indicator Lights ............................................. 2-38
Washing .................................................................................. 9-4
Waxing .................................................................................... 9-5
Windows ............................................................................... 2-11
Windshield Washer .............................................................. 2-54
Windshield Washer Fluid .................................................... 7-35
Windshield Wiper and Washer Lever ................................. 2-53
Windshield Wipers ............................................................... 2-54
Wiper and Washer Operation .............................................. 2-54
Wiper Blades ........................................................................ 7-31