2013 SUZUKI ERTIGA door lock
[x] Cancel search: door lockPage 22 of 207
Downloaded from www.Manualslib.com manuals search engine 2-7BEFORE DRIVING
60MK0-14E
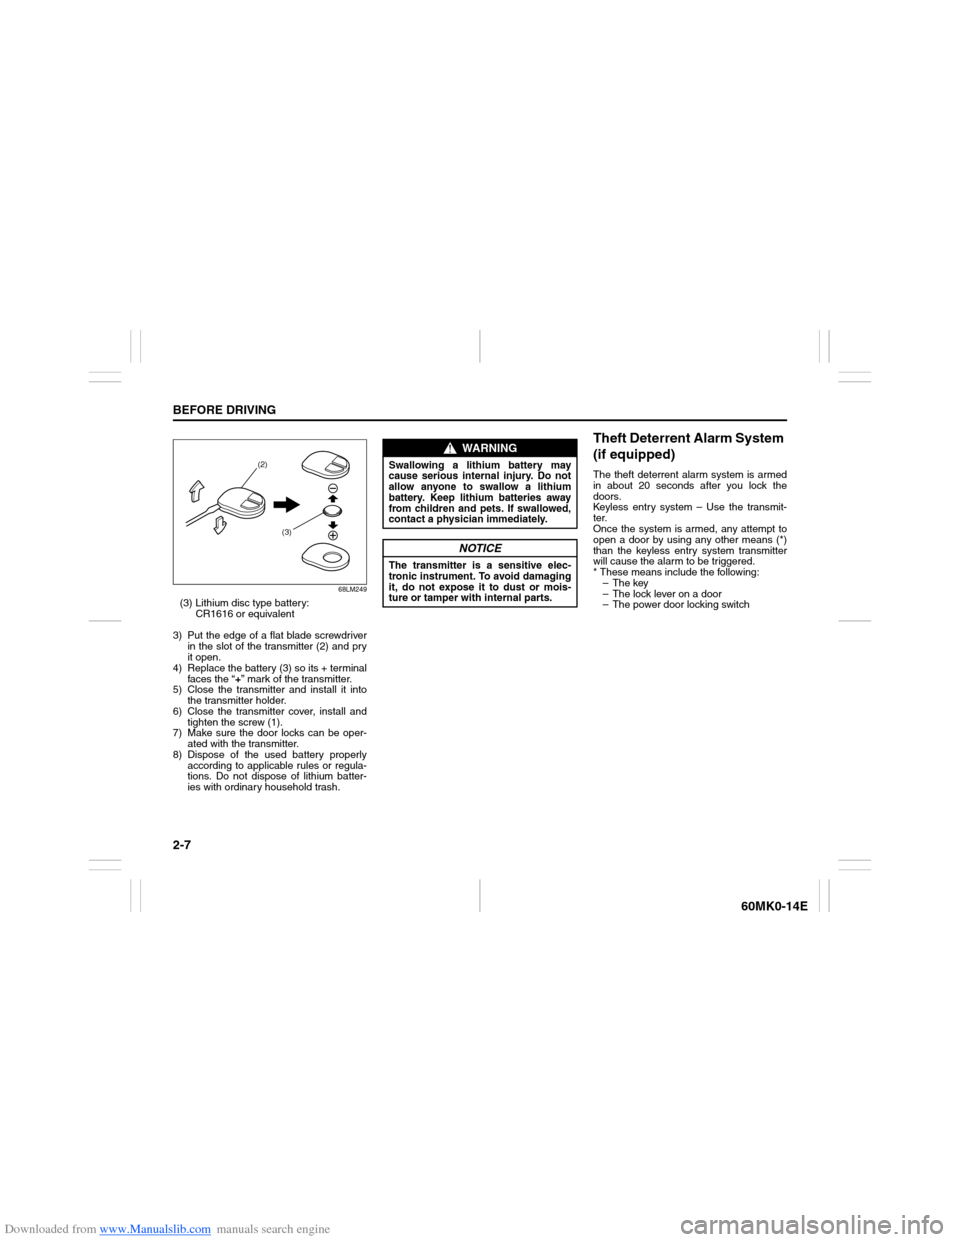
68LM249
(3) Lithium disc type battery:
CR1616 or equivalent
3) Put the edge of a flat blade screwdriver
in the slot of the transmitter (2) and pry
it open.
4) Replace the battery (3) so its + terminal
faces the “+” mark of the transmitter.
5) Close the transmitter and install it into
the transmitter holder.
6) Close the transmitter cover, install and
tighten the screw (1).
7) Make sure the door locks can be oper-
ated with the transmitter.
8) Dispose of the used battery properly
according to applicable rules or regula-
tions. Do not dispose of lithium batter-
ies with ordinary household trash.
Theft Deterrent Alarm System
(if equipped)The theft deterrent alarm system is armed
in about 20 seconds after you lock the
doors.
Keyless entry system – Use the transmit-
ter.
Once the system is armed, any attempt to
open a door by using any other means (*)
than the keyless entry system transmitter
will cause the alarm to be triggered.
* These means include the following:
–The key
– The lock lever on a door
– The power door locking switch
(2)
(3)
WARNING
Swallowing a lithium battery may
cause serious internal injury. Do not
allow anyone to swallow a lithium
battery. Keep lithium batteries away
from children and pets. If swallowed,
contact a physician immediately.
NOTICE
The transmitter is a sensitive elec-
tronic instrument. To avoid damaging
it, do not expose it to dust or mois-
ture or tamper with internal parts.
Page 23 of 207
Downloaded from www.Manualslib.com manuals search engine 2-8
BEFORE DRIVING
60MK0-14E
NOTE:
The theft deterrent alarm system gener-
ates alarms when any of the predeter-
mined conditions is met. However, the
system does not have any function of
blocking unauthorized entry into your
vehicle.
Always use the keyless entry system
transmitter to unlock the doors when the
theft deterrent alarm system has been
armed. Using a key instead will trigger
the alarm.
If a person who does not know the theft
deterrent alarm system is going to drive
your vehicle, we recommend you explain
the system and its operation to the per-
son, or disable the system beforehand.
Mistakenly triggering the alarm may
cause a nuisance to others.
Even if the theft deterrent alarm system
is armed, you should still be careful to
guard against theft. Do not leave money
or things of value in your vehicle.How to arm the theft deterrent alarm
system (when enabled)
Lock the doors using the keyless entry sys-
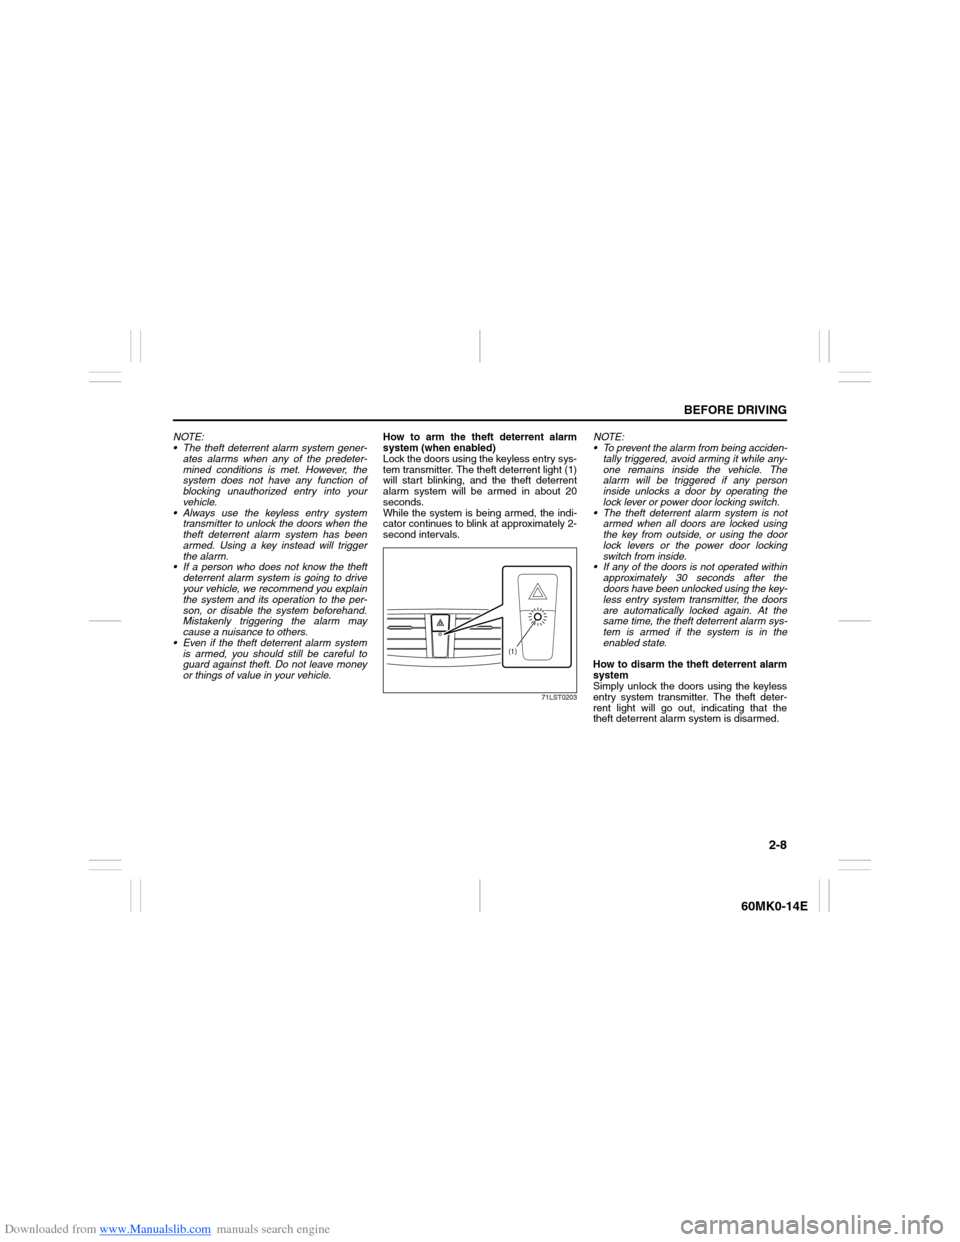
tem transmitter. The theft deterrent light (1)
will start blinking, and the theft deterrent
alarm system will be armed in about 20
seconds.
While the system is being armed, the indi-
cator continues to blink at approximately 2-
second intervals.
71LST0203
NOTE:
To prevent the alarm from being acciden-
tally triggered, avoid arming it while any-
one remains inside the vehicle. The
alarm will be triggered if any person
inside unlocks a door by operating the
lock lever or power door locking switch.
The theft deterrent alarm system is not
armed when all doors are locked using
the key from outside, or using the door
lock levers or the power door locking
switch from inside.
If any of the doors is not operated within
approximately 30 seconds after the
doors have been unlocked using the key-
less entry system transmitter, the doors
are automatically locked again. At the
same time, the theft deterrent alarm sys-
tem is armed if the system is in the
enabled state.
How to disarm the theft deterrent alarm
system
Simply unlock the doors using the keyless
entry system transmitter. The theft deter-
rent light will go out, indicating that the
theft deterrent alarm system is disarmed.
(1)
Page 24 of 207

Downloaded from www.Manualslib.com manuals search engine 2-9BEFORE DRIVING
60MK0-14E
How to stop the alarm
Should the alarm be triggered accidentally,
turn the ignition switch to “ON” position.
The alarm will then stop.
NOTE:
Even after the alarm has stopped, if you
lock the doors using the keyless entry
system transmitter, the theft deterrent
alarm system will be rearmed with a
delay of about 20 seconds.
If you disconnect the battery while the
theft deterrent alarm system is in the
armed condition or the alarm is actually
in operation, the alarm will be triggered
or re-triggered when the battery is then
reconnected, although, in the latter case,
the alarm remains stopped for the period
between disconnection and reconnec-
tion of the battery.
Even after the alarm has stopped at the
end of the predetermined operation time,
it will be triggered again if any door is
opened without disarming the theft
deterrent alarm system.Checking whether the alarm has been
triggered during parking
If the alarm was triggered due to an unau-
thorized entry into the vehicle and you then
turn the ignition switch to “ON” position, the
theft deterrent light will blink rapidly for
about 8 seconds and a buzzer will beep 4
times during this period. If this happens,
check whether your vehicle has been bro-
ken into while you were away from it.
Enabling and disabling the theft deter-
rent alarm system
The theft deterrent alarm system can be
either “enabled” or “disabled”.
When enabled (factory setting)
When the system is enabled, it causes the
hazard warning lights to flash for about 40
seconds if any of the alarm trigger condi-
tions is met. The system also causes the
interior buzzer to beep intermittently for
about 10 seconds, which is followed by
intermittent sounding of the horn for about
30 seconds.
The theft deterrent light continues to blink
during this time.
When disabled
When the system is disabled, it stays dis-
armed even if you perform any system
arming operation.How to switch the state of the theft
deterrent alarm system
You can switch the theft deterrent alarm
system from the enabled state to the dis-
abled state, and vice versa, using the fol-
lowing method.
58MST0204
(1)(3)
(2)
EXAMPLE
Page 25 of 207

Downloaded from www.Manualslib.com manuals search engine 2-10
BEFORE DRIVING
60MK0-14E
60MK034
(2) UNLOCK
(3) LOCK
60MK035
1) With the ignition switch in the “ON”
position, close all the doors and turn
the lock knob (1) on the driver’s door in
the unlocking direction (2) (rearward).
Turn the knob on the lighting control
lever to the OFF position (5).
NOTE:
All operations included in the following
steps 2) and 3) must be completed within
15 seconds.
2) Turn the knob on the lighting control
lever to the position (6) and then to
the OFF position (5). Repeat this opera-
tion 4 times with the control finally lever
set to the OFF position.
3) Push the lock end (3) (forward end) of
the power door lock switch (4) to lock
the doors, and then the unlock end (2)
(backward end) to unlock the doors.
Repeat these operations 3 times and
finally push the lock end of the switch.Every time you perform the series of the
above steps, the state of the theft deterrent
alarm system changes from the currently
selected one to the other. You can check
whether the system is enabled or disabled
by the number of interior buzzer beeps at
the end of the procedure as follows.
NOTE:
You cannot disable the theft deterrent
alarm system while it is in the armed
condition.
If you fail to complete the operations in
step 2) and 3) within 15 seconds, per-
form the procedure again from the
beginning.
Make sure all doors are closed when
performing the above procedure.
(2) (3)
(4)
EXAMPLE
(5) (6)
EXAMPLE
System state Number of beeps
DisabledOnce
Enabled 4 times
Page 27 of 207
Downloaded from www.Manualslib.com manuals search engine 2-12
BEFORE DRIVING
60MK0-14E
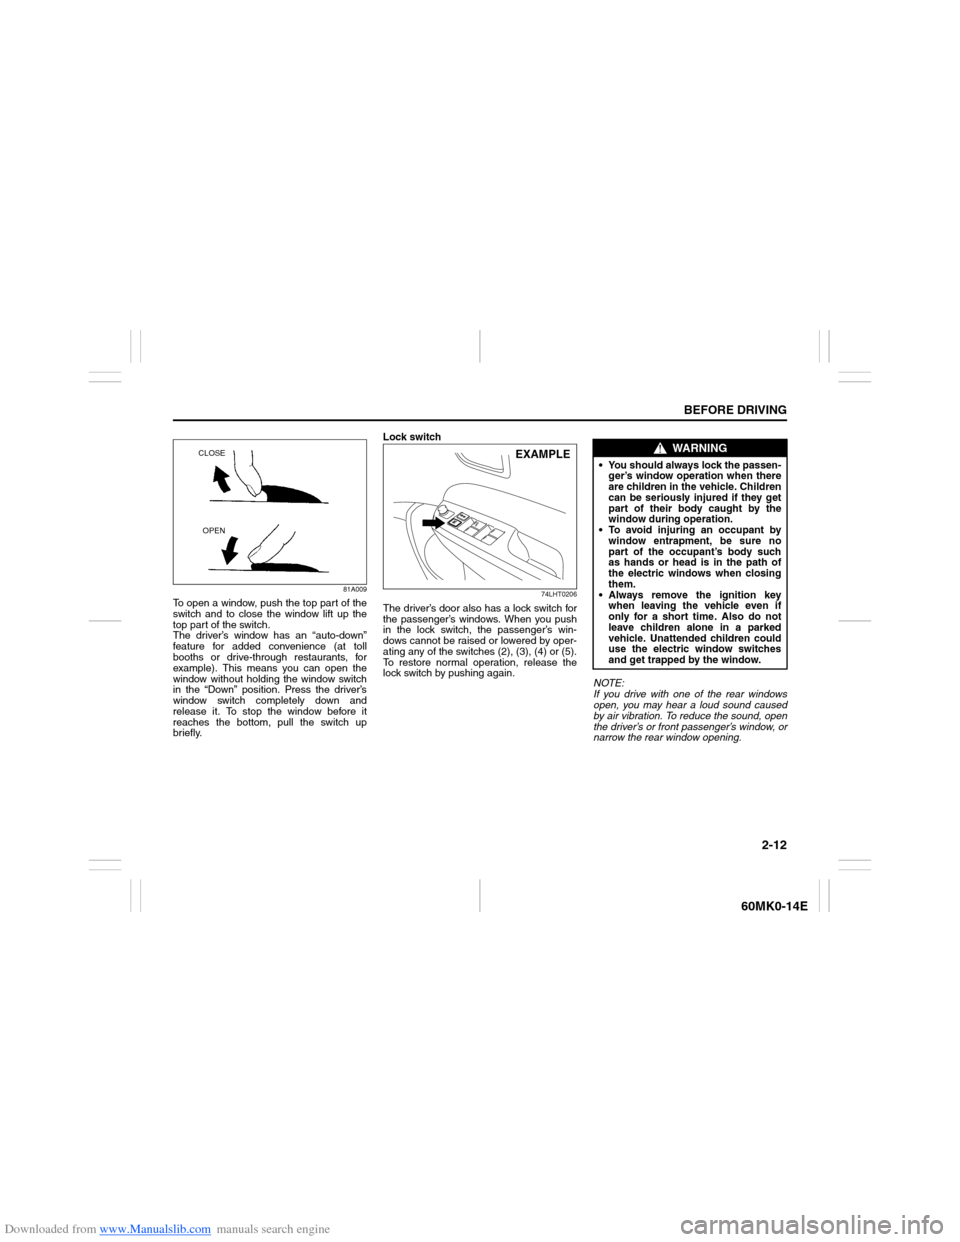
81A009
To open a window, push the top part of the
switch and to close the window lift up the
top part of the switch.
The driver’s window has an “auto-down”
feature for added convenience (at toll
booths or drive-through restaurants, for
example). This means you can open the
window without holding the window switch
in the “Down” position. Press the driver’s
window switch completely down and
release it. To stop the window before it
reaches the bottom, pull the switch up
briefly.Lock switch
74LHT0206
The driver’s door also has a lock switch for
the passenger’s windows. When you push
in the lock switch, the passenger’s win-
dows cannot be raised or lowered by oper-
ating any of the switches (2), (3), (4) or (5).
To restore normal operation, release the
lock switch by pushing again.
NOTE:
If you drive with one of the rear windows
open, you may hear a loud sound caused
by air vibration. To reduce the sound, open
the driver’s or front passenger’s window, or
narrow the rear window opening.
CLOSE
OPEN
EXAMPLE
WARNING
You should always lock the passen-
ger’s window operation when there
are children in the vehicle. Children
can be seriously injured if they get
part of their body caught by the
window during operation.
To avoid injuring an occupant by
window entrapment, be sure no
part of the occupant’s body such
as hands or head is in the path of
the electric windows when closing
them.
Always remove the ignition key
when leaving the vehicle even if
only for a short time. Also do not
leave children alone in a parked
vehicle. Unattended children could
use the electric window switches
and get trapped by the window.
Page 56 of 207

Downloaded from www.Manualslib.com manuals search engine 2-41BEFORE DRIVING
60MK0-14E
Transaxle Warning Light
(if equipped)
81A262
This light comes on briefly when the igni-
tion switch is turned to the “ON” position so
you can check the light is working.
If this light comes on when the engine is
running, there is the problem with the auto-
matic transaxle system. Ask your SUZUKI
dealer to have the system inspected.
Immobilizer System Light
80JM122
When the ignition switch is turn to the “ON”
position, this light comes on briefly so you
can check that the light is working. If this
light brinks with the ignition switch is turn to
the “ON”, the engine will not start.
NOTE:
If this light blinks, turn the ignition switch to
the “LOCK” position, then turn it back to
the “ON” position.
If the light still blinks with the ignition switch
turned to the “ON” position, there may be
something wrong with your key or with the
immobilizer system. Ask your SUZUKI
dealer to inspect the system.
Open Door Warning Light
54G391
For vehicles without keyless entry sys-
tem;
This light remains on until all front doors
and the tailgate are completely closed.
If any door (including the tailgate) is
open when the vehicle is moving, a ding
sounds to remind you to close all doors
completely.
For vehicles with keyless entry system;
This light remains on until all doors
(including the tailgate) are completely
closed.
If any door (including the tailgate) is
open when the vehicle is moving, a ding
sounds to remind you to close all doors
completely.
NOTICE
Continuing to drive the vehicle when
the malfunction indicator light is on
or blinking can cause permanent
damage to the vehicle’s emission
control system, and can affect fuel
economy and driveability.
Page 77 of 207
Downloaded from www.Manualslib.com manuals search engine 3-4
OPERATING YOUR VEHICLE
60MK0-14E
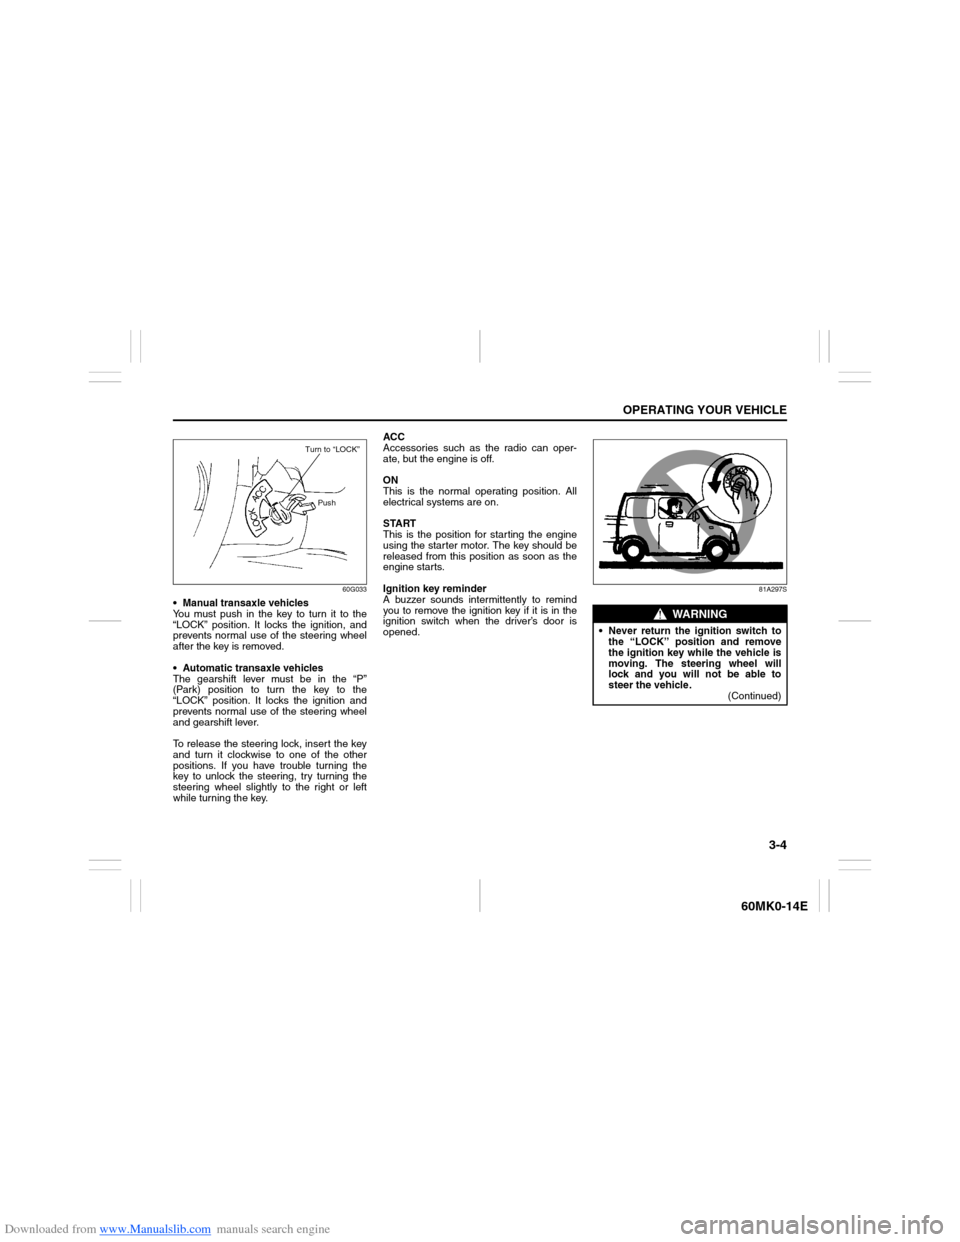
60G033
Manual transaxle vehicles
You must push in the key to turn it to the
“LOCK” position. It locks the ignition, and
prevents normal use of the steering wheel
after the key is removed.
Automatic transaxle vehicles
The gearshift lever must be in the “P”
(Park) position to turn the key to the
“LOCK” position. It locks the ignition and
prevents normal use of the steering wheel
and gearshift lever.
To release the steering lock, insert the key
and turn it clockwise to one of the other
positions. If you have trouble turning the
key to unlock the steering, try turning the
steering wheel slightly to the right or left
while turning the key.ACC
Accessories such as the radio can oper-
ate, but the engine is off.
ON
This is the normal operating position. All
electrical systems are on.
START
This is the position for starting the engine
using the starter motor. The key should be
released from this position as soon as the
engine starts.
Ignition key reminder
A buzzer sounds intermittently to remind
you to remove the ignition key if it is in the
ignition switch when the driver’s door is
opened.
81A297S
Turn to “LOCK”
Push
WARNING
Never return the ignition switch to
the “LOCK” position and remove
the ignition key while the vehicle is
moving. The steering wheel will
lock and you will not be able to
steer the vehicle.
(Continued)
Page 92 of 207
Downloaded from www.Manualslib.com manuals search engine 4-3DRIVING TIPS
60MK0-14E
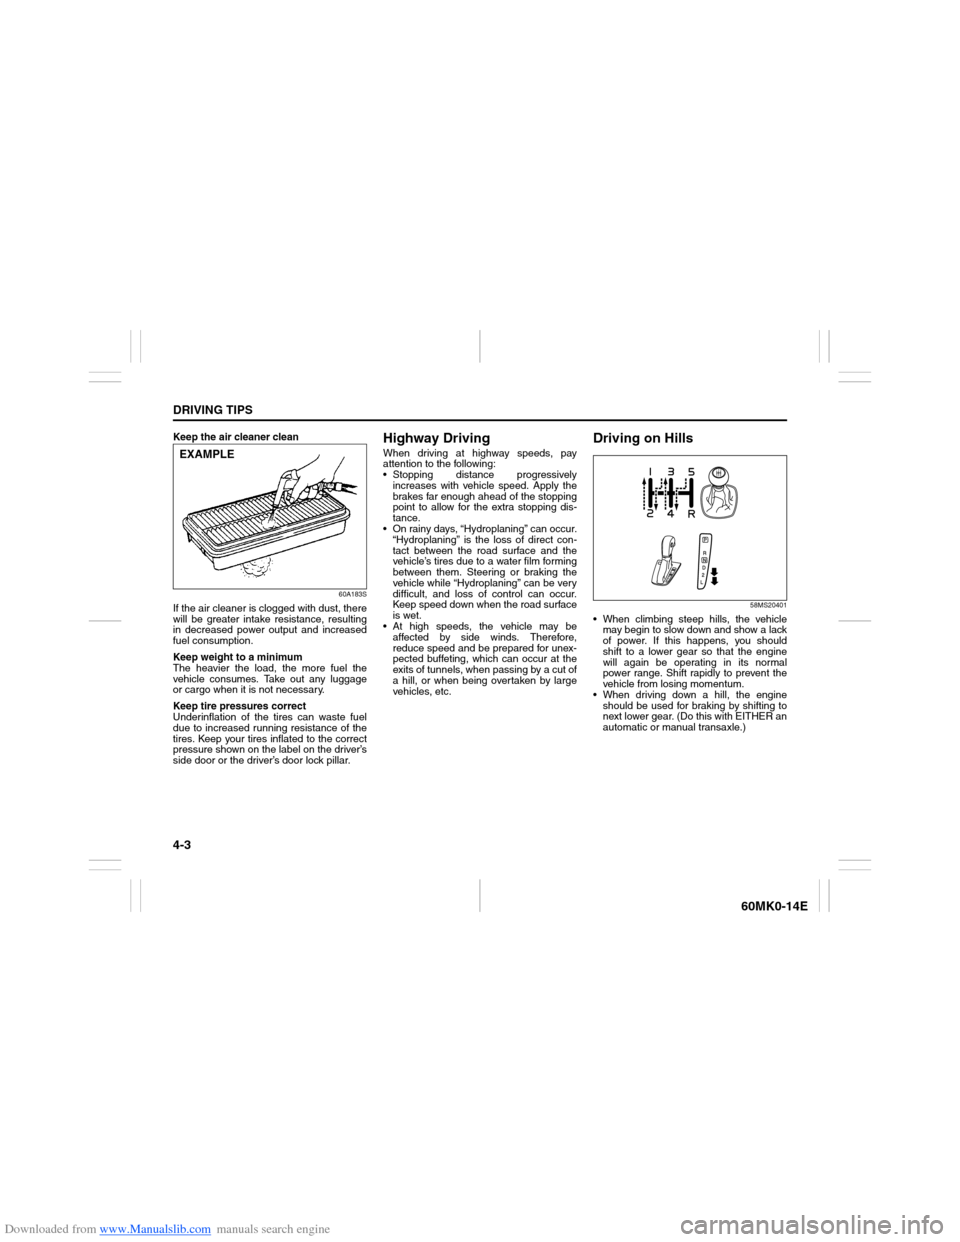
Keep the air cleaner clean
60A183S
If the air cleaner is clogged with dust, there
will be greater intake resistance, resulting
in decreased power output and increased
fuel consumption.
Keep weight to a minimum
The heavier the load, the more fuel the
vehicle consumes. Take out any luggage
or cargo when it is not necessary.
Keep tire pressures correct
Underinflation of the tires can waste fuel
due to increased running resistance of the
tires. Keep your tires inflated to the correct
pressure shown on the label on the driver’s
side door or the driver’s door lock pillar.
Highway DrivingWhen driving at highway speeds, pay
attention to the following:
Stopping distance progressively
increases with vehicle speed. Apply the
brakes far enough ahead of the stopping
point to allow for the extra stopping dis-
tance.
On rainy days, “Hydroplaning” can occur.
“Hydroplaning” is the loss of direct con-
tact between the road surface and the
vehicle’s tires due to a water film forming
between them. Steering or braking the
vehicle while “Hydroplaning” can be very
difficult, and loss of control can occur.
Keep speed down when the road surface
is wet.
At high speeds, the vehicle may be
affected by side winds. Therefore,
reduce speed and be prepared for unex-
pected buffeting, which can occur at the
exits of tunnels, when passing by a cut of
a hill, or when being overtaken by large
vehicles, etc.
Driving on Hills
58MS20401
When climbing steep hills, the vehicle
may begin to slow down and show a lack
of power. If this happens, you should
shift to a lower gear so that the engine
will again be operating in its normal
power range. Shift rapidly to prevent the
vehicle from losing momentum.
When driving down a hill, the engine
should be used for braking by shifting to
next lower gear. (Do this with EITHER an
automatic or manual transaxle.)
EXAMPLE