2013 SUBARU OUTBACK clock
[x] Cancel search: clockPage 8 of 36

5
Getting
Started Instrument
Panel Gauges
Personalize Controls
While
Operating Safety / In Case
of Emergency Additional
Information
5
Getting Started
Instrument Panel
Gauges
Personalize
Controls
While Operating
Safety / In Case of Emergency
Additional Information
555
pg. 14-17 pg. 18-21
pg. 13
Clock
Press the “+” button to advance time or the
“–” button to reverse the time. Vehicles with a
navigation system, please refer to the separate
“Operating Instructions for Navigation System.”
Instrument Panel
Page 21 of 36

18
Controls
1
AM/FM Stereo with Single
Disc CD Player
(if equipped)
Radio Functions
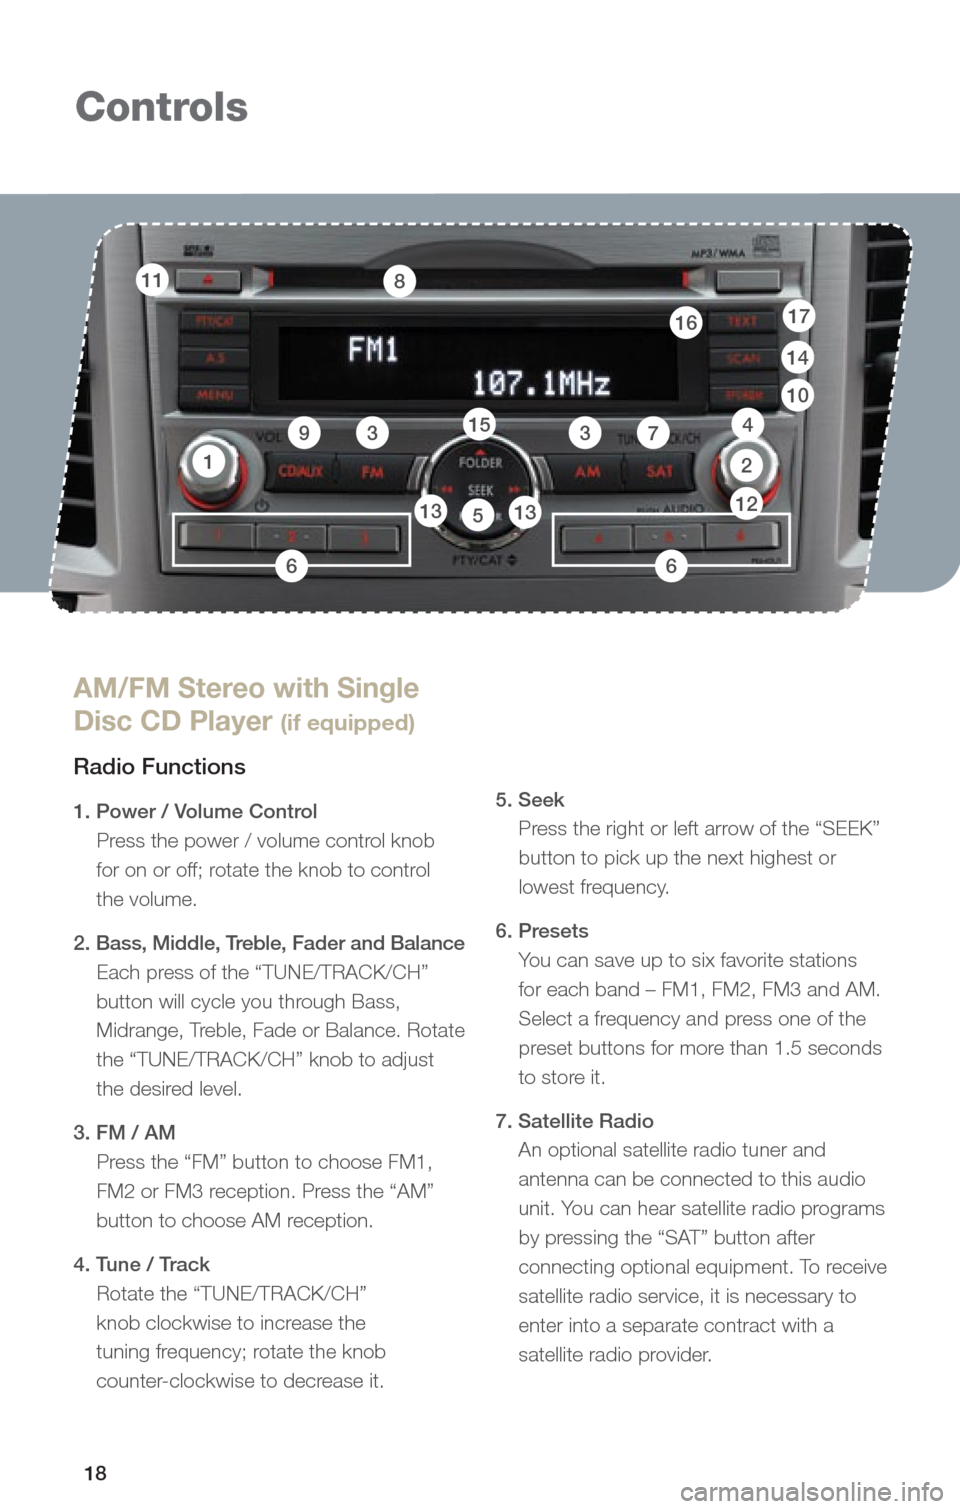
1. Power / Volume Control Press the power / volume control knob
for on or off; rotate the knob to control
the volume.
2. Bass, Middle, Treble, Fader and Balance
Each press of the “TUNE/TRACK/CH”
button will cycle you through Bass,
Midrange, Treble, Fade or Balance. Rotate
the “TUNE/TRACK/CH” knob to adjust
the desired level.
3. FM / AM Press the “FM” button to choose FM1,
FM2 or FM3 reception. Press the “AM”
button to choose AM reception.
4. Tune / Track Rotate the “TUNE/TRACK/CH”
knob clockwise to increase the
tuning frequency; rotate the knob
counter-clockwise to decrease it. 5. Seek
Press the right or left arrow of the “SEEK”
button to pick up the next highest or
lowest frequency.
6. Presets You can save up to six favorite stations
for each band – FM1, FM2, FM3 and AM.
Select a frequency and press one of the
preset buttons for more than 1.5 seconds
to store it.
7. Satellite Radio An optional satellite radio tuner and
antenna can be connected to this audio
unit. You can hear satellite radio programs
by pressing the “SAT” button after
connecting optional equipment. To receive
satellite radio service, it is necessary to
enter into a separate contract with a
satellite radio provider.
11
93
8
15
13513
37
1617
14
10
4
2
66
12
Page 22 of 36

19
Getting
Started Instrument
Panel Gauges
Personalize Controls
While
Operating Safety / In Case
of Emergency Additional
Information
19
Getting Started
Instrument Panel
Gauges
Personalize
Controls
While Operating
Safety / In Case of Emergency
Additional Information
Controls
CD Player functions
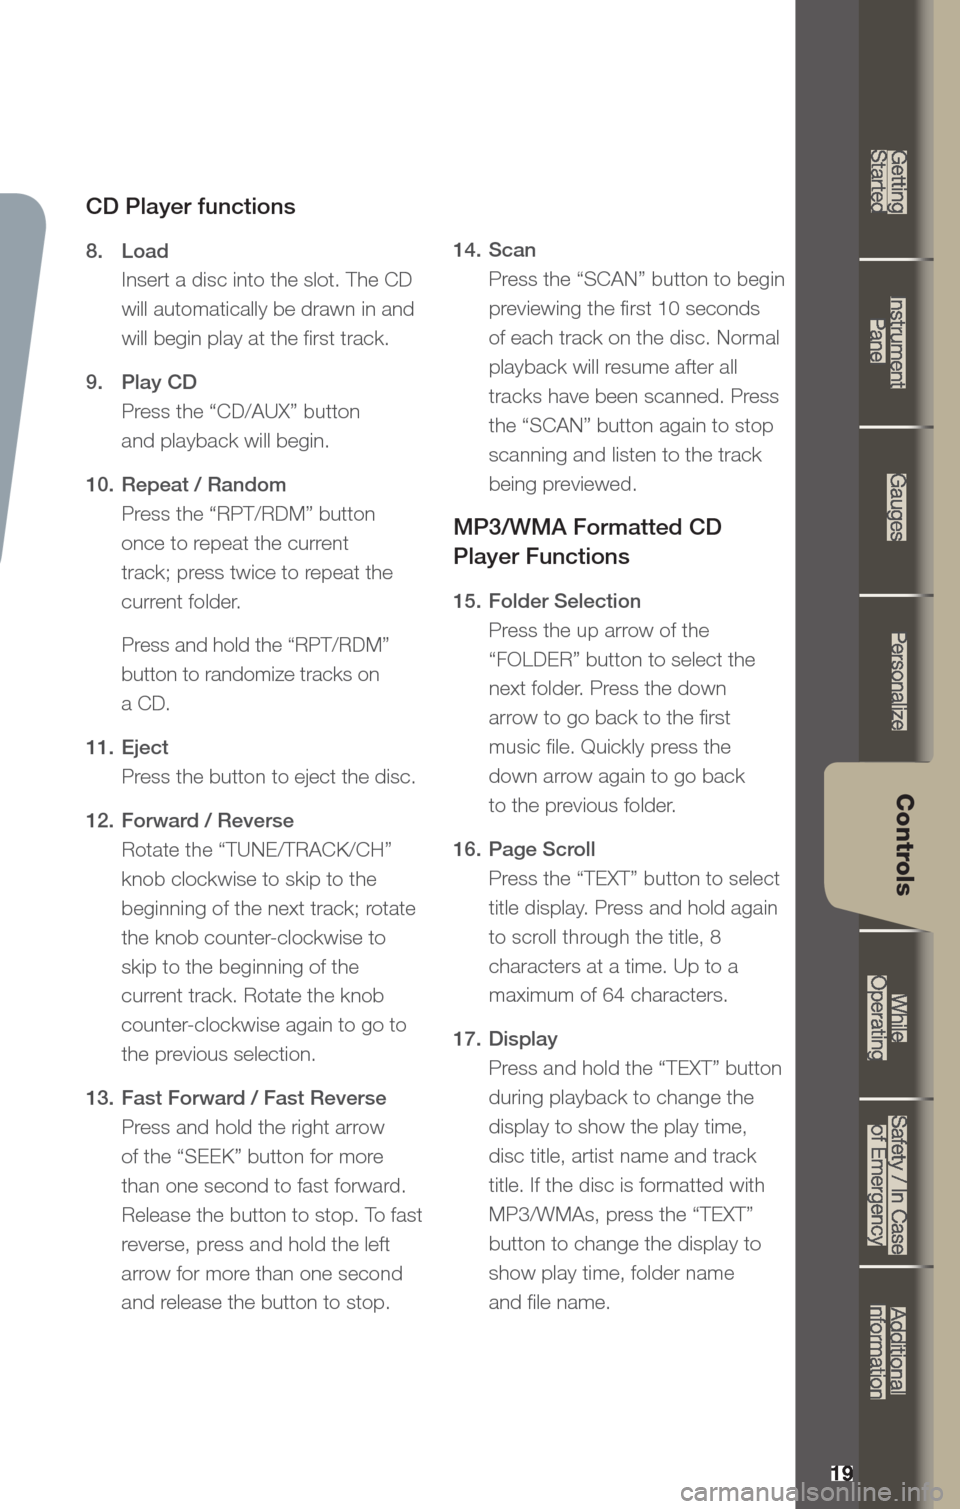
8. Load
Insert a disc into the slot. The CD
will automatically be drawn in and
will begin play at the first track.
9. Play CD
Press the “CD/AUX” button
and playback will begin.
10. Repeat / Random
Press the “RPT/RDM” button
once to repeat the current
track; press twice to repeat the
current folder.
Press and hold the “RPT/RDM”
button to randomize tracks on
a CD.
11. Eject
Press the button to eject the disc.
12. Forward / Reverse
Rotate the “TUNE/TRACK/CH”
knob clockwise to skip to the
beginning of the next track; rotate
the knob counter-clockwise to
skip to the beginning of the
current track. Rotate the knob
counter-clockwise again to go to
the previous selection.
13. Fast Forward / Fast Reverse
Press and hold the right arrow
of the “SEEK” button for more
than one second to fast forward.
Release the button to stop. To fast
reverse, press and hold the left
arrow for more than one second
and release the button to stop. 14.
Scan
Press the “SCAN” button to begin
previewing the first 10 seconds
of each track on the disc. Normal
playback will resume after all
tracks have been scanned. Press
the “SCAN” button again to stop
scanning and listen to the track
being previewed.
MP3/WMA Formatted CD
Player Functions
15. Folder Selection
Press the up arrow of the
“FOLDER” button to select the
next folder. Press the down
arrow to go back to the first
music file. Quickly press the
down arrow again to go back
to the previous folder.
16. Page Scroll
Press the “TEXT” button to select
title display. Press and hold again
to scroll through the title, 8
characters at a time. Up to a
maximum of 64 characters.
17. Display
Press and hold the “TEXT” button
during playback to change the
display to show the play time,
disc title, artist name and track
title. If the disc is formatted with
MP3/WMAs, press the “TEXT”
button to change the display to
show play time, folder name
and file name.
Page 23 of 36

20
Controls
1
AM/FM Stereo HD Radio®
with Single Disc CD Player
(if equipped)
Radio Functions
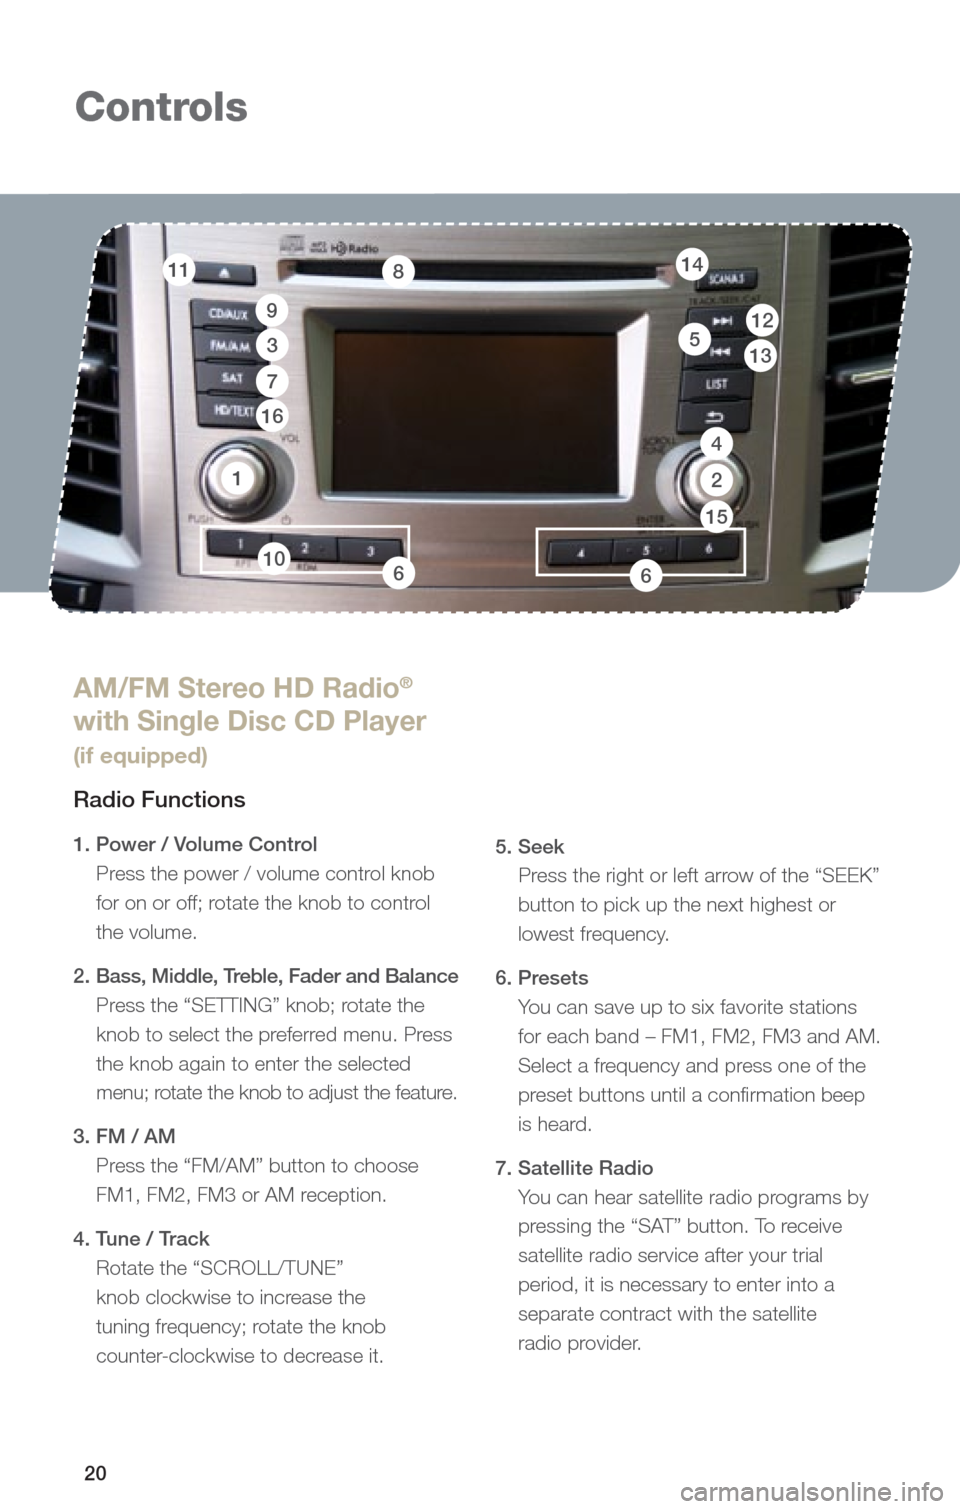
1. Power / Volume Control
Press the power / volume control knob
for on or off; rotate the knob to control
the volume.
2. Bass, Middle, Treble, Fader and Balance
Press the “SETTING” knob; rotate the
knob to select the preferred menu. Press
the knob again to enter the selected
menu; rotate the knob to adjust the feature.
3. FM / AM Press the “FM/AM” button to choose
FM1, FM2, FM3 or AM reception.
4. Tune / Track Rotate the “SCROLL/TUNE”
knob clockwise to increase the
tuning frequency; rotate the knob
counter-clockwise to decrease it.
5. Seek
Press the right or left arrow of the “SEEK”
button to pick up the next highest or
lowest frequency.
6. Presets You can save up to six favorite stations
for each band – FM1, FM2, FM3 and AM.
Select a frequency and press one of the
preset buttons until a confirmation beep
is heard.
7. Satellite Radio You can hear satellite radio programs by
pressing the “SAT” button. To receive
satellite radio service after your trial
period, it is necessary to enter into a
separate contract with the satellite
radio provider.
11
9
3
8
13512
7
16
14
10
4
2
66
15
Page 24 of 36

21
Getting
Started Instrument
Panel Gauges
Personalize Controls
While
Operating Safety / In Case
of Emergency Additional
Information
21
Getting Started
Instrument Panel
Gauges
Personalize
Controls
While Operating
Safety / In Case of Emergency
Additional Information
Controls
CD Player functions
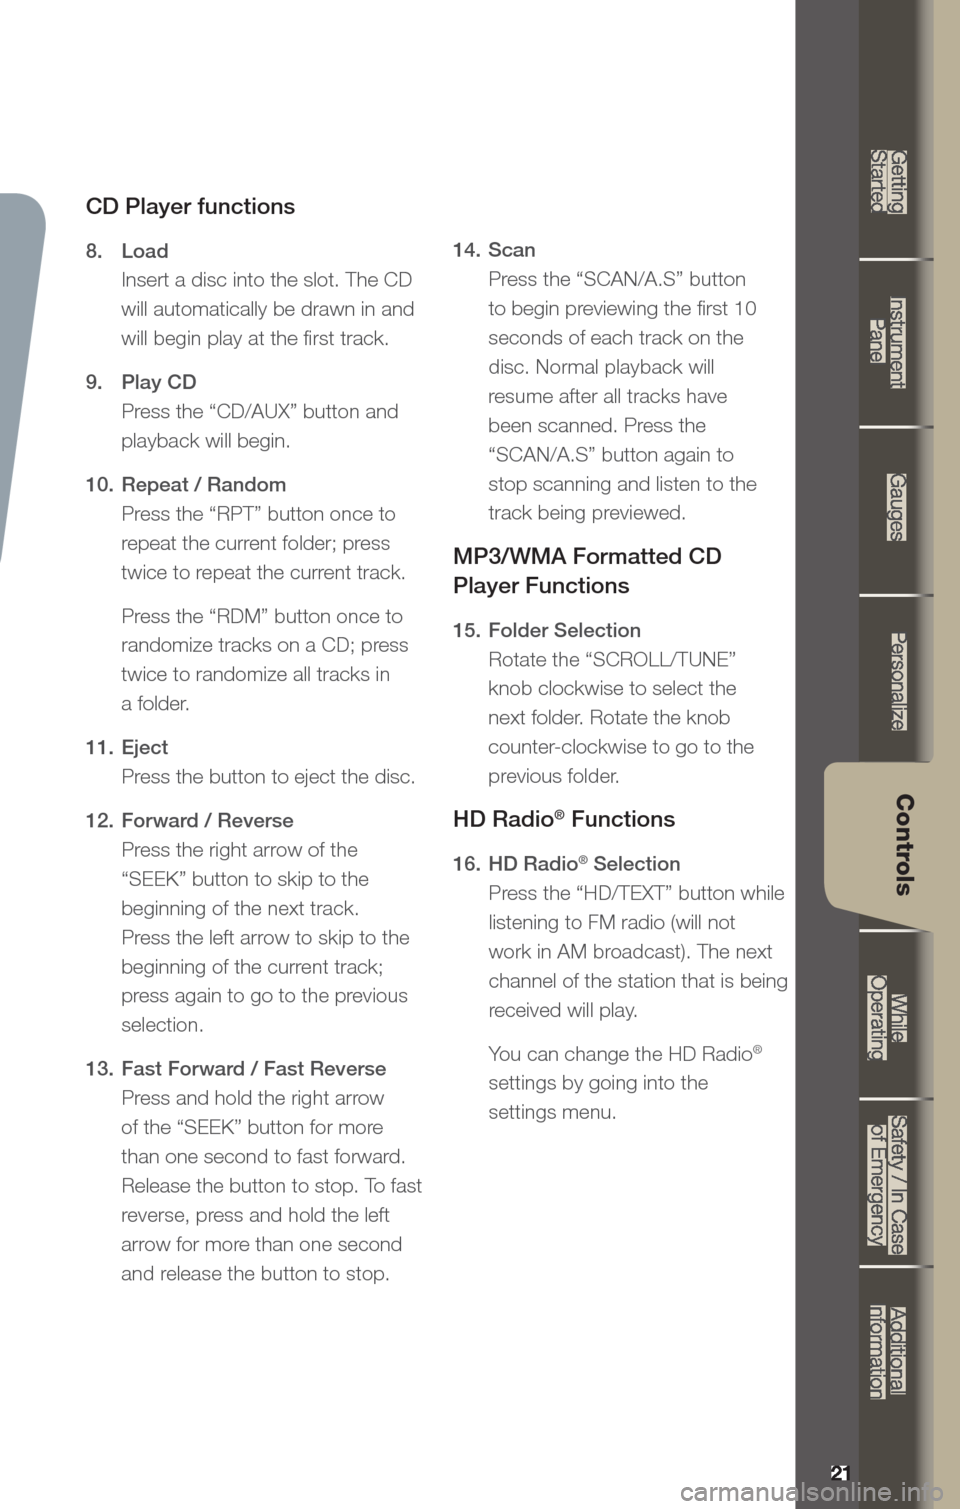
8. Load
Insert a disc into the slot. The CD
will automatically be drawn in and
will begin play at the first track.
9. Play CD
Press the “CD/AUX” button and
playback will begin.
10. Repeat / Random
Press the “RPT” button once to
repeat the current folder; press
twice to repeat the current track.
Press the “RDM” button once to
randomize tracks on a CD; press
twice to randomize all tracks in
a folder.
11. Eject
Press the button to eject the disc.
12. Forward / Reverse
Press the right arrow of the
“SEEK” button to skip to the
beginning of the next track.
Press the left arrow to skip to the
beginning of the current track;
press again to go to the previous
selection.
13. Fast Forward / Fast Reverse
Press and hold the right arrow
of the “SEEK” button for more
than one second to fast forward.
Release the button to stop. To fast
reverse, press and hold the left
arrow for more than one second
and release the button to stop. 14.
Scan
Press the “SCAN/A.S” button
to begin previewing the first 10
seconds of each track on the
disc. Normal playback will
resume after all tracks have
been scanned. Press the
“SCAN/A.S” button again to
stop scanning and listen to the
track being previewed.
MP3/WMA Formatted CD
Player Functions
15. Folder Selection
Rotate the “SCROLL/TUNE”
knob clockwise to select the
next folder. Rotate the knob
counter-clockwise to go to the
previous folder.
HD Radio® Functions
16. HD Radio® Selection
Press the “HD/TEXT” button while
listening to FM radio (will not
work in AM broadcast). The next
channel of the station that is being
received will play.
Yo u can change the HD Radio
®
settings by going into the
settings menu.
Page 35 of 36

Explain Operation of Manual Transmission
& Hill Holder
Explain Operation of Automatic
Transmission & Review Manual
Mode (if equipped)
Show All Weather Package - Heated Front
Seats, Windshield Wiper De-Icer & Heated
Side Mirrors (if equipped) Show Seatbelt & Head Restraint Functions
Show Tilt Steering Column & Telescopic
Feature (if equipped)
Explain the Subaru Advanced Frontal
Airbag System (SRS), Front-Seat Side
Pelvis/Torso Airbags (SRS) & Side-Curtain
Airbags (SRS)q
q
q
q
q
q
Review Master & Valet Keys
Show Keyless Entry, Alarm System
& Remote Start (if equipped)
Show Hood & Gas Door Releases Show
yellow Caps & Explain Checking
& Filling of Vehicle Fluids
Show Fuel Filler Door & Gas
Cap Operation
Show Location of Both Fuse Boxesq
q
q q
q
q
Show Trunk Release & Valet Feature
(sedans only)
Show Spare Tire, Tools & Jack Location
Explain Temporary Spare Tire
Usage & Limitations Explain AWD Towing
Requirements & Limitations
Show LATCH System & Tethers
Show Child Safety Lock Operationq
q
q q
q
q
q
q
q
q
q
q
q
Operation & Controls
Please use & reference the SUBARU OWNER’S MANUAl
& QUICK REf ERENCE GUIDE
OPERAtION & CONtROlS
REAR & SIDE
INtERIOR
DRIvER CONtROlS & OPERAtION
q
q
q
q
Show Power Windows, Door Locks
& Side-View Mirror Operation
Explain Cruise Control & Power
Moonroof Operation (if equipped)
Show Auto Headlights, Daytime Running
Lights, Parking Lights, Hazard Lights &
Fog Lights (if equipped)
Show Interior Lighting, Map Light
& Clock
Show Front & Rear Wiper
& Washer Controls
Show Climate Control System Including
Front & Rear Defrosters
Show & Explain Operation of VDC
Control Switch Review Instrument Panel Gauges
& Warning Lights
Explain Tire Pressure Monitoring
System Light
Show Audio System, Station Presets,
Tone, Balance & Fade Controls
Show GPS Navigation System
(if equipped)
Explain Operation of Other Vehicle Options, Equipment, or Genuine
Subaru Accessories Not Referenced
Above Where Applicable
q