Page 178 of 436
&Type A audio set (if equipped)The audio set will operate only when the
ignition switch is in the “Acc ”or “ON ”
position. . Power and audio controls: refer to page
5-9. Radio operation: refer to page 5-13
. Satellite radio operation (if equipped):
refer to page 5-18. CD (compact disc) player operation:
refer to page 5-22. Auxiliary input jack: refer to page 5-29 Audio
5-5
– CONTINUED –
Page 179 of 436
5-6Audio
& Type B audio set (if equipped)
The audio set will operate only when the
ignition switch is in the “Acc ”or “ON ”
position. . Power and audio controls: refer to page
5-9. Radio operation: refer to page 5-13
. Satellite radio operation (if equipped):
refer to page 5-18. CD (compact disc) player operation:
refer to page 5-22. Auxiliary input jack: refer to page 5-29
Page 180 of 436
&Type C audio set (if equipped)The audio set will operate only when the
ignition switch is in the “Acc ”or “ON ”
position. . Power and audio controls: refer to page
5-9. Radio operation: refer to page 5-13
. Satellite radio operation (if equipped):
refer to page 5-18. CD (compact disc) player operation:
refer to page 5-22. Auxiliary input jack: refer to page 5-29
. USB storage device/iPod
®operation:
refer to page 5-32. Bluetooth
®audio device: refer to page
5-40. Hands-free system: refer to page 5-42 Audio
5-7
– CONTINUED –
Page 181 of 436
5-8Audio
& Type D audio set (if equipped)
The audio set will operate only when the
ignition switch is in the “Acc ”or “ON ”
position. . Power and audio controls: refer to page
5-9. Radio operation: refer to page 5-13
. Satellite radio operation (if equipped):
refer to page 5-18. CD (compact disc) player operation:
refer to page 5-22. Auxiliary input jack: refer to page 5-29
. USB storage device/iPod
®operation:
refer to page 5-32. Bluetooth
®audio device: refer to page
5-40. Hands-free system: refer to page 5-42
Page 192 of 436

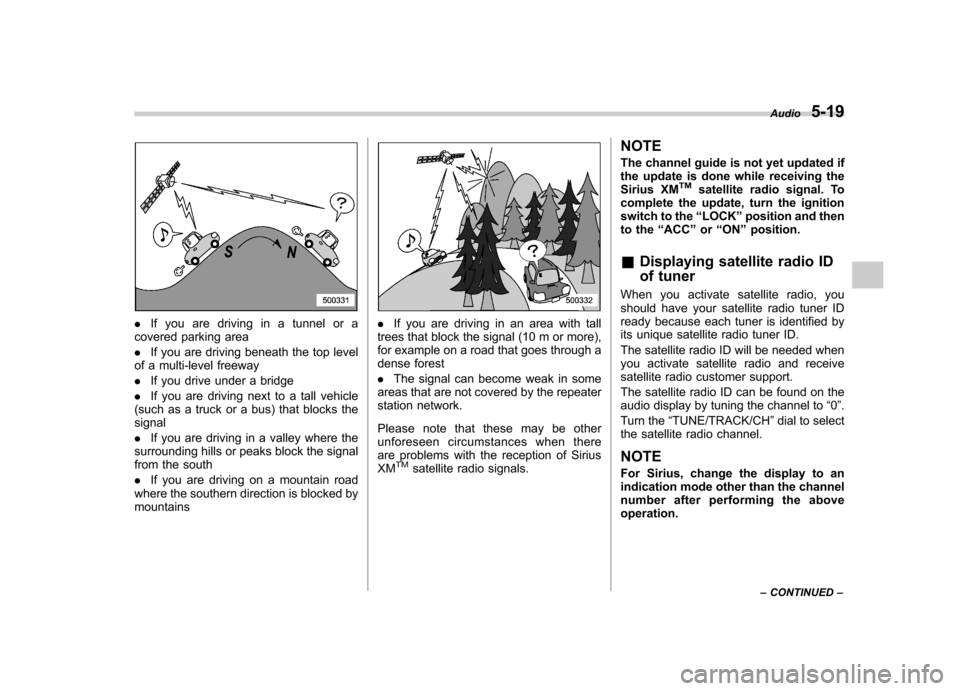
.If you are driving in a tunnel or a
covered parking area . If you are driving beneath the top level
of a multi-level freeway. If you drive under a bridge
. If you are driving next to a tall vehicle
(such as a truck or a bus) that blocks the signal . If you are driving in a valley where the
surrounding hills or peaks block the signal
from the south . If you are driving on a mountain road
where the southern direction is blocked by mountains. If you are driving in an area with tall
trees that block the signal (10 m or more),
for example on a road that goes through a
dense forest . The signal can become weak in some
areas that are not covered by the repeater
station network.
Please note that these may be other
unforeseen circumstances when there
are problems with the reception of SiriusXM
TMsatellite radio signals. NOTE
The channel guide is not yet updated if
the update is done while receiving the
Sirius XM
TMsatellite radio signal. To
complete the update, turn the ignition
switch to the “LOCK ”position and then
to the “ACC ”or “ON ”position.
& Displaying satellite radio ID
of tuner
When you activate satellite radio, you
should have your satellite radio tuner ID
ready because each tuner is identified by
its unique satellite radio tuner ID.
The satellite radio ID will be needed when
you activate satellite radio and receive
satellite radio customer support.
The satellite radio ID can be found on the
audio display by tuning the channel to “0 ”.
Turn the “TUNE/TRACK/CH ”dial to select
the satellite radio channel.
NOTE
For Sirius, change the display to an
indication mode other than the channel
number after performing the aboveoperation. Audio
5-19
– CONTINUED –
Page 200 of 436

&Scan (type A, B and C audio)
Type A and B audio
Type C audio
The scan mode lets you listen to the first
10 seconds of each track in succession.
Press the “SCAN ”button to start scanning
upward beginning with the track following
the currently selected one.
After all tracks on the disc/in the folder
have been scanned, normal playback will
be resumed. To cancel the scan mode,
press the “SCAN ”button again.
NOTE
The scan mode will be cancelled if you
perform any of the following steps. . Press the “RPT ”button.
. Turn the “TUNE/TRACK/CH ”dial.
. Press the “
”or “”side of the
“ FOLDER/PTY/CAT ”button.
. Press the “
”button.
. Press the disc select button (type B
audio). . Select the mode other than CD
mode.. Press the “LOAD ”button when
there is free space in the CD magazine (type B audio)..
Turn off the power of the audio
equipment.. Turn the ignition switch to the
“ LOCK ”position.
& Display selection (type A, B
and C audio)
Type A and B audio
Type C audio
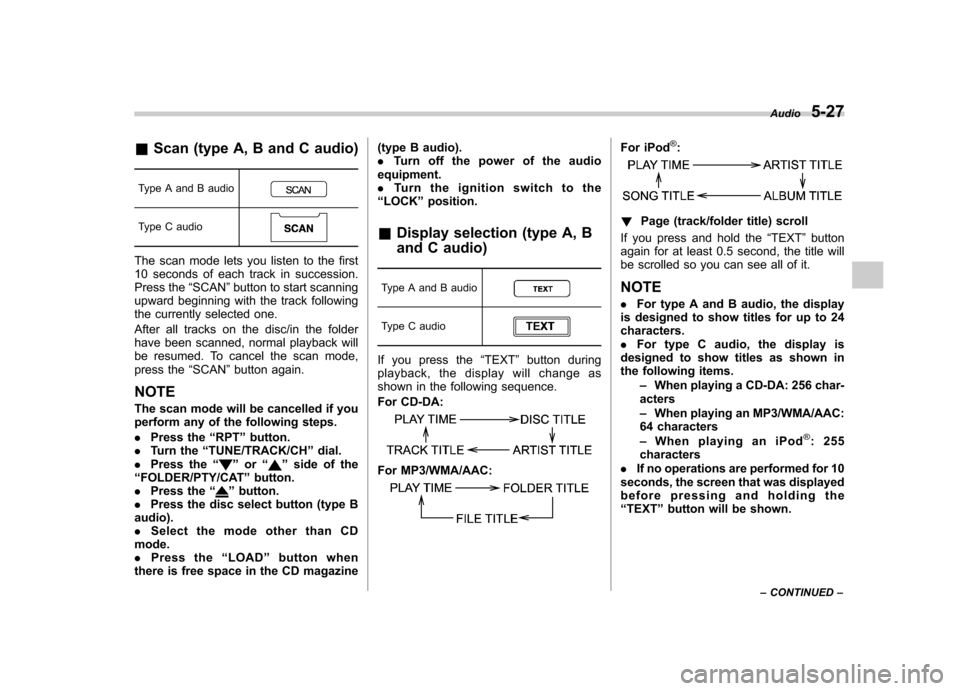
If you press the “TEXT ”button during
playback, the display will change as
shown in the following sequence.
For CD-DA:
For MP3/WMA/AAC:
For iPod®:
! Page (track/folder title) scroll
If you press and hold the “TEXT ”button
again for at least 0.5 second, the title will
be scrolled so you can see all of it. NOTE . For type A and B audio, the display
is designed to show titles for up to 24 characters.. For type C audio, the display is
designed to show titles as shown in
the following items.
–When playing a CD-DA: 256 char-
acters – When playing an MP3/WMA/AAC:
64 characters– When playing an iPod
®:255
characters
. If no operations are performed for 10
seconds, the screen that was displayed
before pressing and holding the“ TEXT ”button will be shown. Audio
5-27
– CONTINUED –
Page 201 of 436

5-28Audio
&Folder selection
NOTE . Selecting folders in this way is
possible only within a single disc. . Only MP3/WMA/AAC folders are re-
cognized when an attempt to select the
next or previous folder is made. If no
appropriate folder exists on the disc,
pressing the “
”or “”side of the
“ FOLDER/PTY/CAT ”button starts play-
back beginning with the first track.
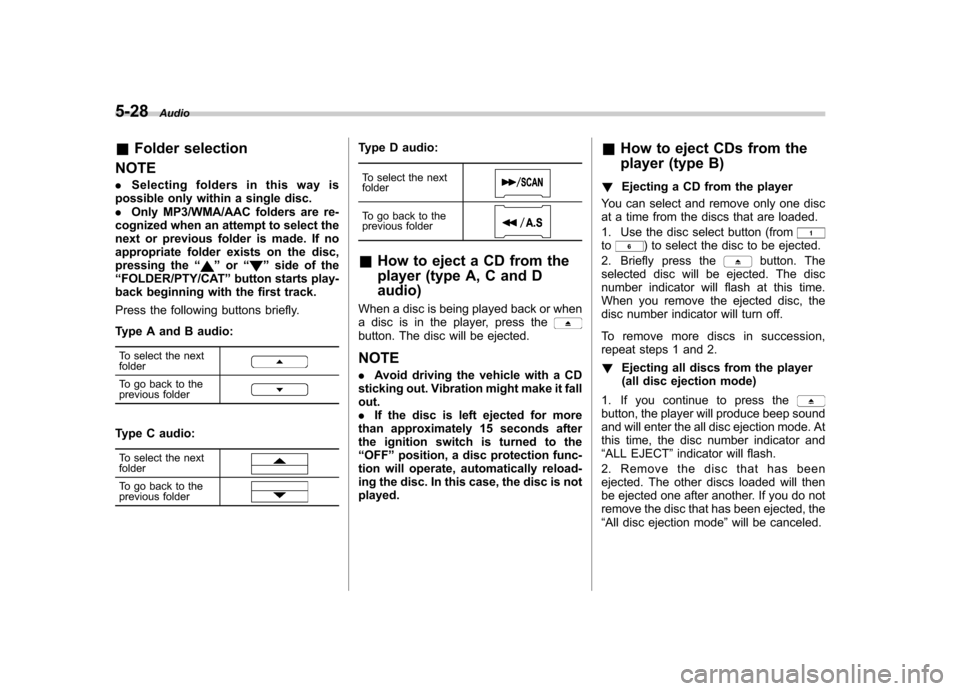
Press the following buttons briefly.
Type A and B audio:
To select the next folder
To go back to the
previous folder
Type C audio:
To select the next folder
To go back to the
previous folder
Type D audio:
To select the next folder
To go back to the
previous folder
& How to eject a CD from the
player (type A, C and Daudio)
When a disc is being played back or when
a disc is in the player, press the
button. The disc will be ejected. NOTE . Avoid driving the vehicle with a CD
sticking out. Vibration might make it fall out.. If the disc is left ejected for more
than approximately 15 seconds after
the ignition switch is turned to the“ OFF ”position, a disc protection func-
tion will operate, automatically reload-
ing the disc. In this case, the disc is not played. &
How to eject CDs from the
player (type B)
! Ejecting a CD from the player
You can select and remove only one disc
at a time from the discs that are loaded.
1. Use the disc select button (from
to) to select the disc to be ejected.
2. Briefly press the
button. The
selected disc will be ejected. The disc
number indicator will flash at this time.
When you remove the ejected disc, the
disc number indicator will turn off.
To remove more discs in succession,
repeat steps 1 and 2. ! Ejecting all discs from the player
(all disc ejection mode)
1. If you continue to press the
button, the player will produce beep sound
and will enter the all disc ejection mode. At
this time, the disc number indicator and“ ALL EJECT ”indicator will flash.
2. Remove the disc that has been
ejected. The other discs loaded will then
be ejected one after another. If you do not
remove the disc that has been ejected, the“ All disc ejection mode ”will be canceled.
Page 207 of 436

5-34Audio
to in-vehicle equipment will be charged
when the ignition switch is in the “ON ”
or “Acc ”position. However, activation
of the iPod
®may be delayed if the
battery charge of the iPod®is low.
. If an iPod®does not activate after
operation, disconnect the connection
cable from the iPod
®and reset it. For
the resetting procedure, see the User ’s
Guide that comes with the iPod
®.
. If an iPod®and the connection cable
are connected improperly, the iPod®
cannot be powered on or will not be
recognized by in-vehicle equipment. In
this case, disconnect the connection
cable from the iPod
®, and then connect
it again.
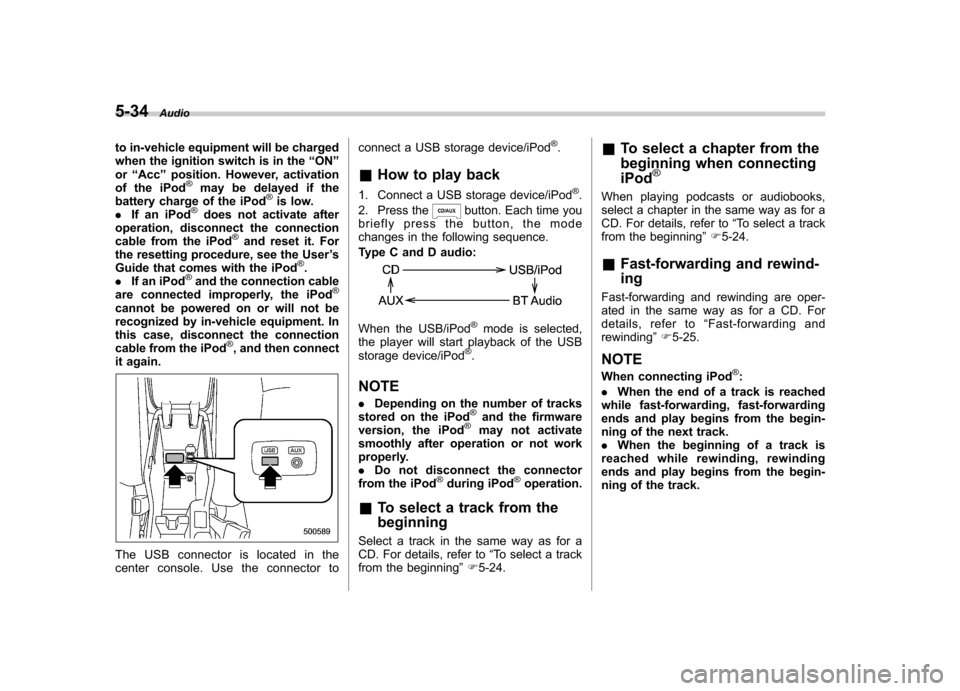
The USB connector is located in the
center console. Use the connector to connect a USB storage device/iPod
®.
& How to play back
1. Connect a USB storage device/iPod
®.
2. Press the
button. Each time you
briefly press the button, the mode
changes in the following sequence.
Type C and D audio:
When the USB/iPod®mode is selected,
the player will start playback of the USB
storage device/iPod
®.
NOTE . Depending on the number of tracks
stored on the iPod
®and the firmware
version, the iPod®may not activate
smoothly after operation or not work
properly.. Do not disconnect the connector
from the iPod
®during iPod®operation.
& To select a track from the beginning
Select a track in the same way as for a
CD. For details, refer to “To select a track
from the beginning ”F 5-24. &
To select a chapter from the
beginning when connecting iPod
®
When playing podcasts or audiobooks,
select a chapter in the same way as for a
CD. For details, refer to “To select a track
from the beginning ”F 5-24.
& Fast-forwarding and rewind- ing
Fast-forwarding and rewinding are oper-
ated in the same way as for a CD. For
details, refer to “Fast-forwarding and
rewinding ”F 5-25.
NOTE
When connecting iPod
®:
. When the end of a track is reached
while fast-forwarding, fast-forwarding
ends and play begins from the begin-
ning of the next track.. When the beginning of a track is
reached while rewinding, rewinding
ends and play begins from the begin-
ning of the track.