Page 350 of 484

350
4-3. Do-it-yourself maintenance
■When replacing light bulbs
SUBARU recommends that you use genuine SUBARU products designed
for this vehicle.
Because certain bulbs are connected to circuits designed to prevent over-
load, non-genuine parts or parts not designed for this vehicle may be unus-
able.
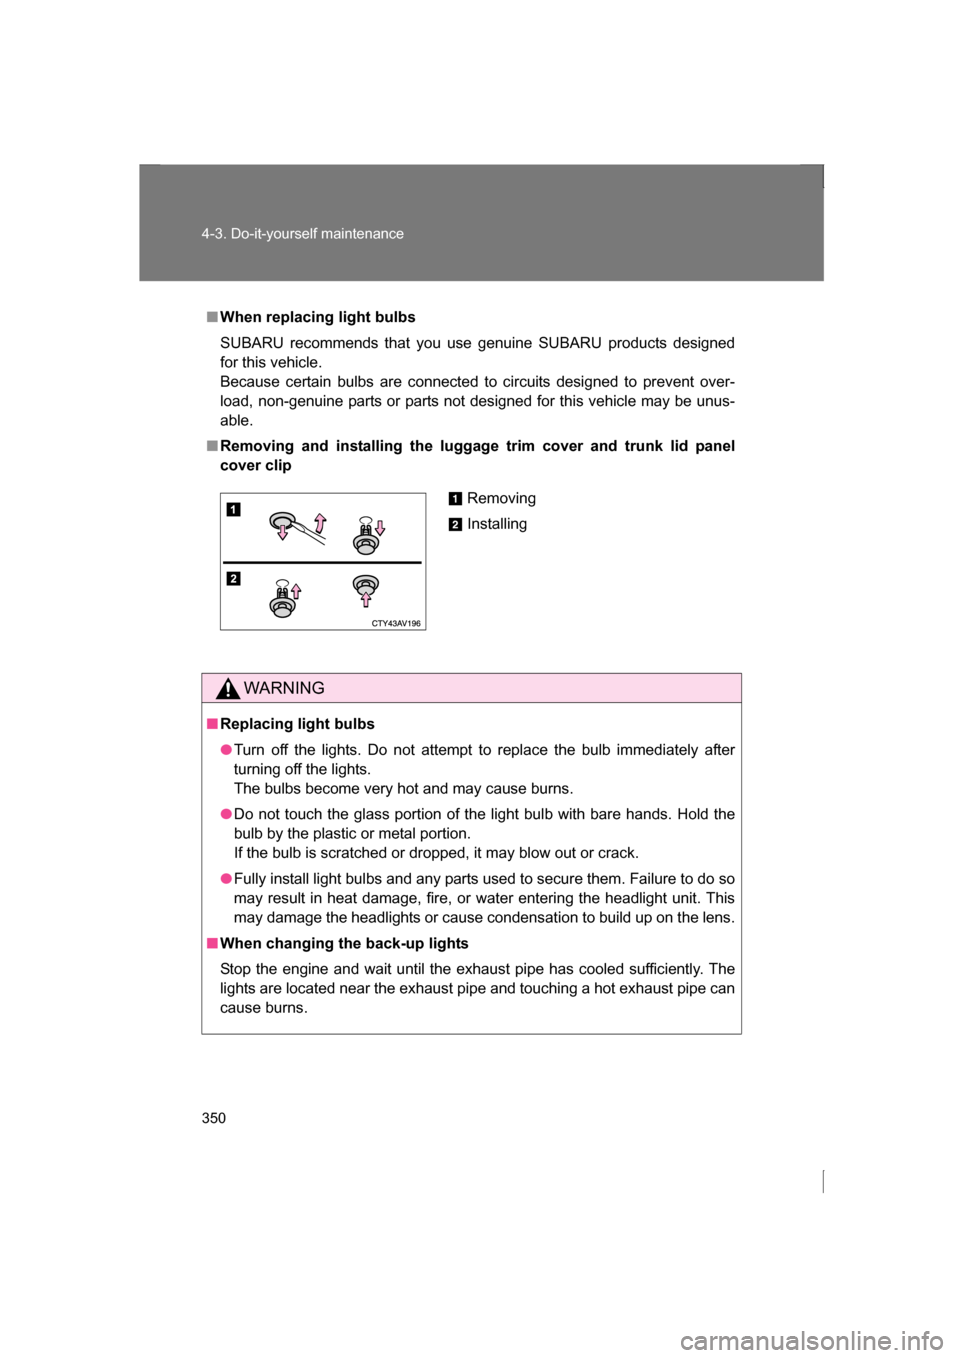
■Removing and installing the luggage trim cover and trunk lid panel cover clip
WARNING
■Replacing light bulbs
●Turn off the lights. Do not attempt to replace the bulb immediately after
turning off the lights.
The bulbs become very hot and may cause burns.
●Do not touch the glass portion of the light bulb with bare hands. Hold the
bulb by the plastic or metal portion.
If the bulb is scratched or dropped, it may blow out or crack.
●Fully install light bulbs and any parts used to secure them. Failure to do so
may result in heat damage, fire, or water entering the headlight unit. This
may damage the headlights or cause condensation to build up on the lens.
■When changing the back-up lights
Stop the engine and wait until the exhaust pipe has cooled sufficiently. The
lights are located near the exhaust pipe and touching a hot exhaust pipe can
cause burns.
Removing
Installing
Page 355 of 484

5
When trouble arises
355
5-1. Essential information
If your vehicle needs to be towed
Emergency towingIf a tow truck is not available in an emergency, your vehicle may be
temporarily towed using a cable or chain secured to the emergency
towing eyelet to move the vehicle to a safe location or to free a stuck
vehicle from sand or snow. This should only be attempted on hard
surfaced roads for short distances at low speeds.
A driver must be in the vehicle to steer and operate the brakes. The
vehicle's wheels, drive train, axles, steering and brakes must be in
good condition.
For vehicles with an automatic transmission, only the front towing
eyelet may be used. Towing eyelet
If towing is necessary, we recommend having your vehicle towed by
your SUBARU dealer or a commercial towing service, using a flat
bed truck.
The vehicle must be secured properly with safety chains. Each
safety chain should be equally tightened and care must be taken not
to pull the chains so tightly that the suspension bottoms out.
Page 358 of 484
358
5-1. Essential information
RearInsert the towing eyelet into the
hole and tighten partially by
hand.
Tighten down the towing eyelet
securely using a wheel nut
wrench.
STEP 2
STEP 3
■Location of the emergency towing eyelet
→P. 378
Page 359 of 484
5
When trouble arises
359
5-1. Essential information
Towing with a sling-type truck
WARNING
■Installing towing eyelets to the vehicle
Make sure that towing eyelet is installed securely.
If not securely installed, towing eyelets may come loose during towing. This
may lead to accidents that cause serious injury or even death.
■After towing
Always remove the towing eyelet. Failure to do so can cause the SRS air-
bags to not operate correctly in the event of a frontal collision.
CAUTION
■To prevent body damage
Do not tow with a sling-type truck, either from the front or rear.
Page 366 of 484

366
5-2. Steps to take in an emergency
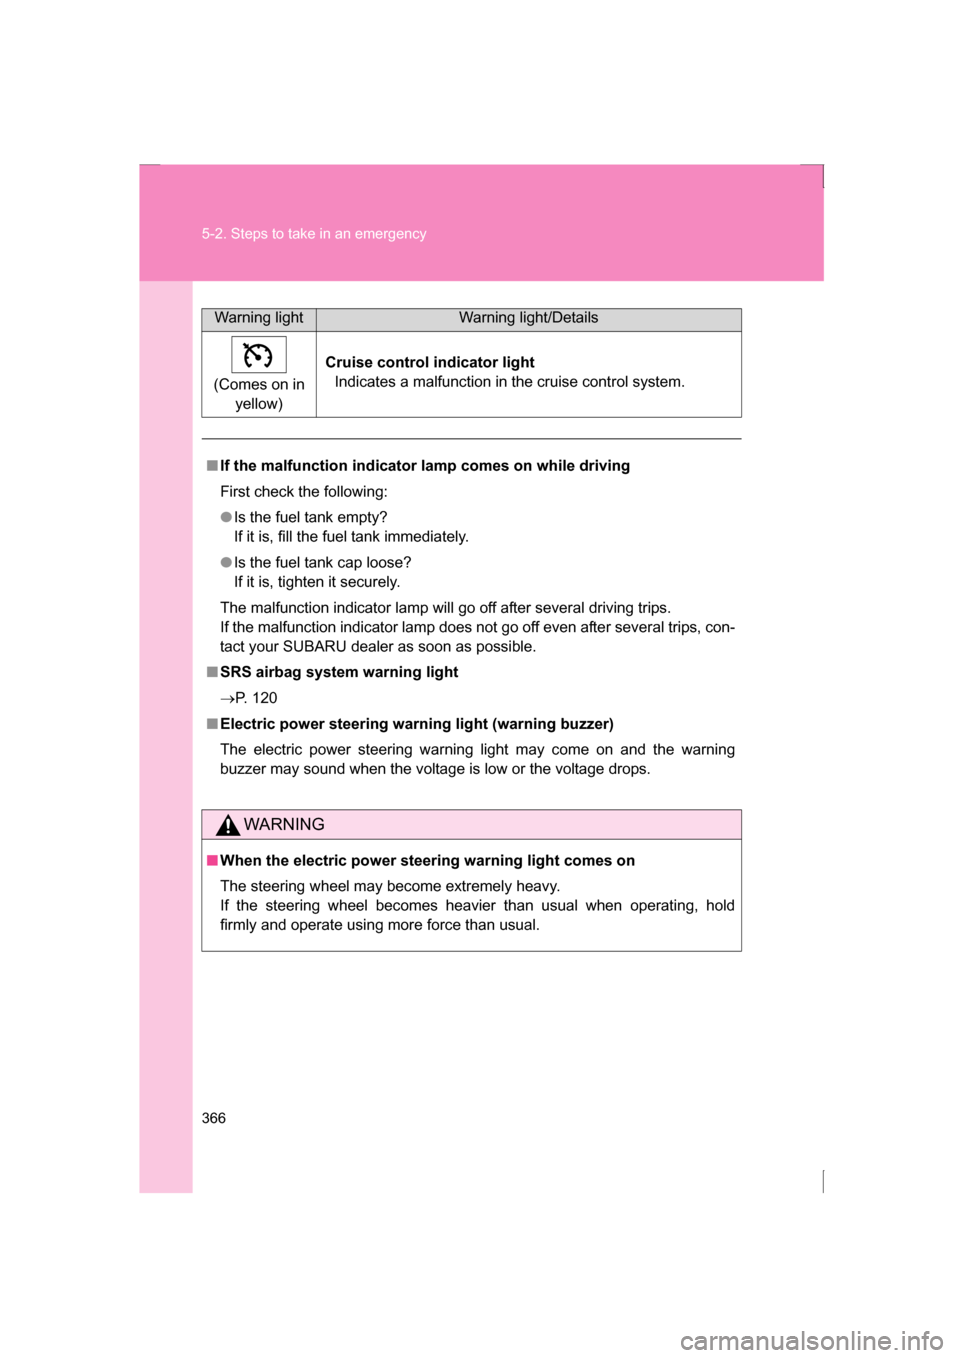
(Comes on in yellow) Cruise control indicator light
Indicates a malfunction in the cruise control system.
■If the malfunction indicator lamp comes on while driving
First check the following:
●Is the fuel tank empty?
If it is, fill the fuel tank immediately.
●Is the fuel tank cap loose?
If it is, tighten it securely.
The malfunction indicator lamp will go off after several driving trips.
If the malfunction indicator lamp does not go off even after several trips, con-
tact your SUBARU dealer as soon as possible.
■SRS airbag system warning light
→ P. 120
■Electric power steering warning light (warning buzzer)
The electric power steering warning light may come on and the warning
buzzer may sound when the voltage is low or the voltage drops.
WARNING
■When the electric power steering warning light comes on
The steering wheel may become extremely heavy.
If the steering wheel becomes heavier than usual when operating, hold
firmly and operate using more force than usual.
Warning lightWarning light/Details
Page 379 of 484
5
When trouble arises
379
5-2. Steps to take in an emergency
Taking out the spare tireRemove the luggage mat.
Remove the cover and loosen
the center fastener that secures
the spare tire.
STEP 1
STEP 2
Page 385 of 484

5
When trouble arises
385
5-2. Steps to take in an emergency
WARNING
■Using the tire jack
Improper use of the tire jack may lead to death or serious injuries due to
the vehicle suddenly falling off the jack.
●Do not use the tire jack for any purpose other than replacing tires or
installing and removing tire chains.
●Only use the tire jack that comes with this vehicle for replacing a flat
tire.
Do not use it on other vehicles, and do not use other tire jacks for
replacing tires on this vehicle.
●Always check that the tire jack is securely set to the jack point.
●Do not put any part of your body under the vehicle supported by a jack.
●Do not start or run the engine while your vehicle is supported by the
jack.
●Do not raise the vehicle while someone is in it.
●When raising the vehicle, do not put an object on or under the jack.
●Do not raise the vehicle to a height greater than that required to
replace the tire.
●Use a jack stand if it is necessary to get under the vehicle.
Take particular care when lowering the vehicle to ensure that no one
working on or near the vehicle may be injured.
Page 437 of 484

437
6-1. Specifications
6
Vehicle specifications
*:Table 1 Occupant loading and distribution for vehicle normal load
for various designated seating capacities
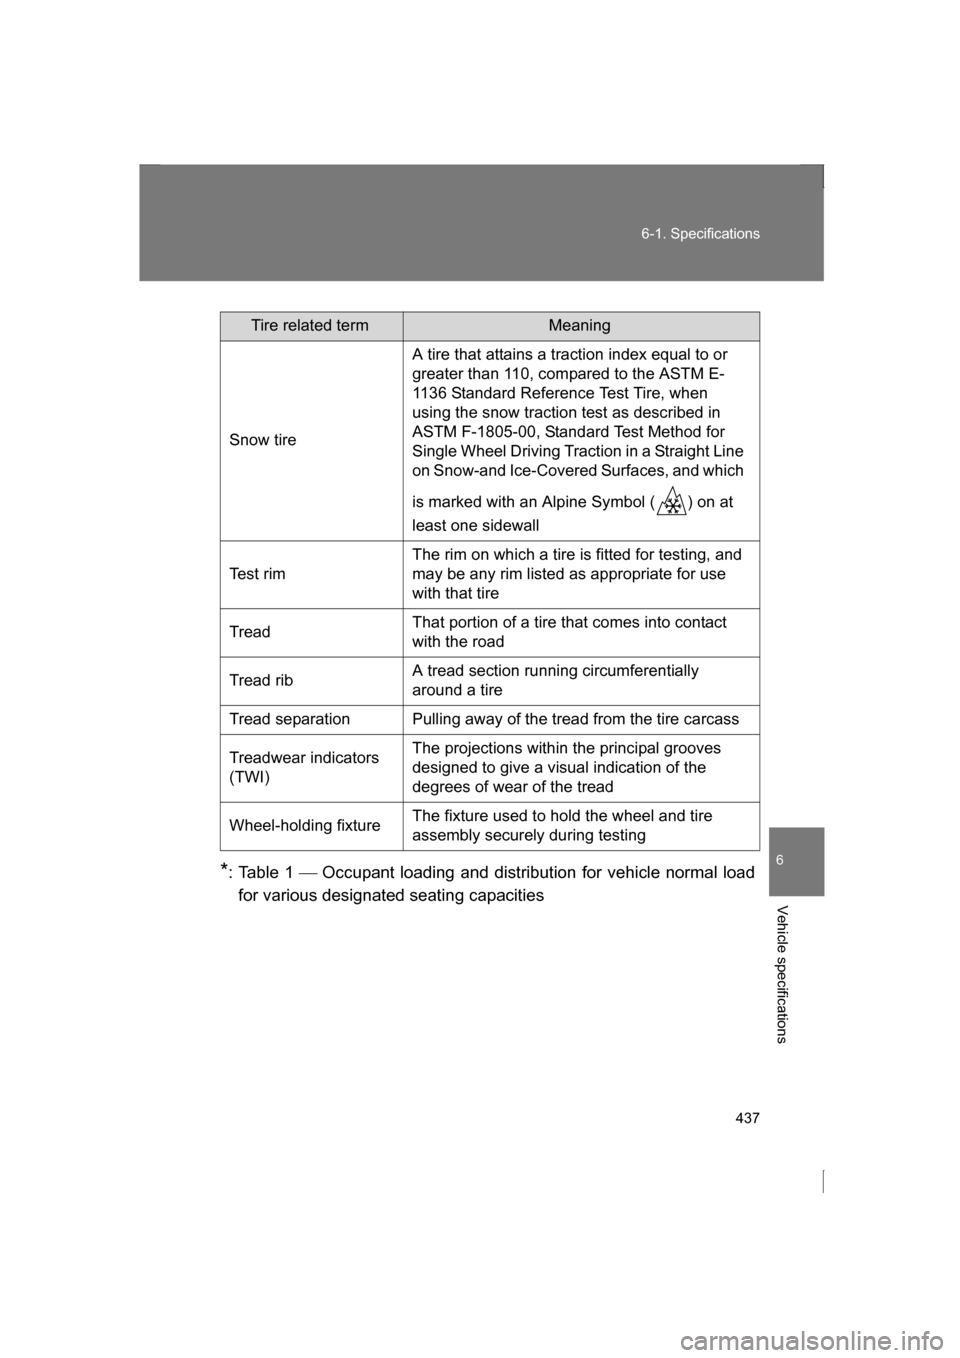
Tire related termMeaning
Snow tire A tire that attains a traction index equal to or
greater than 110, compared to the ASTM E-
1136 Standard Reference Test Tire, when
using the snow traction test as described in
ASTM F-1805-00, Standard Test Method for
Single Wheel Driving Traction in a Straight Line
on Snow-and Ice-Covered Surfaces, and which
is marked with an Alpine Symbol ( ) on at
least one sidewall
Te s t r i m The rim on which a tire is fitted for testing, and
may be any rim listed as appropriate for use
with that tire
Tread That portion of a tire that comes into contact
with the road
Tread rib A tread section running circumferentially
around a tire
Tread separation Pulling away of the tread from the tire carcass
Treadwear indicators
(TWI) The projections within the principal grooves
designed to give a visual indication of the
degrees of wear of the tread
Wheel-holding fixture The fixture used to hold the wheel and tire
assembly securely during testing