2013 SKODA OCTAVIA sat nav
[x] Cancel search: sat navPage 34 of 83

If the ejected disc is not taken out within 10 seconds, it will be retracted again forsafety reasons. However, the unit will not change to the CD source.WARNING■ The CD/DVD player is a laser product.■On the manufacturing date, this unit was classified as a class 1 laser product
in accordance with the national/international standards DIN EN 60825-1:
2008-05 and DHHS Rules 21 CFR, sub-chapter J The laser used in this class 1
laser product is so weak that there is no risk of danger when operated cor-
rectly.■
This product is designed so that the laser is restricted to the inside of the
unit. However, the installed laser could be classified in a higher class were the
housing to be removed. For this reason, never remove the housing of the unit.
CAUTION
■ Be sure to wait until the CD has been fully ejected before you try to insert a new
CD. Otherwise you can damage the drive inside the unit.■
Insert into the CD drive only original audio CDs or standard CD-R and CD-RW
discs.
■
Do not stick anything to the CD!
■
Outside temperatures that are either too high or too low might cause the unit
to be temporarily unavailable. The unit switches to the last active menu.
Note
■ After pressing the symbol button it takes a few seconds for the CD to be ejec-
ted.■
Poor or unpaved road surfaces and severe vibrations may cause the CD to jump.
■
The device may be affected by damp (condensation) in cold or humid conditions.
This can lead to playback jumps or impair the play function. Wait until the mois-
ture has evaporated if this happens.
■
If the CD is physically damaged, is not readable or is inserted incorrectly, the fol-
lowing message is displayed: Error: CD. Check the CD and insert properly into the
drive.
■
It is possible under certain circumstances that copyright-protected CDs and
home-burnt CDs will not be played back at all or only in a limited way.
■
The national copyright laws that apply in your country must be observed.
SD memory cardFig. 19
SD memory card slots
First read and observe the introductory information and safety warn-
ings
on page 30.
The device makes it possible to play audio files from the SD memory card.
The SD memory card slots are located in the storage compartment on the front
passenger side.
Insert the SD memory card
›
Push the SD memory card into the SD memory card slot with the cut-off edge to
the front right until it “locks into place”. Playback starts automatically.
Remove the SD memory card
Depending on equipment fitted:
›
Press SETUP
→ Remove SD card 1 safely or Remove SD card 2 safely .
›
Press the inserted SD memory card. The SD memory “card” is ejected to the out-
put position.
SD memory card empty or data not readable
If a SD memory card is inserted on which no data or no readable data is stored,
nothing is played back from the SD memory card.
Due to differing quality requirements from different card manufacturers, it is not
always possible to guarantee the playback from SD memory cards.
Some files on the SD memory card or SD memory cards cannot be reproduced or their reproduction may be limited.
32Audio
Page 47 of 83

Navigation
Description of the navigation system
Preface to navigation
Introduction
This chapter contains information on the following subjects:
Main menu
45
Navigation data
46
First and foremost, pay attention to the safety instructions » page 4 , Important
notes .
The unit uses the GPS (Global Positioning System) satellite system for navigation.
The satellite signal allows you to determine your current vehicle position.
If the unit is outside the range of the GPS satellite signal (e.g. in dense vegeta-
tion, in tunnels, parking garages, etc.), the unit navigates only with restrictions
using on-vehicle sensors.
Navigation is done:
› by graphical instructions in the device screen and Maxi DOT display;
› via voice guidance.
The navigation unit can be operated: › using the buttons on the unit
» page 45;
› using the function keys in the unit screen
» page 45;
› using voice control
» page 14.
› on the MAXI DOT display
» page 13 .
WARNING■
Information about traffic lights, stop and right of way signs, parking and
stopping restrictions as well as lane constrictions and speed restrictions is not
taken into account for navigation by the unit.■
Always adjust the driving speed to the road, traffic and weather conditions.
WARNING (Continued)■ The navigation announcement provided may vary from current situations,
e.g. due to road works or out-of-date navigation data.■
The volume should be adjusted to ensure that acoustic signals from outside,
e.g. sirens from vehicles which have the right of way, such as police, ambu-
lance and fire brigade vehicles, can be heard at all time.
CAUTION
In some countries, some unit features can no longer be selected when the vehicle
is running faster than a certain speed. This is not a malfunction, but complies with the national legal regulations.
Main menu
Fig. 26
Main menu Navigation
First read and observe the introductory information and safety warn-
ings on page 45.
›
Press NAV.
The last opened navigation menu opens.
If a menu other than the main menu » Fig. 28 on page 49 is opened, the main
menu can be opened by pressing NAV
again.
Function keys of the navigation menu:
ButtonMeaningenter new destination or display routine informa- tion » page 54Display the menu My dests. » page 56 45Description of the navigation system
Page 52 of 83

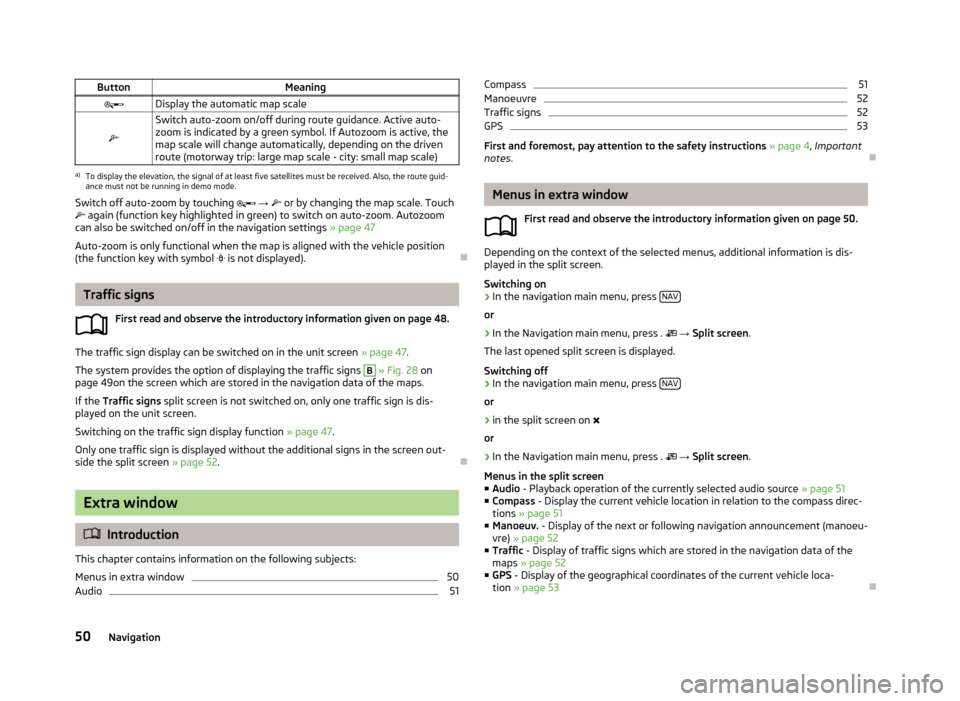
ButtonMeaningDisplay the automatic map scale
Switch auto-zoom on/off during route guidance. Active auto-
zoom is indicated by a green symbol. If Autozoom is active, the
map scale will change automatically, depending on the driven route (motorway trip: large map scale - city: small map scale)a)
To display the elevation, the signal of at least five satellites must be received. Also, the route guid-
ance must not be running in demo mode.
Switch off auto-zoom by touching → or by changing the map scale. Touch
again (function key highlighted in green) to switch on auto-zoom. Autozoom
can also be switched on/off in the navigation settings » page 47
Auto-zoom is only functional when the map is aligned with the vehicle position
(the function key with symbol
is not displayed).
Traffic signs
First read and observe the introductory information given on page 48.
The traffic sign display can be switched on in the unit screen » page 47.
The system provides the option of displaying the traffic signs
B
» Fig. 28 on
page 49on the screen which are stored in the navigation data of the maps.
If the Traffic signs split screen is not switched on, only one traffic sign is dis-
played on the unit screen.
Switching on the traffic sign display function » page 47.
Only one traffic sign is displayed without the additional signs in the screen out-
side the split screen » page 52.
Extra window
Introduction
This chapter contains information on the following subjects:
Menus in extra window
50
Audio
51Compass51Manoeuvre52
Traffic signs
52
GPS
53
First and foremost, pay attention to the safety instructions » page 4 , Important
notes .
Menus in extra window
First read and observe the introductory information given on page 50.
Depending on the context of the selected menus, additional information is dis-
played in the split screen.
Switching on
›
In the navigation main menu, press NAV
or
›
In the Navigation main menu, press .
→ Split screen .
The last opened split screen is displayed.
Switching off
›
In the navigation main menu, press NAV
or
›
in the split screen on
or
›
In the Navigation main menu, press .
→ Split screen .
Menus in the split screen
■ Audio - Playback operation of the currently selected audio source » page 51
■ Compass - Display the current vehicle location in relation to the compass direc-
tions » page 51
■ Manoeuv. - Display of the next or following navigation announcement (manoeu-
vre) » page 52
■ Traffic - Display of traffic signs which are stored in the navigation data of the
maps » page 52
■ GPS - Display of the geographical coordinates of the current vehicle loca-
tion » page 53
50Navigation
Page 55 of 83

GPSFig. 33
Split screen: GPS
First read and observe the introductory information given on page 50.
The GPS (Global Positioning System) split screen displays information on the cur-
rent geographical position of the vehicle.
Displayed information
■ - Longitude 1)
■ - Latitude 1 )
■ - Elevation 2)
■ Satellites: - Number of received/available satellites
1)
In order to display the information regarding the geographical longitude and latitude of the current
vehicle position, the GPS signal has to be received from at least three satellites.
2)
To display information about elevation above sea level of the current vehicle position, the GPS signal
of at least five satellites must be received. Also, the route guidance must not be running in demo
mode.
53Description of the navigation system
Page 80 of 83

SD memory card32
Search area58
Select in map55
Seats Settings
72
Select frequency range See main menu
23
Selecting driving mode67
Select radio station See main menu
23
Select signal source Media
28
Semi-automatic station search24
Settings Additional keyboard languages
20
Bluetooth21
DAB27
Device18
Driving mode67
FM27
Keyboard20
Language18
Manage favourites41
Map display49
Media29
Navigation46
Radio26
Restore factory settings21
Screen19
Sound19
Telephone37
Time and date20
Units20
User profile41
Voice control21
Volume7
Setting vehicle systems Auxiliary heater and ventilation
69
Parking and manoeuvring71
Restore factory settings73
Setup18
Set vehicle systems ESC system70
Tires70
Signal source30
Sound19
Speed limit for snow tires70
Split screen Geographical coordinates
53
GPS53
Manoeuvre52
Navigation announcement52
Traffic52
Traffic signs52
START-STOP68
Station See main menu
23
Status line8
Stopover65
Switching off Volume
7
Switching the unit off6
Switching the unit on6
Switch voice control on/off
15
Synchronous adjustment of both mirrors72
T
Telephone
35
Bluetooth profile38
Conference44
Dial telephone40
Disconnection41
Fast connection40
Functions41
Main menu36
On screen messages36
Pairing39
Settings37
Telephone conference44
Telephone conversation44
Telephone functions41
Tilt the mirror surface - lower in reverse72
Time20
Tire pressure monitor68, 70
TMC Traffic information
63
touch screen6
TP (traffic report)25
Traffic63
Dynamic route64
Information64
Operation64
Traffic information TMC
63
Traffic information (TP)25
Traffic reports63
Information64
Operation64
Traffic signs50, 52
Travel light - travel mode71
U
Unit menus
6
Unit operation8
In the unit screen8
Operating lever10
Unit screen8
Units20
Unit screen Operation
8
USB33
V
vCard
57
Vehicle equipment Declaration of conformity
4
Vehicle identification number73
Vehicle settings67
78Index