2013 NISSAN XTERRA ECO mode
[x] Cancel search: ECO modePage 6 of 22
TIRE PRESSURE MONITORING SYSTEM (TPMS)
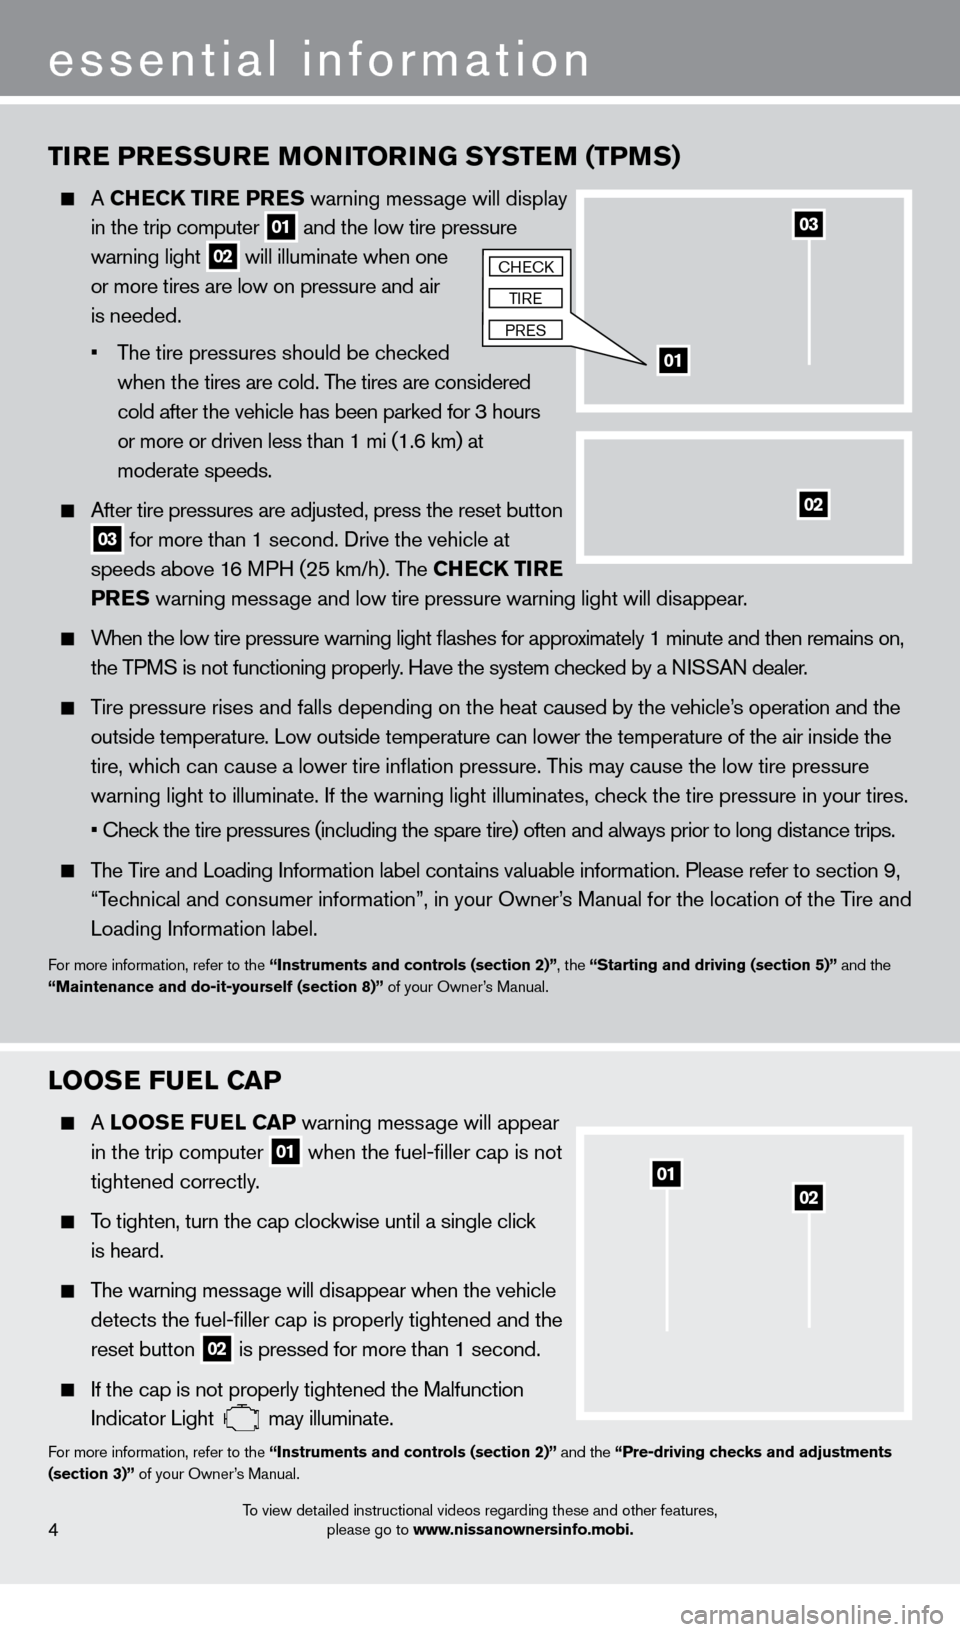
A CHECK TIRE PRES warning message will display
in the trip computer
01 and the low tire pressure
warning light 02 will illuminate when one
or more tires are low on pressure and air
is needed.
•
T
he tire pressures should be checked
when the tires are cold. The tires are considered
cold after the vehicle has been parked for 3 hours
or more or driven less than 1 mi (1.6 km) at
moderate speeds.
After tire pressures are adjusted, press the reset button
03 for more than 1 second. Drive the vehicle at
speeds above 16 MPH (25 km/h). The CHECK TIRE
PRES warning message and low tire pressure warning light will disappear.
When the low tire pressure warning light flashes for approximately 1 minute and then remains on,
the TPMS is not functioning properly. Have the system checked by a NISSAN dealer.
Tire pressure rises and falls depending on the heat caused by the vehicle’s operation and the
outside temperature. Low outside temperature can lower the temperature o\
f the air inside the
tire, whic
h can cause a lower tire inflation pressure. This may cause the low tire pressure
warning light to illuminate. If the warning light illuminates, c
heck the tire pressure in your tires.
• Chec
k the tire pressures (including the spare tire) often and always prior to long distance trips.
The Tire and Loading Information label contains valuable information. Please refer to section 9,
“T
echnical and consumer information”, in your Owner’s Manual for the location of the Tire and
Loading Information label.
For more information, refer to the “Instruments and controls (section 2)”, the “Starting and driving (section 5)” and the
“Maintenance and do-it-yourself (section 8)” of your Owner’s Manual.
essential information
0201
LOOSE FUEL CAP
A LOOSE F UEL CAP warning mess age will appear
in the trip computer 01 when the fuel-filler cap is not
tightened correctly
.
To tighten, turn the cap clockwise until a single click
is heard.
The warning message will disappear when the vehicle
detects the fuel-filler cap is properly tightened and the
reset button 02 is pressed for more than 1 second.
If the cap is not properly tightened the Malfunction
Indicator Light may illuminate.For more information, refer to the “Instruments and controls (section 2)” and the “Pre-driving checks and adjustments
(section 3)” of your Owner’s Manual.
To view detailed instructional videos regarding these and other features, please go to www.nissanownersinfo.mobi.
03
01
02
cHEck
TIRE
PRES
4
1275731_13_Xterra_NAM_QRG_102612.indd 410/26/12 11:18 AM
Page 7 of 22
To view detailed instructional videos regarding these and other features, please go to www.nissanownersinfo.mobi.5
CLOCK SET/ADJUSTMENT
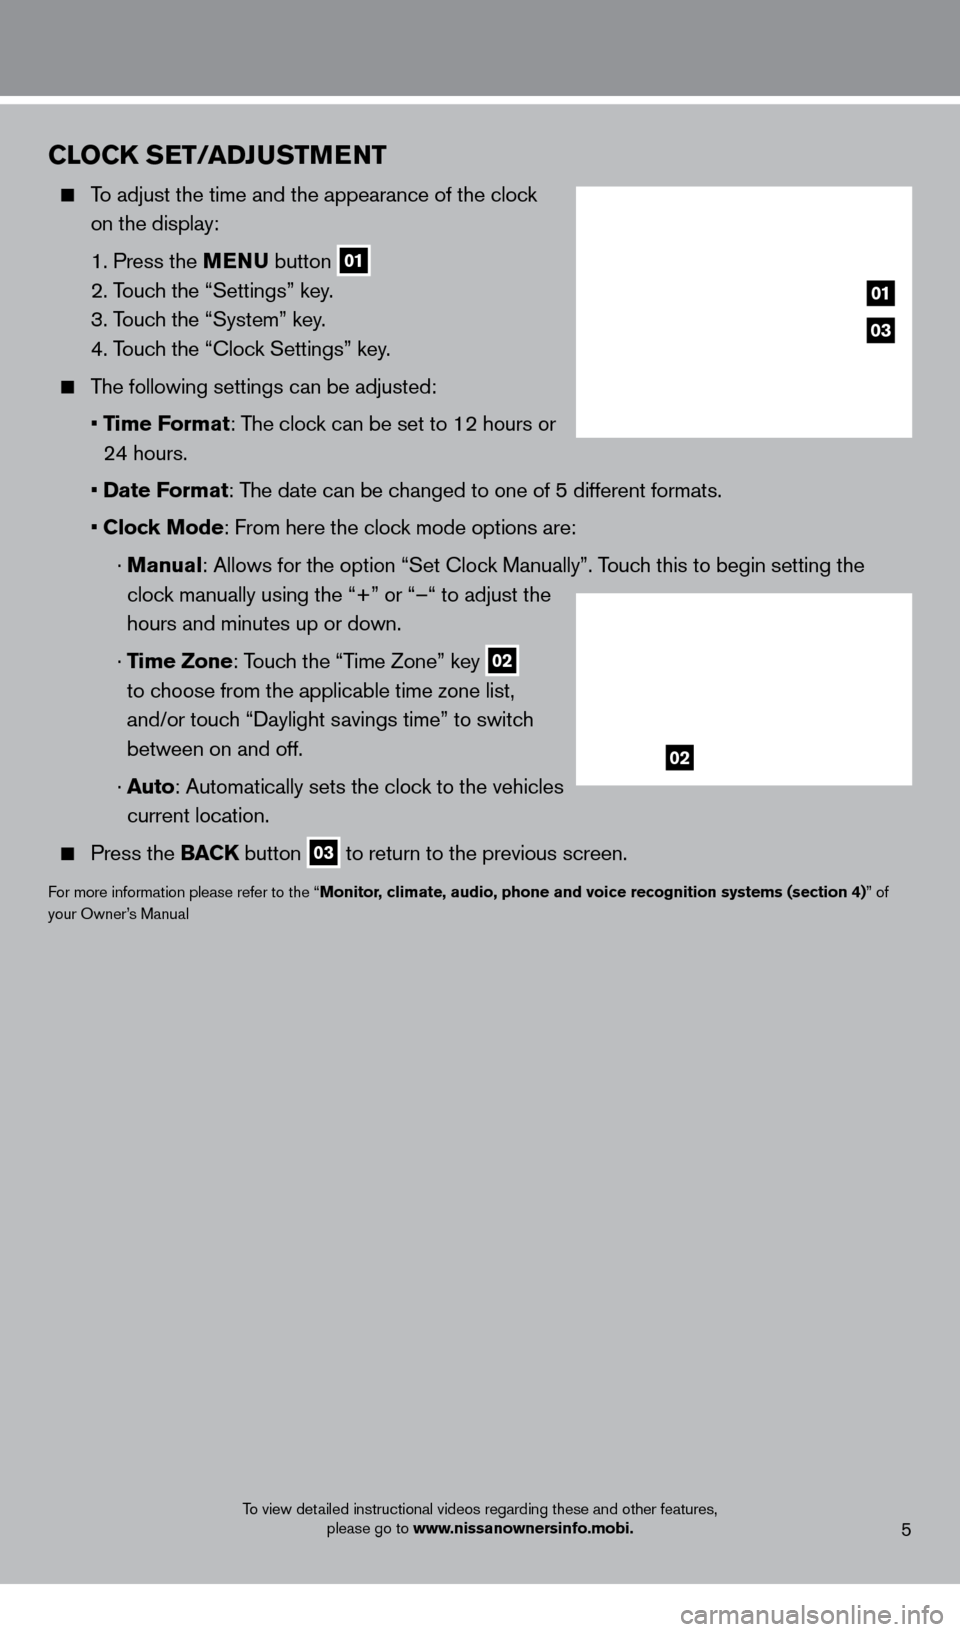
To adjust the time and the appearance of the clock
on the display:
1. Press the
MENU button
01
2. Touch the “Settings” key.
3. T
ouch the “System” key.
4. T
ouch the “ c lock Settings” key.
The following settings can be adjusted:
•
Time Format: The clock can be set to 12 hours or
24 hours.
•
Date Format: The date can be changed to one of 5 different formats.
•
Clock Mode: From here the clock mode options are:
·
Manual
: Allows for the option “Set c lock Manually”. Touch this to begin setting the
clock manually using the “+” or “–“ to adjust the
hours and minutes up or down.
·
Time Zone: Touch the “Time Zone” key
02
to choose from the applicable time zone list,
and/or touch “Daylight savings time” to switch
between on and off.
·
A
uto: Automatically sets the clock to the vehicles
current location.
Press the BAC K button 03 to return to the previous screen.
For more information please refer to the “Monitor, climate, audio, phone and voice recognition systems (section 4)” of
your Owner’s Manual
03
01
02
1275731_13_Xterra_NAM_QRG_102612.indd 510/26/12 11:18 AM
Page 12 of 22
FM/AM/SiriusXM* SATELLITE RADIO WITH CD PLAYER
(if so equipped)
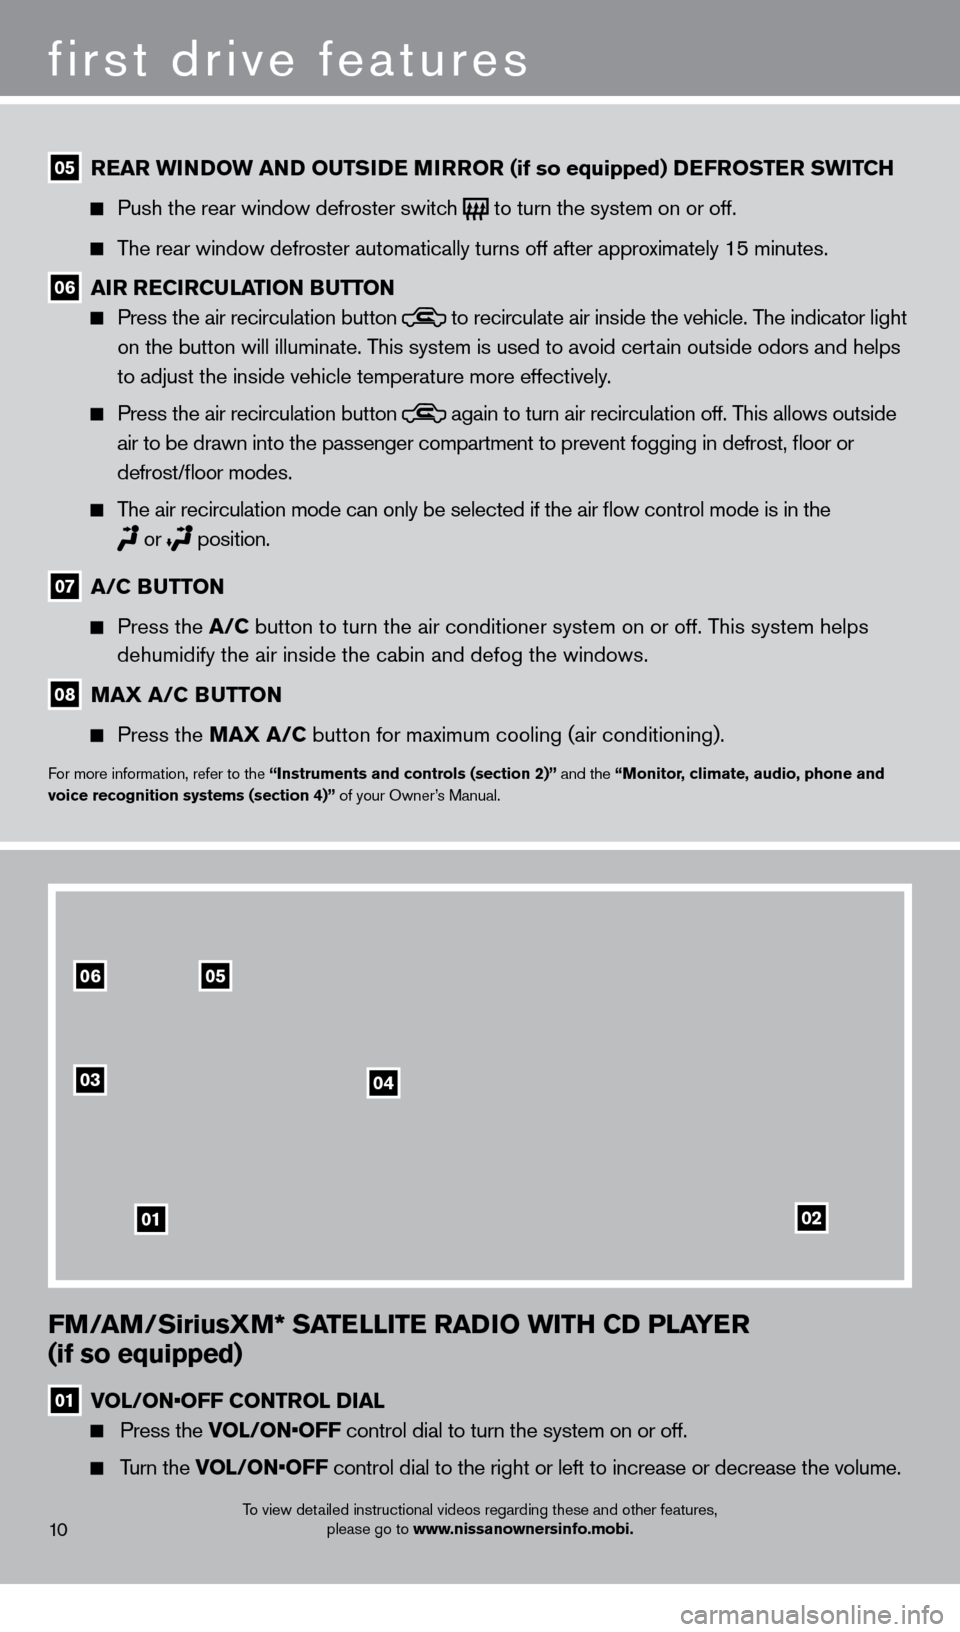
01 V OL/ON•OFF CONTROL DIAL
Press the VOL/ON•OFF control dial to turn the system on or off.
Turn the VOL/ON•OFF control dial to the right or left to increase or decrease the volume.
first drive features
To view detailed instructional videos regarding these and other features,
please go to www.nissanownersinfo.mobi.
05 REAR WINDOW AND OUTSIDE MIRROR (if so equipped) DEFROSTER SWITCH
Push the rear window defroster switc
h to turn the system on or off.
The rear window defroster automatically turns off after approximately 15 minutes.
06 AIR RECIRCULATION BUTTON Press the air recirculation button
to recirculate air inside the vehicle. The indicator light
on the button will illuminate. This system is used to avoid certain outside odors and helps
to adjust the inside vehicle temperature more effectively.
Press the air recirculation button again to turn air recirculation off. This allows outside
air to be drawn into the passenger compartment to prevent fogging in def\
rost, floor or
defrost/floor modes.
The air recirculation mode can only be selected if the air flow control\
mode is in the
or
position.
07 A/C B UTTON
Press the
A/C button to turn the air conditioner system on or off. This system helps
dehumidify the air inside the cabin and defog the windows.
08 MAX A/C BUTTON
Press the
MAX A/C button for maximum cooling (air conditioning).
For more information, refer to the “Instruments and controls (section 2)” and the “Monitor, climate, audio, phone and
voice recognition systems (section 4)” of your Owner’s Manual.
10
0506
03
01
04
02
1275731_13_Xterra_NAM_QRG_102612.indd 1010/26/12 11:18 AM
Page 15 of 22
TRIP COMPUTER (if so equipped)
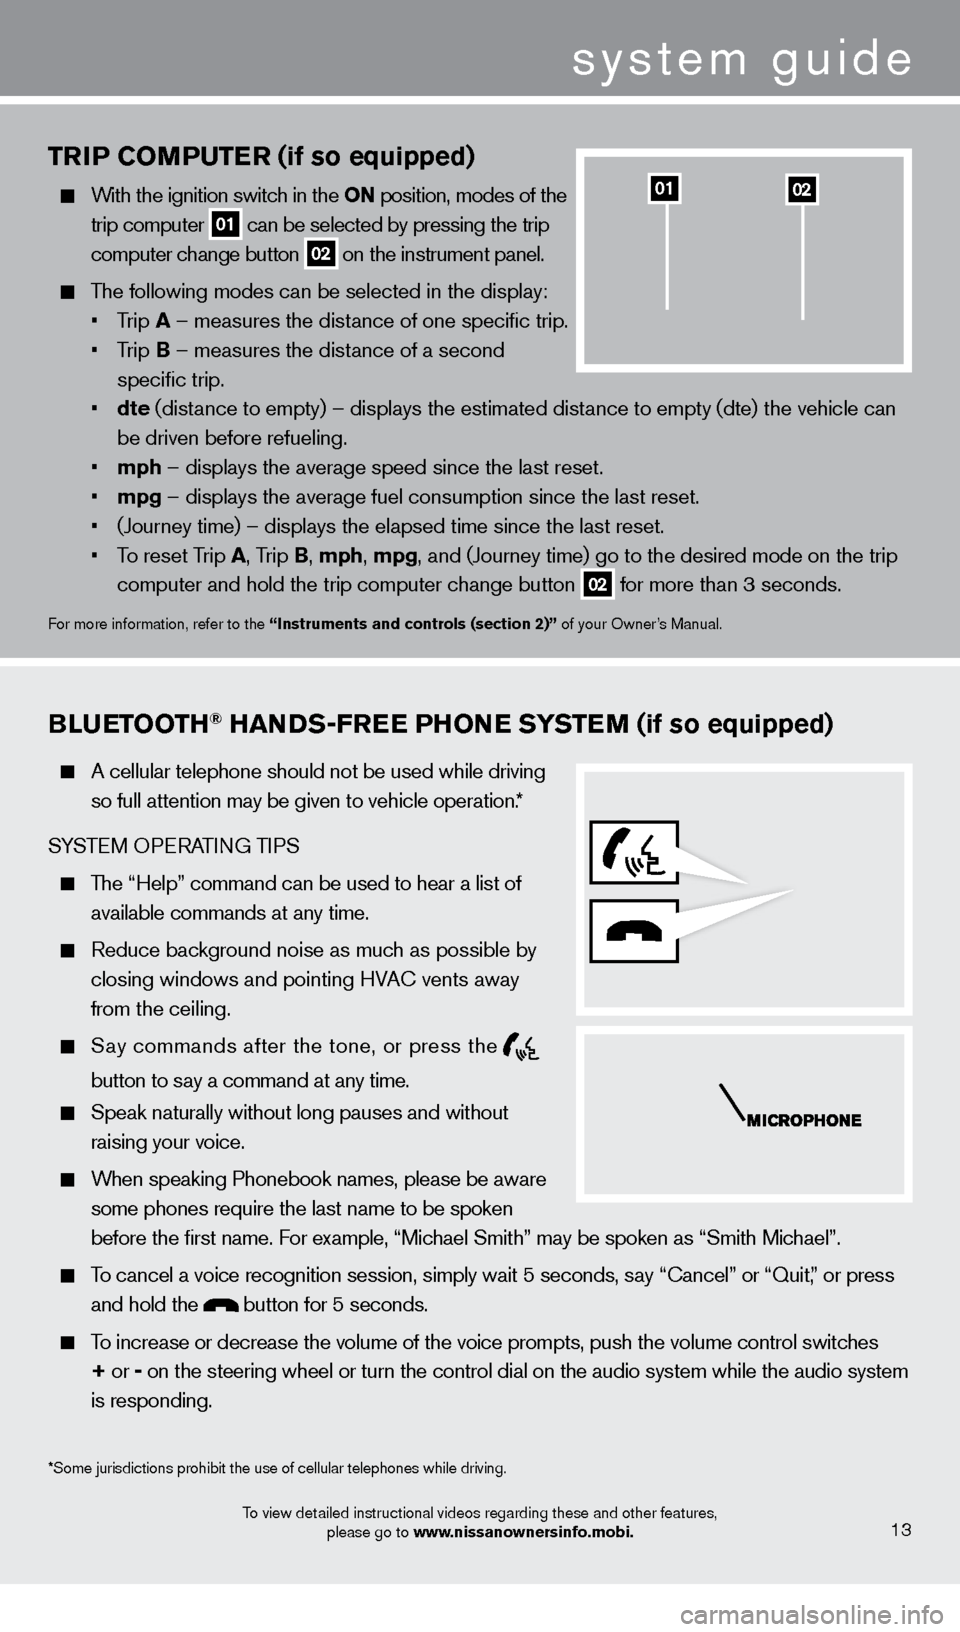
With the ignition switch in the ON position, modes of the trip computer
01 can be selected by pressing the trip
computer change button 02 on the instrument panel.
The following modes can be selected in the display:
•
T
rip A – measures the distance of one specific trip.
•
T
rip B – measures the distance of a second
specific trip.
•
dte
(distance to empty) – displays the estimated distance to empty (dte) the vehicle can
be driven before refueling.
•
mph
– displays the average speed since the last reset.
•
mpg
– displays the average fuel consumption since the last reset.
•
(Journey time) – displays the elapsed time since the last reset
.
•
T
o reset Trip A , Trip B, mph, mpg, and (Journey time) go to the desired mode on the trip
computer and hold the trip computer change button
02 for more than 3 seconds.
For more information, refer to the “Instruments and controls (section 2)” of your Owner’s Manual.
0201
BLUETOOTH® HANDS-FREE PHONE SYSTEM (if so equipped)
A cellular telephone should not be used while driving
so full attention may be given to vehicle operation.*
SYSTEM OPERATING TIPS
The “Help” command can be used to hear a list of available commands at any time.
Reduce bac kground noise as much as possible by
closing windows and pointing HVA
c
vents away
from the ceiling.
Say commands after the tone, or press the
button to say a command at any time.
Speak naturally without long pauses and without
raising your voice.
When speaking Phonebook names, please be aware some phones require the last name to be spoken
before the first name. For example, “Michael Smith” may be spoken as “Smith Michael”.
To cancel a voice recognition session, simply wait 5 seconds, say “ c ancel” or “Quit,” or press
and hold the
button for 5 seconds.
To increase or decrease the volume of the voice prompts, push the volume \
control switches
+ or -
on the steering wheel or turn the control dial on the audio system while\
the audio system
is responding.
To view detailed instructional videos regarding these and other features, please go to www.nissanownersinfo.mobi.13
*Some jurisdictions prohibit the use of cellular telephones while drivin\
g.
system guide
1275731_13_Xterra_NAM_QRG_102612.indd 1310/26/12 11:18 AM
Page 16 of 22
If the Voice Recognition system does not recognize your voice commands, train th\
e system using the Voice Adaptation Mode. See your Owner’s Manual for detailed information.
For more detailed information and instructions, refer to your cellular phone Owner’s Manual and visit www.nissanusa.com/bluetooth.
BLUETOOTH® SYSTEM WITHOUT N Av IGATION (if so equipped)
cONNEcTING PRO c EDURE
NOTE: The vehicle must be stationary when connecting the phone.
1.
Press the
button on the steering wheel. The system announces the available commands. 2.
S
ay: “
c
onnect phone”. The system acknowledges the command and announces the next set
of available commands.
3.
S
ay: “Add phone”. The system acknowledges the command and asks you to initiate connecting
from the phone handset.
4.
Initiate connecting from the phone:
The connecting procedure varies according to each cellular phone model. For detailed connecting instructions and compatible phones, please visit www.nissanusa.com/bluetooth.
When prompted for a PIN code, enter “1234” from the handset. (The PIN code is assigned by NISSAN and cannot be changed.)
5.
S
ay a name for the phone when the system asks you to provide one. You can give the phone
a name of your choice.
PHONEBOO
k
SE
TUP
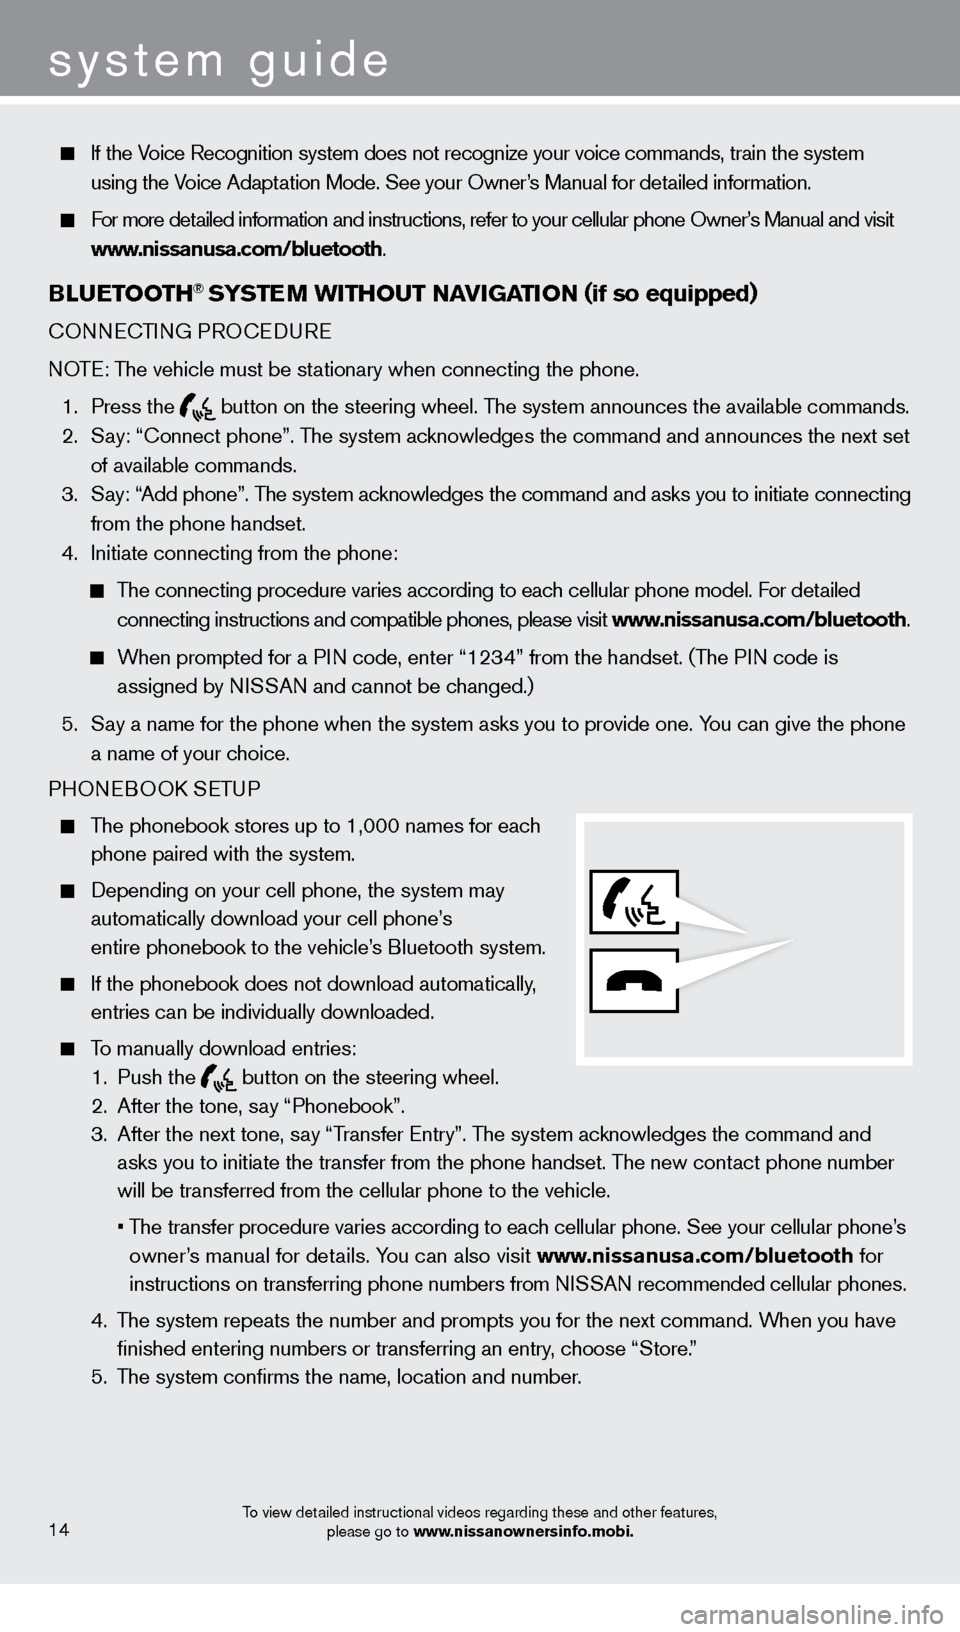
The phonebook stores up to 1,000 names for each
phone paired with the system.
Depending on your cell phone, the system may
automatically download your cell phone’
s
entire phonebook to the vehicle’
s Bluetooth system.
If the phonebook does not download automatically ,
entries can be individually downloaded.
To manually download entries:
1.
Push the button on the steering wheel.
2.
After the tone, s ay “Phonebook”.
3.
After the next tone, s
ay “Transfer Entry”. The system acknowledges the command and
asks you to initiate the transfer from the phone handset. The new contact phone number
will be transferred from the cellular phone to the vehicle.
•
T
he transfer procedure varies according to each cellular phone. See your cellular phone’s
owner’s manual for details. You can also visit www.nissanusa.com/bluetooth for
instructions on transferring phone numbers from NISSAN recommended cellular phones.
4.
T
he system repeats the number and prompts you for the next command. When you have
finished entering numbers or transferring an entry
, choose “Store.”
5.
T
he system confirms the name, location and number.
To view detailed instructional videos regarding these and other features, please go to www.nissanownersinfo.mobi.
system guide
14
1275731_13_Xterra_NAM_QRG_102612.indd 1410/26/12 11:18 AM