2013 NISSAN ROGUE lock
[x] Cancel search: lockPage 7 of 20

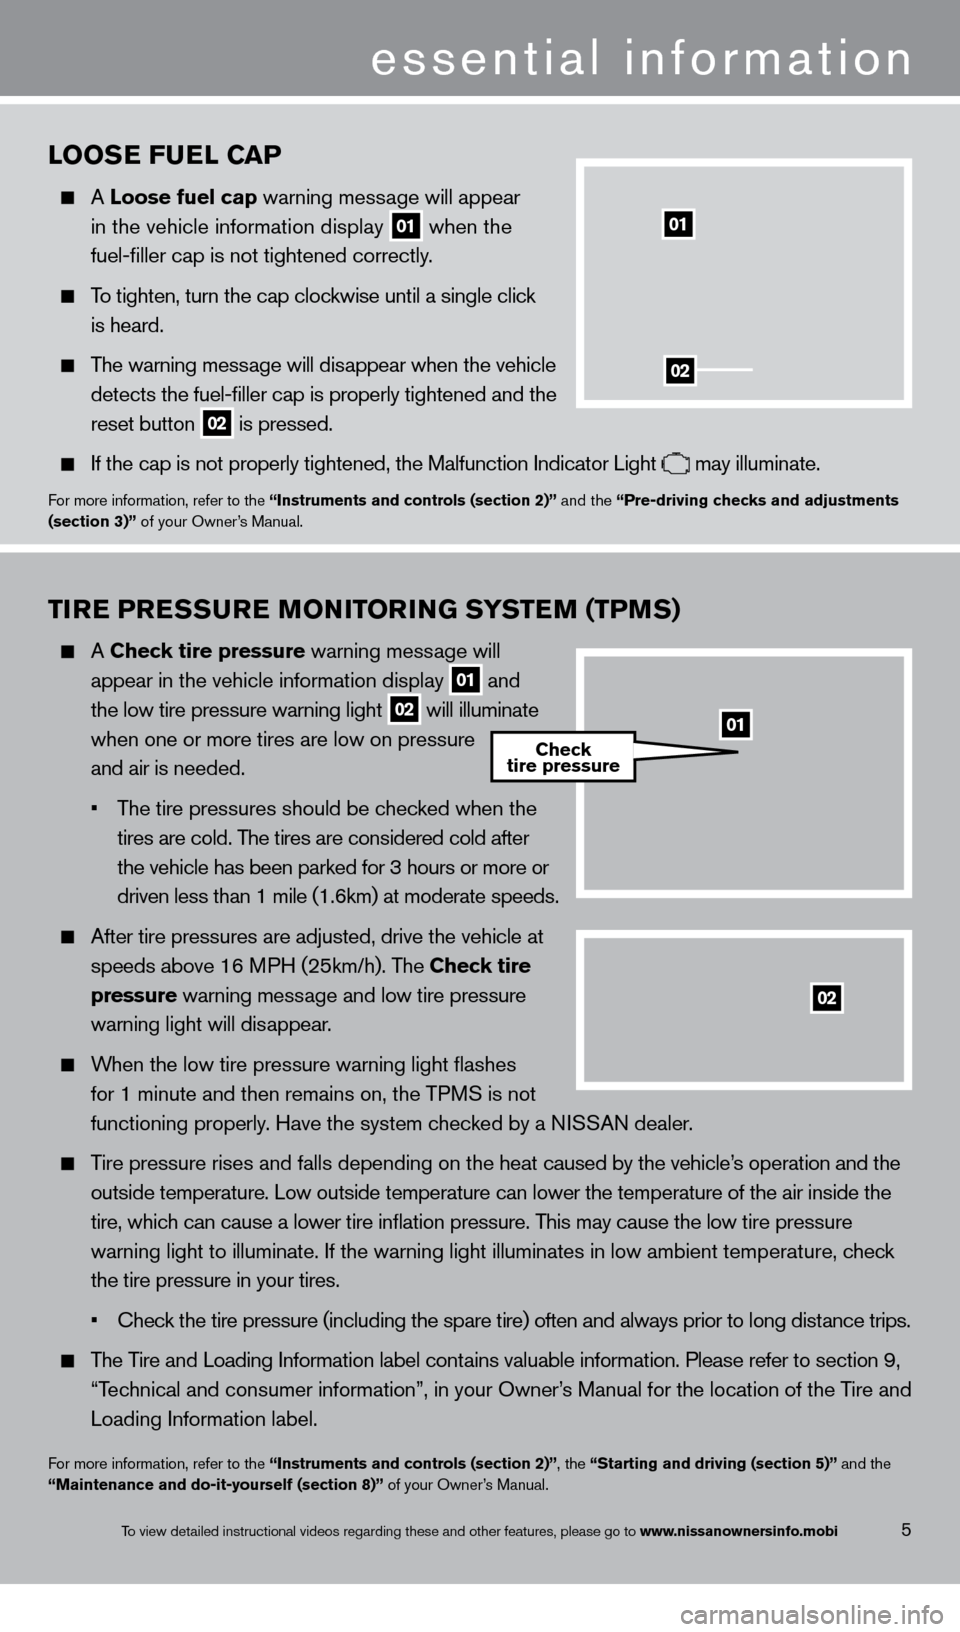
Tire PreSSu re Mo Ni Tor iN G SYST eM (TPM S)
A Check tire pressure warning message will
appear in the vehicle information display 01 and
the low tire pressure warning light 02 will illuminate
when one or more tires are low on pressure
and air is n
eeded.
•
T
he tire pressures should be checked when the
tires are cold. T
he tires are considered cold after
the vehicle has been parked for 3 hours or more or
driven less than 1 mile (1.6km) at moderate speeds.
After tire pressures are adjusted, drive the vehicle at
speeds above 16 M
PH (25km/h). The Check tire
pressure
warning message and low tire pressure
warning light will dis
appear.
When the low tire pressure warning light flashes
for 1 minute and then remains on, the TP
MS is not
functioning properly
. Have the system checked by a NISSAN dealer.
Tire pressure rises and falls depending on the heat caused by the vehicle’s operation and the
outside temperature. Low outside temperature can lower the temperature o\
f the air inside the
tire, whic
h can cause a lower tire inflation pressure. This may cause the low tire pressure
warning light to illuminate. If the warning light illuminates in low amb\
ient t
emperature, check
the tire pressure in your tires.
•
Chec
k the tire pressure (including the spare tire) often and always prior to long distance trips.
The Tire and Loading Information label contains valuable information. Please refer to section 9,
“T
echnical and consumer information”, in your Owner’s Manual for the location of the Tire and
Loading Information label.
For more information, refer to the “instruments and controls (section 2)”, the “Starting and driving (section 5)” and the
“Maintenance and do-it-yourself (section 8)” of your Owner’s Manual.
essential information
5
looSe F uel Ca P
A loose fuel cap warning message will appear
in the vehicle information display 01 when the
fuel-filler cap is not tightened correctly .
To tighten, turn the cap clockwise until a single click
is heard.
The warning message will disappear when the vehicle
detects the fuel-filler cap is properly tightened and the
reset button 02 is pressed.
If the cap is not properly tightened, the Malfunction Indicator Light may illuminate.For more information, refer to the “instruments and controls (section 2)” and the “Pre-driving checks and adjustments
(section 3)” of your Owner’s Manual.
02
01
02
01Check
tire pressure
To view detailed instructional videos regarding these and other features, please go\
to www.nissanownersinfo.mobi
1276461_13c_Rogue_QRG_122112.indd 512/21/12 10:30 AM
Page 9 of 20

liFTGaT e relea Se (NiS S a N i ntelligent
Key® models only – if so equipped)
To open the liftgate, unlock the liftgate using one
of the following methods:
•
Press the button 01 on the keyfob twice.
•
Push the liftgate request switc
h
02 .
Then push the liftgate release switch 03 just above
the license plate and pull the liftgate up.
Note: It is import
ant to make sure the Intelligent k
ey is
with you (that is, in your poc
ket or purse).
For more information, refer to the “Pre-driving checks and adjustments
(section 3)” of your Owner’s Manual.
01
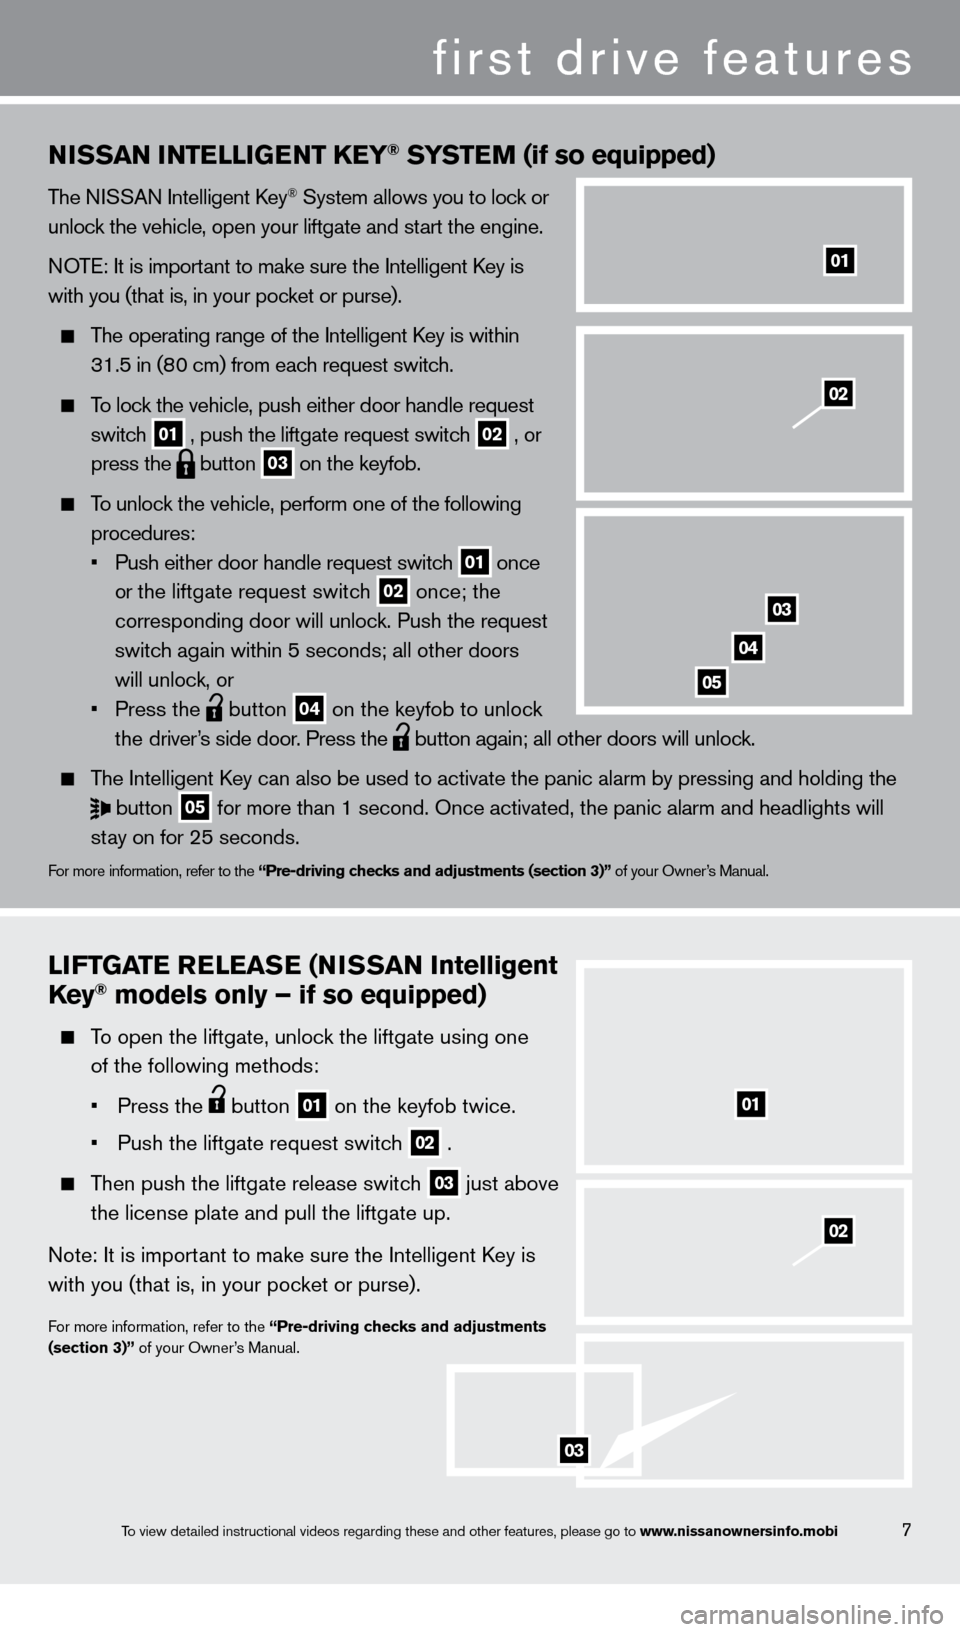
NiSS a N iNT elliGeNT Ke Y® SYSTeM (if so equipped)
The NISSAN Intelligent key® System allows you to lock or
unlock the vehicle, open your liftgate and start the engine.
NOTE: It is important to make sure the Intelligent
k
ey is
with you (that is, in your pocket or purse).
The operating range of the Intelligent key is within
31.5 in (8
0 cm) from each request switch.
To lock the vehicle, push either door handle request
switc
h
01 , push the liftgate request switch
02 , or
press the button
03 on the keyfob.
To unlock the vehicle, perform one of the following
procedures:
•
Push either door handle request switc
h
01 once
o
r the liftgate request switch 02 once; the
corresponding door will unloc
k. Push the request
switc
h again within 5 seconds; all other doors
will unloc
k, or
•
Press the button
04 on the keyfob to unlock
t
he driver’s side door. Press the button again; all other doors will unlock.
The Intelligent
key can also be used to activate the panic alarm by pressing and holding \
the
button
05 for more than 1 second. Once activated, the panic alarm and headlights w\
ill
st
ay on for 25 seconds.
For more information, refer to the “Pre-driving checks and adjustments (section 3)” of your Owner’s Manual.
01
03
04
05
02
02
7
first drive features
03
To view detailed instructional videos regarding these and other features, please go\
to www.nissanownersinfo.mobi
1276461_13c_Rogue_QRG_122112.indd 712/21/12 10:30 AM
Page 10 of 20

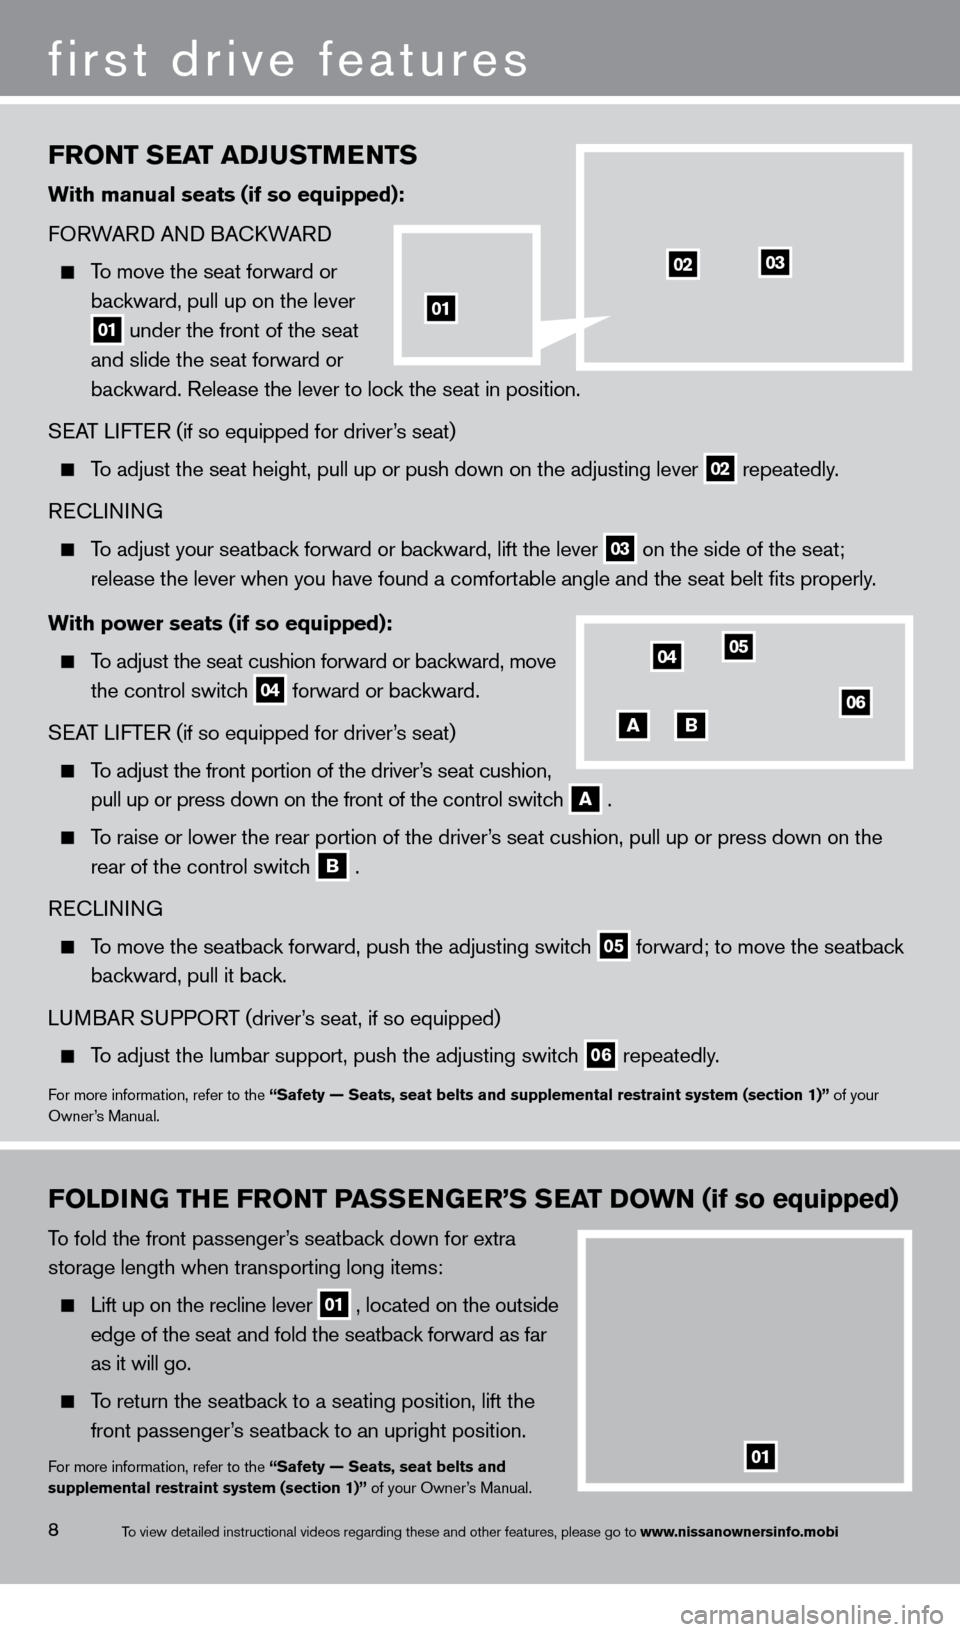
FroNT SeaT a DJuSTMeNTS
with manual seats (if so equipped):
FO RWARD AND BA
c
k WARD
To move the seat forward or
bac
kward, pull up on the lever
01 under the front of the seat
and slide the seat forward or
bac
kward. Release the lever to lock the seat in position.
SEAT LIFTER (if so equipped for driver’s seat)
To adjust the seat height, pull up or push down on the adjusting lever
02 repeatedly.
RE
cL
INING
To adjust your seatback forward or backward, lift the lever
03 on the side of the seat;
release the lever when you have found a comfort
able angle and the seat belt fits properly.
w
ith power seats (if so equipped):
To adjust the seat cushion forward or backward, move
the control switc
h
04 forward or backward.
SEAT LIFTER (if so equipped for driver’s seat)
To adjust the front portion of the driver’s seat cushion,
pull up or press down on the front of the control switc
h
a .
To raise or lower the rear portion of the driver’s seat cushion, pull up or press down on the
rear of the control switc
h
B .
RE
cL
INING
To move the seatback forward, push the adjusting switch
05 forward; to move the seatback
bac
kward, pull it back.
LUMBAR SUPPORT (driver’s seat, if so equipped)
To adjust the lumbar support, push the adjusting switch
06 repeatedly.
For more information, refer to the “Safety — Seats, seat belts and supplemental restraint system (se\
ction 1)” of your
Owner’s Manual.
Fol
DiNG THe F ro NT Pa SSeN Ge r ’S SeaT Do w N (if so equipped)
To fold the front passenger’s seatback down for extra
storage length when transporting long items:
Lift up on the recline lever
01 , located on the outside
edge of the seat and fold the seatbac k forward as far
as it will go.
To return the seatback to a seating position, lift the
front passenger’s seatback to an upright position.
For more information, refer to the “Safety — Seats, seat belts and
supplemental restraint system (section 1)” of your Owner’s Manual.
0405
06
first drive features
8
01
0203
aB
01
To view detailed instructional videos regarding these and other features, please go\
to www.nissanownersinfo.mobi
1276461_13c_Rogue_QRG_122112.indd 812/21/12 10:30 AM
Page 17 of 20

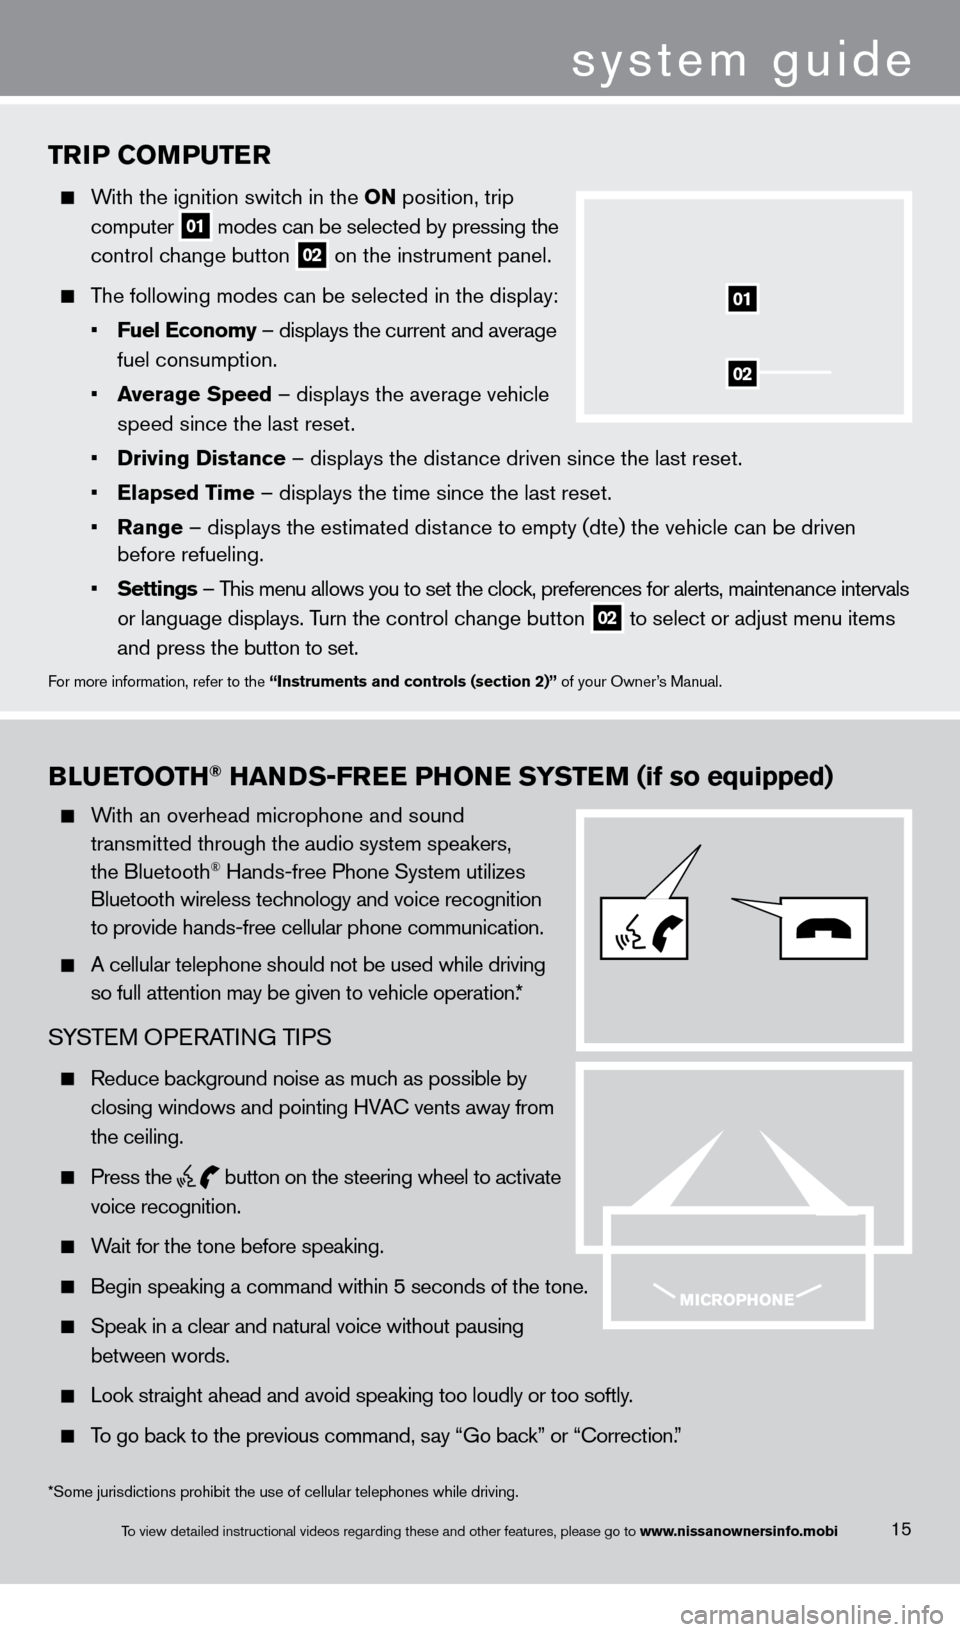
TriP Co MP u T er
With the ignition switch in the o N position, trip
computer
01 modes can be selected by pressing the
control c
hange button
02 on the instrument panel.
The following modes can be selected in the display:
•
F
uel e conomy – displays the current and average
fuel consumption.
•
a
verage Speed
– displays the average vehicle
speed since the last reset.
•
Driving Distance
– displays the distance driven since the last reset.
•
e
lapsed Time – displays the time since the last reset.
•
r
ange – displays the estimated distance to empty (dte) the vehicle can be driven
before refueling.
•
Settings
– This menu allows you to set the clock, preferences for alerts, maintenance intervals
or language displays. T
urn the control change button
02 to select or adjust menu items
a
nd press the button to set.
For more information, refer to the “instruments and controls (section 2)” of your Owner’s Manual.
02
01
Blue TooTH® HaNDS-Free PHo Ne SYST eM (if so equipped)
With an overhead microphone and sound
t
ransmitted through the audio system speakers,
the Bluetooth® Hands-free Phone System utilizes
Bluetooth wireless tec
hnology and voice recognition
to provide hands-free cellular phone communication.
A cellular telephone should not be used while driving
so full attention may be given to vehicle operation.
*
SYSTEM OPERATING TIPS
Reduce background noise as much as possible by
closing windows and pointing HV
A
c
vents away from
the ceiling.
Press the
button on the steering wheel to activate
voice recognition.
Wait for the tone before speaking.
Begin speaking a command within 5 seconds of the tone.
Speak in a clear and natural voice without pausing
between words.
Look straight ahead and avoid speaking too loudly or too softly .
To go back to the previous command, say “Go back” or “ c orrection.”
15
system guide
*Some jurisdictions prohibit the use of cellular telephones while drivin\
g.
To view detailed instructional videos regarding these and other features, please go\
to www.nissanownersinfo.mobi
1276461_13c_Rogue_QRG_122112.indd 1512/21/12 10:30 AM