2013 NISSAN ROGUE instrument panel
[x] Cancel search: instrument panelPage 5 of 20

SPorT Mo De
In the SPor T mode, the engine and transmission are
controlled to set the engine speed higher than in the
D (Dr
ive ) position. This enhances throttle response
for a “sporty” driving feeling.
The SPor T mode switch
01 is located on the
center console.
To turn the SPor T mode on, push the SPor T
mode switc
h. The SP
or
T mode indicator light in
the instrument panel illuminates. T
o turn the SP
or
T mode off, push the SP
or
T mode
switc
h again. The SP
or
T mode indicator light on the instrument panel will turn off.
For more information, refer to the “Starting and driving (section 5)” of your Owner’s Manual.
3
01
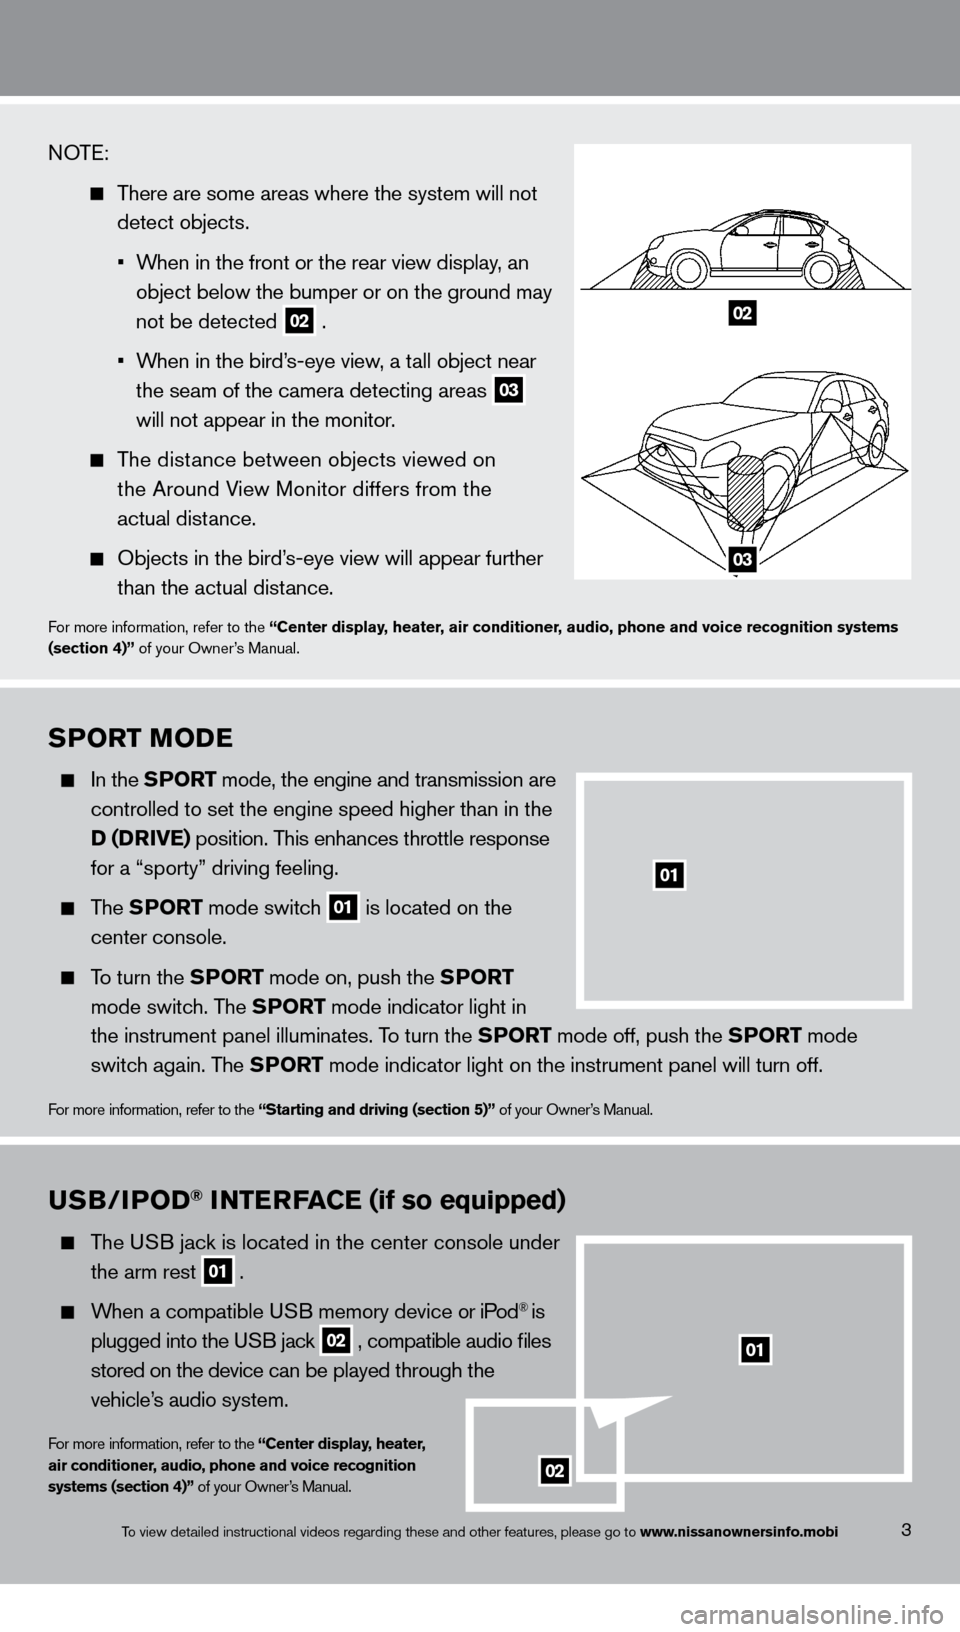
NOTE:
There are some areas where the system will not
detect objects.
•
W
hen in the front or the rear view display, an
object below the bumper or on the ground may
not be detected 02 .
•
W
hen in the bird’s-eye view, a tall object near
the seam of the camera detecting areas 03
will not appear in the monitor
.
The distance between objects viewed on
the Around V
iew Monitor differs from the
actual dist
ance.
Objects in the bird’ s-eye view will appear further
than the actual dist
ance.
For more information, refer to the “Center display, heater, air conditioner, audio, phone and voice recognition systems
(section 4)” of your Owner’s Manual.
02
03
To view detailed instructional videos regarding these and other features, please go\
to www.nissanownersinfo.mobi
uSB/iPoD® iNTerFaC e (if so equipped)
The USB jack is located in the center console under
the arm rest 01 .
When a compatible USB memory device or iPod® is
plugged into the U
SB jack
02 , compatible audio files
s
tored on the device can be played through the
vehicle’
s audio system.
For more information, refer to the “Center display, heater,
air conditioner, audio, phone and voice recognition
systems (section 4)” of your Owner’s Manual.
02
01
1276461_13c_Rogue_QRG_122112.indd 312/21/12 10:30 AM
Page 12 of 20

HeaDliGHT C o NT rol
HEADLIGHT
c
O
NTROL SWIT
cH
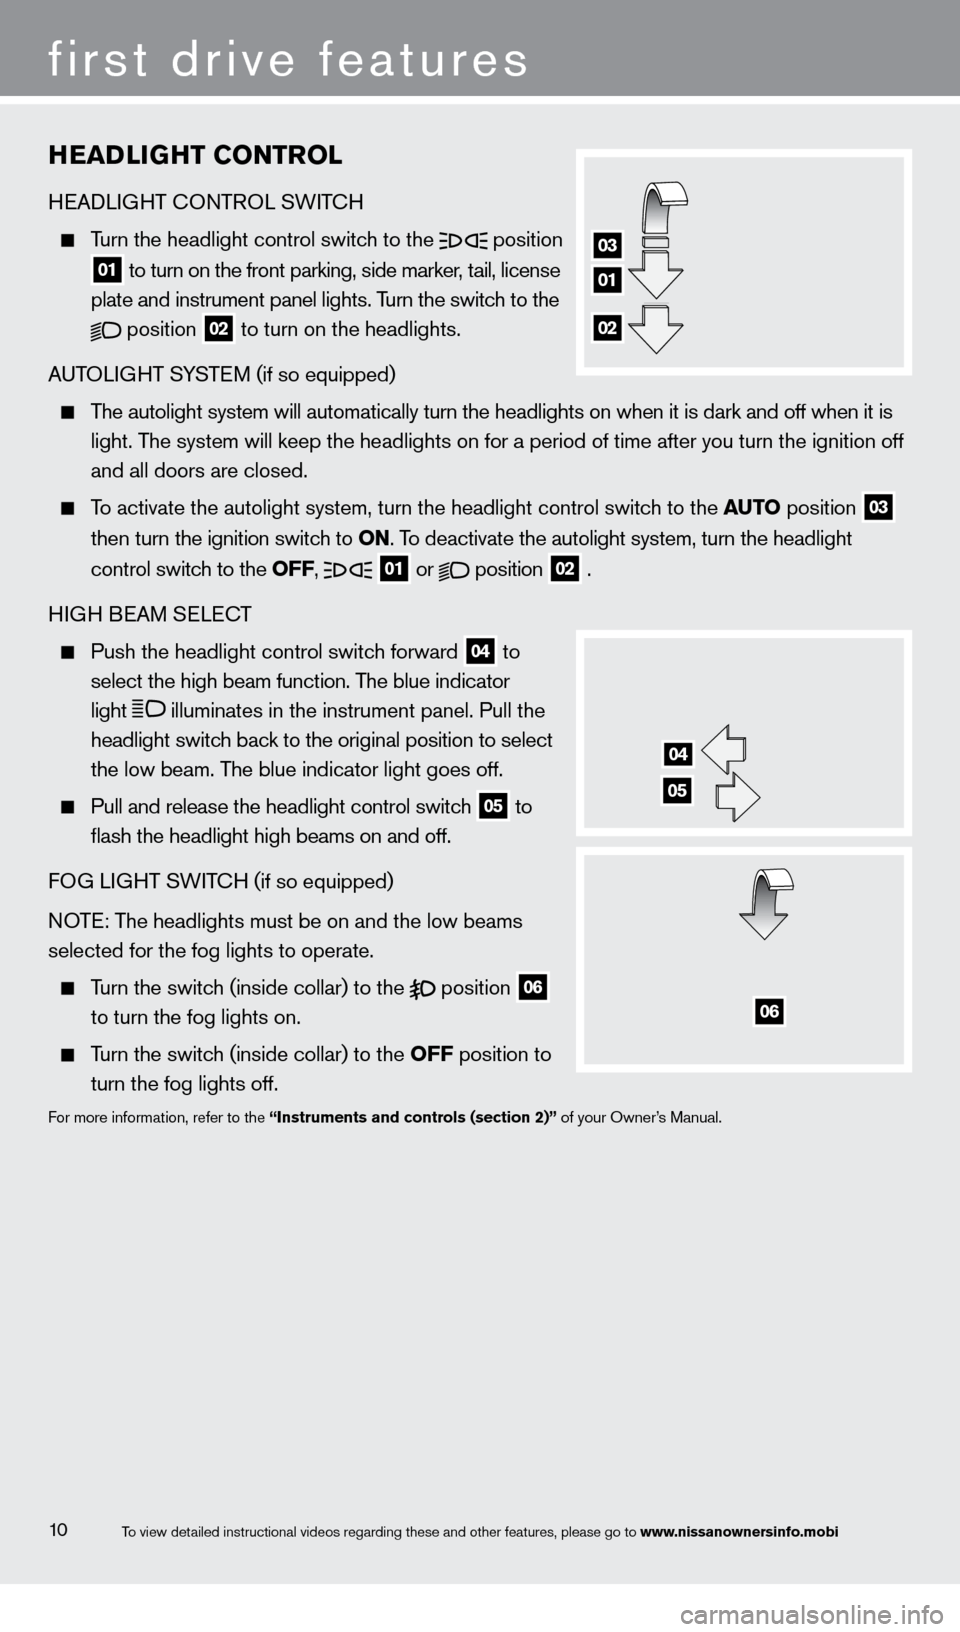
Turn the headlight control switch to the
position
01 to turn on the front parking, side marker, tail, license
plate and instrument panel lights. T urn the switch to the
position
02 to turn on the headlights.
AUTOLIGHT SYSTEM (if so equipped)
The autolight system will automatically turn the headlights on when it is\
dark and off when it is
light. T
he system will keep the headlights on for a period of time after you tur\
n the ignition off
and all doors are closed.
To activate the autolight system, turn the headlight control switch to the auTo position
03
t
hen turn the ignition switch to
o
N. To deactivate the autolight system, turn the headlight
control switc
h to the
o
FF,
01 or
position
02 .
HIGH BEAM SELE
cT
Push the headlight control switc h forward
04 to
select the high beam function. T
he blue indicator
light illuminates in the instrument panel. Pull the
headlight switc
h back to the original position to select
the low beam. T
he blue indicator light goes off.
Pull and release the headlight control switc h
05 to
flash the headlight high beams on and off.
FO
G LIGHT SWIT
cH (if so equipped)
N
OTE: The headlights must be on and the low beams
selected for the fog lights to operate.
Turn the switch (inside collar) to the
position
06
to turn the fog lights on.
Turn the switch (inside collar) to the
o FF position to
turn the fog lights off.
For more information, refer to the “instruments and controls (section 2)” of your Owner’s Manual.
first drive features
10
04
05
06
01
03
02
To view detailed instructional videos regarding these and other features, please go\
to www.nissanownersinfo.mobi
1276461_13c_Rogue_QRG_122112.indd 1012/21/12 10:30 AM
Page 16 of 20

CruiSe C o NT rol
The cruise control system enables you to set a constant
cruising speed once the vehicle has reac
hed 25 mph.
T
he system will automatically maintain the set speed
until you t
ap the brake pedal, accelerate, cancel or
turn the system off.
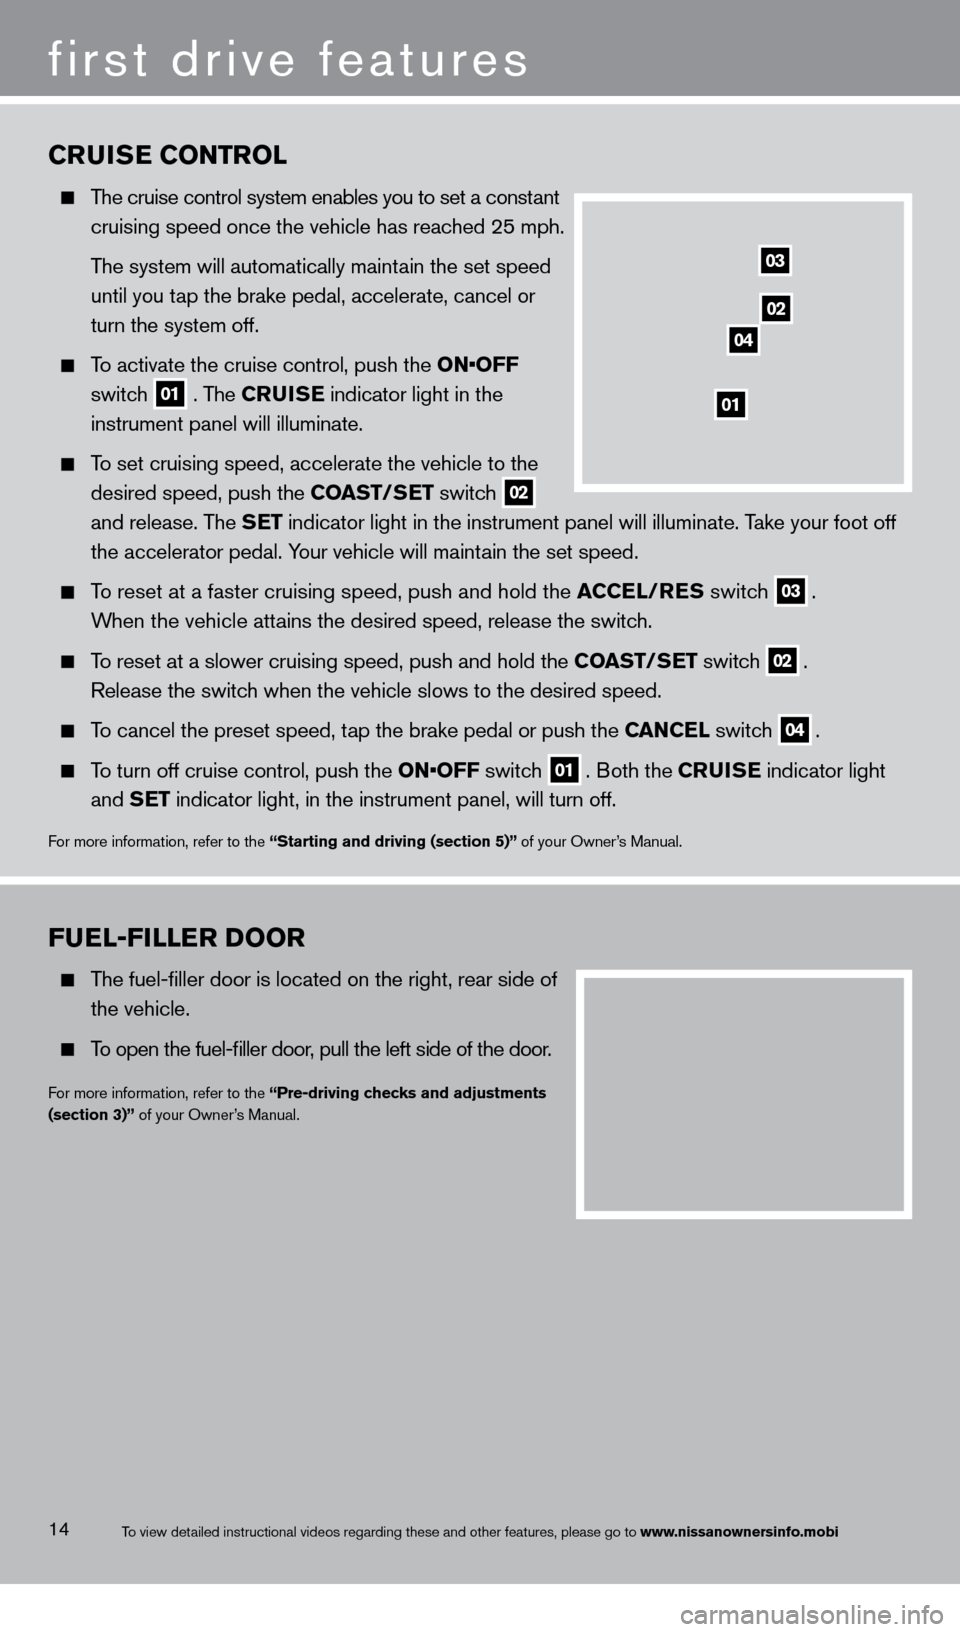
To activate the cruise control, push the ON•OFF
switc
h
01 . The Crui S e indicator light in the
instrument panel will illuminate.
To set cruising speed, accelerate the vehicle to the
desired speed, push the
C oa ST/S
e
T switch
02
and release. T
he Se
T indicator light in the instrument panel will illuminate. Take your foot off
the accelerator pedal. Y
our vehicle will maintain the set speed.
To reset at a faster cruising speed, push and hold the aC Cel/ re S switch
03 .
When the vehicle attains the desired speed, release the switch.
To reset at a slower cruising speed, push and hold the C oa ST/Se T switch
02 .
Release the switch when the vehicle slows to the desired speed.
To cancel the preset speed, tap the brake pedal or push the Ca NC el switch
04 .
To turn off cruise control, push the ON•OFF switch 01 . Both the Crui S e indicator light
and Se
T indicator light, in the instrument panel, will turn off.
For more information, refer to the “Starting and driving (section 5)” of your Owner’s Manual.
03
02
01
04
Fuel-Filler Door
The fuel-filler door is located on the right, rear side of
the vehicle.
To open the fuel-filler door, pull the left side of the door.
For more information, refer to the “Pre-driving checks and adjustments
(section 3)” of your Owner’s Manual.
14
first drive features
To view detailed instructional videos regarding these and other features, please go\
to www.nissanownersinfo.mobi
1276461_13c_Rogue_QRG_122112.indd 1412/21/12 10:30 AM
Page 17 of 20

TriP Co MP u T er
With the ignition switch in the o N position, trip
computer
01 modes can be selected by pressing the
control c
hange button
02 on the instrument panel.
The following modes can be selected in the display:
•
F
uel e conomy – displays the current and average
fuel consumption.
•
a
verage Speed
– displays the average vehicle
speed since the last reset.
•
Driving Distance
– displays the distance driven since the last reset.
•
e
lapsed Time – displays the time since the last reset.
•
r
ange – displays the estimated distance to empty (dte) the vehicle can be driven
before refueling.
•
Settings
– This menu allows you to set the clock, preferences for alerts, maintenance intervals
or language displays. T
urn the control change button
02 to select or adjust menu items
a
nd press the button to set.
For more information, refer to the “instruments and controls (section 2)” of your Owner’s Manual.
02
01
Blue TooTH® HaNDS-Free PHo Ne SYST eM (if so equipped)
With an overhead microphone and sound
t
ransmitted through the audio system speakers,
the Bluetooth® Hands-free Phone System utilizes
Bluetooth wireless tec
hnology and voice recognition
to provide hands-free cellular phone communication.
A cellular telephone should not be used while driving
so full attention may be given to vehicle operation.
*
SYSTEM OPERATING TIPS
Reduce background noise as much as possible by
closing windows and pointing HV
A
c
vents away from
the ceiling.
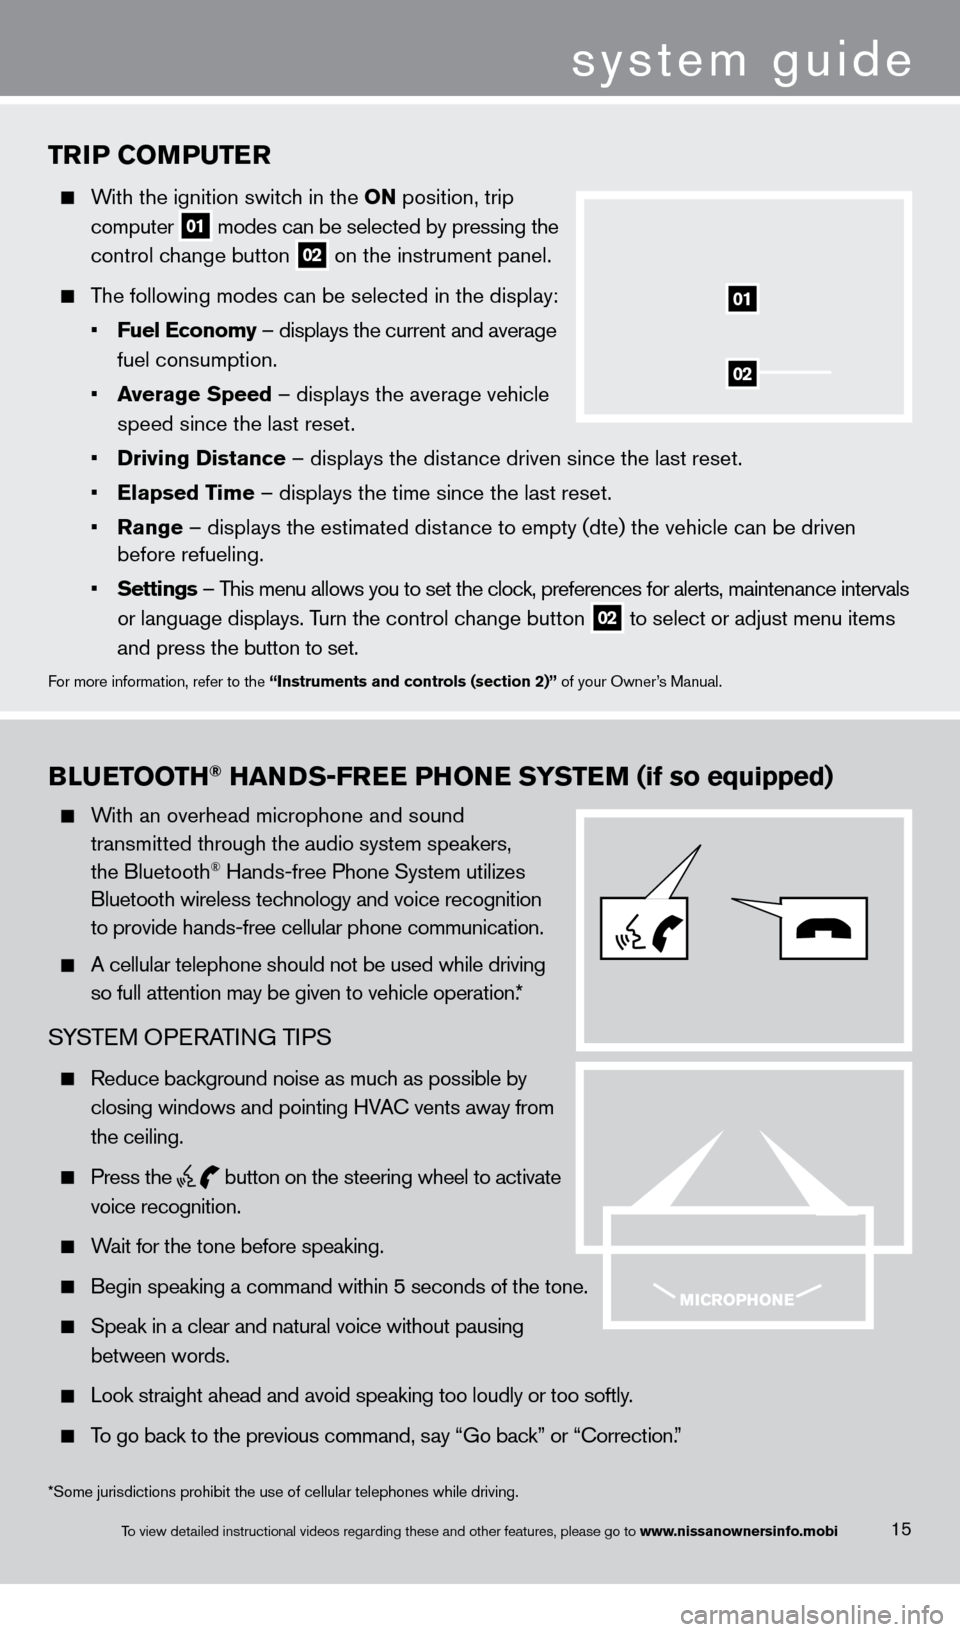
Press the
button on the steering wheel to activate
voice recognition.
Wait for the tone before speaking.
Begin speaking a command within 5 seconds of the tone.
Speak in a clear and natural voice without pausing
between words.
Look straight ahead and avoid speaking too loudly or too softly .
To go back to the previous command, say “Go back” or “ c orrection.”
15
system guide
*Some jurisdictions prohibit the use of cellular telephones while drivin\
g.
To view detailed instructional videos regarding these and other features, please go\
to www.nissanownersinfo.mobi
1276461_13c_Rogue_QRG_122112.indd 1512/21/12 10:30 AM