2013 NISSAN PATHFINDER light
[x] Cancel search: lightPage 15 of 28
03 ON•OFF/FAN SPEED CONTROL DIAL
Turn the fan speed control dial left to decrease fan speed or right to in\
crease fan speed.
Press the button to turn the system on or off.
04 MoDE BUTTo N
Press the
Mo DE button to cycle through the following air flow outlets:
Air flows from the center and side vents.
Air flows from the center , side and foot vents.
Air flows mainly from the foot vents.
Air flows from the defroster and foot vents.
05 A iR R EC iR CUl AT io N BUTTo N
Press the air recirculation button to recirculate interior air inside the vehicle. The
indicator light on the button will come on. This system is used to avoid certain outside odors
and helps to adjust the inside vehicle temperature more effectively.
The air recirculation mode cannot be activated when the air conditioner i\
s in the front defrosting mode
or the front defrosting and foot vent mode .
06 R EAR A iR C o NDi T io NER
To control the rear automatic air conditioning system
with the front air conditioner control panel, press the
REAR button.
When the rear automatic air conditioning system is on, the indicator light on the REAR button will
illuminate and the front display will switch to the rear
air conditioner screen. Use the driver temperature and fan speed buttons\
to adjust settings.
To adjust the front air conditioning system, press the REAR button again or wait 10 seconds.
The rear control buttons will not function when the Rear Air-conditioning screen is shown
on the front display.
07 D EFRo ST iN G/DEFo GGiN G FRo NT AND SiD E W iN DoWS
Press the defroster control button to turn the system on. The A/c automatically turns on
when the defroster mode is selected. T his feature removes humidity from the air.
Turn the temperature control dial 01 to set the desired temperature.
To defrost the front and side windows, set the temperature control 01 and fan speed control 03 to their maximum settings.
08 R EAR W iN DoW AN D o UTSiD E MiR Ro R (if so equipped) DEFRo STER SW i TCH
Press the rear window defroster switc
h to turn the system on or off.
This function automatically turns off after approximately 15 minutes.
09 A/C BUTTo N
Press the
A/C button to turn the air conditioner system on or off. This system helps cool and
dehumidify the air inside the cabin and defog the windows.
For more information, refer to the “instruments and controls (section 2)” and the “Monitor, climate, audio, phone and
voice recognition systems (section 4)” of your Owner’s Manual.
13To view detailed instructional videos regarding these and other features,
please go to www.nissanownersinfo.mobi.
1351506_13c_Pathfinder_QRG_013013.indd 131/31/13 9:10 AM
Page 16 of 28
FM/AM/SiriusXM SATElliTE RADi o W i TH CD/D v D P l AYER
(if so equipped)
01 VOL/ON•OFF CONTROL KNOB
Press the V OL/ON•OFF control knob to turn the system on or off. Turn the knob right or left
to increase or decrease the volume.
0103
02
04
0506
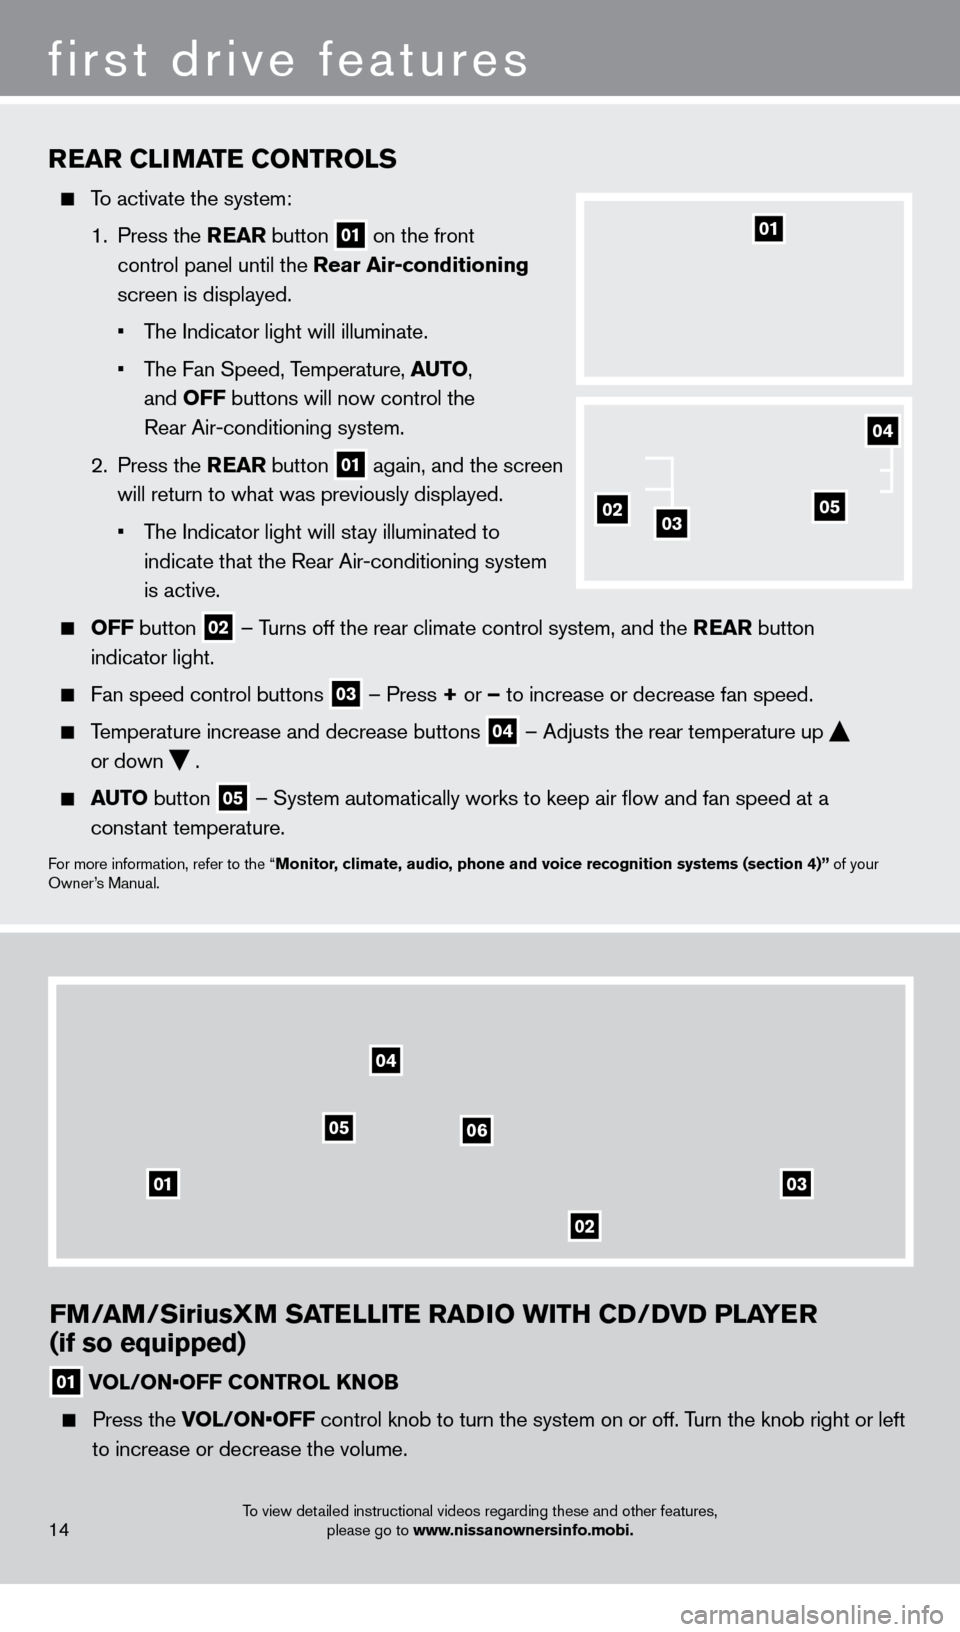
REAR CliMA TE C o NTRol S
To activate the system:
1.
Press the REAR button
01 on the front
control panel until the Rear Air-conditioning
screen is displayed.
•
T
he Indicator light will illuminate.
•
T
he Fan Speed, Temperature, AUT
o,
and
o
FF buttons will now control the
Rear Air-conditioning system.
2.
Press the REAR button
01 again, and the screen
will return to what was previously displayed.
•
T
he Indicator light will stay illuminated to
indicate that the Rear Air-conditioning system
is active.
o FF button 02 –
Turns off the rear climate control system, and the REAR button
indicator light.
Fan speed control buttons 03 – Press + or – to increase or decrease fan speed.
Temperature increase and decrease buttons 04 – Adjusts the rear temperature up
or down
.
AUTo button 05 – System automatically works to keep air flow and fan speed at a
constant temperature.
For more information, refer to the “Monitor, climate, audio, phone and voice recognition systems (section 4)” of your
Owner’s Manual.
01
14
first drive features
020503
04
To view detailed instructional videos regarding these and other features, please go to www.nissanownersinfo.mobi.
1351506_13c_Pathfinder_QRG_013013.indd 141/31/13 9:10 AM
Page 18 of 28
first drive features
CRUiSE Co NTRol
The cruise control system enables you to set a
constant cruising speed once the vehicle has
reached 25 MPH (40 km/h).
The system will automatically maintain the set speed until you tap the brake pedal, accelerate, cancel or
turn the system off.
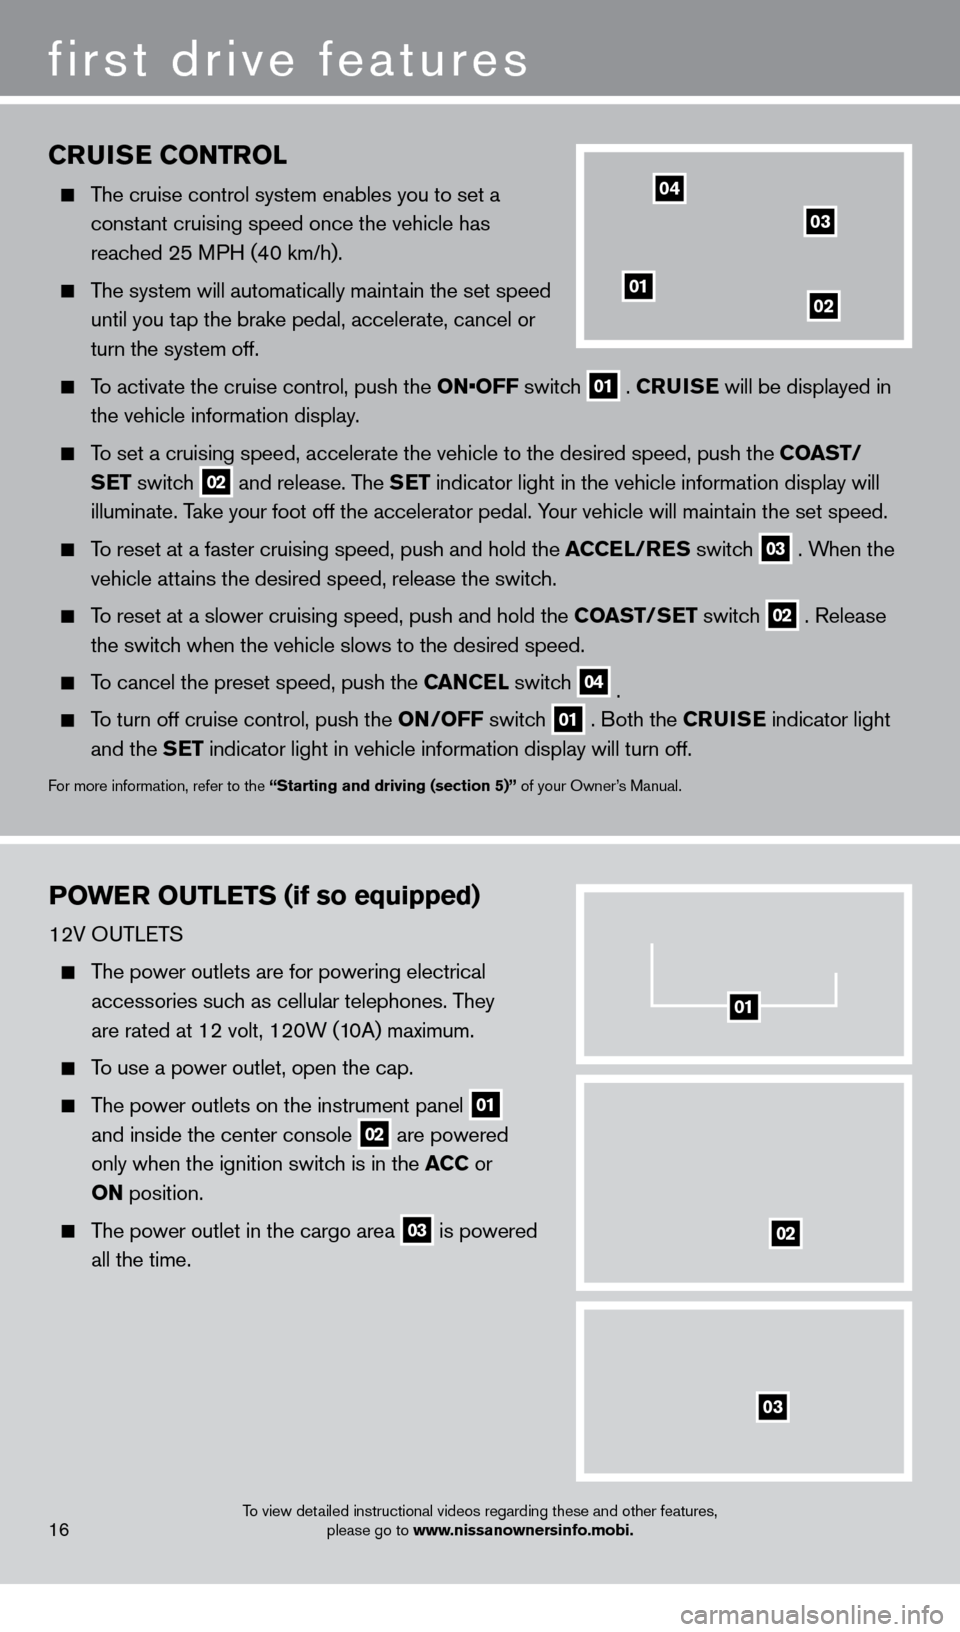
To activate the cruise control, push the ON•OFF switch 01 .
CRU i SE
will be displayed in
the vehicle information display.
To set a cruising speed, accelerate the vehicle to the desired speed, pus\
h the C oAST/
S ET switch
02 and release. The SET indicator light in the vehicle information display will
illuminate. Take your foot off the accelerator pedal. Your vehicle will maintain the set speed.
To reset at a faster cruising speed, push and hold the ACCE l/RES switc h 03 . When the
vehicle attains the desired speed, release the switch.
To reset at a slower cruising speed, push and hold the C oAST/ SET switch 02 . Release
the switch when the vehicle slows to the desired speed.
To cancel the preset speed, push the CANCEl switch 04 .
To turn off cruise control, push the o N/ o FF switch 01 . Both the CRU i SE
indicator light
and the SET indicator light in vehicle information display will turn off.
For more information, refer to the “Starting and driving (section 5)” of your Owner’s Manual.
PoWER o UT l ETS (if so equipped)
12V OUTLETS
The power outlets are for powering electrical
accessories such as cellular telephones. They
are rated at 12 volt, 120W (10A) maximum.
To use a power outlet, open the cap.
The power outlets on the instrument panel 01
and inside the center console 02 are powered
only when the ignition switch is in the ACC or
o
N position.
The power outlet in the cargo area 03 is powered
all the time.
0102
03
04
01
02
03
16To view detailed instructional videos regarding these and other features,
please go to www.nissanownersinfo.mobi.
1351506_13c_Pathfinder_QRG_013013.indd 161/31/13 9:10 AM
Page 26 of 28
24
NAviGATio N SYSTEM
(if so equipped)
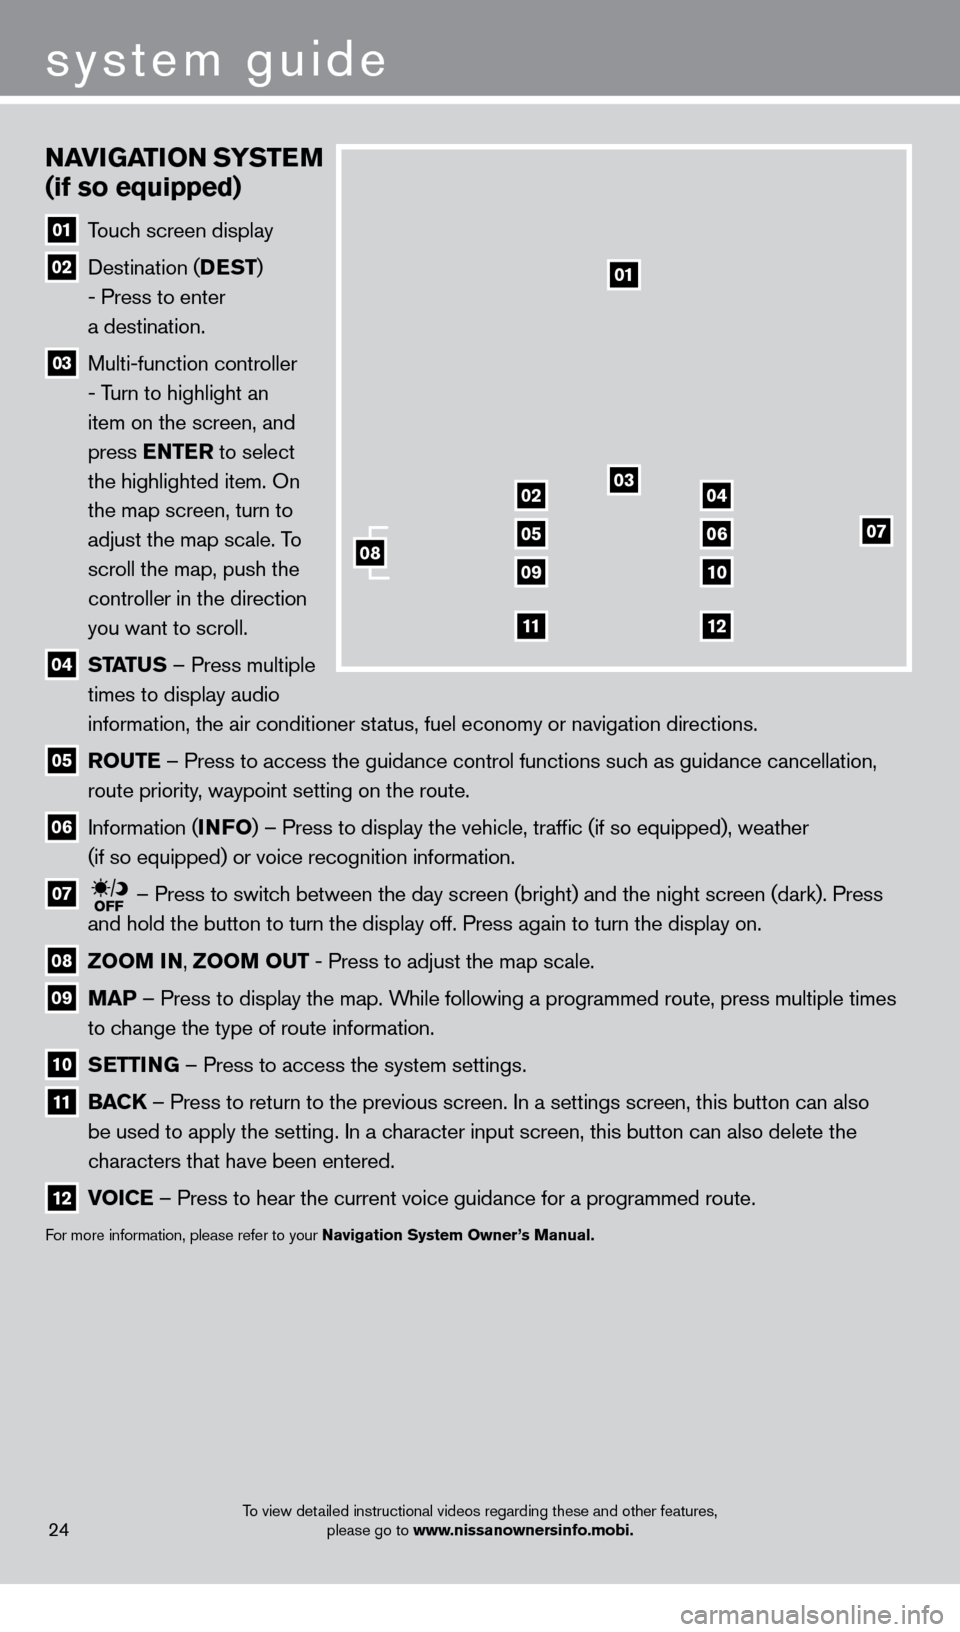
01 T ouch screen display
02 Destination ( DEST
)
- Press to enter
a destination.
03 Multi-function controller
- Turn to highlight an
item on the screen, and
press ENTER to select
the highlighted item. On
the map screen, turn to
adjust the map scale. To
scroll the map, push the
controller in the direction
you want to scroll.
04 ST ATUS –
Press multiple
times to display audio
information, the air conditioner status, fuel economy or navigation directions.
05 Ro UTE –
Press to access the guidance control functions such as guidance cancellation,
route priority, waypoint setting on the route.
06 Information ( i NFo)
– Press to display the vehicle, traffic (if so equipped), weather
(if so equipped) or voice recognition information.
07 – Press to switch between the day screen (bright) and the night screen (dark). Press\
and hold the button to turn the display off. Press again to turn the dis\
play on.
08 Zoo M iN ,
Zoo M o UT - Press to adjust the map scale.
09
MAP –
Press to display the map. While following a programmed route, press multiple times
to change the type of route information.
10 S ETT iN G –
Press to access the system settings.
11 BAC K
– Press to return to the previous screen. In a settings screen, this butt\
on can also
be used to apply the setting. In a character input screen, this button can also delete the
characters that have been entered.
12 v oiCE –
Press to hear the current voice guidance for a programmed route.
For more information, please refer to your Navigation System owner ’s Manual.
01
03
07
09
0204
0506
10
1112
08
system guide
To view detailed instructional videos regarding these and other features,
please go to www.nissanownersinfo.mobi.
1351506_13c_Pathfinder_QRG_013013.indd 241/31/13 9:11 AM
Page 27 of 28
HoMEli NK® UNivERSA l TRANSCEiv ER (if so equipped)
The HomeLink® system can learn and consolidate the functions of up to three different\
hand-held transmitters, operating items such as garage doors, property gates, outdoor and
indoor lights or alarm systems.
For more information, refer to the “instruments and controls (section 2)” of your Owner’s Manual, the HomeLink® website at
www.homelink.com or call 1-800-355-3515.
25
HoME li NK®
DvD PlAYER
With this DVD player, you can play video files via a
DVD or c
D, providing images and sound from the
front display.
You can also connect auxiliary devices such as video games, camcorders or portable video players to the
auxiliary jacks. (Your device will be controlled through
its own control panel.)
To view movies on the front display, stop the
vehicle in a safe location, move the shift selector to
the P (PARK) position and apply the parking brake.
To reduce driver distraction, movies will not be
shown on the front display while the vehicle is in
any drive position.
For more information, refer to the “Monitor, climate, audio, phone and voice recognition systems (section 4)” of your
Owner’s Manual.
system guide
To view detailed instructional videos regarding these and other features, please go to www.nissanownersinfo.mobi.
1351506_13c_Pathfinder_QRG_013013.indd 251/31/13 9:11 AM