2013 NISSAN PATHFINDER reset
[x] Cancel search: resetPage 2 of 28
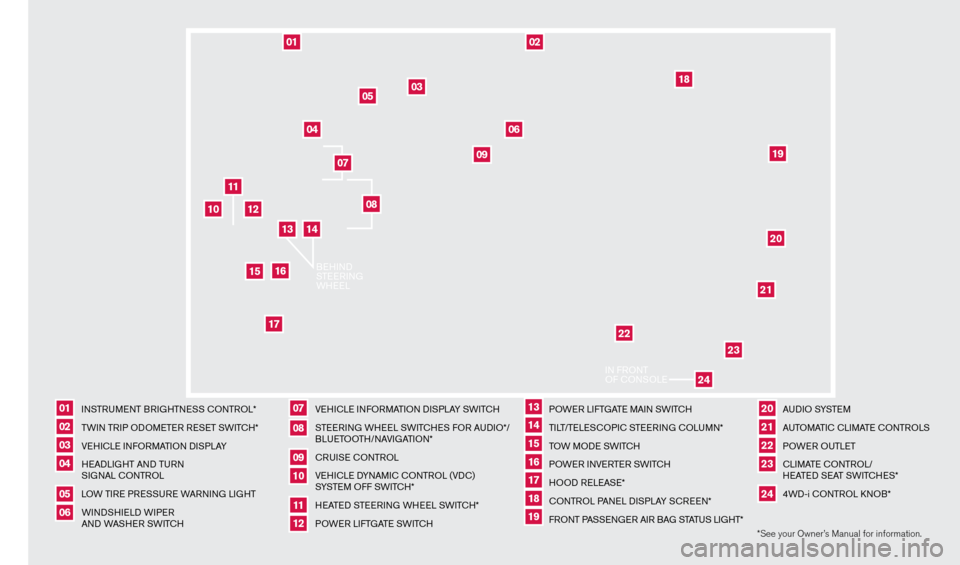
*See your Owner’s Manual for information.
I
NSTRUMENT BRIGHTNESS
c
O
NTROL*
TW
IN TRIP ODOMETER RESET SWIT
cH*
V
EHI
c
LE INFORMATION DISPLAY
H
EADLIGHT AND TURN
SIGNAL
c
ONTROL
L
OW TIRE PRESSURE WARNING LIGHT
WINDSHIELD WIPER
AND WASHER SWIT
cH
V
EHI
c
LE INFORMATION DISPLAY SWIT
c
H
S
TEERING WHEEL SWIT
cH
ES FOR AUDIO*/
BLUETOOTH/NAVIGATION*
c
RUISE
c
ONTROL
VE
HI
cLE D
YNAMI
c
c
O
NTROL (VD
c
)
SYSTEM OFF SWIT
cH*
H
EATED STEERING WHEEL SWIT
cH*
P
OWER LIFTGATE SWIT
cH
P
OWER LIFTGATE MAIN SWIT
cH
TI
LT/TELES
cO
PI
c
STEERING
c
O
LUMN*
T
OW MODE SWIT
c
H
P
OWER INVERTER SWIT
cH
H
OOD RELEASE*
c
ONTROL PANEL DISPLAY S
c
REEN*
F
RONT PASSENGER AIR BAG STATUS LIGHT*
A
U D I O SYSTE M
A
UTOMATI
c
c
LI
MATE c
O
NTROLS
POWER OUTLET
c
LI
MATE
cO
NTROL/
HEATED SEAT SWIT
cH
ES*
4WD-i
c
O
NTROL k
N
OB*
0106
11
16
02
0712
17
03
08
1318
04
09
1419
05
10
15
2021222324
11
02
12
202119
22
23
03
04
09
05
10
15
01
06
07
18
08
1617
24
IN F
RONT
OF
cONSOLE
BEHIND
S
T EERING
W
HEEL
13
14
1351506_13c_Pathfinder_QRG_013013.indd 41/31/13 9:10 AM
Page 6 of 28
TiRE PRESSURE MoNi To RiN G SYSTEM (TPMS)
with Easy Fill Tire Alert
A Tire Pressure l ow – Add Air warning message
will appear in the vehicle information display
01 and
the low tire pressure warning light
02 will illuminate
when one or more tires are low on pressure and air
is needed.
•
T
he tire pressures should be checked when the
tires are cold. The tires are considered cold after
the vehicle has been parked for 3 hours or more or
driven less than 1 mi (1.6 km) at moderate speeds.
When adding air to an under-inflated tire, the TPMS with Easy Fill Tire Alert provides visual and
audible signals to help you inflate the tires to the
recommended
c
O
LD tire pressure.
T
o use the Easy Fill Tire Alert:
1.
Move the shift lever to the
P (PARK) position and apply the parking brake.
2.
Place the ignition switc
h in the o N position. Do not start the engine.
3.
Add air to the under-inflated tire and within a few seconds, the hazar\
d warning lights will
start flashing.
4.
W
hen the designated tire pressure is reached, the horn will beep once and the hazard
warning flashers will stop flashing.
5.
Repeat this procedure for any additional under-inflated tires.
02
01
looSE FUEl CAP
A looSE FUEl CAP warning message will appear
in the vehicle information display
01 when the
fuel-filler cap is not tightened correctly.
To tighten, turn the cap clockwise until a single click
is heard.
The warning message will disappear when the vehicle detects the fuel-filler cap is properly tightened and the
reset
button 02 is pressed for about 1 second.
If the cap is not properly tightened, the Malfunction
Indicator Light
may illuminate.
For more information, refer to the “instruments and controls (section 2)” and the “Pre-driving checks and adjustments
(section 3)” of your Owner’s Manual.
02
01
essential information
4To view detailed instructional videos regarding these and other features,
please go to www.nissanownersinfo.mobi.
1351506_13c_Pathfinder_QRG_013013.indd 41/31/13 9:10 AM
Page 17 of 28
15
02 SEEK/CAT AND TRACK BUTTo NS
To scan quickly and stop at the previous or next broadcast station, press the
SEEK•
CAT button or the TRACK
button.
For SiriusXM Satellite Radio, to switch to the previous or next category, press the
SEEK•CAT button or the TRACK
button.
To change tracks on a
cD, press the
SEEK•CAT
button or the TRACK
button.
To rewind or fast forward a track on a
cD, press and hold the
SEEK•CAT
button or the
TRACK
button.
03
TUNE/Fol DER/AUDi o C o NTRol KNo B
To manually tune the radio, turn the TUNE/Fo lDER/ AUD io knob left or right.
04 STATioN SElECT BUTTo NS
Twelve stations can be set for the FM band, six for the AM band and eighteen for the
SiriusXM Satellite Radio.
To store a station in a preset, you must first select a radio band by pressing the \
AM•FM 05
or S AT 06 button, then tune to the desired AM, FM or SiriusXM Satellite Radio station.
Then press and hold the desired station preset button (1-6) until the preset number is
updated on the display and the sound is briefly muted. The channel indicator will then display
and the sound will resume. Programming is now complete.
To retrieve a previously set station, select the radio band where the preset was stored then press the corresponding station select button (1-6).
For more information, refer to the “Monitor, climate, audio, phone and voice recognition systems (section 4)” of your
Owner’s Manual.
USB/ iPo D® iNTERFACE
The USB jack 01 is located in the center console
under the armrest.
When a compatible USB memory device or iPod®
is plugged into the USB jack
01, compatible audio
and video files stored on the device can be played
through the vehicle’s audio system and front display.
For more information, refer to the “Monitor, climate, audio, phone and voice recognition systems (section 4)” of your
Owner’s Manual.
01
To view detailed instructional videos regarding these and other features, please go to www.nissanownersinfo.mobi.
1351506_13c_Pathfinder_QRG_013013.indd 151/31/13 9:10 AM
Page 18 of 28
first drive features
CRUiSE Co NTRol
The cruise control system enables you to set a
constant cruising speed once the vehicle has
reached 25 MPH (40 km/h).
The system will automatically maintain the set speed until you tap the brake pedal, accelerate, cancel or
turn the system off.
To activate the cruise control, push the ON•OFF switch 01 .
CRU i SE
will be displayed in
the vehicle information display.
To set a cruising speed, accelerate the vehicle to the desired speed, pus\
h the C oAST/
S ET switch
02 and release. The SET indicator light in the vehicle information display will
illuminate. Take your foot off the accelerator pedal. Your vehicle will maintain the set speed.
To reset at a faster cruising speed, push and hold the ACCE l/RES switc h 03 . When the
vehicle attains the desired speed, release the switch.
To reset at a slower cruising speed, push and hold the C oAST/ SET switch 02 . Release
the switch when the vehicle slows to the desired speed.
To cancel the preset speed, push the CANCEl switch 04 .
To turn off cruise control, push the o N/ o FF switch 01 . Both the CRU i SE
indicator light
and the SET indicator light in vehicle information display will turn off.
For more information, refer to the “Starting and driving (section 5)” of your Owner’s Manual.
PoWER o UT l ETS (if so equipped)
12V OUTLETS
The power outlets are for powering electrical
accessories such as cellular telephones. They
are rated at 12 volt, 120W (10A) maximum.
To use a power outlet, open the cap.
The power outlets on the instrument panel 01
and inside the center console 02 are powered
only when the ignition switch is in the ACC or
o
N position.
The power outlet in the cargo area 03 is powered
all the time.
0102
03
04
01
02
03
16To view detailed instructional videos regarding these and other features,
please go to www.nissanownersinfo.mobi.
1351506_13c_Pathfinder_QRG_013013.indd 161/31/13 9:10 AM
Page 20 of 28
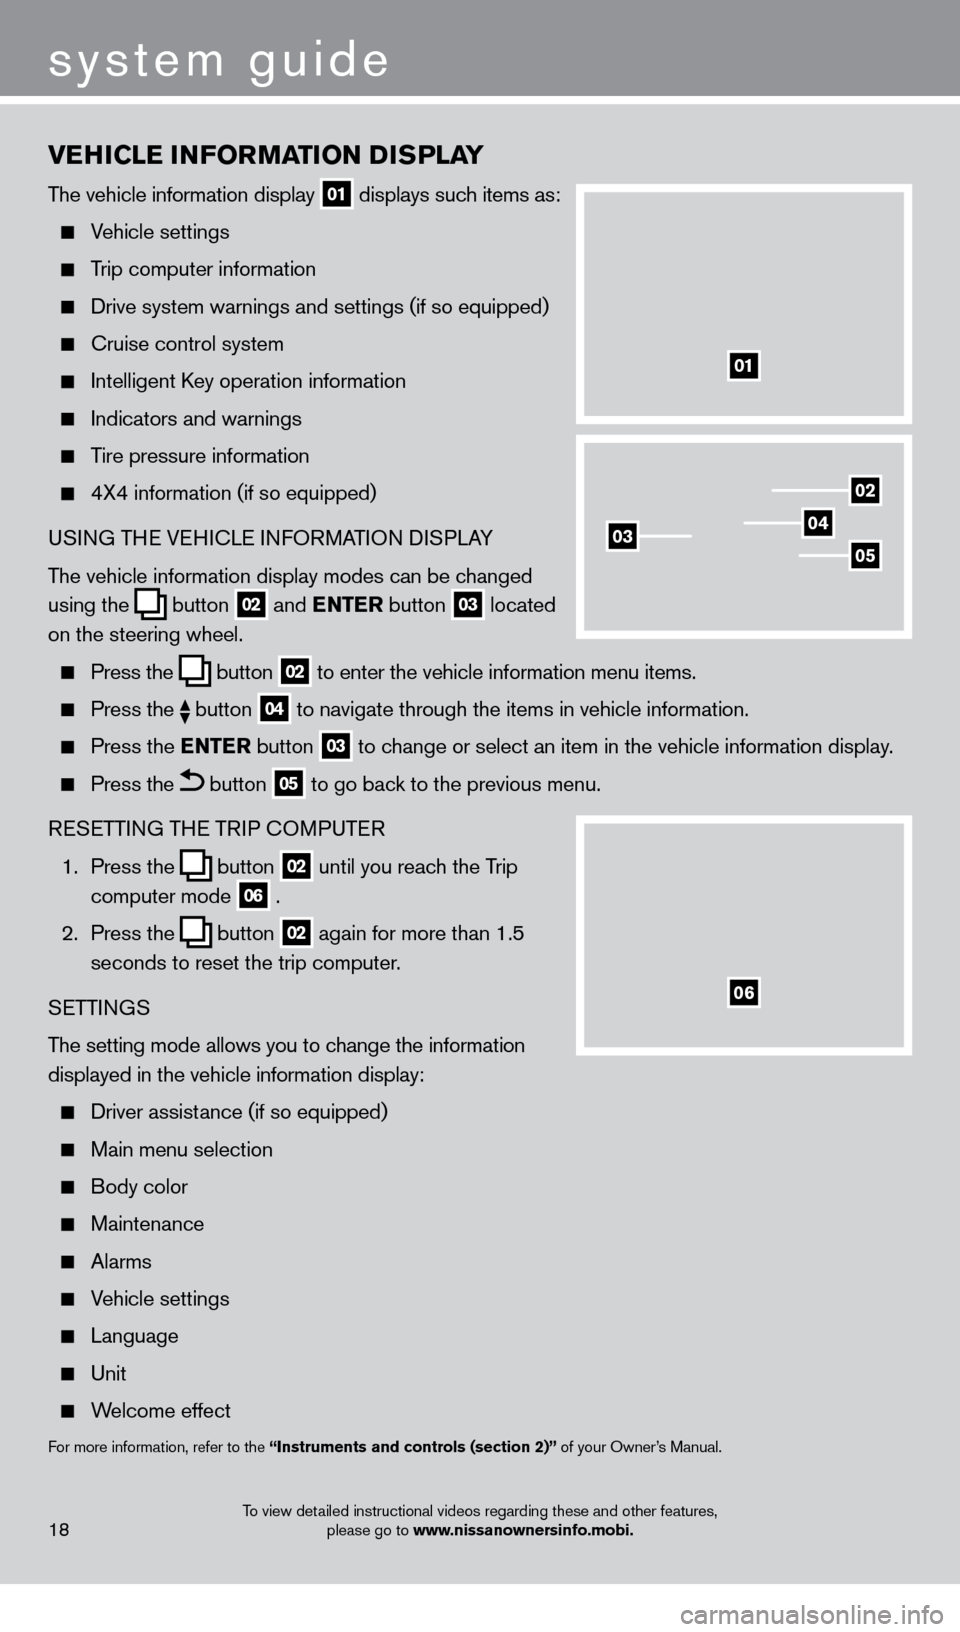
vEHiCl E iN Fo RMAT io N DiS P l AY
The vehicle information display 01 displays such items as:
Vehicle settings
Trip computer information
Drive system warnings and settings (if so equipped)
cruise control system
Intelligent key operation information
Indicators and warnings
Tire pressure information
4X4 information (if so equipped)
USI NG THE VEHI c LE INFORMATION DISPLAY
The vehicle information display modes can be changed
using the
button 02 and
ENTER button 03 located
on the steering wheel.
Press the button 02 to enter the vehicle information menu items.
Press
the button 04 to navigate through the items in vehicle information.
Press the
E NTER button 03 to change or select an item in the vehicle information display.
Press the button 05 to go back to the previous menu.
RESETTING THE TRIP
c
O
MPUTER
1.
Press the
button 02 until you reach the Trip
computer mode 06 .
2.
Press the
button 02 again for more than 1.5
seconds to reset the trip computer.
SETTINGS
The setting mode allows you to change the information
displayed in the vehicle information display:
Driver assist ance (if so equipped)
Main menu selection
Body color
Maintenance
Alarms
Vehicle settings
Language
Unit
Welcome effect
For more information, refer to the “instruments and controls (section 2)” of your Owner’s Manual.
18
system guide
01
02
040305
06
To view detailed instructional videos regarding these and other features,
please go to www.nissanownersinfo.mobi.
1351506_13c_Pathfinder_QRG_013013.indd 181/31/13 9:10 AM