Page 114 of 506
Push the switch forward�3to operate the
washer. Then the wiper will also operate several
times.
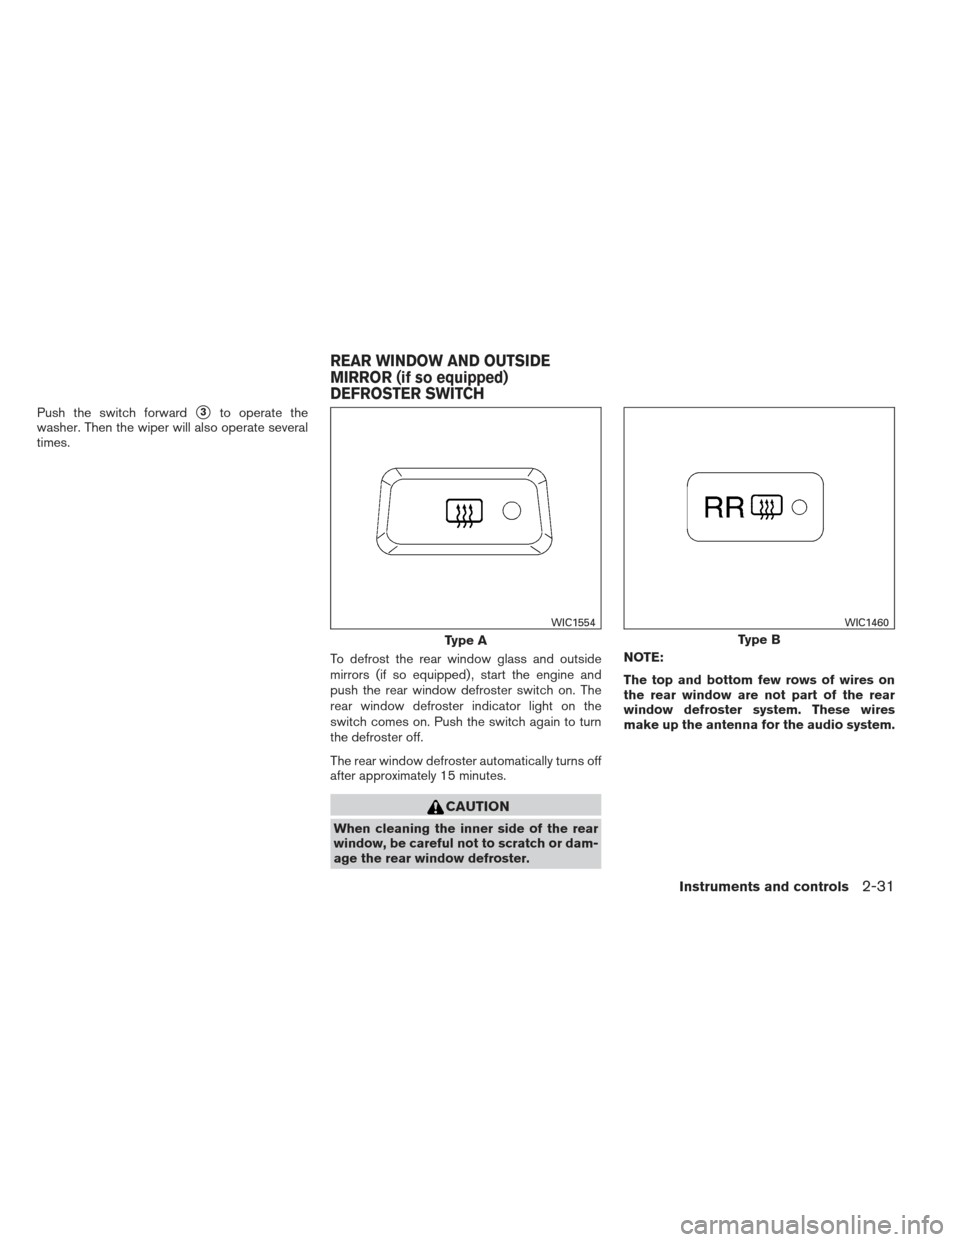
To defrost the rear window glass and outside
mirrors (if so equipped) , start the engine and
push the rear window defroster switch on. The
rear window defroster indicator light on the
switch comes on. Push the switch again to turn
the defroster off.
The rear window defroster automatically turns off
after approximately 15 minutes.
CAUTION
When cleaning the inner side of the rear
window, be careful not to scratch or dam-
age the rear window defroster.NOTE:
The top and bottom few rows of wires on
the rear window are not part of the rear
window defroster system. These wires
make up the antenna for the audio system.
Type A
WIC1554
Type B
WIC1460
REAR WINDOW AND OUTSIDE
MIRROR (if so equipped)
DEFROSTER SWITCH
Instruments and controls2-31
Page 115 of 506
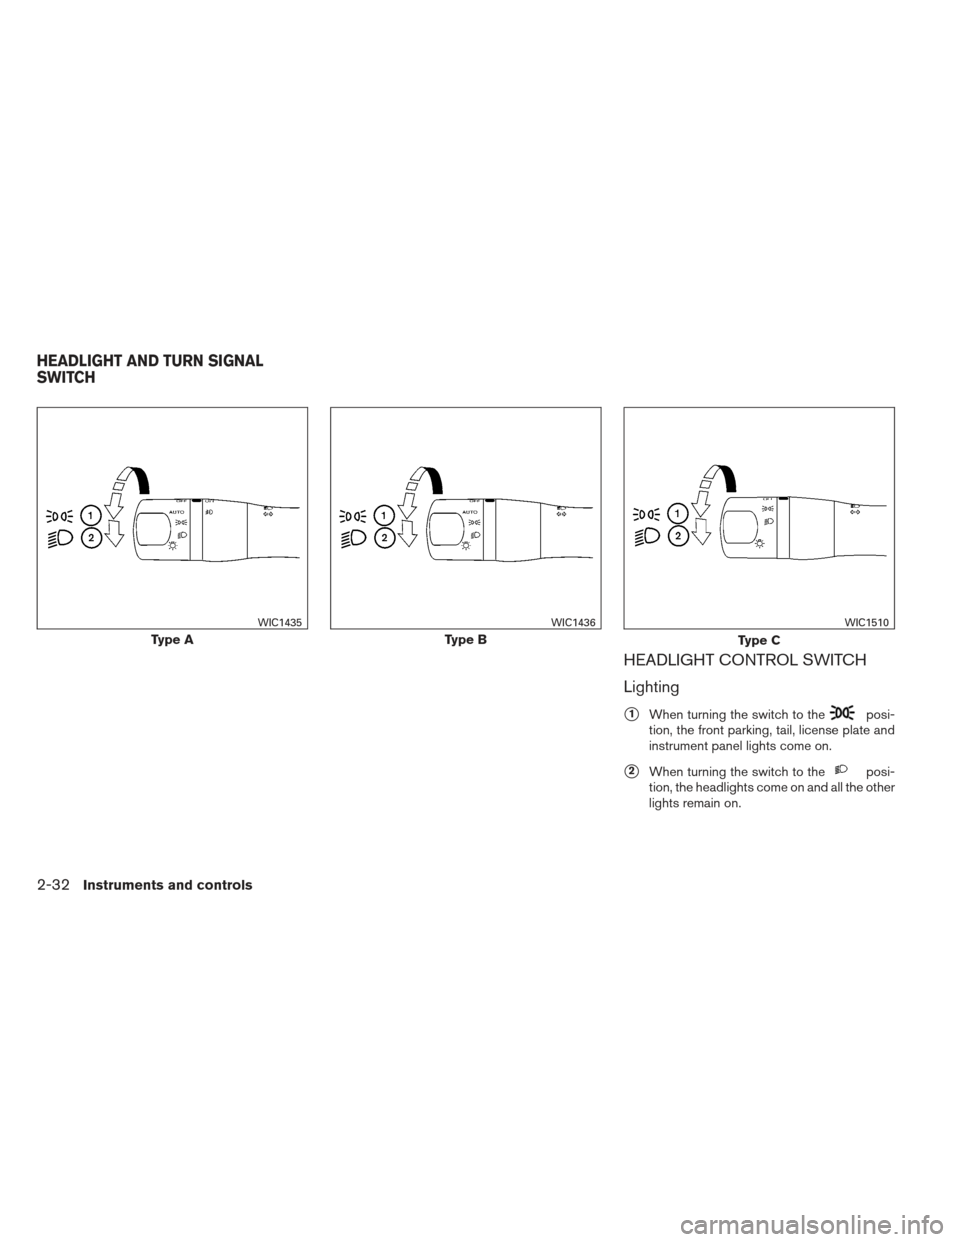
HEADLIGHT CONTROL SWITCH
Lighting
�1When turning the switch to theposi-
tion, the front parking, tail, license plate and
instrument panel lights come on.
�2When turning the switch to theposi-
tion, the headlights come on and all the other
lights remain on.
Type A
WIC1435
Type B
WIC1436
Type C
WIC1510
HEADLIGHT AND TURN SIGNAL
SWITCH
2-32Instruments and controls
Page 116 of 506

CAUTION
Use the headlights with the engine run-
ning to avoid discharging the vehicle
battery.
Autolight system
The autolight system allows the headlights to turn
on and off automatically. The autolight system
can:● Turn on the headlights, front parking, tail,
license plate and instrument panel lights au-
tomatically when it is dark.
● Turn off all the lights when it is light.
● Keep all the lights on for a period of time after
you place the ignition switch in the OFF
position and all doors are closed. NOTE:
Autolight activation sensitivity and the
time delay for autolight shutoff can be ad-
justed. See “Vehicle information display” in
this section.
To turn on the autolight system:
1. Turn the headlight switch to the AUTO posi- tion
�1.
2. Turn the ignition switch to ON.
3. The autolight system automatically turns the headlights on and off.
Initially, if the ignition switch is turned OFF and a
door is opened and left open, the headlights
remain ON for a period of time. If another door is
opened while the headlights are on, then the
timer is reset.
To turn the autolight system off, turn the switch to
the OFF,
,orposition.
LIC2351
Instruments and controls2-33
Page 117 of 506

Be sure you do not put anything on top of
the autolight sensor located in the top side
�1of the instrument panel. The autolight
sensor controls the autolight; if it is cov-
ered, the autolight sensor reacts as if it is
dark out and the headlights will illuminate.
If this occurs while parked with the engine
off and the ignition switch placed in the ON
position, your vehicle’s battery could be-
come discharged.
Headlight beam select
�1To select the high beam function, push the
lever forward. The high beam lights come on
and the
light illuminates.
�2Pull the lever back to select the low beam.
�3Pulling and releasing the lever flashes the
headlight high beams on and off.
Battery saver system
If the ignition switch is placed in the OFF position
while the headlight switch is in the
orposition, the headlights will turn off after
a period of time.
After the headlights automatically turn off with the
headlight switch in the
orposition,
the headlights will illuminate again if the headlight
switch is moved to the OFF position and then
turned to the
orposition.
CAUTION
Even though the battery saver feature au-
tomatically turns off the headlights after a
period of time, you should turn the head-
light switch to the OFF position when the
engine is not running to avoid discharging
the vehicle battery.
DAYTIME RUNNING LIGHT SYSTEM
(Canada only)
The daytime running lights automatically illumi-
nate when the engine is started with the parking
brake released. The daytime running lights oper-
ate with the headlight switch in the OFF position
or in the
position. Turn the headlight switch
to the
position for full illumination when
driving at night.
LIC2237WIC1438
2-34Instruments and controls
Page 118 of 506

If the parking brake is applied before the engine is
started, the daytime running lights do not illumi-
nate. The daytime running lights illuminate when
the parking brake is released. The daytime run-
ning lights will remain on until the ignition switch
is placed in the OFF position.
WARNING
When the daytime running light system is
active, tail lights on your vehicle are not
on. It is necessary at dusk to turn on your
headlights. Failure to do so could cause
an accident injuring yourself and others.
INSTRUMENT BRIGHTNESS
CONTROL
Push the “+” button�Ato increase the bright-
ness of instrument panel lights when driving at
night.
Push the “-” button
�Bto decrease the bright-
ness of instrument panel lights when driving at
night.
TURN SIGNAL SWITCH
Turn signal
�1Move the lever up or down to signal the
turning direction. When the turn is com-
pleted, the turn signal cancels automatically.
Lane change signal
�2To signal a lane change, move the lever up or
down to the point where the indicator light
begins to flash, but the lever does not latch.
The turn signal will flash three times automati-
cally.
LIC2389WIC1439
Instruments and controls2-35
Page 119 of 506
FOG LIGHT SWITCH (if so equipped)
To turn the fog lights on, turn the headlight switch
to the
position, then turn the fog light
switch to the
position.
To turn the fog lights on with the headlight switch
in the AUTO position, the headlights must be on,
then turn the fog light switch to the
posi-
tion.
To turn the fog lights off, turn the fog light switch
to the OFF position. The headlights must be on and the low beams
selected for the fog lights to operate. The fog
lights automatically turn off when the high beam
headlights are selected.
Type A
WIC1440
Type B
WIC1513
2-36Instruments and controls
Page 120 of 506

To sound the horn, push near the horn icon of the
steering wheel.
WARNING
Do not disassemble the horn. Doing so
could affect proper operation of the
supplemental front air bag system. Tam-
pering with the supplemental front air bag
system may result in serious personal
injury.The front seats are warmed by built-in heaters.
1. Start the engine.
2. Push the LO or HI position of the switch, as desired. The indicator light in the switch will
illuminate.
The heater is controlled by a thermostat,
automatically turning the heater on and off.
The indicator light will remain on as long as
the switch is on.
3. When the seat is warmed or before you leave the vehicle, be sure to turn the switch
off.
WARNING
Do not use or allow occupants to use the
seat heater if you or the occupants cannot
monitor elevated seat temperatures or
have an inability to feel pain in body parts
that contact the seat. Use of the seat
heater by such people could result in se-
rious injury.
CAUTION
●The battery could run down if the seat
heater is operated while the engine is
not running.
● Do not use the seat heater for extended
periods or when no one is using the
seat.
● Do not put anything on the seat which
insulates heat, such as a blanket, cush-
ion, seat cover, etc. Otherwise, the seat
may become overheated.
● Do not place anything hard or heavy on
the seat or pierce it with a pin or similar
object. This may result in damage to the
heater.
● Any liquid spilled on the heated seat
should be removed immediately with a
dry cloth.
LIC2227LIC1543
HORN HEATED SEATS (if so equipped)
Instruments and controls2-37
Page 122 of 506

The rear seats are warmed by built-in heaters.
The switches are located on the rear of the front
center console and can be operated indepen-
dently of each other.1. Start the engine.
2. Push the LO or HI position of the switch, as desired. The indicator light in the switch will
illuminate.
The heater is controlled by a thermostat,
automatically turning the heater on and off.
The indicator light will remain on as long as
the switch is on. 3. When the seat is warmed or before you
leave the vehicle, be sure to turn the switch
off.
The heated steering wheel system is designed to
operate only when the surface temperature of the
steering wheel is below approximately 68°F
(20°C) .
Push the heated steering wheel switch to warm
the steering wheel after the engine starts. The
indicator light will come on.
If the surface temperature of the steering wheel is
below 68°F (20°C) , the system will heat the
steering wheel to approximately 86°F (30°C) ,
then turn off automatically.
Push the switch again to turn the heated steering
wheel off manually. The indicator light will go off.
LIC1543LIC0421
HEATED STEERING WHEEL (if so
equipped)
Instruments and controls2-39

To turn the fog lights on, turn the headlight switch
to the
position, then turn the fog light
switch to the
position.
To turn the fog lights on with the headlight swi")