2013 NISSAN MURANO light
[x] Cancel search: lightPage 15 of 28
13
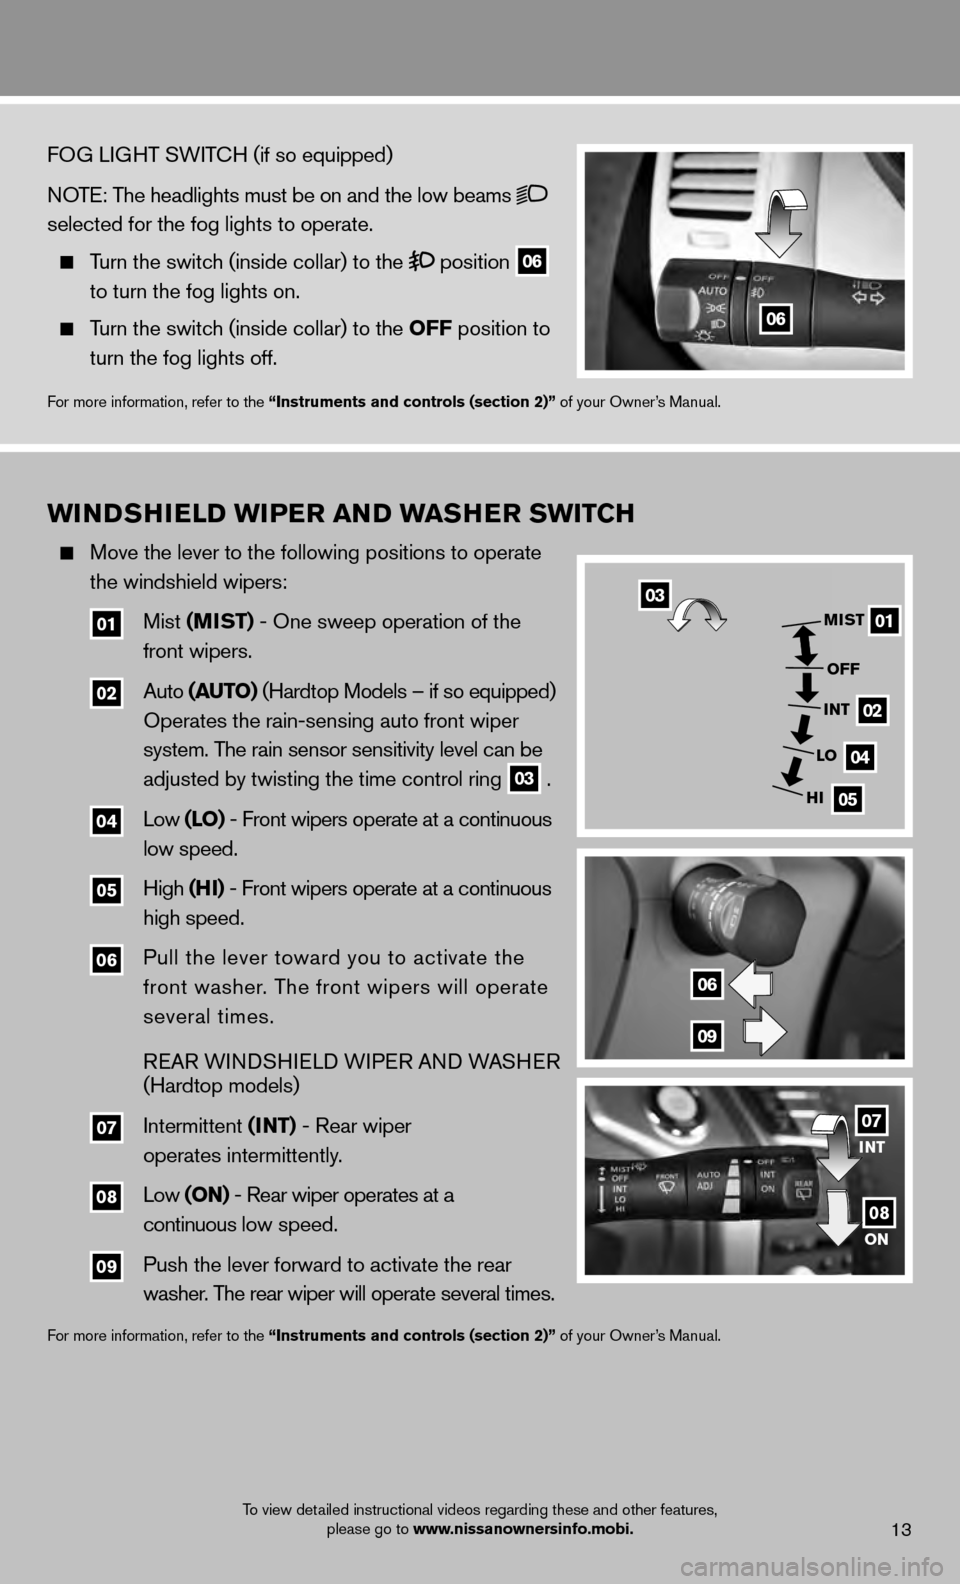
WINDSHIELD WIPER AND WASHER SWITCH
Move the lever to the following positions to operate
the windshield wipers:
01 Mist (MIST) - One sweep operation of the
front wipers.
02 Auto (AUTO) (Hardtop Models – if so equipped)
Operates the rain-sensing auto front wiper
system. The rain sensor sensitivity level can be
adjusted by twisting the time control ring
03 .
04 Low (LO) - Front wipers operate at a continuous
low speed.
05 High (HI) - Front wipers operate at a continuous
high speed.
06 Pull the lever toward you to activate the
front washer. The front wipers will operate
several times.
REAR WINDSHIELD WIPER AND WASHER
(Hardtop models)
07 Intermittent (INT) - Rear wiper
operates intermittently.
08 Low (ON) - Rear wiper operates at a
continuous low speed.
09 Push the lever forward to activate the rear
washer. The rear wiper will operate several times.
For more information, refer to the “Instruments and controls (section 2)” of your Owner’s Manual.
01
02
04
05
MIST
OFF
INT
LO
HI
06
09
03
INT
ON07
08
FOG LIGHT SWITCH (if so equipped)
NOTE: The headlights must be on and the low beams
selected for the fog lights to operate.
Turn the switch (inside collar) to the position
06
to turn the fog lights on.
Turn the switch (inside collar) to the OFF position to
turn the fog lights off.
For more information, refer to the “Instruments and controls (section 2)” of your Owner’s Manual.
06
To view detailed instructional videos regarding these and other features,
please go to www.nissanownersinfo.mobi.
Page 16 of 28
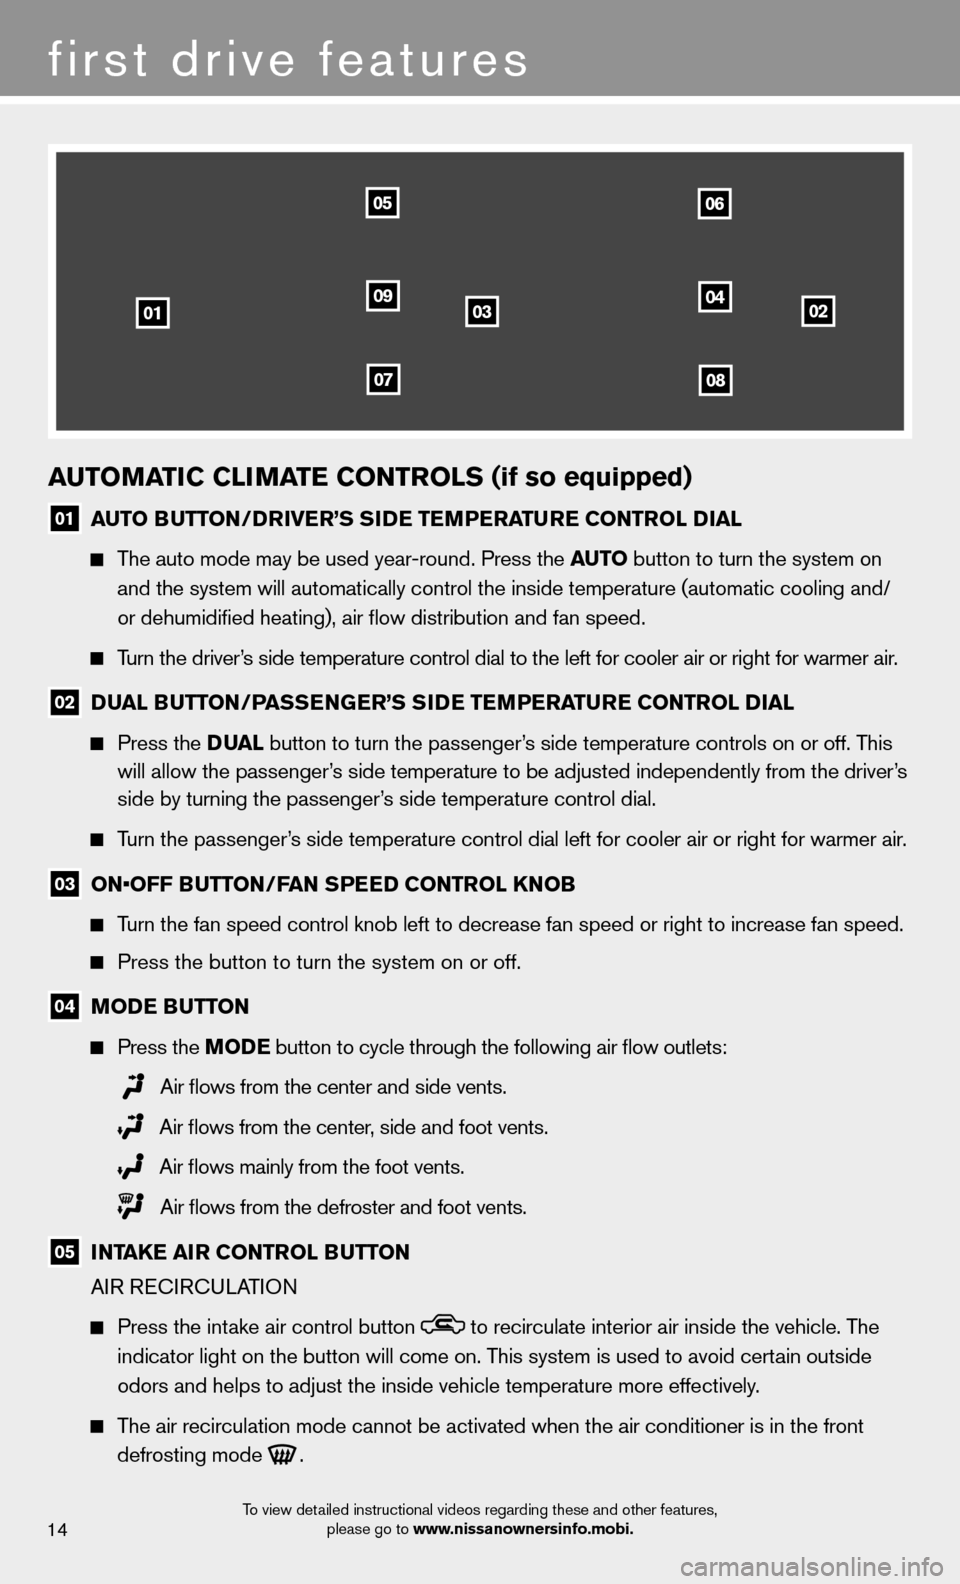
AUTOMATIC CLIMATE CONTROLS (if so equipped)
01 AUTO BUTTON/DRIVER’S SIDE TEMPERATURE CONTROL DIAL
The auto mode may be used year-round. Press the AUTO button to turn the system on
and the system will automatically control the inside temperature (autom\
atic cooling and/
or dehumidifi ed heating), air fl ow distribution and fan speed.
Turn the driver’s side temperature control dial to the left for cooler air or right for \
warmer air.
02 DUAL BUTTON/PASSENGER’S SIDE TEMPERATURE CONTROL DIAL
Press the DUAL button to turn the passenger’s side temperature controls on or off. This
will allow the passenger’s side temperature to be adjusted independently from the driver’s
side by turning the passenger’s side temperature control dial.
Turn the passenger’s side temperature control dial left for cooler air or right for warmer \
air.
03 ON•OFF BUTTON/FAN SPEED CONTROL KNOB
Turn the fan speed control knob left to decrease fan speed or right to in\
crease fan speed.
Press the button to turn the system on or off.
04 MODE BUTTON
Press the MODE button
to cycle through the following air fl ow outlets:
Air fl ows from the center and side vents.
Air fl ows from the center, side and foot vents.
Air fl ows mainly from the foot vents.
Air fl ows from the defroster and foot vents.
05 INTAKE AIR CONTROL BUTTON
AIR RECIRCULATION
Press the intake air control button to recirculate interior air inside the vehicle. The
indicator light on the button will come on. This system is used to avoid certain outside
odors and helps to adjust the inside vehicle temperature more effectivel\
y.
The air recirculation mode cannot be activated when the air conditioner i\
s in the front
defrosting mode
.
030201
0506
0904
0708
first drive features
14
To view detailed instructional videos regarding these and other features,
please go to www.nissanownersinfo.mobi.
Page 17 of 28
15
OUTSIDE AIR CIRCULATION
Press the intake air control button again to draw outside air into the passenger
compartment. The indicator light on the button will turn off.
AUTOMATIC INTAKE AIR CONTROL (if so equipped)
In the auto mode, the intake air will be controlled automatically. To manually control the
intake air, press the intake air control button. To return to the automatic control mode,
press the intake air control button for about 2 seconds.
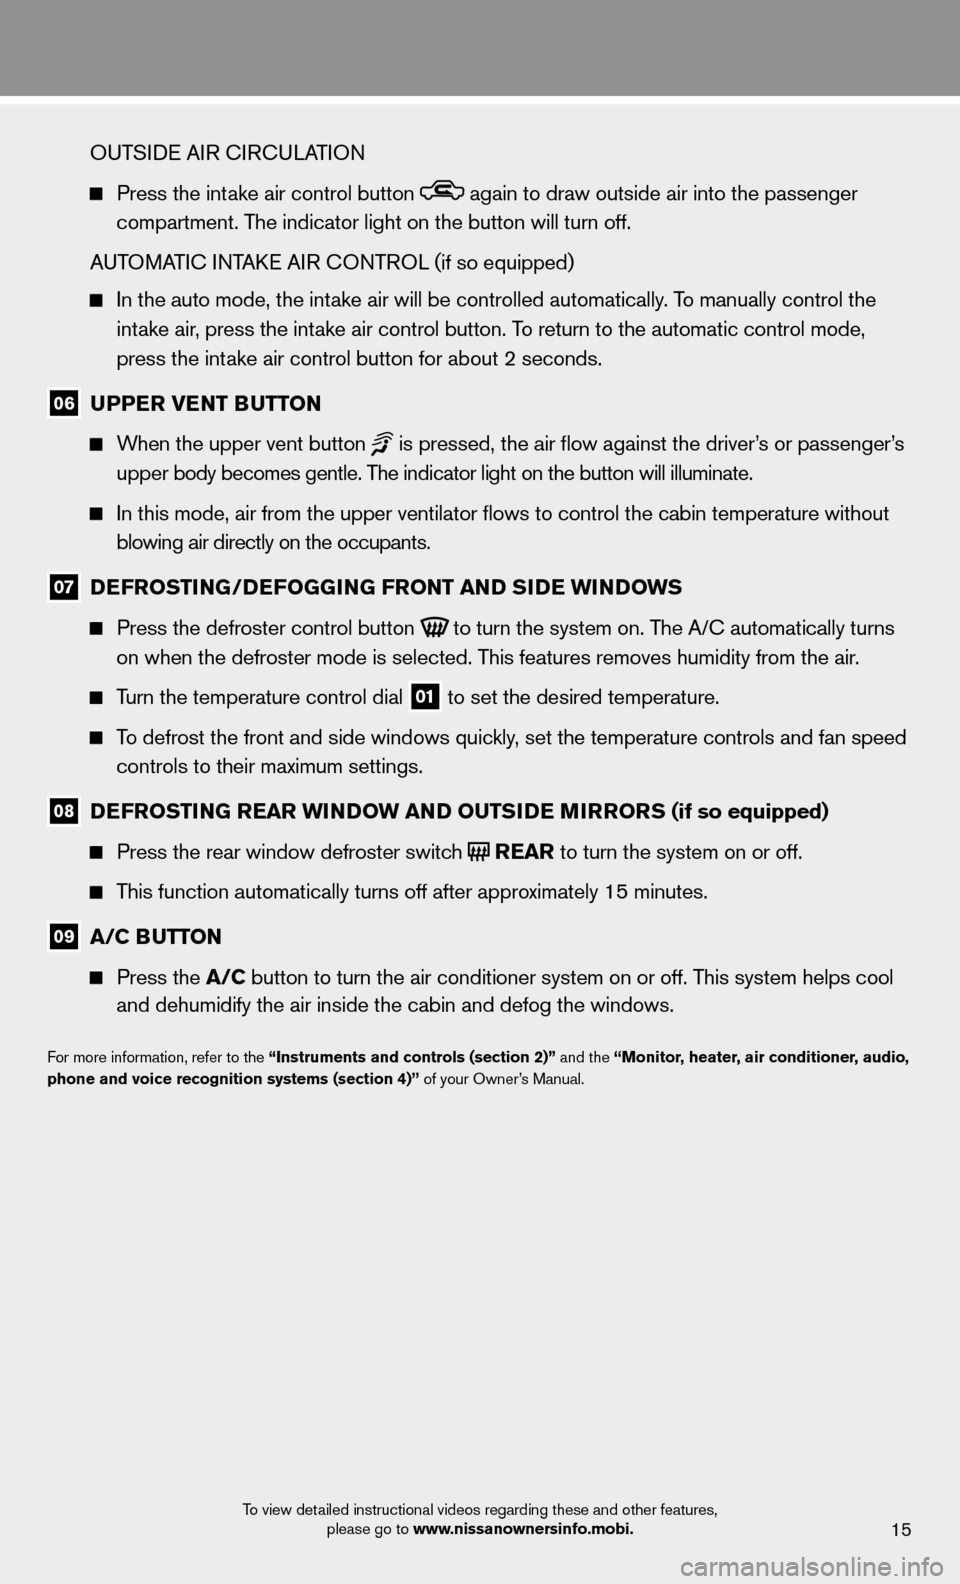
06 UPPER VENT BUTTON
When the upper vent button is pressed, the air fl ow against the driver’s or passenger’s
upper body becomes gentle. The indicator light on the button will illuminate.
In this mode, air from the upper ventilator fl ows to control the cabin temperature without
blowing air directly on the occupants.
07 DEFROSTIN G/DEFOGGING FR ONT AND SIDE WINDOWS
Press the defroster control button
to turn the system on. The A/C automatically turns
on when the defroster mode is selected. This features removes humidity from the air.
Turn the temperature control dial 01 to set the desired temperature.
To defrost the front and side windows quickly, set the temperature controls and fan speed
controls to their maximum settings.
08 DEFROSTING REAR WINDOW AND OUT SIDE MIRRORS (if so equipped)
Press the rear window defroster switch REAR to turn the system on or off.
This function automatically turns off after approximately 15 minutes.
09 A/C BUTTON
Press the A/C button to turn the air conditioner system on or off. This system helps cool
and dehumidify the air inside the cabin and defog the windows.
For more information, refer to the “Instruments and controls (section 2)” and the “Monitor, heater, air conditioner, audio,
phone and voice recognition systems (section 4)” of your Owner’s Manual.
To view detailed instructional videos regarding these and other features, please go to www.nissanownersinfo.mobi.
Page 19 of 28
17
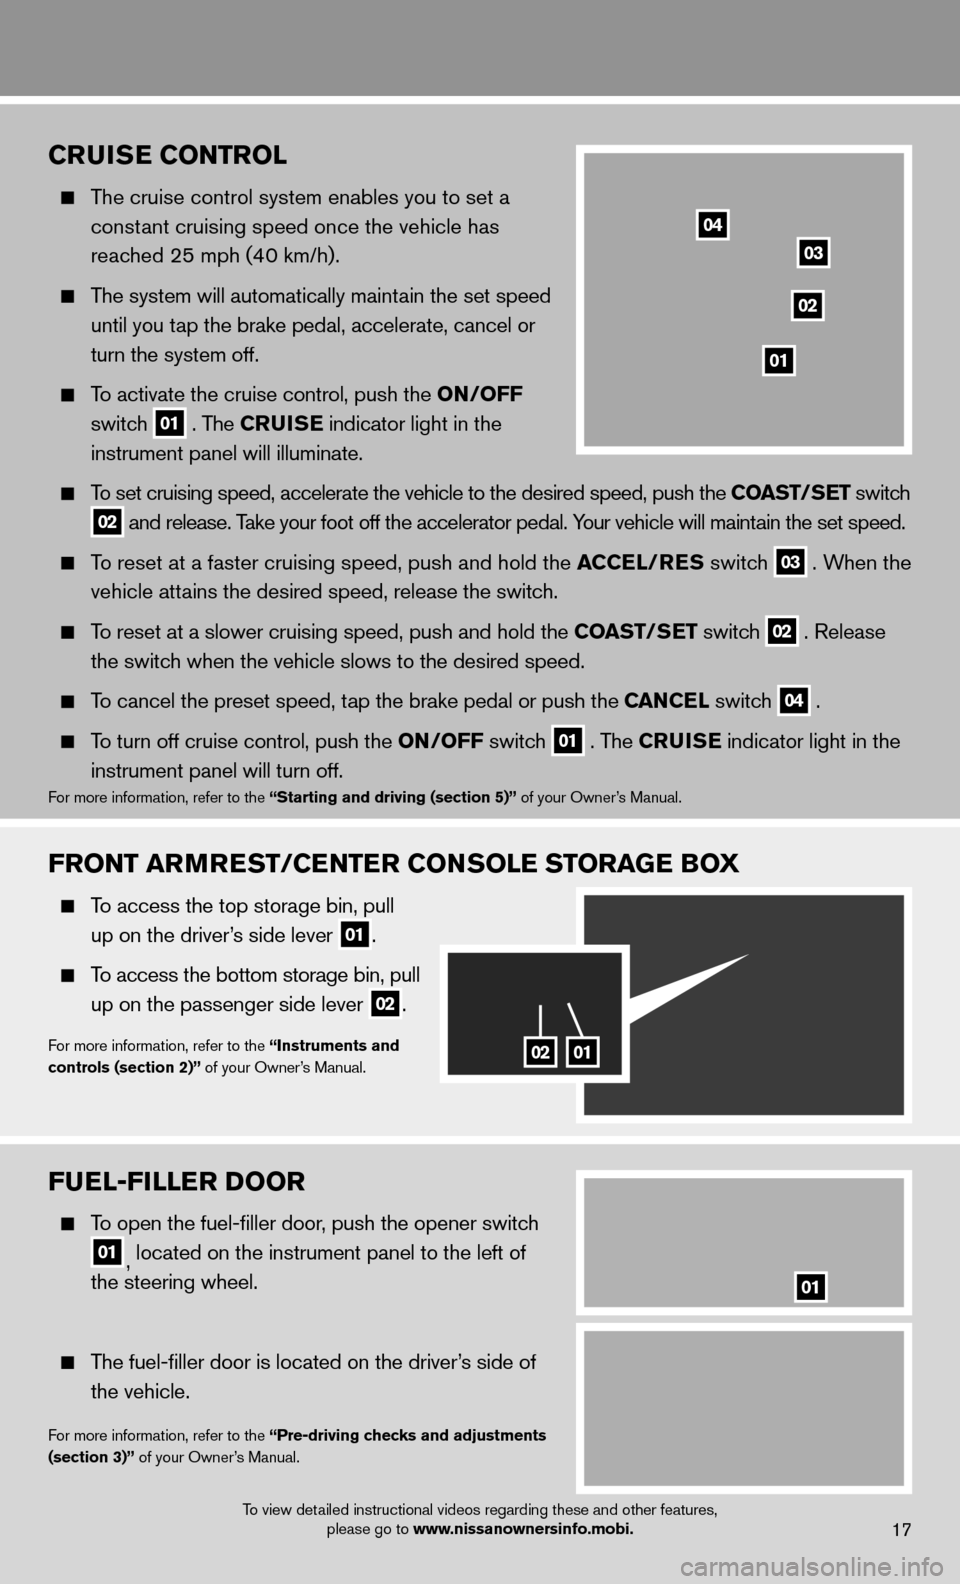
FUEL-FILLER DOOR
To open the fuel-fi ller door, push the opener switch
01, located on the instrument panel to the left of
the steering wheel.
The fuel-fi ller door is located on the driver’s side of
the vehicle.
For more information, refer to the “Pre-driving checks and adjustments
(section 3)” of your Owner’s Manual.
01
FRONT ARMREST/CENTER CONSOLE STORAGE BOX
To access the top storage bin, pull
up on the driver’s side lever
01.
To access the bottom storage bin, pull
up on the passenger side lever
02.
For more information, refer to the “Instruments and
controls (section 2)” of your Owner’s Manual.0201
CRUISE CONTROL
The cruise control system enables you to set a
constant cruising speed once the vehicle has
reached 25 mph (40 km/h).
The system will automatically maintain the set speed
until you tap the brake pedal, accelerate, cancel or
turn the system off.
To activate the cruise control, push the ON/OFF
switch
01 . The CRUISE
indicator light in the
instrument panel will illuminate.
To set cruising speed, accelerate the vehicle to the desired speed, push \
the COAST/SET switch
02 and release. Take your foot off the accelerator pedal. Your vehicle will maintain the set speed.
To reset at a faster cruising speed, push and hold the ACCEL/RES switch 03 . When the
vehicle attains the desired speed, release the switch.
To reset at a slower cruising speed, push and hold the COAST/SET switch 02 . Release
the switch when the vehicle slows to the desired speed.
To cancel the preset speed, tap the brake pedal or push the CAN CE L switch 04 .
To turn off cruise control, push the ON/OFF switch 01 . The CRUISE
indicator light
in the
instrument panel will turn off.
For more information, refer to the “Starting and driving (section 5)” of your Owner’s Manual.
01
02
03
04
To view detailed instructional videos regarding these and other features,
please go to www.nissanownersinfo.mobi.
Page 25 of 28
23
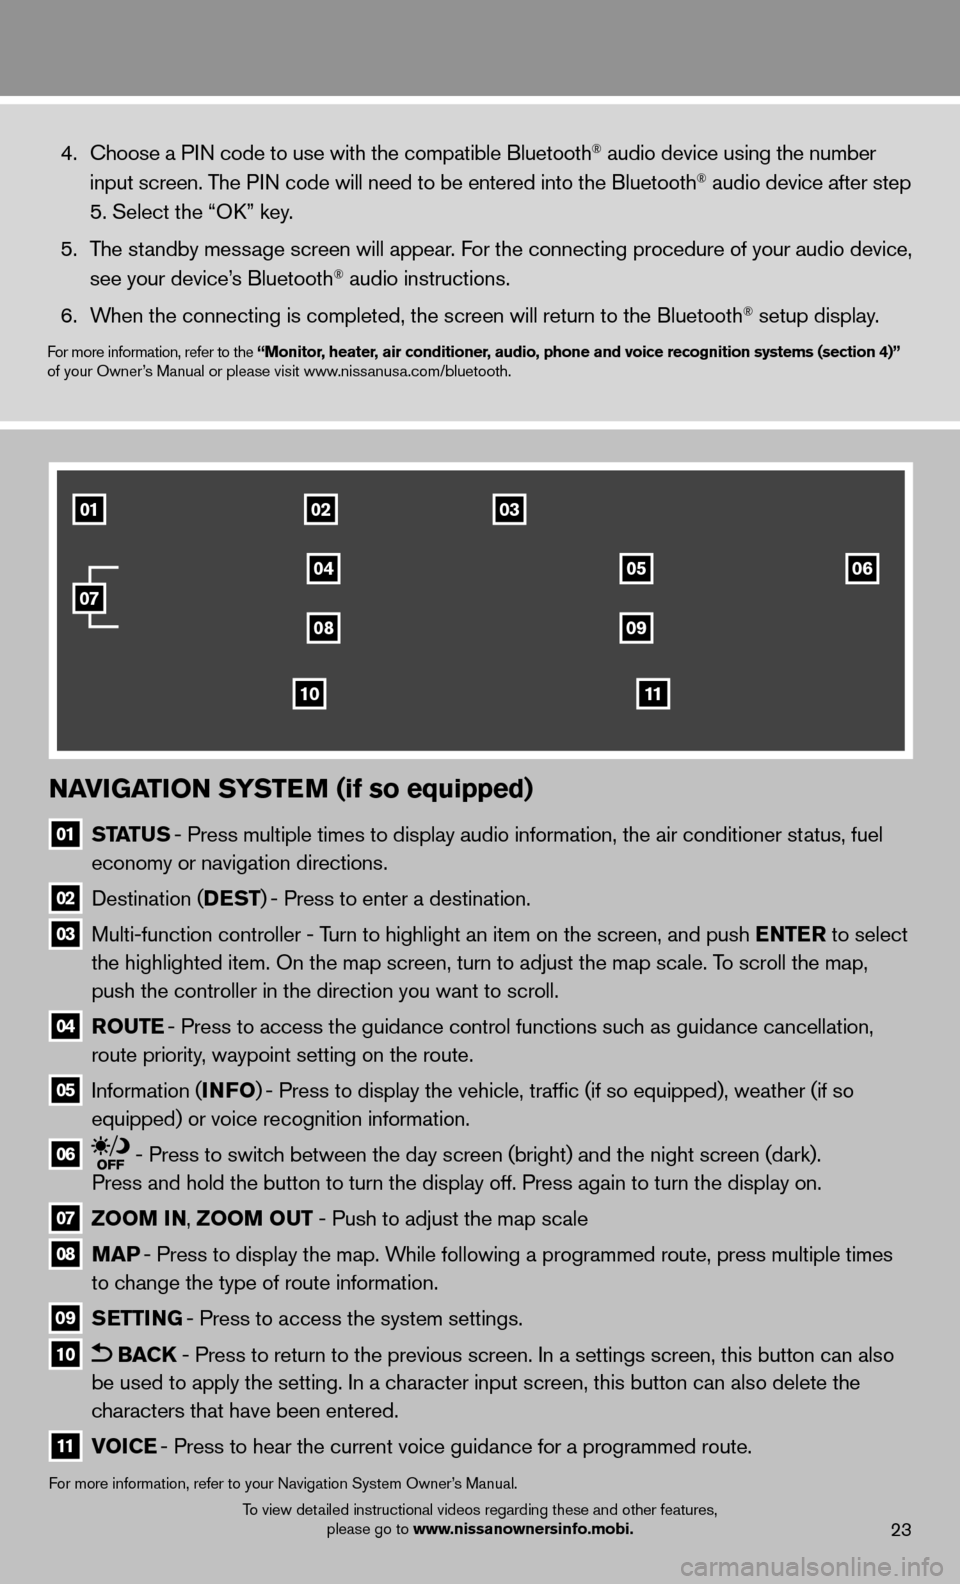
NAVIGATION SYSTEM (if so equipped)
01
STATUS - Press multiple times to display audio information, the air conditioner\
status, fuel
economy or navigation directions.
02 Destination (DEST ) - Press to enter a destination.
03 Multi-function controller - Turn to highlight an item on the screen, and push ENTER to select
the highlighted item. On the map screen, turn to adjust the map scale. T\
o scroll the map,
push the controller in the direction you want to scroll.
04 ROUTE - Press to access the guidance control functions such as guidance cancellation,
route priority, waypoint setting on the route.
05 Information (INFO ) - Press to display the vehicle, traffi c (if so equipped), weather (if so
equipped) or voice recognition information.
06 - Press to switch between the day screen (bright) and the night screen (dark).
Press and hold the button to turn the display off. Press again to turn t\
he display on.
07 ZOOM IN, ZOOM OUT - Push to adjust the map scale
08
MAP - Press to display the map. While following a programmed route, press multiple times
to change the type of route information.
09
SETTING - Press to access the system settings.
10 BACK - Press to return to the previous screen. In a settings screen, this bu\
tton can also
be used to apply the setting. In a character input screen, this button can also delete the
characters that have been entered.
11 VOICE - Press to hear the current voice guidance for a programmed route.
For more information, refer to your Navigation System Owner’s Manual.
4. Choose a PIN code to use with the compatible Bluetooth® audio device using the number
input screen. The PIN code will need to be entered into the Bluetooth® audio device after step
5. Select the “OK” key.
5. The standby message screen will appear. For the connecting procedure of your audio device,
see your device’s Bluetooth
® audio instructions.
6. When the connecting is completed, the screen will return to the Bluetooth\
® setup display.
For more information, refer to the “Monitor, heater, air conditioner, audio, phone and voice recognition systems (section 4)”
of your Owner’s Manual or please visit www.nissanusa.com/bluetooth.
010203
04
0809
1110
0506
07
To view detailed instructional videos regarding these and other features,
please go to www.nissanownersinfo.mobi.
Page 26 of 28
HOMELINK® UNIVERSAL TRANSCEIVER (if so equipped)
The HomeLink® system can learn and consolidate the functions of up to three different\
hand-held transmitters, operating items such as garage doors, property gates, outdoor
and indoor lights or alarm systems.
For more information, refer to the “Instruments and controls (section 2)” of your Owner’s Manual, the HomeLink® website at
www.homelink.com or call 1-800-355-3515.
HOMELINK®
system guide
24To view detailed instructional videos regarding these and other features, please go to www.nissanownersinfo.mobi.