2013 NISSAN LEAF lights
[x] Cancel search: lightsPage 4 of 28
arOuND VIew® MONITOr
(if so equipped)
With the ignition switch in the ON position, the
Around View® Monitor is activated by pressing the
C
a
M
e
ra
button
01 , located on the navigation
unit, or by moving the vehicle to the r ( re V erSe )
position
.
The monitor displays various views of the position of the vehicle .
When the vehicle is in the P (ParK), N (Ne u T ra L) or D (DrIV e ) position and the
C
a
M
e
ra button
01 is pressed, the following views will display in order:
01
To view detailed instructional videos regarding these and other features,
please go to www.nissanownersinfo.mobi.2
new system features
aPPrOaCH ING V eH ICL e SO uN D FO r P eDeST rI a NS (VSP) SYST eM
The VSP system helps alert pedestrians to the presence of the vehicle when it is being
driven at a low speed
.
When the vehicle starts to move, it produces a sound . The sound stops when the vehicle
s
peed reaches approximately 19 MPH (30 km/h) while accelerating .
For more information, refer to the “eV Overview (section eV)” of your Owner’s Manual .
reMOTe F uN CTIONS*
Vehicle telematic capabilities enable you to perform remote functions from a compatible internet
enabled smart phone or personal computer such as:
Battery status - The status of the battery can be checked even if you are not in the vehicle.
Unplugged status and charging status - A notification e-mail and/or text message can be
sent if the c
harge connector is not connected or if battery charging is stopped mid-charge.
Remote charge and remote climate control - Start battery charging or set a time to turn on
y
our climate controls .
*Remote functions are only available when the following conditions are met: Optional CARWINGS™ (if so equipped) subscription service has been established. Your vehicle and smart phone are in a compatible cell phone coverage area and your personal computer is connected to
the internet .
F
or more information, refer to the “Charging (section CH)” of your Owner’s Manual and the “ Lea
F
Navigation System
Overview (section IT)”
of your Navigation System Owner’s Manual .
SOLar CeLL MODuL e (if so equipped)
The solar cell module helps provide a supplementary
charge to the 12-volt battery.
The 12-volt battery supplies power to the audio system, windshield wipers, lights and other low-
voltage systems
.
For more information, refer to the “eV Overview (section eV)” of your Owner’s Manual .
1275820_13_Leaf_QRG_Text-Insert_121912.indd 212/19/12 10:10 AM
Page 8 of 28
LI-ION BaTTerY T eM P eraT ure G auGe
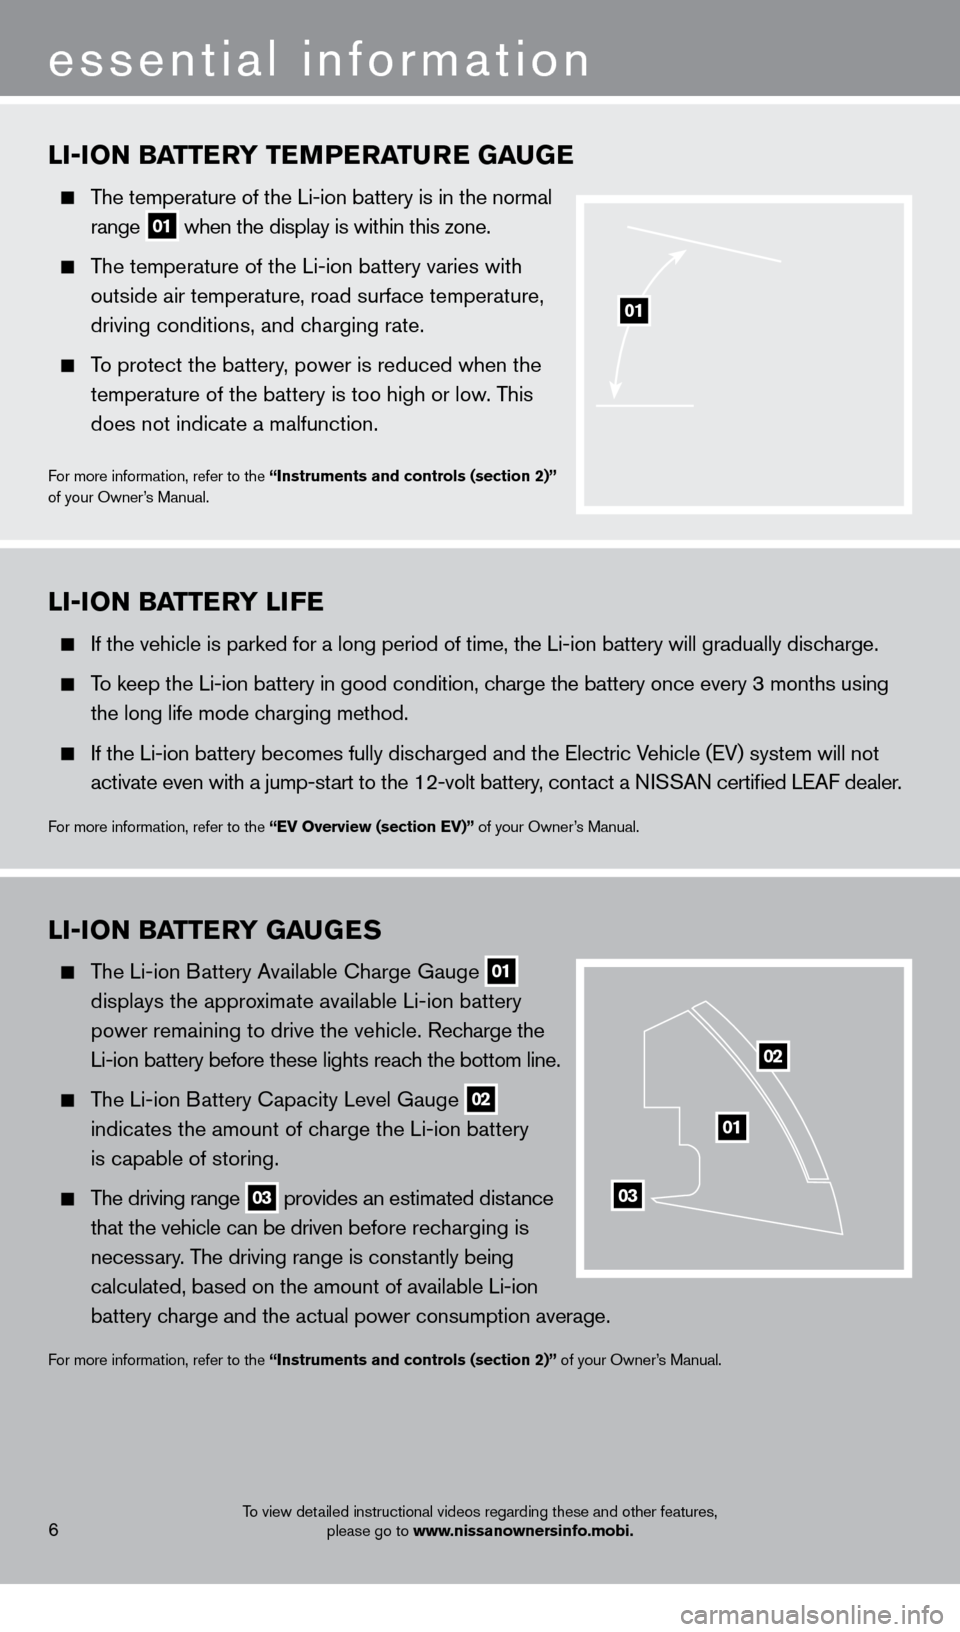
The temperature of the Li-ion battery is in the normal
range
01 when the display is within this zone.
The temperature of the Li-ion battery varies with
outside air temperature, road surface temperature,
driving conditions, and c
harging rate .
To protect the battery, power is reduced when the
temperature of the battery is too high or low
. This
does not indicate a malfunction
.
For more information, refer to the “Instruments and controls (section 2)”
of your Owner’s Manual .
01
LI-ION BaTTerY G auGeS
The Li-ion Battery Available Charge Gauge
01
displays the appro
ximate available Li-ion battery
power remaining to drive the vehicle
.
Recharge the
Li-ion battery before these lights reac
h the bottom line.
The Li-ion Battery Capacity Level Gauge
02
indicates the amount of c
harge the Li-ion battery
is capable of storing.
The driving range 03 provides an estimated distance
that the vehicle can be driven b efore recharging is
necess
ary. The driving range is constantly being
calculated, based on the amount of available Li-ion
battery c
harge and the actual power consumption average.
For more information, refer to the “Instruments and controls (section 2)” of your Owner’s Manual .
01
02
03
LI-ION BaTT erY LI F e
If the vehicle is parked for a long period of time, the Li-ion battery will gradually discharge.
To keep the Li-ion battery in good condition, charge the battery once every 3 months using
the long life mode c
harging method .
If the Li-ion battery becomes fully disc harged and the Electric Vehicle (EV) system will not
activate even with a jump-st
art to the 12-volt battery, contact a NISSAN certified LEAF dealer.
For more information, refer to the “eV Overview (section eV)” of your Owner’s Manual .
6
essential information
To view detailed instructional videos regarding these and other features, please go to www.nissanownersinfo.mobi.
1275820_13_Leaf_QRG_Text-Insert_121912.indd 612/19/12 10:10 AM
Page 9 of 28
TIre P reS Su re MONITO rI NG SYST eM (TPM S)
w
ITH ea SY FILL TI
r
e a L er T
A CHECK TIRE PRESSURE warning message will
appear in the dot matrix liquid cryst
al display
01 and
the low tire pressure warning light 02 will illuminate
when one or more tires are low on pressure a nd air
is needed
.
When adding air to an under-inflated tire, the TPMS
with Easy Fill T
ire Alert system provides visual and
audible signals to help you inflate the tires to the
recommended C
OLD tire pressure .
To use the Easy Fill Tire Alert system:
1.
Apply the parking brake and press the
P (P
arK)
button on the shift lever
.
2
.
Place the power switc
h in the ON position . Do not
place in the
rea DY to drive mode .
3
.
Add air to the underinflated tire and within a few
seconds, the hazard warning lights will flash.
4.
W
hen the designated tire pressure is reached, the horn will beep once and the hazard
warning lights will stop flashing
.
5
.
Repeat this procedure for any additional underinflated tires
.
After tire pressures are adjusted, drive the vehicle at s peeds above 16 MPH (25km/h) and the
w
arning and indicator light will disappear
.
POwer LIMITaTI ON INDICaT O r LIGHT
When the power limitation indicator light illuminates,
power provided to the traction motor is reduced .
This light illuminates in the following conditions:
• T
he Li-ion battery available charge is extremely low.
• T
he Li-ion battery temperature is very low.
•
T
he temperature of the Electric Vehicle (EV)
system is high (motor, inverter, coolant system,
Li -ion battery, etc.).
• T
he EV system has a malfunction.
If the power limit ation indicator light is illuminated, follow the instructions provided o\
n the
navigation display
.
For more information, refer to the “Instruments and Controls (section 2)” of your Owner’s Manual .
01
02
To view detailed instructional videos regarding these and other features, please go to www.nissanownersinfo.mobi.7
1275820_13_Leaf_QRG_Text-Insert_121912.indd 712/19/12 10:10 AM
Page 11 of 28
rear HaTCH reL ea Se
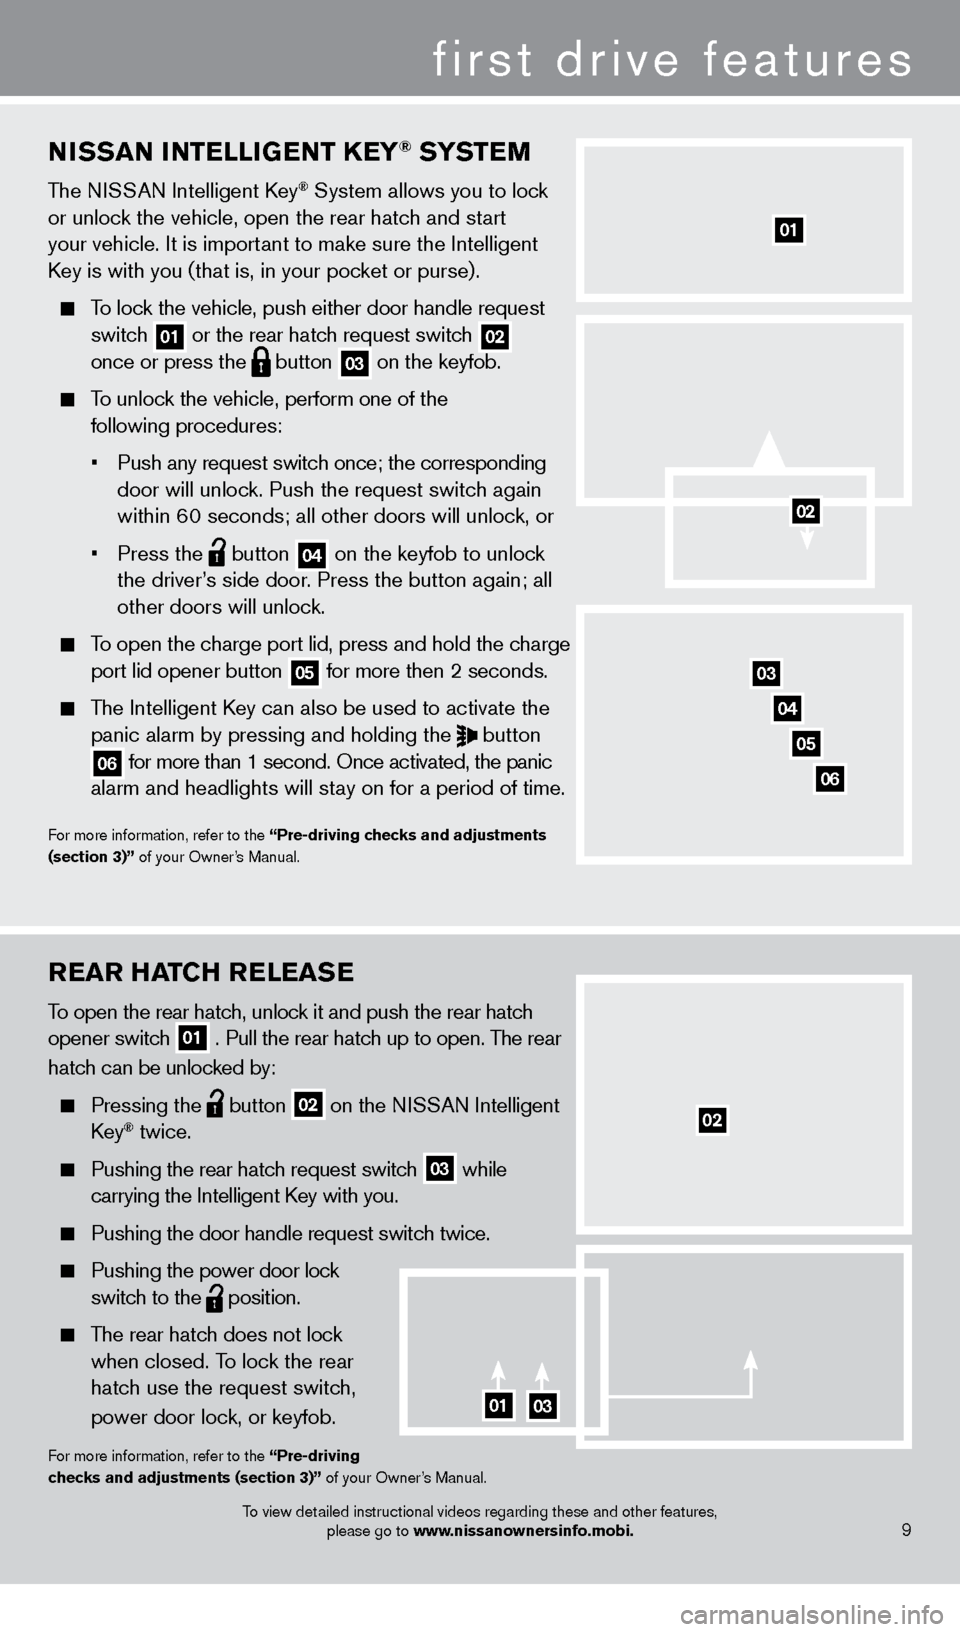
To open the rear hatch, unlock it and push the rear hatch
opener switch
01 . Pull the rear hatch up to open . The rear
hatch can be unlocked by:
Pressing the button
02 on the NISSAN Intelligent
Key® twice .
Pushing the rear hatc h request switch
03 while
carrying the Intelligent Key with you
.
Pushing the door handle request switc h twice .
Pushing the power door loc k
switch to the
position .
The rear hatch does not lock when closed . To lock the rear
hatch use the request switch,
power door lock, or keyfob.
For more information, refer to the “Pre-driving
checks and adjustments (section 3)” of your Owner’s Manual
.
NISSaN INTeLLIGeNT Ke Y® SYSTeM
The NISSAN Intelligent Key® System allows you to lock
or unlock the vehicle, open the rear hatch and start
your vehicle
.
It is important to make sure the Intelligent
Key is with you (that is, in your pocket or purse)
.
To lock the vehicle, push either door handle request switc
h
01 or the rear hatch request switch
02 once or press the button
03 on the keyfob.
To unlock the vehicle, perform one of the
following procedures:
•
Push any request switc
h once; the corresponding
door will unloc
k . Push the request switch again
within 6
0 seconds; all other doors will unlock, or
• Press the button
04 on the keyfob to unlock
the driver
’s side door. Press the button again; all
other doors will unloc
k
.
To open the charge port lid, press and hold the charge
port lid opener button 05 for more then 2 seconds .
The Intelligent Key can also be used to activate the
panic alarm by pressing and holding the button
06 for more than 1 second . Once activated, the panic
alarm and headlights will st ay on for a period of time .
For more information, refer to the “Pre-driving checks and adjustments
(section 3)” of your Owner’s Manual
.
01
0103
02
03
04
06
02
first drive features
9To view detailed instructional videos regarding these and other features, please go to www.nissanownersinfo.mobi.
05
1275820_13_Leaf_QRG_Text-Insert_121912.indd 912/19/12 10:10 AM
Page 14 of 28
HeaDLIGHT CONT rOL Sw ITCH
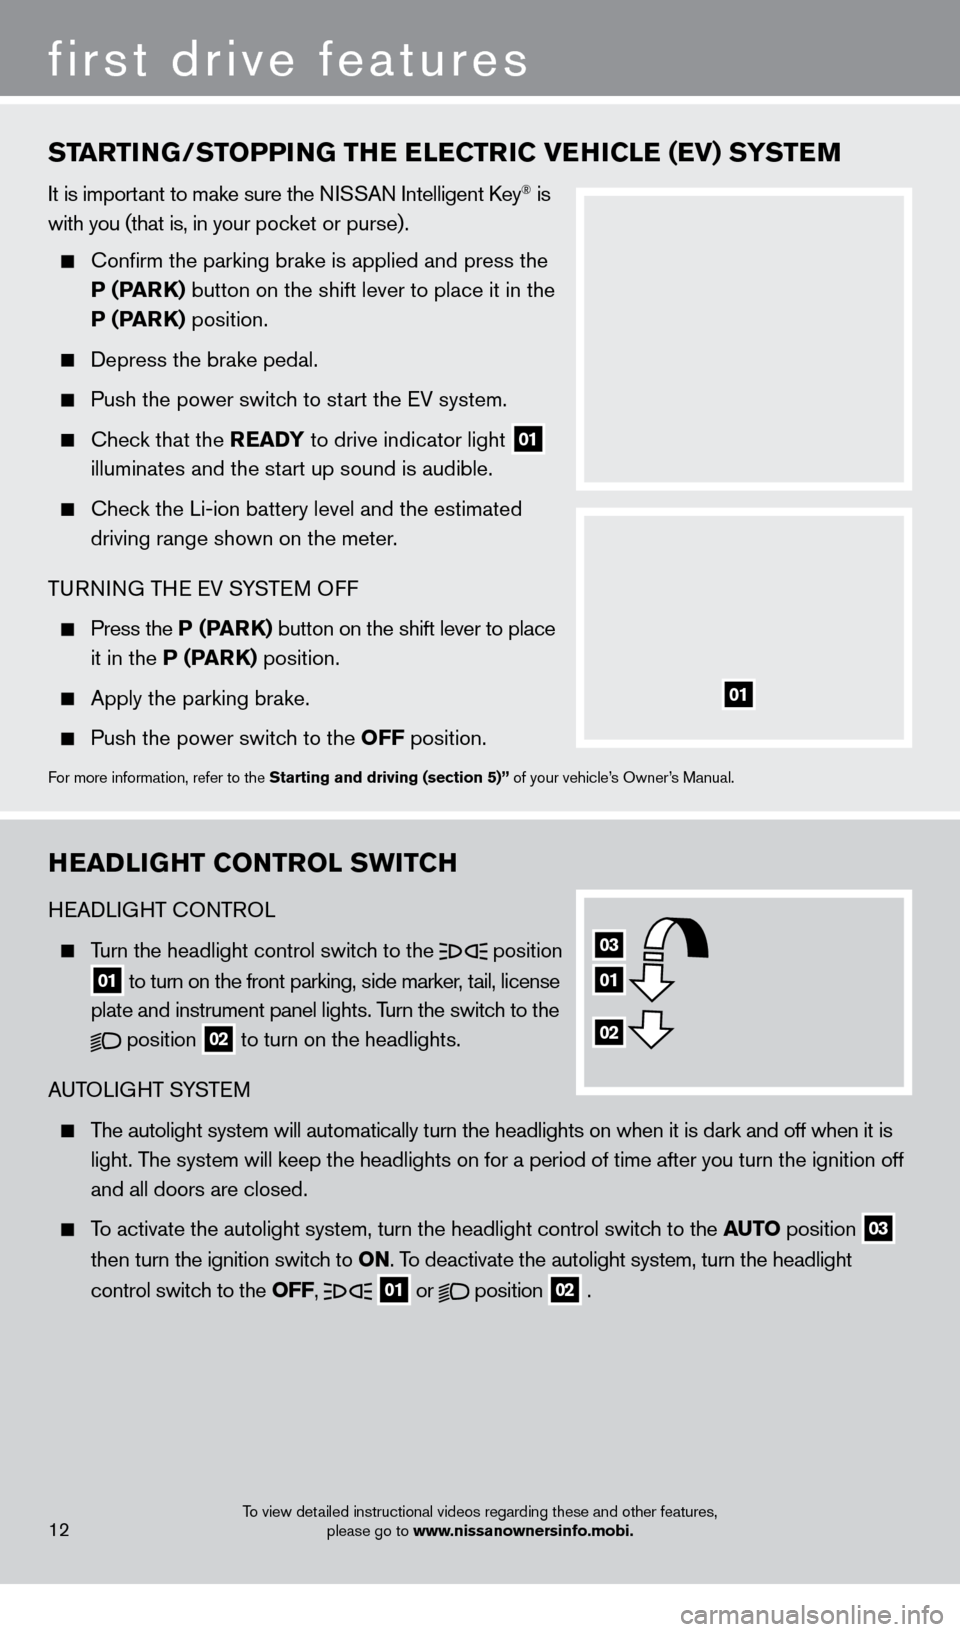
HEADLIGHT CONTROL
Turn the headlight control switch to the
position
01 to turn on the front parking, side marker, tail, license
plate and instrument panel lights . Turn the switch to the
position
02 to turn on the headlights .
A
UTOLIGHT SYSTEM
The autolight system will automatically turn the headlights on when it is\
dark and off when it is
light
. The system will keep the headlights on for a period of time after you tur\
n the ignition off
and all doors are closed
.
To activate the autolight system, turn the headlight control switch to the auT O position
03
t
hen turn the ignition switch to ON
.
To deactivate the autolight system, turn the headlight
control switc
h to the OFF,
01 or
position
02 .
STar
TING/STOPPING THe eL eC T rI C V eH ICL e ( e V) SYST eM
It is important to make sure the NISSAN Intelligent Key® is
with you (that is, in your pocket or purse)
.
Confirm the parking brake is applied and press the
P (ParK)
button on the shift lever to place it in the
P (ParK)
position .
Depress the brake pedal.
Push the power switc h to start the EV system .
Check that the rea DY to drive indicator light
01
illuminates and the st
art up sound is audible.
Check the Li-ion battery level and the estimated
driving range shown on the meter .
TURNING THE EV SYSTEM OFF
Press the P (ParK) button on the shift lever to place
it in the
P (P
arK)
position .
Apply the parking brake.
Push the power switc h to the OFF position .
For more information, refer to the Starting and driving (section 5)” of your vehicle’s Owner’s Manual .
01
03
01
02
12
first drive features
To view detailed instructional videos regarding these and other features,
please go to www.nissanownersinfo.mobi.
1275820_13_Leaf_QRG_Text-Insert_121912.indd 1212/19/12 10:10 AM
Page 15 of 28
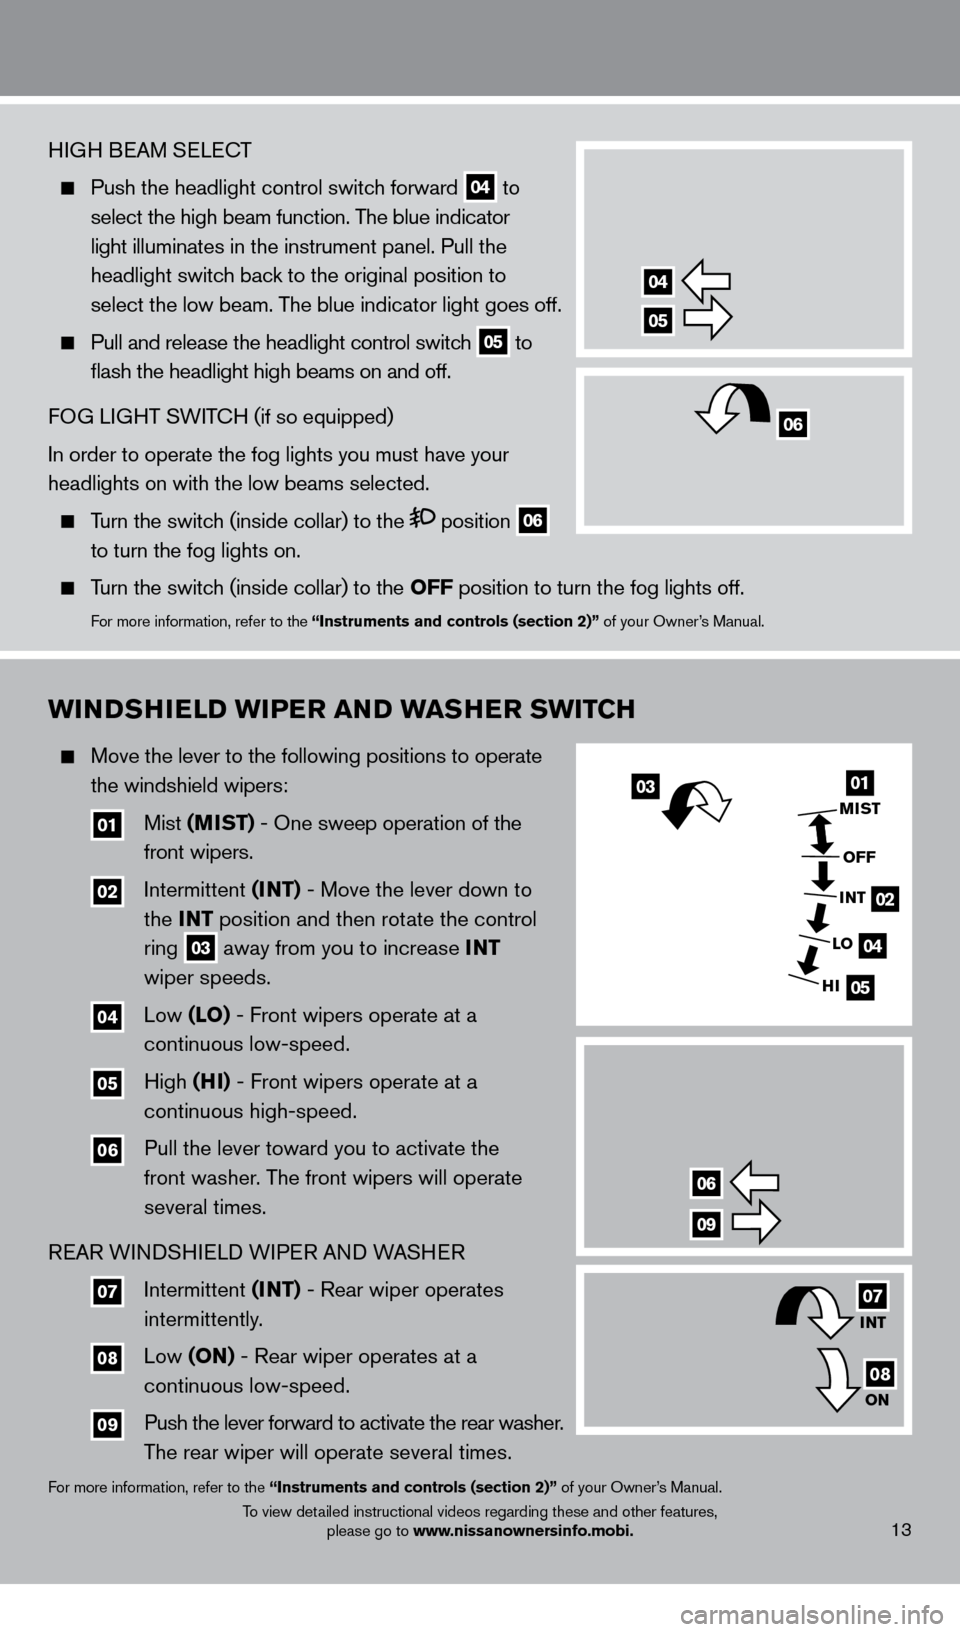
HIGH BEAM SELECT
Push the headlight control switch forward
04 to
select the high beam function. The blue indicator
light illuminates in the instrument panel
.
Pull the
headlight switch back to the original position to
select the low beam. The blue indicator light goes off.
Pull and release the headlight control switc h
05 to
flash the headlight high beams on and off.
FOG LIGHT SWITCH (if so equipped)
In order to operate the fog lights you must have your
headlights on with the low beams selected.
Turn the switch (inside collar) to the position 06
to turn the fog lights on
.
Turn the switch (inside collar) to the OFF position to turn the fog lights off
.
For more information, refer to the “Instruments and controls (section 2)” of your Owner’s Manual .
wINDSHIeLD w IP er a ND wa SHe r S w ITCH
Move the lever to the following positions to operate
the windshield wipers:
01 Mist (MIST) - One sweep operation of the
front wipers .
02 Intermittent (I NT) - Move the lever down to
the INT position and then rotate the control
ring
03 away from you to increase INT
wiper speeds .
04 Low (LO) - Front wipers operate at a
continuous low-speed .
05 High (HI) - Front wipers operate at a
continuous high-speed .
06 Pull the lever toward you to activate the
front washer
.
The front wipers will operate
several times
.
RE
AR WINDSHIELD WIPER AND WASHER
07 Intermittent (I NT) - Rear wiper operates
intermittently
.
08 Low (ON) - Rear wiper operates at a
continuous low-speed .
09 Push the lever forward to activate the rear washer .
T he rear wiper will operate several times .
For more information, refer to the “Instruments and controls (section 2)” of your Owner’s Manual .
13To view detailed instructional videos regarding these and other features, please go to www.nissanownersinfo.mobi.
04
05
0301
02
04
05
MIST
OFF
INT
INT
LO
ON
HI
06
09
07
08
06
1275820_13_Leaf_QRG_Text-Insert_121912.indd 1312/19/12 10:11 AM
Page 27 of 28
To view detailed instructional videos regarding these and other features, please go to www.nissanownersinfo.mobi.25
HOMELINK® UNIVERSAL TRANSCEIVER (if so equipped)
The HomeLink® system can learn and consolidate the functions of up to three different\
hand-held transmitters, operating items suc
h as garage doors, property gates, outdoor
and indoor lights or alarm systems.
For more information, refer to the “Instruments and controls (section 2)” of your Owner’s Manual, the HomeLink® website at
www.homelink.com or call 1-800-355-3515.
HOMELINK®
1275820_13_Leaf_QRG_Cover_121912.indd 2512/19/12 9:38 AM