2013 NISSAN LEAF instrument panel
[x] Cancel search: instrument panelPage 2 of 28
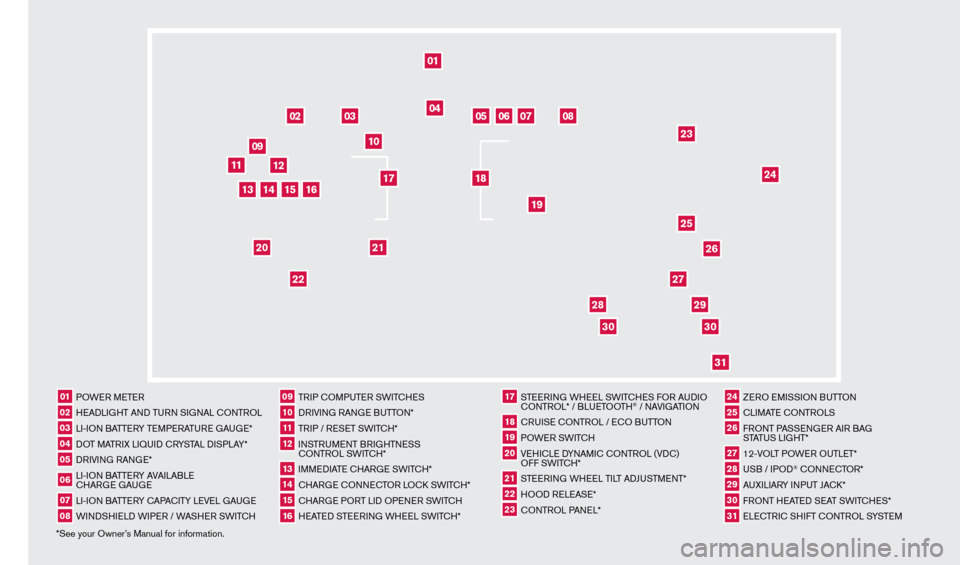
*See your Owner’s Manual for information.01 POWER METER02 HEADLIGHT AND TURN SIGNAL c
O
NTROL03 LI-ION BATTERY TEMPERATURE GAUGE*04 DOT MATRIX LIQUID c
R
YSTAL DISPLAY*05 DRIVING RANGE*06 LI-ION BATTERY AVAILABLE cHAR
GE GAUGE07 LI-ION BATTERY c
AP
A
cITY LEVE
L GAUGE08 WINDSHIELD WIPER / WASHER SWIT
cH
09 TRIP c
O
MPUTER SWIT
cH
ES10 DRIVING RANGE BUTTON*11 TRIP / RESET SWIT
cH*
12 INSTRUMENT BRIGHTNESS c
ONTROL SWIT
c
H*13 IMMEDIATE c
HAR
GE SWIT
cH*
14 cHARGE
cONNE
cT
OR LO ck
S
WIT
c
H*15 cHARGE PORT LID OPENER SWIT
cH
16 HEATED STEERING WHEEL SWIT
cH*
17 STEERING WHEEL SWIT
cHE
S FOR AUDIO cO
NTROL* / BLUETOOTH
® / NAVIGATION
18 cRUISE
cONTROL / E
cO BUTTON
19 POWER SWIT
c
H20 VEHI
cLE D
YNAMI
c
c
O
NTROL (VD
c
)
OFF SWIT
c
H*21 STEERING WHEEL TILT ADJUSTMENT*22 HOOD RELEASE*23 cONTROL PANEL*
24 ZERO EMISSION BUTTON25 cLIMATE c
O
NTROLS26 FRONT PASSENGER AIR BAG
STATUS LIGHT*27 12-VOLT POWER OUTLET*28 USB / IPOD
® cONNE
cT
OR*
29 AUXILIARY INPUT JA
c
k *30 FRONT HEATED SEAT SWIT
cH
ES*31 ELE
cTR
I
c
SHIFT c
O
NTROL SYSTEM
01
03
04
02
05
13
15
10
11
06
07
23
2629
27
3031
24
25
22
09
12
08
20
21
14
16
19
17
18
2830
1275820_13_Leaf_QRG_Cover_121912.indd 312/19/12 9:38 AM
Page 3 of 28
TABLE OF CONTENTS
New SYSTeM FeaT ureS
Remote Functions . . . . . . . . . . . . . . . . . . . . . . . . . . . . . . . . . . . . . . . . . . . . . . 2
Approac
hing Vehicle Sound for Pedestrians (VSP) System . . . . . . . . . . . .2
Solar Cell Module (if so equipped)
. . . . . . . . . . . . . . . . . . . . . . . . . . . . . . . .2
Around V
iew
® Monitor (if so equipped) . . . . . . . . . . . . . . . . . . . . . . . . . . . . . 2 Shift Control System . . . . . . . . . . . . . . . . . . . . . . . . . . . . . . . . . . . . . . . . . . . . 4
Heated Seats . . . . . . . . . . . . . . . . . . . . . . . . . . . . . . . . . . . . . . . . . . . . . . . . . . 4 Charge P
ort Lid . . . . . . . . . . . . . . . . . . . . . . . . . . . . . . . . . . . . . . . . . . . . . . . . 4
eS
S
eNTI
a
L INFO r
M
a
TI
ON
Cold W
eather Range . . . . . . . . . . . . . . . . . . . . . . . . . . . . . . . . . . . . . . . . . . . . 5
Parking in Extremely Cold W
eather . . . . . . . . . . . . . . . . . . . . . . . . . . . . . . . . 5
Quic
k Charge in Cold Weather (if so equipped)
. . . . . . . . . . . . . . . . . . . . .5 Li-ion B
attery Temperature Gauge . . . . . . . . . . . . . . . . . . . . . . . . . . . . . . . . . 6
Li-ion B
attery Life . . . . . . . . . . . . . . . . . . . . . . . . . . . . . . . . . . . . . . . . . . . . . . . 6
Li-ion B
attery Gauges . . . . . . . . . . . . . . . . . . . . . . . . . . . . . . . . . . . . . . . . . . . 6
P
ower Limitation Indicator Light . . . . . . . . . . . . . . . . . . . . . . . . . . . . . . . . . . . 7
T
ire Pressure Monitoring System (TPMS) with Easy Fill Tire Alert . . . . . . .7
Instrument Panel Cloc
k . . . . . . . . . . . . . . . . . . . . . . . . . . . . . . . . . . . . . . . . . . 8
FI
rST DrIV
e
F ea
T
ure
S N
ISSAN Intelligent Key
® System . . . . . . . . . . . . . . . . . . . . . . . . . . . . . . . . . . 9 Rear Hatc
h Release . . . . . . . . . . . . . . . . . . . . . . . . . . . . . . . . . . . . . . . . . . . . . 9
Seat Adjustments
. . . . . . . . . . . . . . . . . . . . . . . . . . . . . . . . . . . . . . . . . . . . . 10
Outside Mirror Control Switc
h . . . . . . . . . . . . . . . . . . . . . . . . . . . . . . . . . . . 10
P
ower Meter
. . . . . . . . . . . . . . . . . . . . . . . . . . . . . . . . . . . . . . . . . . . . . . . . .
11
Electric V
ehicle (EV) System Warning Light . . . . . . . . . . . . . . . . . . . . . . .
.
11
St
arting/Stopping the Electric Vehicle (EV) System . . . . . . . . . . . . . . . . .
12
Headlight Control Switc
h . . . . . . . . . . . . . . . . . . . . . . . . . . . . . . . . . . . . . . .
12
W
indshield Wiper and Washer Switch . . . . . . . . . . . . . . . . . . . . . . . . . . . .
13
Automatic Climate Controls (if so equipped)
. . . . . . . . . . . . . . . . . . . . . . .
14
FM/AM/SiriusXM
Satellite Radio with CD Player (if so equipped) . . . . . .15 Cruise Control (if so equipped)
. . . . . . . . . . . . . . . . . . . . . . . . . . . . . . . . . .16
USB/iPOD
® Interface . . . . . . . . . . . . . . . . . . . . . . . . . . . . . . . . . . . . . . . . . .16 Li-ion B
attery Charging . . . . . . . . . . . . . . . . . . . . . . . . . . . . . . . . . . . . . . . .17
S
YST
e
M G
u
ID
e
T
rip Computer
. . . . . . . . . . . . . . . . . . . . . . . . . . . . . . . . . . . . . . . . . . . . . . . .
19
Bluetooth
® Hands-free Phone System . . . . . . . . . . . . . . . . . . . . . . . . . . . . .20
Bluetooth® System Operating Tips . . . . . . . . . . . . . . . . . . . . . . . . . . . . .20
Bluetooth® System without Navigation (if so equipped) . . . . . . . . . . . .20
Bluetooth® System with Navigation (if so equipped) . . . . . . . . . . . . . . .23 Navigation System (if so equipped) . . . . . . . . . . . . . . . . . . . . . . . . . . . . . .
.24
HomeLink
® Universal Transceiver (if so equipped) . . . . . . . . . . . . . . . . . . .25
• A cellular telephone should not be used for any purpose while
driving so full attention may be given to vehicle operation.
• Always wear your seat belt.
• Supplemental air bags do not replace proper seat belt usage.
• Children 12 and under should always ride in the rear seat
properly secured in child restraints or seat belts according to
their age and weight
.
• Do not drink and drive.
F
or more information, refer to the “Safety — Seats, seat belts and
supplemental restraint system (section 1)”, “Heater, air conditioner,
audio and phone systems (section 4)” and the “Starting and driving
(section 5)” of your Owner’s Manual and the “Bluetooth
® Hands-free
Phone System (section 7)” and the “audio systems (section 4)” of your
Navigation System Owner’s Manual
.
Additional information about your vehicle is also available in your Owner’s Manual, Navigation System Owner’s Manual and at www
.
nissanusa . com .
To view detailed
instructional videos, go to
www.nissanownersinfo.mobi/2013/leaf or snap this barcode with an appropriate barcode reader.
1275820_13_Leaf_QRG_Text-Insert_121912.indd 112/19/12 10:10 AM
Page 6 of 28
CHarGe PO r T LID
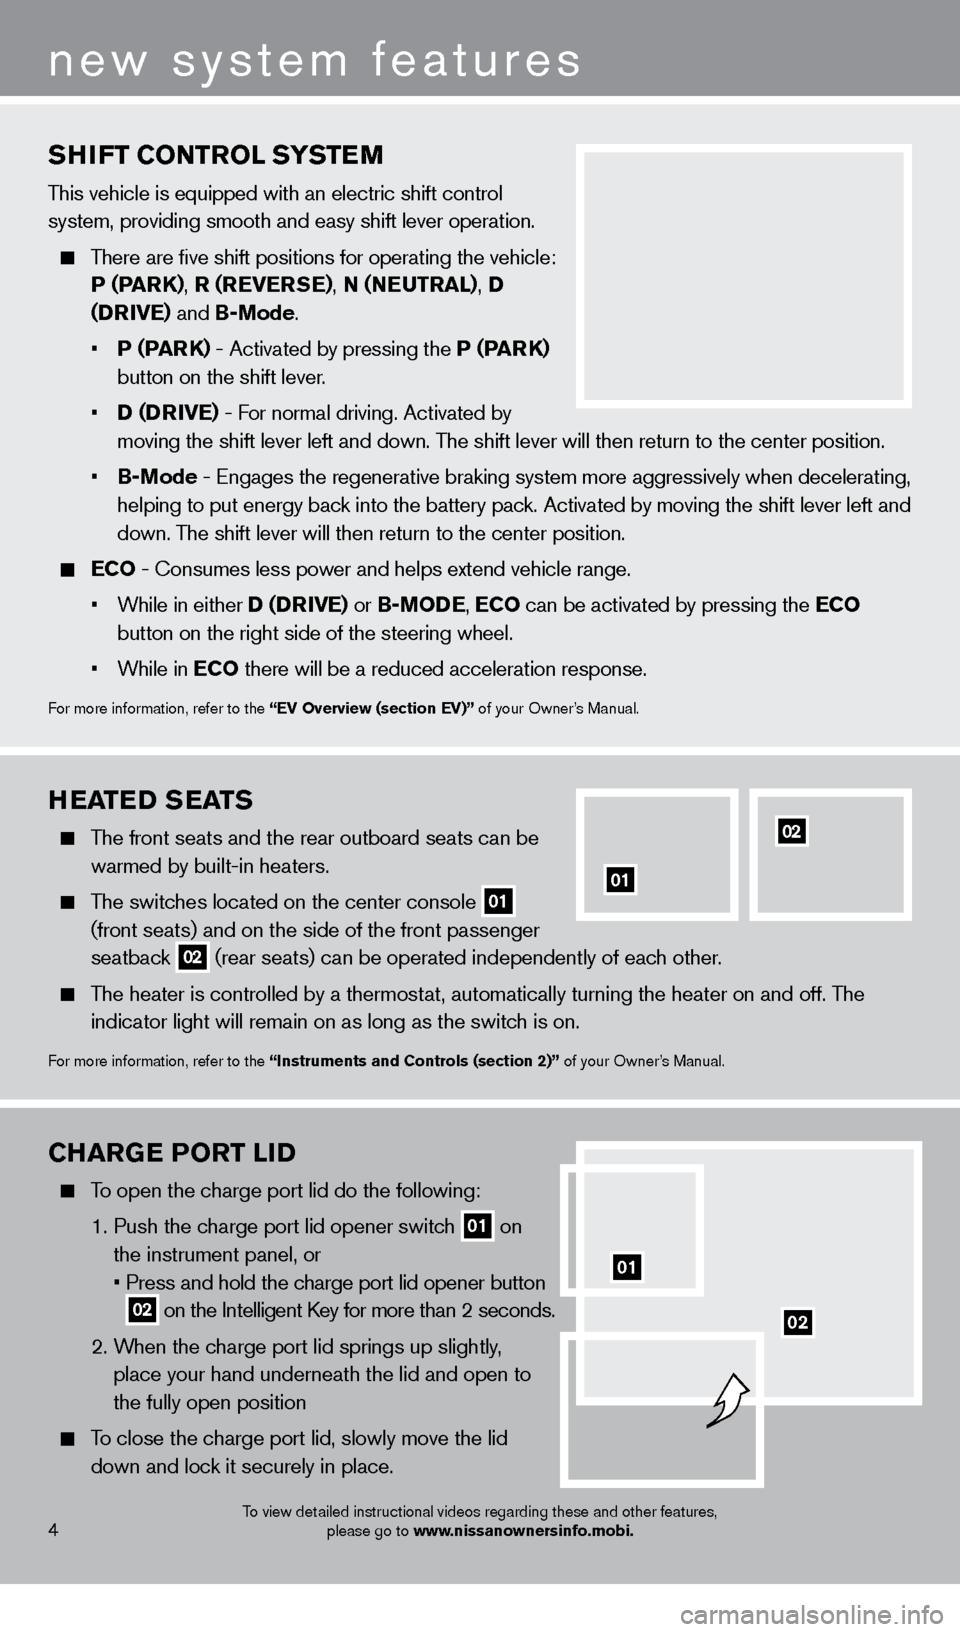
To open the charge port lid do the following:
1
.
Push the c
harge port lid opener switch
01 on
the instrument panel, or
•
Press and hold the c
harge port lid opener button
02 on the Intelligent Key for more than 2 seconds .
2
.
W
hen the charge port lid springs up slightly,
place your hand underneath the lid and open to
the fully open position
To close the charge port lid, slowly move the lid down and lock it securely in place .
02
4
new system features
To view detailed instructional videos regarding these and other features, please go to www.nissanownersinfo.mobi.
SHIFT CONTrOL SYST eM
This vehicle is equipped with an electric shift control
system, providing smooth and easy shift lever operation
.
There are five shift positions for operating the vehicle: P (Par
K
),
r (r
e
Ver
S e), N (Neu
T ra L
), D
(D
r
I
V
e) and
B-Mode .
•
P (P
ar
K
) - Activated by pressing the P (Par
K
)
button on the shift lever.
•
D (D
r
I
V
e) - F
or normal driving. Activated by
moving the shift lever left and down
. The shift lever will then return to the center position .
•
B-Mode - Engages the regenerative braking system more aggressively whe
n decelerating,
helping to put energy back into the battery pack. Activated by moving the shift lever left and
down
. The shift lever will then return to the center position .
eCO - Consumes less power and helps extend vehicle range .
•
W
hile in either D (D
rIV
e ) or B-MOD
e
,
eCO
can be activated by pressing the e
CO
button on the right side of the steering wheel.
•
W
hile in e
CO
there will be a reduced acceleration response.
For more information, refer to the “eV Overview (section eV)” of your Owner’s Manual .
01
HeaTeD S eaTS
The front seats and the rear outboard seats can be
warmed by built-in heaters.
The switches located on the center console 01
(front seats) and on the side of the front passenger
seatback
02 (rear seats) can be operated independently of each other.
The heater is controlled by a thermostat, automatically turning the heater on and off. The
indicator light will remain on as long as the switch is on .
For more information, refer to the “Instruments and Controls (section 2)” of your Owner’s Manual .
01
02
1275820_13_Leaf_QRG_Text-Insert_121912.indd 412/19/12 10:10 AM
Page 10 of 28
8To view detailed instructional videos regarding these and other features, please go to www.nissanownersinfo.mobi.
INSTruMeNT Pa NeL CL OCK
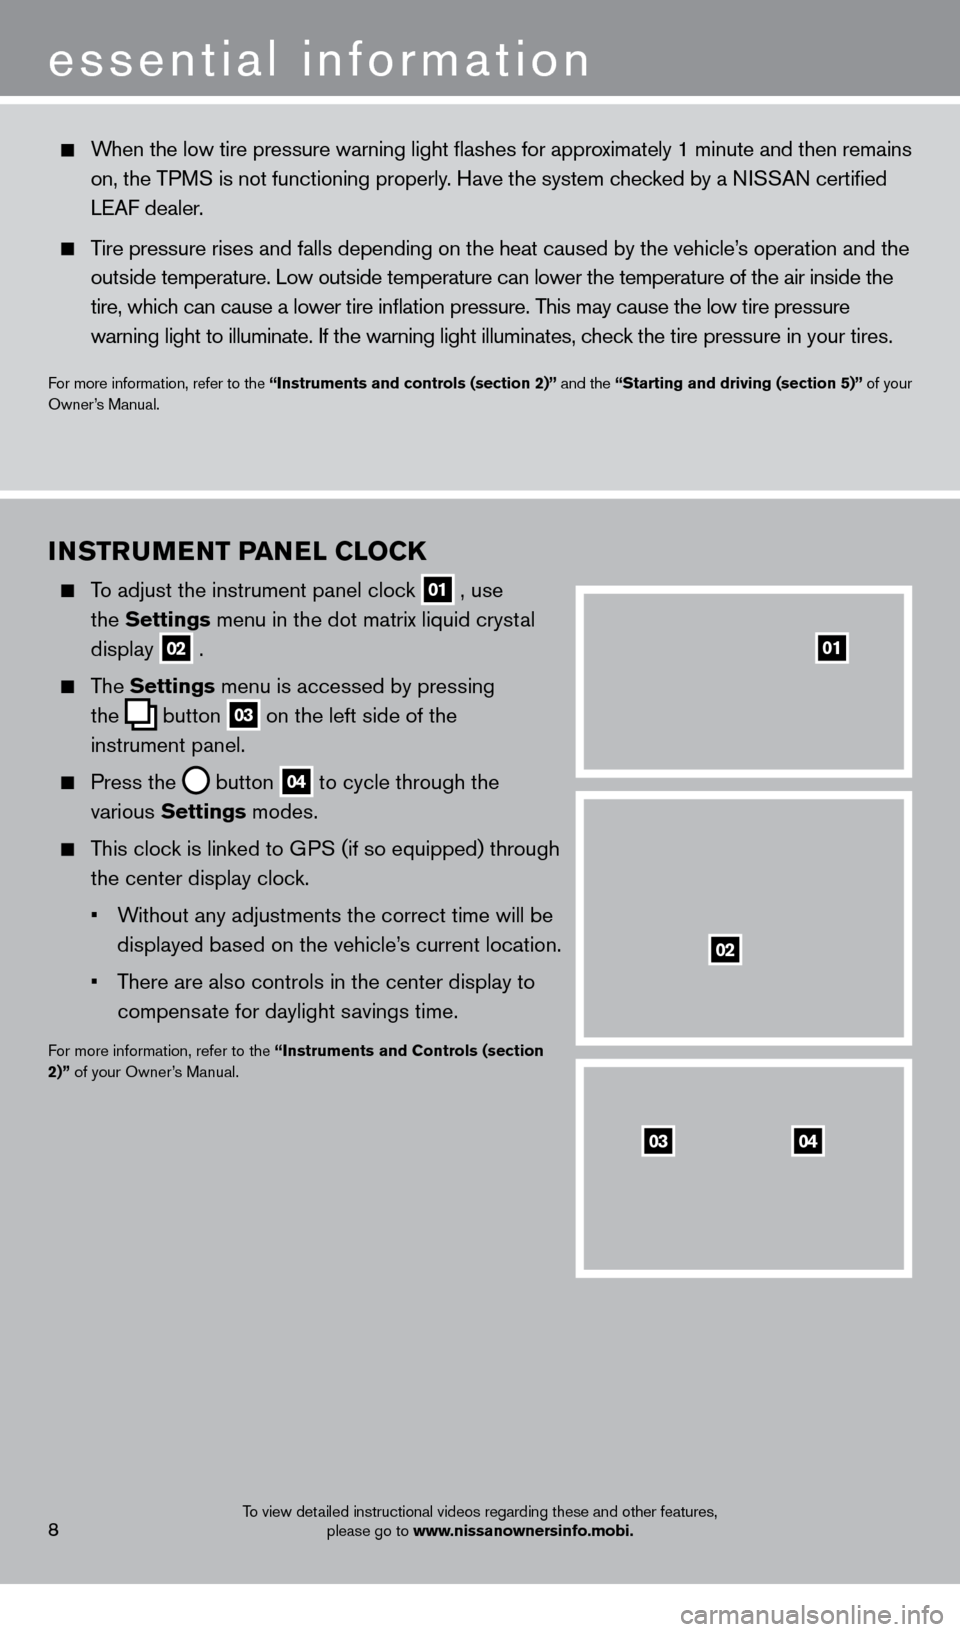
To adjust the instrument panel clock
01 , use
the Settings menu in the dot matrix liquid crystal
display
02 .
The Settings menu is accessed by pressing
the
button
03 on the left side of the
instrument panel
.
Press the button
04 to cycle through the
various Settings modes .
This clock is linked to GPS (if so equipped) through the center display clock .
•
W
ithout any adjustments the correct time will be
displayed based on the vehicle’s current location.
•
T
here are also controls in the center display to
compensate for daylight savings time
.
For more information, refer to the “Instruments and Controls (section
2)” of your Owner’s Manual .
0403
02
01
When the low tire pressure warning light flashes for approximately 1 minute and then remains
on, the TPMS is not functioning properly. Have the system checked by a NISSAN certified
LEAF dealer
.
Tire pressure rises and falls depending on the heat caused by the vehicle’s operation and the
o
utside temperature . Low outside temperature can lower the temperature of the air inside the\
tire, whic
h can cause a lower tire inflation pressure . This may cause the low tire pressure
warning light to illuminate
. If the warning light illuminates, check the tire pressure in your tires
.
For more information, refer to the “Instruments and controls (section 2)” and the “Starting and driving (section 5)” of your
Owner’s Manual .
essential information
1275820_13_Leaf_QRG_Text-Insert_121912.indd 812/19/12 10:10 AM
Page 14 of 28
HeaDLIGHT CONT rOL Sw ITCH
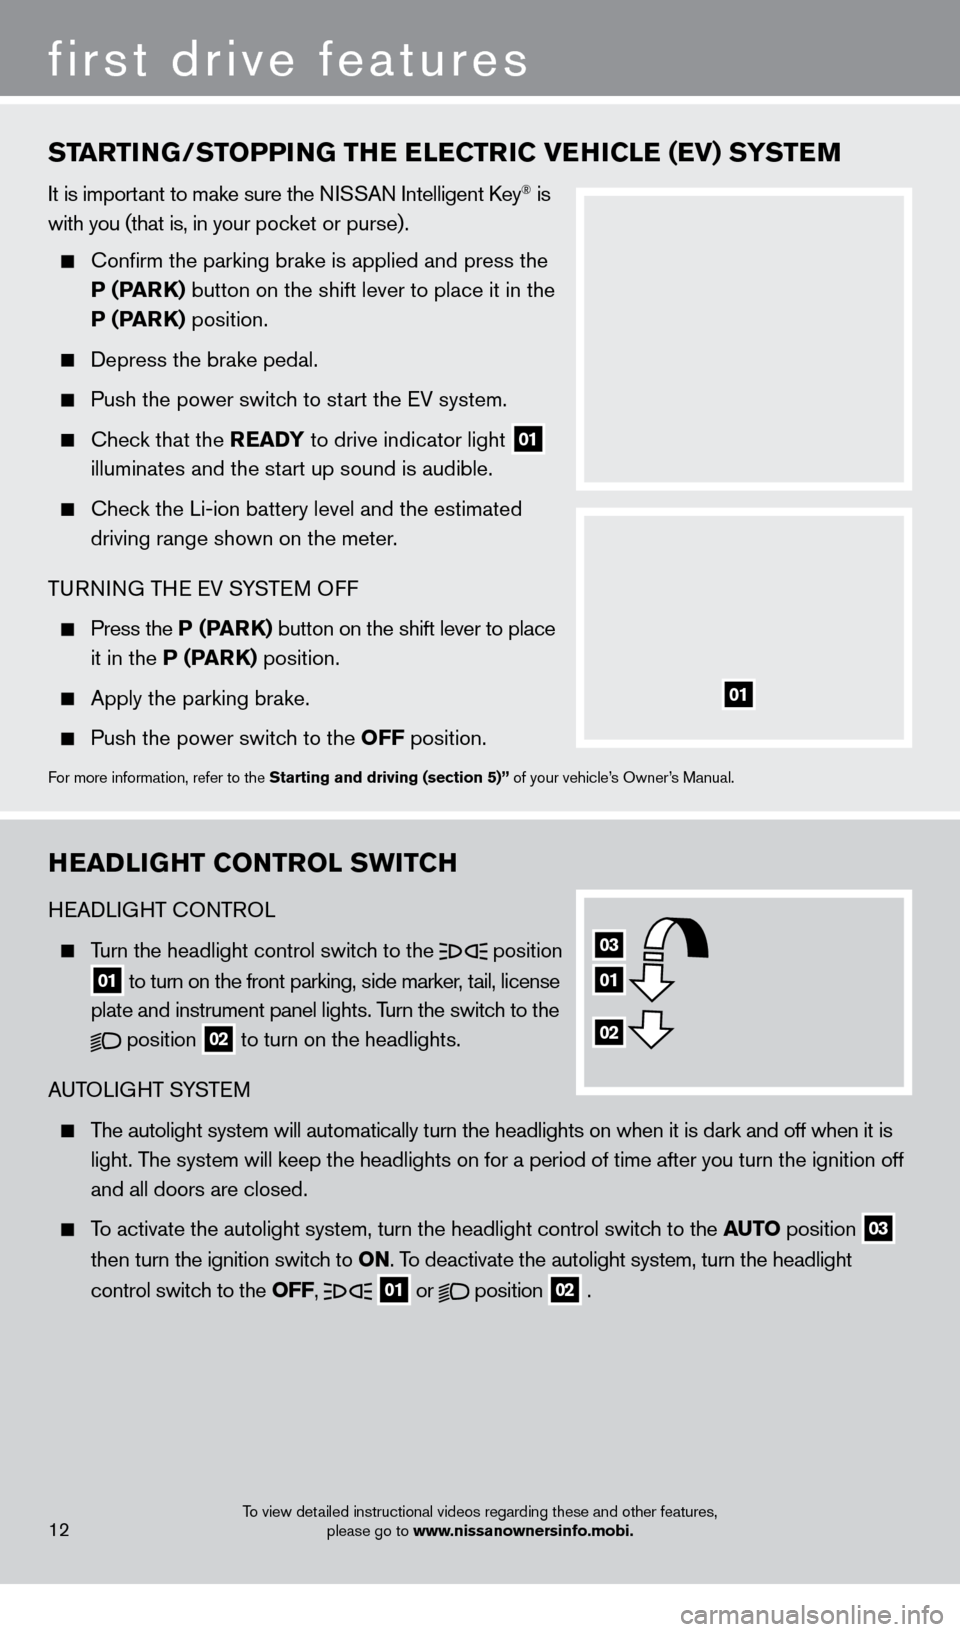
HEADLIGHT CONTROL
Turn the headlight control switch to the
position
01 to turn on the front parking, side marker, tail, license
plate and instrument panel lights . Turn the switch to the
position
02 to turn on the headlights .
A
UTOLIGHT SYSTEM
The autolight system will automatically turn the headlights on when it is\
dark and off when it is
light
. The system will keep the headlights on for a period of time after you tur\
n the ignition off
and all doors are closed
.
To activate the autolight system, turn the headlight control switch to the auT O position
03
t
hen turn the ignition switch to ON
.
To deactivate the autolight system, turn the headlight
control switc
h to the OFF,
01 or
position
02 .
STar
TING/STOPPING THe eL eC T rI C V eH ICL e ( e V) SYST eM
It is important to make sure the NISSAN Intelligent Key® is
with you (that is, in your pocket or purse)
.
Confirm the parking brake is applied and press the
P (ParK)
button on the shift lever to place it in the
P (ParK)
position .
Depress the brake pedal.
Push the power switc h to start the EV system .
Check that the rea DY to drive indicator light
01
illuminates and the st
art up sound is audible.
Check the Li-ion battery level and the estimated
driving range shown on the meter .
TURNING THE EV SYSTEM OFF
Press the P (ParK) button on the shift lever to place
it in the
P (P
arK)
position .
Apply the parking brake.
Push the power switc h to the OFF position .
For more information, refer to the Starting and driving (section 5)” of your vehicle’s Owner’s Manual .
01
03
01
02
12
first drive features
To view detailed instructional videos regarding these and other features,
please go to www.nissanownersinfo.mobi.
1275820_13_Leaf_QRG_Text-Insert_121912.indd 1212/19/12 10:10 AM
Page 15 of 28
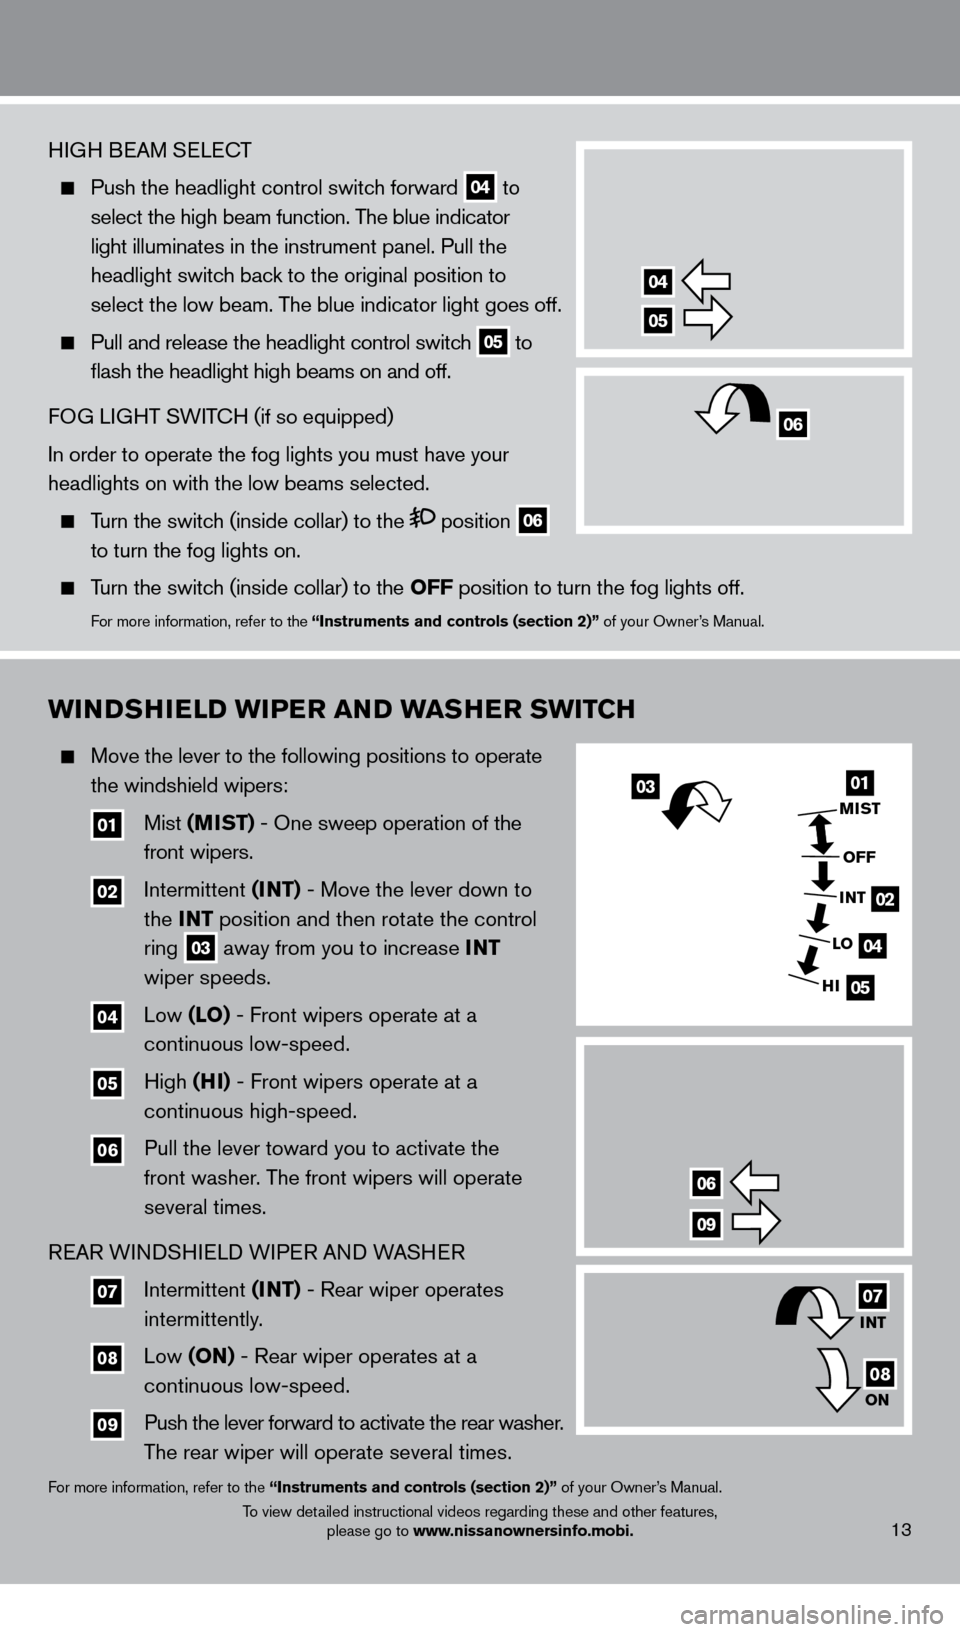
HIGH BEAM SELECT
Push the headlight control switch forward
04 to
select the high beam function. The blue indicator
light illuminates in the instrument panel
.
Pull the
headlight switch back to the original position to
select the low beam. The blue indicator light goes off.
Pull and release the headlight control switc h
05 to
flash the headlight high beams on and off.
FOG LIGHT SWITCH (if so equipped)
In order to operate the fog lights you must have your
headlights on with the low beams selected.
Turn the switch (inside collar) to the position 06
to turn the fog lights on
.
Turn the switch (inside collar) to the OFF position to turn the fog lights off
.
For more information, refer to the “Instruments and controls (section 2)” of your Owner’s Manual .
wINDSHIeLD w IP er a ND wa SHe r S w ITCH
Move the lever to the following positions to operate
the windshield wipers:
01 Mist (MIST) - One sweep operation of the
front wipers .
02 Intermittent (I NT) - Move the lever down to
the INT position and then rotate the control
ring
03 away from you to increase INT
wiper speeds .
04 Low (LO) - Front wipers operate at a
continuous low-speed .
05 High (HI) - Front wipers operate at a
continuous high-speed .
06 Pull the lever toward you to activate the
front washer
.
The front wipers will operate
several times
.
RE
AR WINDSHIELD WIPER AND WASHER
07 Intermittent (I NT) - Rear wiper operates
intermittently
.
08 Low (ON) - Rear wiper operates at a
continuous low-speed .
09 Push the lever forward to activate the rear washer .
T he rear wiper will operate several times .
For more information, refer to the “Instruments and controls (section 2)” of your Owner’s Manual .
13To view detailed instructional videos regarding these and other features, please go to www.nissanownersinfo.mobi.
04
05
0301
02
04
05
MIST
OFF
INT
INT
LO
ON
HI
06
09
07
08
06
1275820_13_Leaf_QRG_Text-Insert_121912.indd 1312/19/12 10:11 AM
Page 18 of 28
CruISe CONT rOL (if so equipped)
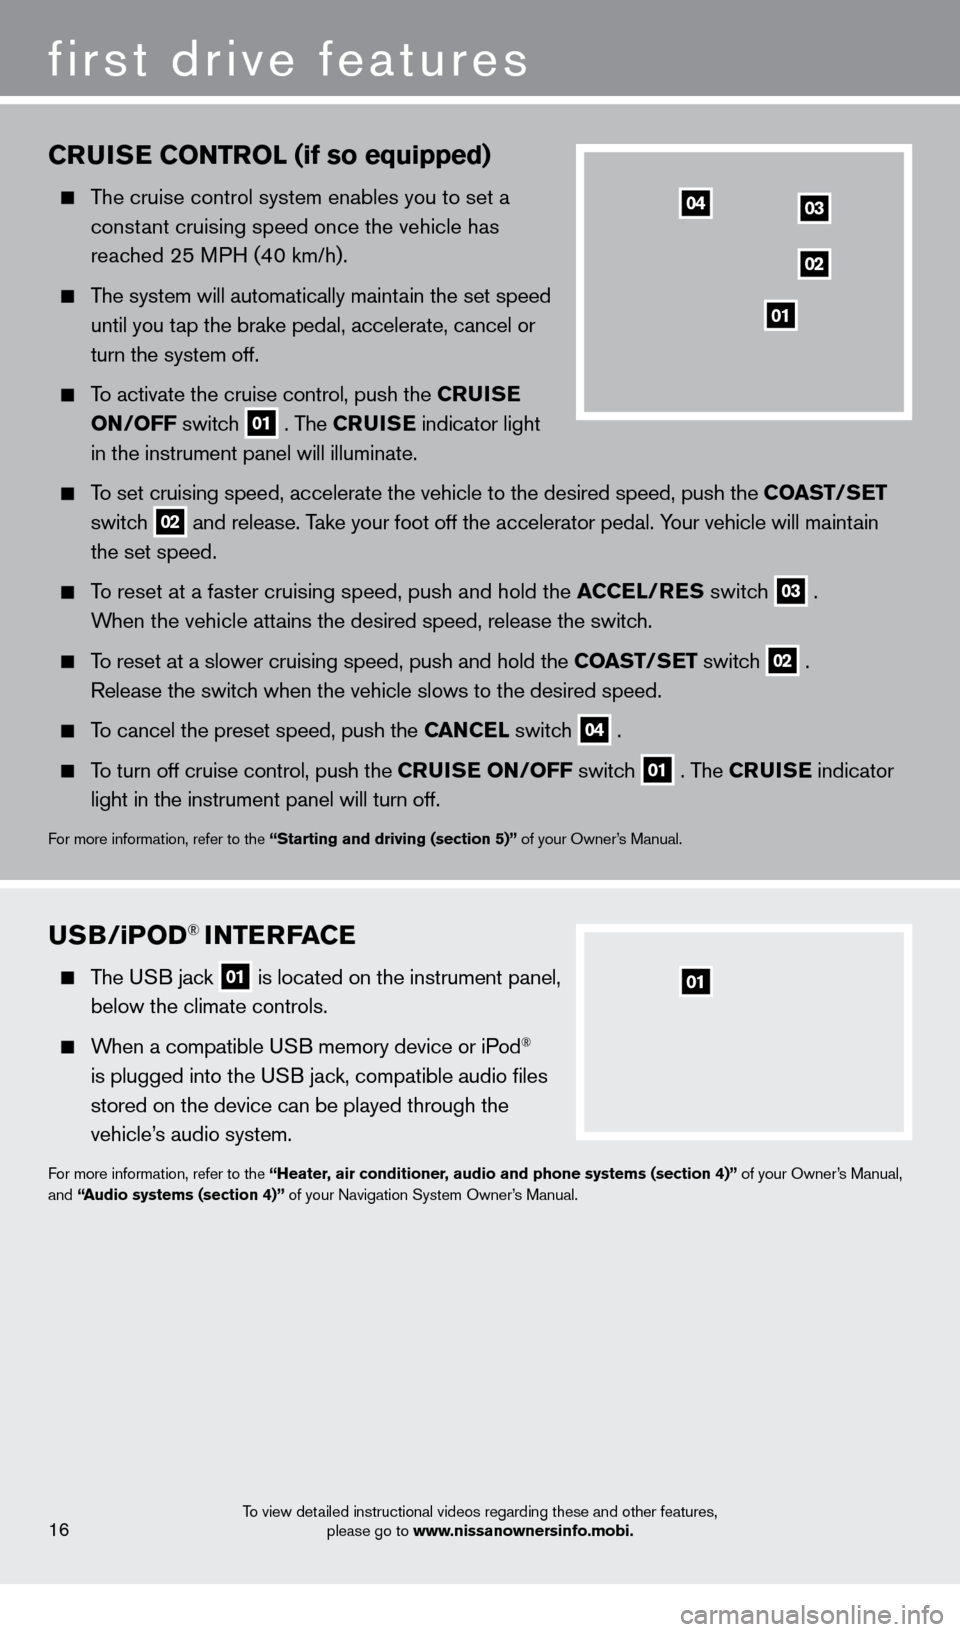
The cruise control system enables you to set a
constant cruising speed once the vehicle has
reached 25 MPH (40 km/h)
.
The system will automatically maintain the set speed
until you t
ap the brake pedal, accelerate, cancel or
turn the system off
.
To activate the cruise control, push the Cru IS e
ON
/OFF switch
01 . The Cru IS e indicator light
in the instrument panel will illuminate .
To set cruising speed, accelerate the vehicle to the desired speed, push \
the COa ST/Se T
switc
h
02 and release . Take your foot off the accelerator pedal . Your vehicle will maintain
the set speed .
To reset at a faster cruising speed, push and hold the aC Ce L/ re S switch
03 .
When the vehicle attains the desired speed, release the switch
.
To reset at a slower cruising speed, push and hold the COa ST/Se T switch
02 .
Release the switch when the vehicle slows to the desired speed
.
To cancel the preset speed, push the Ca NC eL switch
04 .
To turn off cruise control, push the C ruI Se ON/OFF switch
01 . The Cru IS e indicator
light in the instrument panel will turn off
.
For more information, refer to the “Starting and driving (section 5)” of your Owner’s Manual .
first drive features
To view detailed instructional videos regarding these and other features,
please go to www.nissanownersinfo.mobi.16
03
02
01
04
uSB/iPOD® INTerFaC e
The USB jack
01 is located on the instrument panel,
below the climate controls.
When a compatible USB memory device or iPod®
is plugged into the USB jack, compatible audio files
stored on the device can be played through the
vehicle’s audio system
.
For more information, refer to the “Heater, air conditioner, audio and phone systems (section 4)” of your Owner’s Manual,
and “audio systems (section 4)” of your Navigation System Owner’s Manual .
01
1275820_13_Leaf_QRG_Text-Insert_121912.indd 1612/19/12 10:11 AM
Page 19 of 28
To view detailed instructional videos regarding these and other features, please go to www.nissanownersinfo.mobi.17
LI-ION BaTT erY CH arG ING
Before charging the Li-ion battery, see your Owner’s Manual for detailed warnings and cautions
when charging your battery.
There are three methods available to perform the charge operation: normal charge, trickle
c
harge and quick charge (if so equipped) .
N
O r
M
a L CH ar
Ge
Perform a normal charge using the charger installed
in your home
.
It takes approximately 3-4 hours to charge the
Li-ion battery from empty to full with a 6.6 kW
(if so equipped) c
harger
.
To charge your vehicle:
•
Place the power switc
h in the OFF position
.
•
Pull the c
harge port lid opener handle located below the instrument panel to the left of
the steering wheel
.
•
Press the c
harge port tab and open the cap.
•
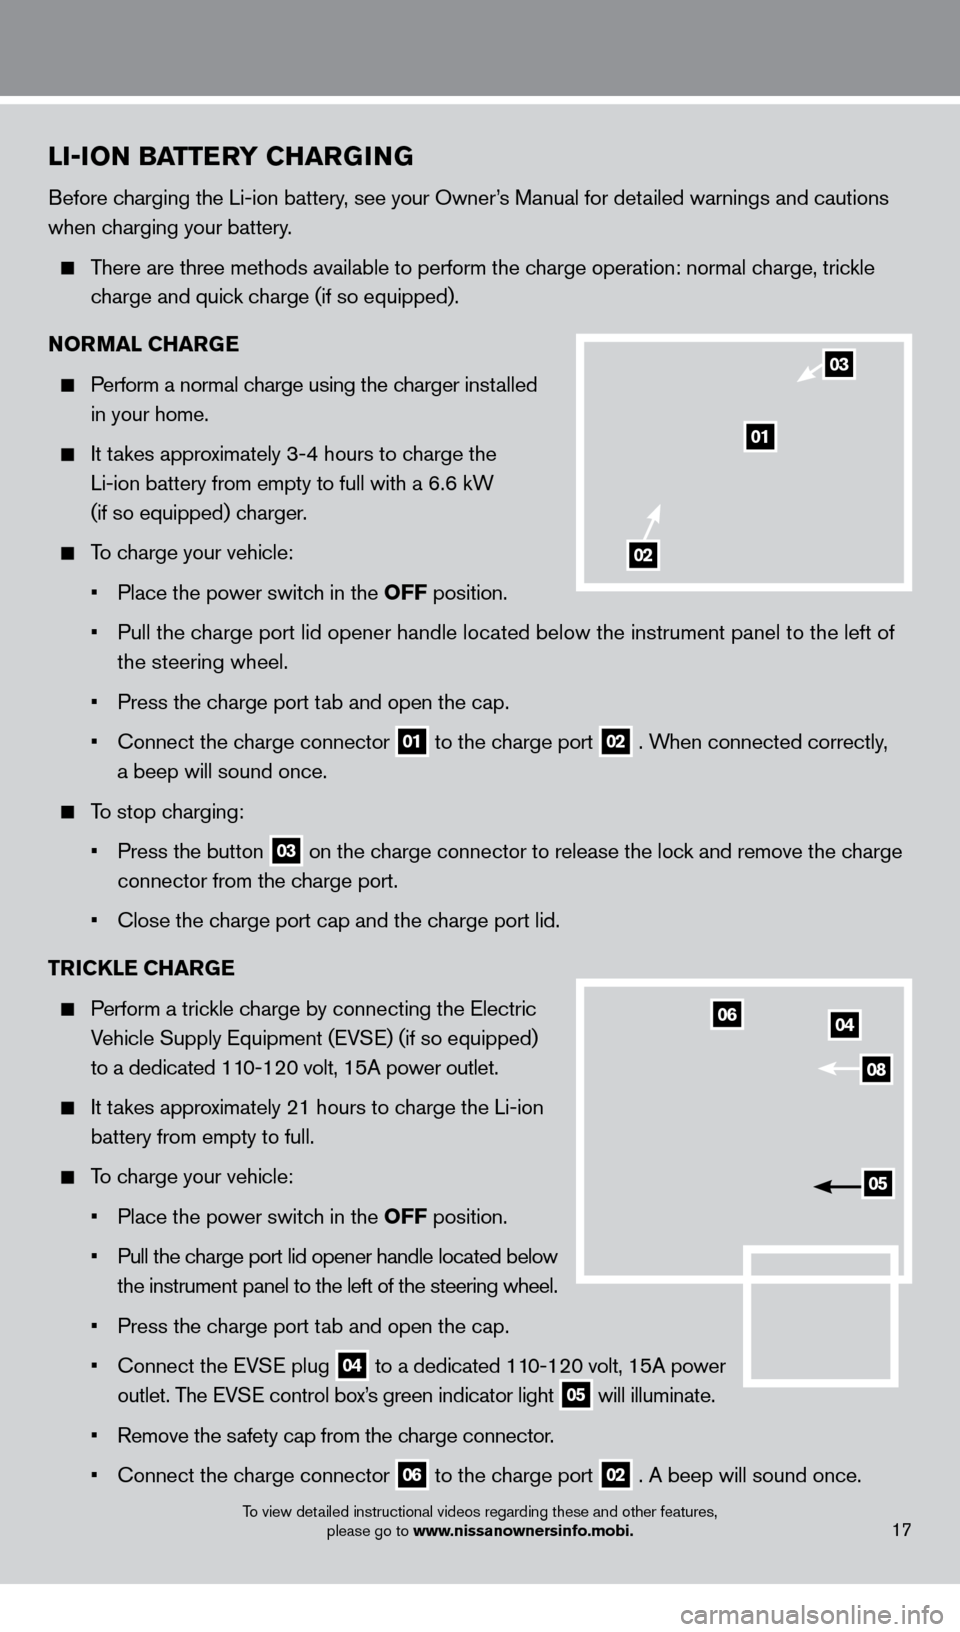
Connect the c
harge connector
01 to the charge port
02 . When connected correctly,
a beep will sound once.
To stop charging:
•
Press the button 03 on the charge connector to release the lock and remove the charge
connector from the c
harge port .
•
Close the c
harge port cap and the charge port lid.
T
r
I
CKL
e
CH
ar
Ge
Perform a trickle charge by connecting the Electric
V
ehicle Supply Equipment (EVSE) (if so equipped)
to a dedicated 11
0-120 volt, 15A power outlet .
It takes approximately 21 hours to charge the Li-ion
battery from empty to full.
To charge your vehicle:
•
Place the power switc
h in the OFF position
.
•
Pull the c
harge port lid opener handle located below
the instrument panel to the left of the steering wheel
.
•
Press the c
harge port tab and open the cap.
•
Connect the EV
SE plug
04 to
a dedicated 110-120 volt, 15A power
outlet. T
he EVSE control box’s green indicator light 05 will illuminate .
•
Remove the s
afety cap from the charge connector
.
•
Connect the c
harge connector
06 to the charge port
02 . A beep will sound once .
04
08
06
05
01
02
03
1275820_13_Leaf_QRG_Text-Insert_121912.indd 1712/19/12 10:11 AM