2013 NISSAN LEAF ECO mode
[x] Cancel search: ECO modePage 6 of 28
CHarGe PO r T LID
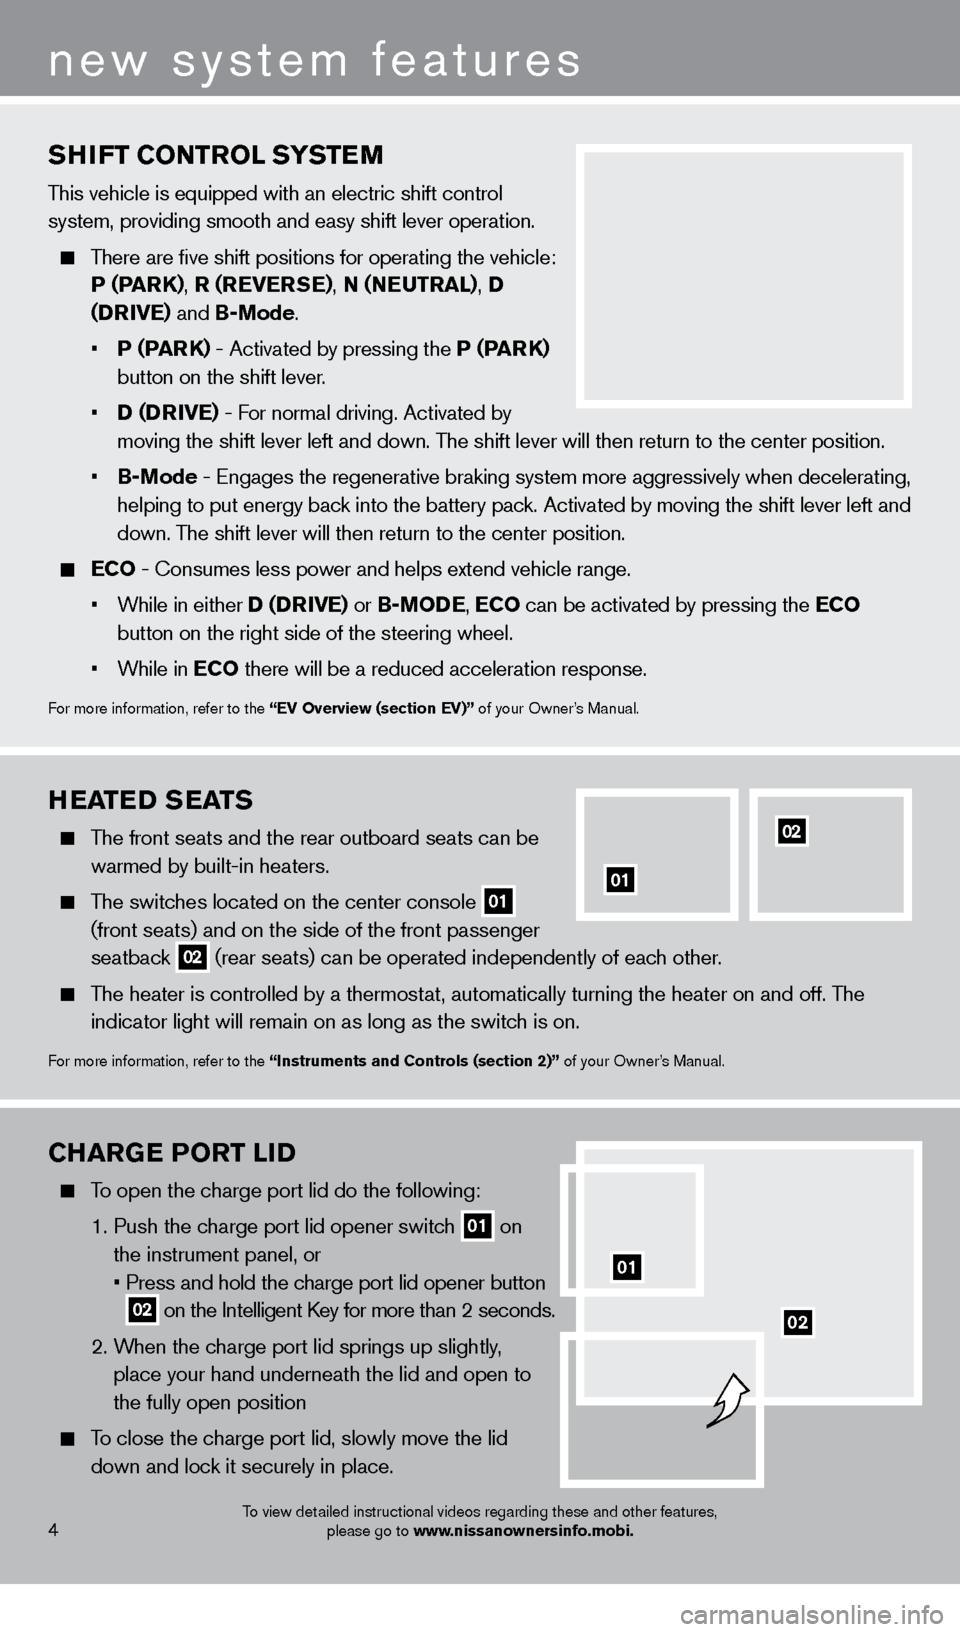
To open the charge port lid do the following:
1
.
Push the c
harge port lid opener switch
01 on
the instrument panel, or
•
Press and hold the c
harge port lid opener button
02 on the Intelligent Key for more than 2 seconds .
2
.
W
hen the charge port lid springs up slightly,
place your hand underneath the lid and open to
the fully open position
To close the charge port lid, slowly move the lid down and lock it securely in place .
02
4
new system features
To view detailed instructional videos regarding these and other features, please go to www.nissanownersinfo.mobi.
SHIFT CONTrOL SYST eM
This vehicle is equipped with an electric shift control
system, providing smooth and easy shift lever operation
.
There are five shift positions for operating the vehicle: P (Par
K
),
r (r
e
Ver
S e), N (Neu
T ra L
), D
(D
r
I
V
e) and
B-Mode .
•
P (P
ar
K
) - Activated by pressing the P (Par
K
)
button on the shift lever.
•
D (D
r
I
V
e) - F
or normal driving. Activated by
moving the shift lever left and down
. The shift lever will then return to the center position .
•
B-Mode - Engages the regenerative braking system more aggressively whe
n decelerating,
helping to put energy back into the battery pack. Activated by moving the shift lever left and
down
. The shift lever will then return to the center position .
eCO - Consumes less power and helps extend vehicle range .
•
W
hile in either D (D
rIV
e ) or B-MOD
e
,
eCO
can be activated by pressing the e
CO
button on the right side of the steering wheel.
•
W
hile in e
CO
there will be a reduced acceleration response.
For more information, refer to the “eV Overview (section eV)” of your Owner’s Manual .
01
HeaTeD S eaTS
The front seats and the rear outboard seats can be
warmed by built-in heaters.
The switches located on the center console 01
(front seats) and on the side of the front passenger
seatback
02 (rear seats) can be operated independently of each other.
The heater is controlled by a thermostat, automatically turning the heater on and off. The
indicator light will remain on as long as the switch is on .
For more information, refer to the “Instruments and Controls (section 2)” of your Owner’s Manual .
01
02
1275820_13_Leaf_QRG_Text-Insert_121912.indd 412/19/12 10:10 AM
Page 8 of 28
LI-ION BaTTerY T eM P eraT ure G auGe
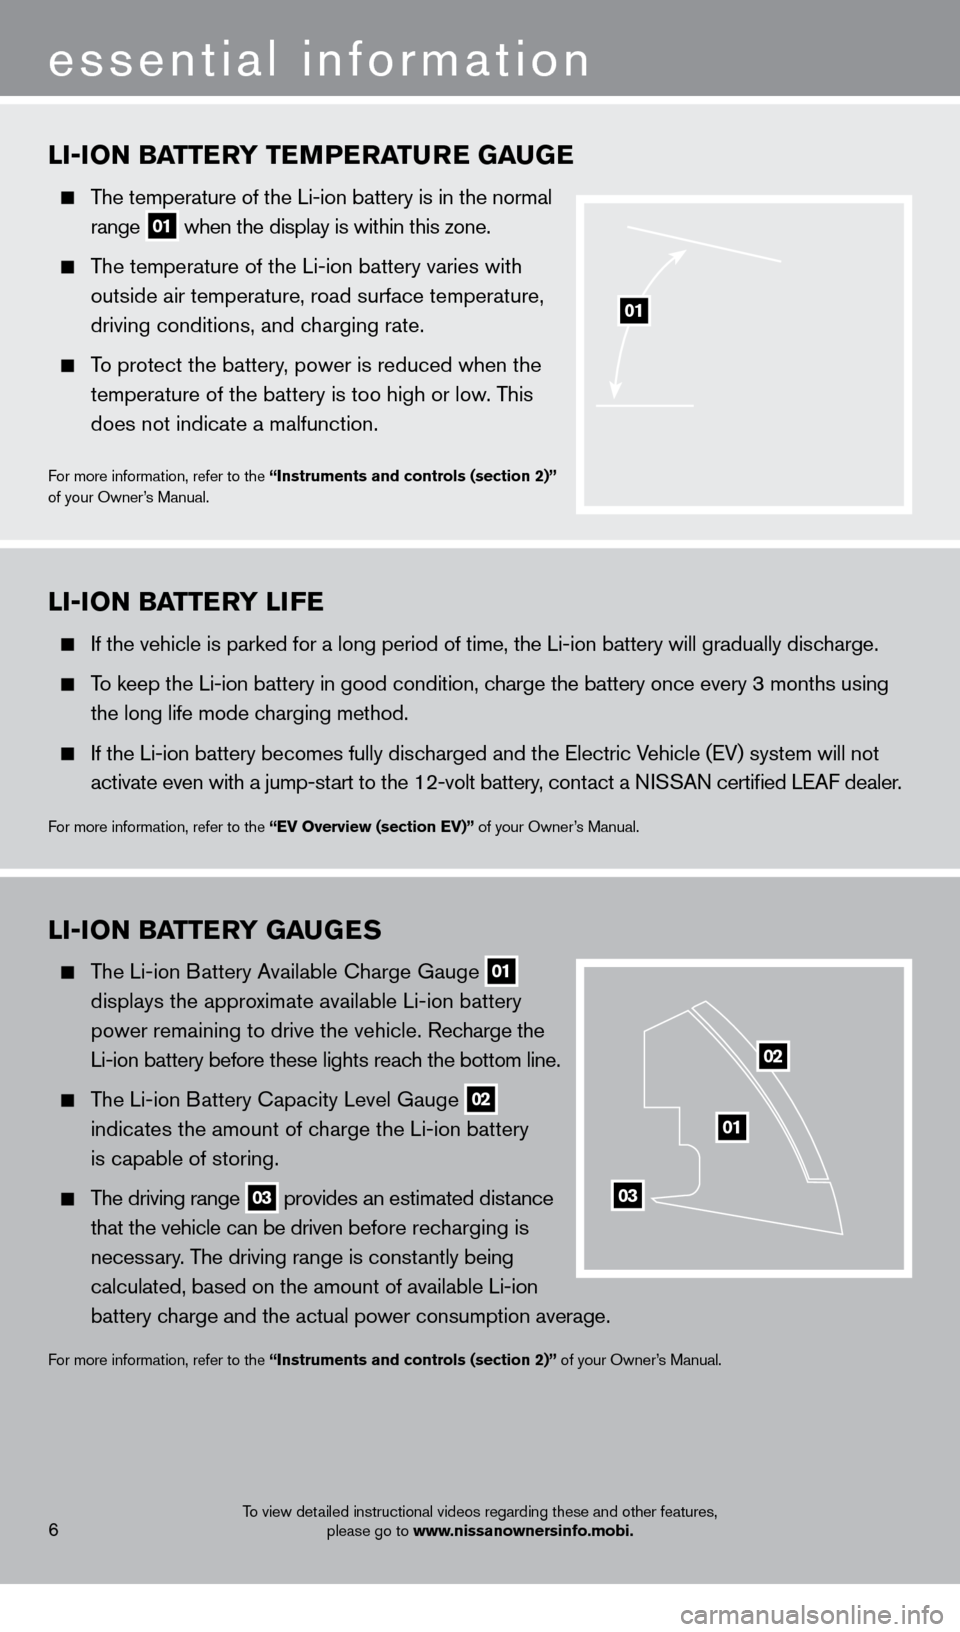
The temperature of the Li-ion battery is in the normal
range
01 when the display is within this zone.
The temperature of the Li-ion battery varies with
outside air temperature, road surface temperature,
driving conditions, and c
harging rate .
To protect the battery, power is reduced when the
temperature of the battery is too high or low
. This
does not indicate a malfunction
.
For more information, refer to the “Instruments and controls (section 2)”
of your Owner’s Manual .
01
LI-ION BaTTerY G auGeS
The Li-ion Battery Available Charge Gauge
01
displays the appro
ximate available Li-ion battery
power remaining to drive the vehicle
.
Recharge the
Li-ion battery before these lights reac
h the bottom line.
The Li-ion Battery Capacity Level Gauge
02
indicates the amount of c
harge the Li-ion battery
is capable of storing.
The driving range 03 provides an estimated distance
that the vehicle can be driven b efore recharging is
necess
ary. The driving range is constantly being
calculated, based on the amount of available Li-ion
battery c
harge and the actual power consumption average.
For more information, refer to the “Instruments and controls (section 2)” of your Owner’s Manual .
01
02
03
LI-ION BaTT erY LI F e
If the vehicle is parked for a long period of time, the Li-ion battery will gradually discharge.
To keep the Li-ion battery in good condition, charge the battery once every 3 months using
the long life mode c
harging method .
If the Li-ion battery becomes fully disc harged and the Electric Vehicle (EV) system will not
activate even with a jump-st
art to the 12-volt battery, contact a NISSAN certified LEAF dealer.
For more information, refer to the “eV Overview (section eV)” of your Owner’s Manual .
6
essential information
To view detailed instructional videos regarding these and other features, please go to www.nissanownersinfo.mobi.
1275820_13_Leaf_QRG_Text-Insert_121912.indd 612/19/12 10:10 AM
Page 9 of 28
TIre P reS Su re MONITO rI NG SYST eM (TPM S)
w
ITH ea SY FILL TI
r
e a L er T
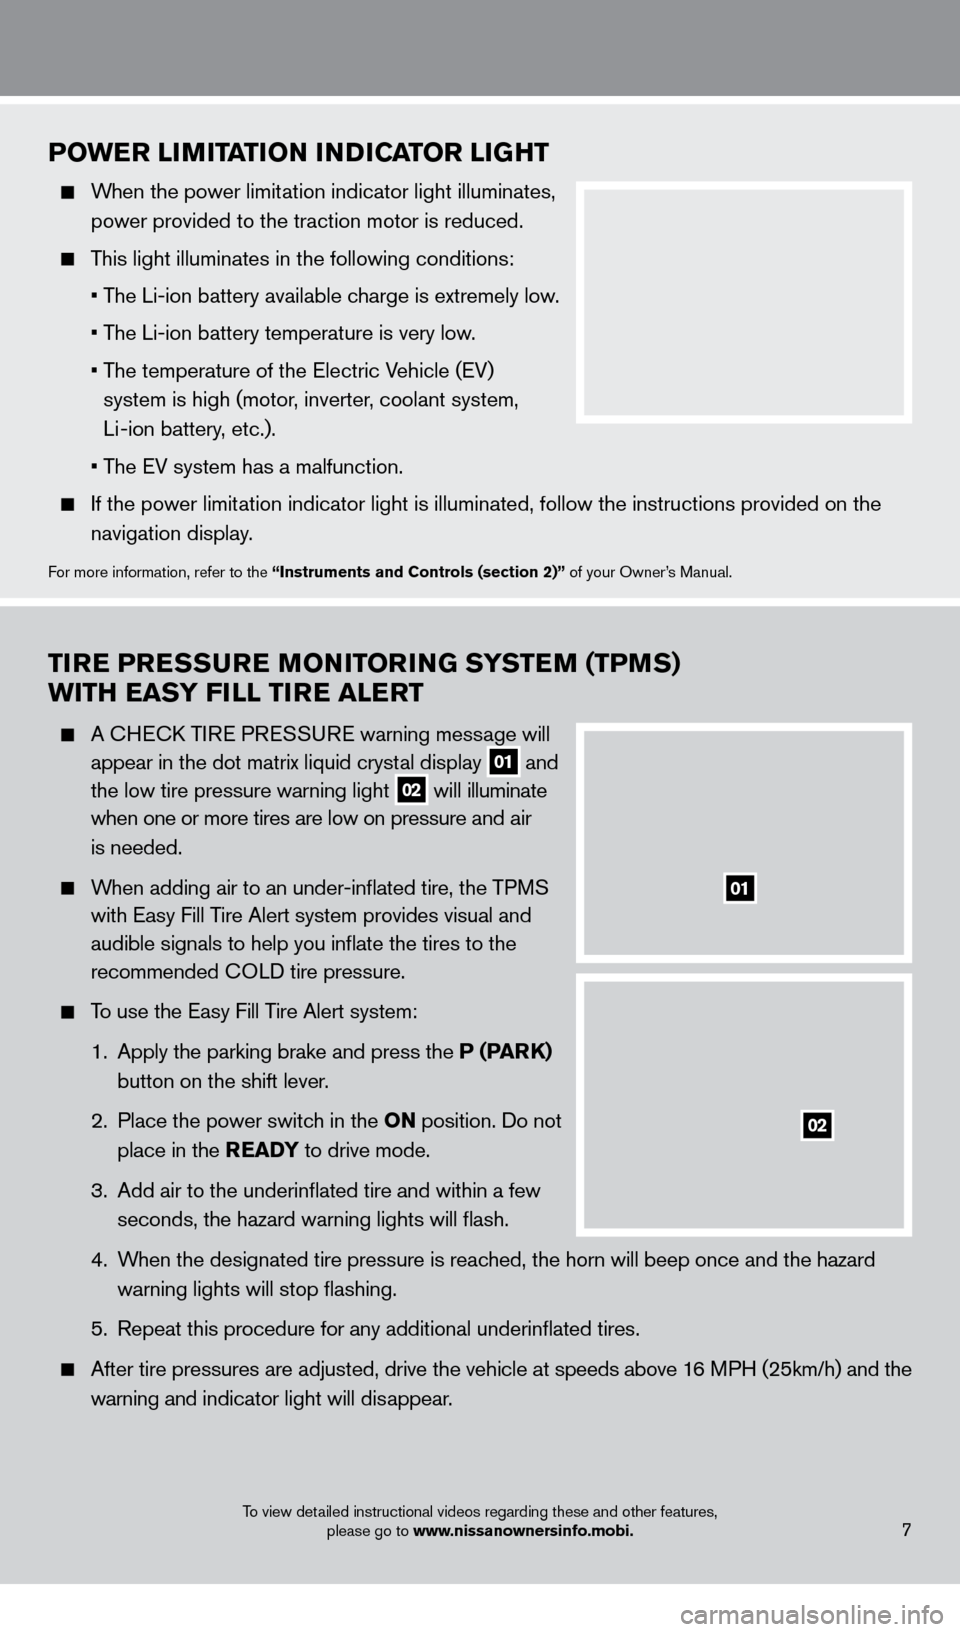
A CHECK TIRE PRESSURE warning message will
appear in the dot matrix liquid cryst
al display
01 and
the low tire pressure warning light 02 will illuminate
when one or more tires are low on pressure a nd air
is needed
.
When adding air to an under-inflated tire, the TPMS
with Easy Fill T
ire Alert system provides visual and
audible signals to help you inflate the tires to the
recommended C
OLD tire pressure .
To use the Easy Fill Tire Alert system:
1.
Apply the parking brake and press the
P (P
arK)
button on the shift lever
.
2
.
Place the power switc
h in the ON position . Do not
place in the
rea DY to drive mode .
3
.
Add air to the underinflated tire and within a few
seconds, the hazard warning lights will flash.
4.
W
hen the designated tire pressure is reached, the horn will beep once and the hazard
warning lights will stop flashing
.
5
.
Repeat this procedure for any additional underinflated tires
.
After tire pressures are adjusted, drive the vehicle at s peeds above 16 MPH (25km/h) and the
w
arning and indicator light will disappear
.
POwer LIMITaTI ON INDICaT O r LIGHT
When the power limitation indicator light illuminates,
power provided to the traction motor is reduced .
This light illuminates in the following conditions:
• T
he Li-ion battery available charge is extremely low.
• T
he Li-ion battery temperature is very low.
•
T
he temperature of the Electric Vehicle (EV)
system is high (motor, inverter, coolant system,
Li -ion battery, etc.).
• T
he EV system has a malfunction.
If the power limit ation indicator light is illuminated, follow the instructions provided o\
n the
navigation display
.
For more information, refer to the “Instruments and Controls (section 2)” of your Owner’s Manual .
01
02
To view detailed instructional videos regarding these and other features, please go to www.nissanownersinfo.mobi.7
1275820_13_Leaf_QRG_Text-Insert_121912.indd 712/19/12 10:10 AM
Page 21 of 28
TrIP COMPu T er
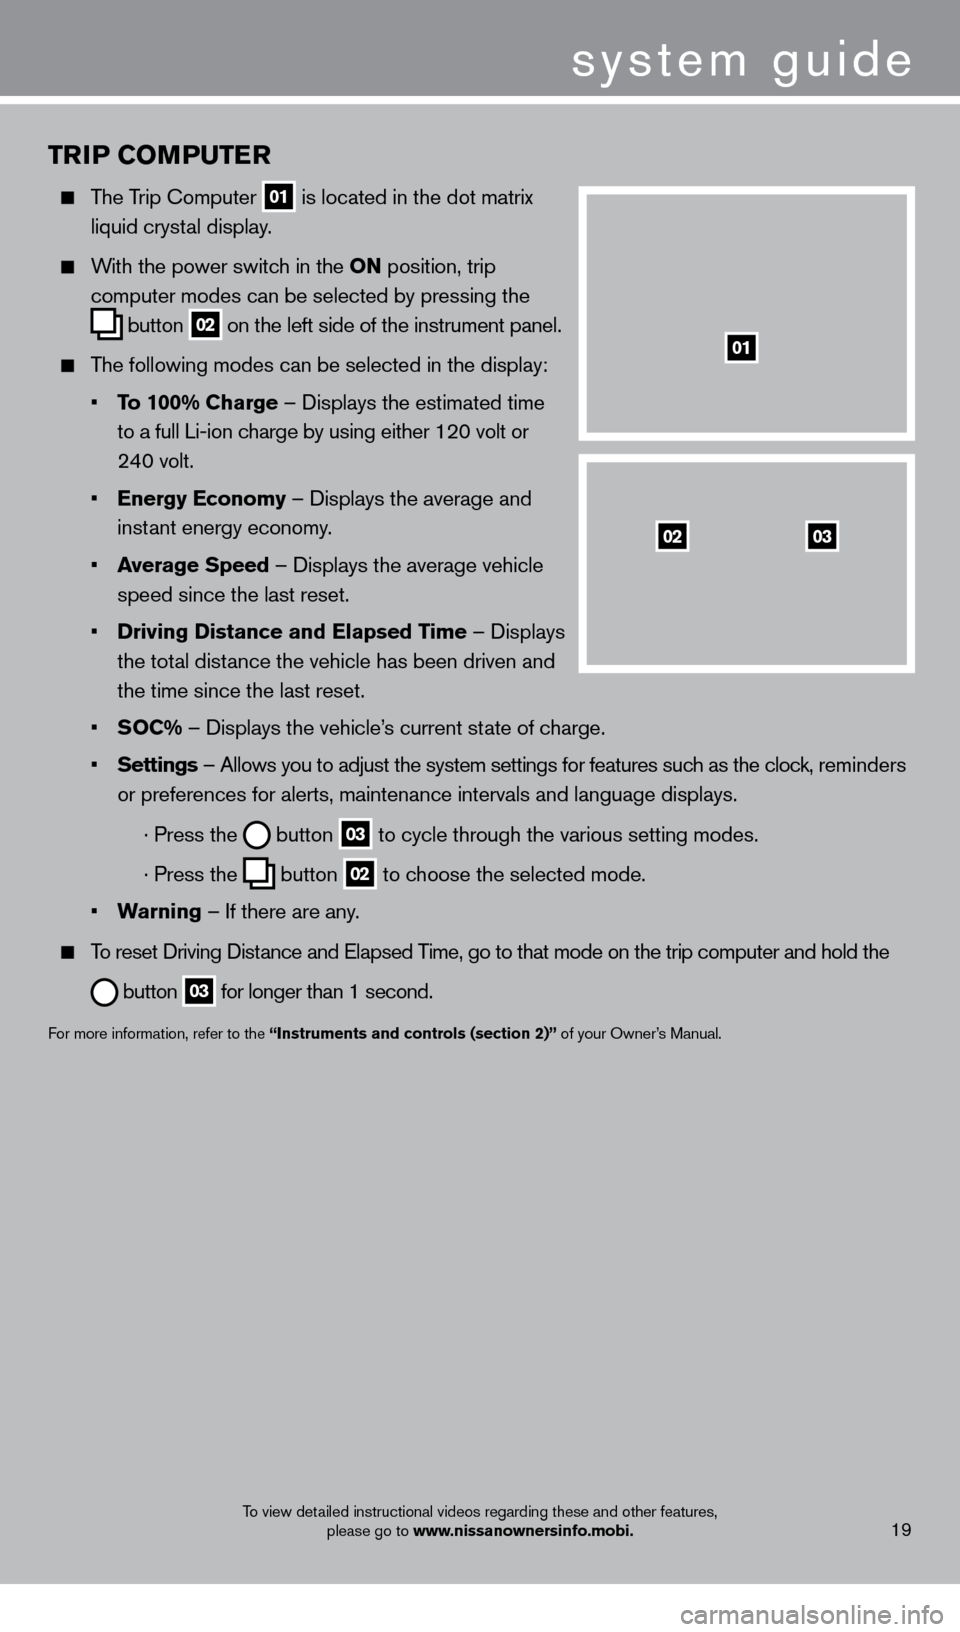
The Trip Computer
01 is located in the dot matrix
liquid cryst
al display .
With the power switch in the ON position, trip
computer modes can be selected by pressing the
button
02 on the left side of the instrument panel .
The following modes can be selected in the display:
•
T
o 100% Charge – Displays the estimated time
to a full Li-ion c
harge by using either 120 volt or
24
0 volt .
•
e
nergy e conomy – Displays the average and
inst
ant energy economy
.
•
a
verage Speed
– Displays the average vehicle
speed since the last reset
.
•
Driving Distance and
e lapsed Time – Displays
the tot
al distance the vehicle has been driven and
the time since the last reset
.
•
S
OC% – Displays the vehicle’s current state of charge .
•
Settings
– Allows you to adjust the system settings for features such as the clock, reminders
or preferences for alerts, maintenance intervals and language displays
.
· Press the button
03 to cycle through the various setting modes .
· Press the button
02 to choose the selected mode .
•
w
arning
– If there are any
.
To reset Driving Distance and Elapsed Time, go to that mode on the trip computer and hold the
button 03 for longer than 1 second .
For more information, refer to the “Instruments and controls (section 2)” of your Owner’s Manual .
0302
01
system guide
To view detailed instructional videos regarding these and other features,
please go to www.nissanownersinfo.mobi.19
1275820_13_Leaf_QRG_Text-Insert_121912.indd 1912/19/12 10:11 AM
Page 22 of 28
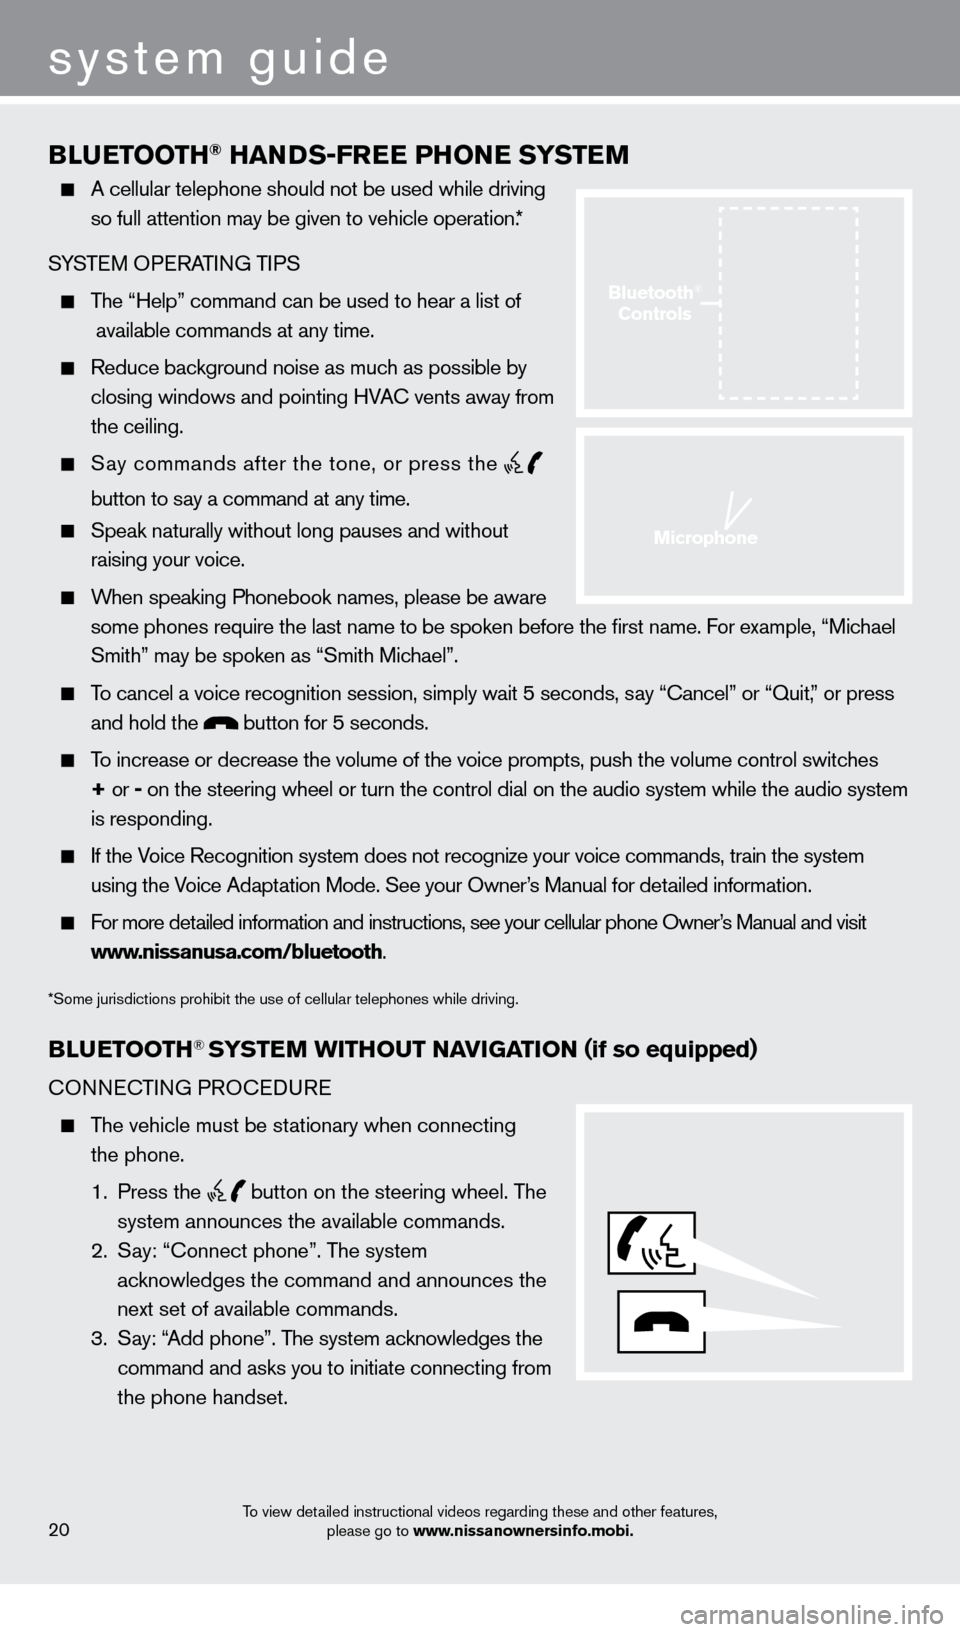
BLueTOOTH® HaNDS-Free PHONe SYST eM
A cellular telephone should not be used while driving
so full attention may be given to vehicle operation. *
SYSTEM OPERATING TIPS
The “Help” command can be used to hear a list of
available commands at any time.
Reduce bac kground noise as much as possible by
closing windows and pointing HVAC vents away from
the ceiling
.
Say commands after the tone, or press the
button to say a command at any time.
Speak naturally without long pauses and without
raising your voice .
When speaking Phonebook names, please be aware some phones require the last name to be spoken before the first name. For example, “Michael
Smith” may be spoken as “Smith Michael”.
To cancel a voice recognition session, simply wait 5 seconds, say “Cancel” or “Quit,” or press and hold the
button for 5 seconds.
To increase or decrease the volume of the voice prompts, push the volume \
control switches
+ or -
on the steering wheel or turn the control dial on the audio system while\
the audio system
is responding
.
If the Voice Recognition system does not recognize your voice commands, train the system using the Voice Adaptation Mode . See your Owner’s Manual for detailed information .
For more detailed information and instructions, see your cellular phone Owner’s Manual and visit www.nissanusa.com/bluetooth .
*Some jurisdictions prohibit the use of cellular telephones while driving.
BLue TOOTH® SYSTeM w ITHO u T NaVI G aTI ON (if so equipped)
CONNECTING PROCEDURE
The vehicle must be stationary when connecting
the phone .
1
. Press the
button on the steering wheel. The
system announces the available commands.
2
.
S
ay: “Connect phone” . The system
acknowledges the command and announces the
next set of available commands.
3
.
S
ay: “Add phone” . The system acknowledges the
command and asks you to initiate connecting from
the phone handset
.
system guide
To view detailed instructional videos regarding these and other features, please go to www.nissanownersinfo.mobi.20
Bluetooth®
Controls
Microphone
1275820_13_Leaf_QRG_Text-Insert_121912.indd 2012/19/12 10:11 AM
Page 23 of 28
To view detailed instructional videos regarding these and other features, please go to www.nissanownersinfo.mobi.21
4 . Initiate connecting from the phone:
•
T
he connecting procedure varies according to each cellular phone model . For detailed
connecting instructions and compatible phones, please visit www.nissanusa.com/bluetooth
.
•
W
hen prompted for a PIN code, enter “1234” from the handset . (The PIN code is
assigned by NISSAN and cannot be changed.)
5
.
S
ay a name for the phone when the system asks you to provide one . You can give the
phone a name of your choice
.
PHON
EBOOK SETUP
The phonebook stores up to 1,000 names for each phone paired with the system.
Depending on your cell phone, the system may automatically download your\
cell phone’ s
entire phonebook to the vehicle’
s Bluetooth® system .
If the phonebook does not download automatically , entries can be individually downloaded.
To manually download entries:
1
.
Push the
button on the steering wheel.
2.
After the tone, s ay “Phonebook”.
3
.
After the next tone, s
ay “Transfer Entry” . The system acknowledges the command and
asks you to initiate the transfer from the phone handset. The new contact phone number
will be transferred from the cellular phone to the vehicle.
•
T
he transfer procedure varies according to each cellular phone. See your cellular phone’s
owner’s manual for details
. You can also visit www.nissanusa.com/bluetooth for
instructions on transferring phone numbers from NISSAN recommended cellular phones.
4.
T
he system repeats the number and prompts you for the next command. When you have
finished entering numbers or transferring an entry
, choose “Store.”
5.
T
he system confirms the name, location and number.
MAKING A CALL FROM THE PHONEBOOK
In some cases, names stored using all U PPERCASE letters may not be recognized by
the voice recognition system
.
1
.
Press the
button.
2
. After waiting for the tone, s ay “Call” .
3.
After the next tone, speak a name of a phonebook entry
. For example “Michael Smith”.
4.
Once you have confirmed the name and location the system begins
the call.
MAKING A CALL BY PHONE NUMBER
1
.
Press the
button. A tone will sound. 2
. S
ay: “Call”
.
The system acknowledges the command and announces the next set of
available commands.
3.
S
ay: “Phone Number”. The system acknowledges the command and announces the next
set of available commands.
4.
S
ay the number you wish to call starting with the area code in single digit format.
5.
W
hen you have finished speaking the phone number, the system repeats it back and
announces the available commands.
6
.
S
ay: “Dial”
.
The system acknowledges the command and makes the call .
1275820_13_Leaf_QRG_Text-Insert_121912.indd 2112/19/12 10:11 AM