2013 NISSAN ALTIMA turn signal
[x] Cancel search: turn signalPage 202 of 413
The FM stereo indicator (ST) illuminates during
FM stereo reception. When the stereo broadcast
signal is weak, the radio automatically changes
from stereo to monaural reception.
SEEK and TRACK (tuning)buttons:
Press the SEEK button
to tune from low to
high frequencies and stop at the next broadcast-
ing station.
Press the TRACK button
to tune from high
to low frequencies and stop at the next broad-
casting station.
Press and hold either button to seek at a faster
speed.
SCAN (tuning) button:
Press the SCAN button. SCAN illuminates in the
display window. Scan tuning begins from low to
high frequencies. Scan tuning stops for 5 sec-
onds at each broadcasting station that has suffi-
cient signal strength. When scanning, SCAN
blinks in the display. Pressing the SCAN button
again during this 5 second period stops scan
tuning and the radio remains tuned to that station. 1 to 6 Station memory operations:
Twelve stations can be set for the FM band (6 for
FM1, 6 for FM2) and six stations can be set for
the AM band.
1. Choose the radio band AM, FM1 or FM2 using the AM or FM button.
2. Tune to the desired station using manual, SEEK or SCAN tuning. Press and hold any
of the desired station memory buttons (1 –
6) until a beep sound is heard.
3. The channel indicator will then come on and the sound will resume. Programming is now
complete.
4. Other buttons can be set in the same man- ner.
If the battery cable is disconnected or if the fuse
opens, the radio memory will be canceled. In that
case, reset the desired stations.
Compact disc (CD) player operation
Place the ignition switch in the ACC or ON
position, and carefully insert the compact disc
into the slot with the label side up. The compact
disc is automatically pulled into the slot and starts
to play.
If the radio is already operating, it automatically
turns off and the compact disc begins to play. CD button:
When the CD button is pressed with a compact
disc loaded and the radio playing, the radio turns
off and the last used compact disc starts to play.
SEEK and TRACK
(Fast Forward, Rewind)
buttons:
When the SEEK button
or TRACKbutton is pressed while the compact disc is play-
ing, the compact disc plays at an increased
speed while fast forwarding or rewinding. When
the button is released, the compact disc returns
to normal play speed.
SEEK and TRACK buttons:
When the SEEK
button is pressed while
the compact disc is playing, the next track follow-
ing the present one starts to play from the begin-
ning. Press the SEEK
button several times
to skip several tracks. Each time the button is
pressed, the CD advances one additional track.
The track number appears in the display window.
(When the last track on the compact disc is
skipped, the first track is played.)
Monitor, climate, audio, phone and voice recognition systems4-43
Page 206 of 413
Brightness and Contrast
Adjust the brightness or contrast to adjust the
appearance of the display screen.
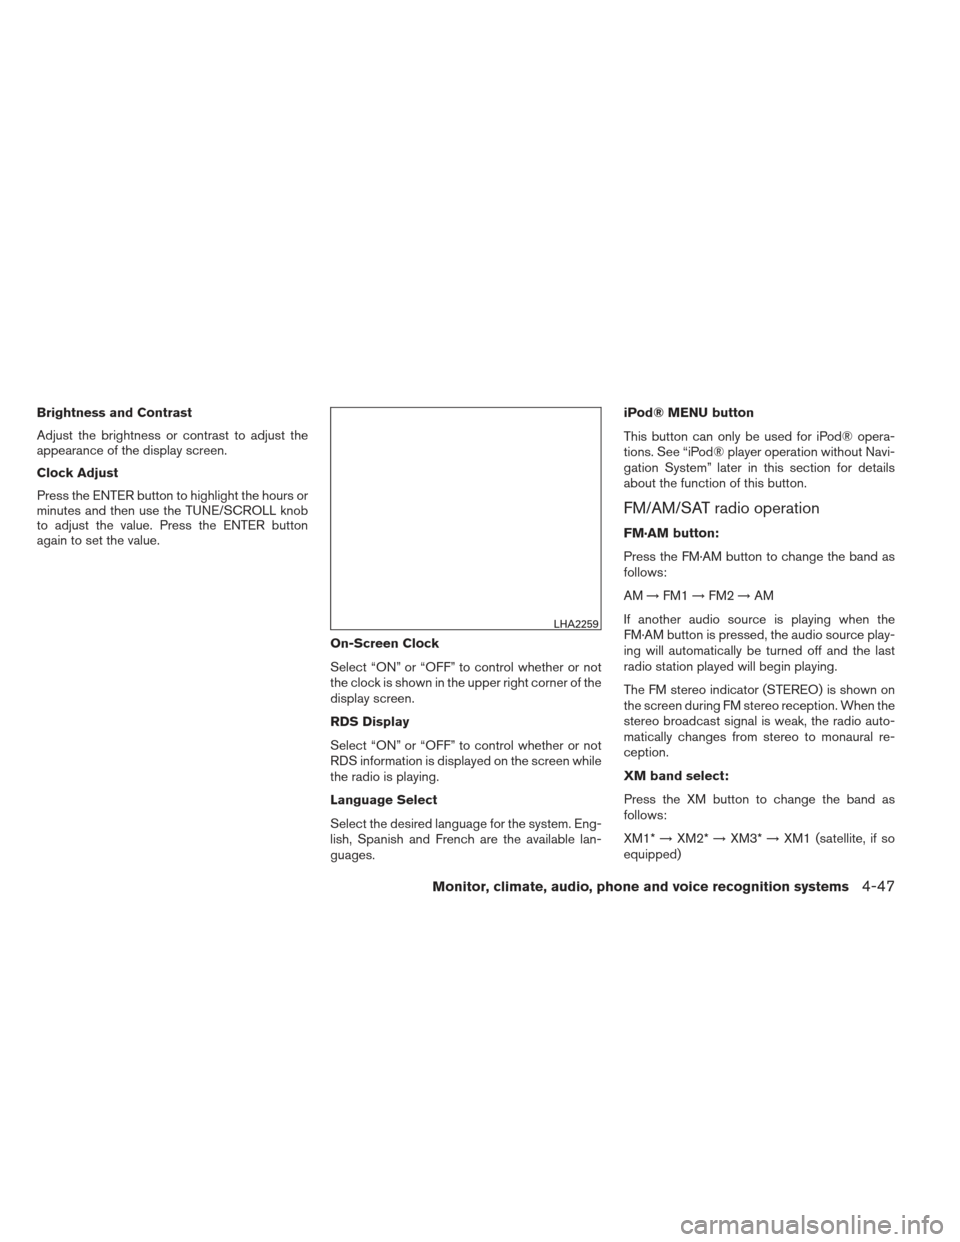
Clock Adjust
Press the ENTER button to highlight the hours or
minutes and then use the TUNE/SCROLL knob
to adjust the value. Press the ENTER button
again to set the value.On-Screen Clock
Select “ON” or “OFF” to control whether or not
the clock is shown in the upper right corner of the
display screen.
RDS Display
Select “ON” or “OFF” to control whether or not
RDS information is displayed on the screen while
the radio is playing.
Language Select
Select the desired language for the system. Eng-
lish, Spanish and French are the available lan-
guages.iPod® MENU button
This button can only be used for iPod® opera-
tions. See “iPod® player operation without Navi-
gation System” later in this section for details
about the function of this button.
FM/AM/SAT radio operation
FM·AM button:
Press the FM·AM button to change the band as
follows:
AM
→FM1 →FM2 →AM
If another audio source is playing when the
FM·AM button is pressed, the audio source play-
ing will automatically be turned off and the last
radio station played will begin playing.
The FM stereo indicator (STEREO) is shown on
the screen during FM stereo reception. When the
stereo broadcast signal is weak, the radio auto-
matically changes from stereo to monaural re-
ception.
XM band select:
Press the XM button to change the band as
follows:
XM1* →XM2* →XM3* →XM1 (satellite, if so
equipped)
LHA2259
Monitor, climate, audio, phone and voice recognition systems4-47
Page 211 of 413
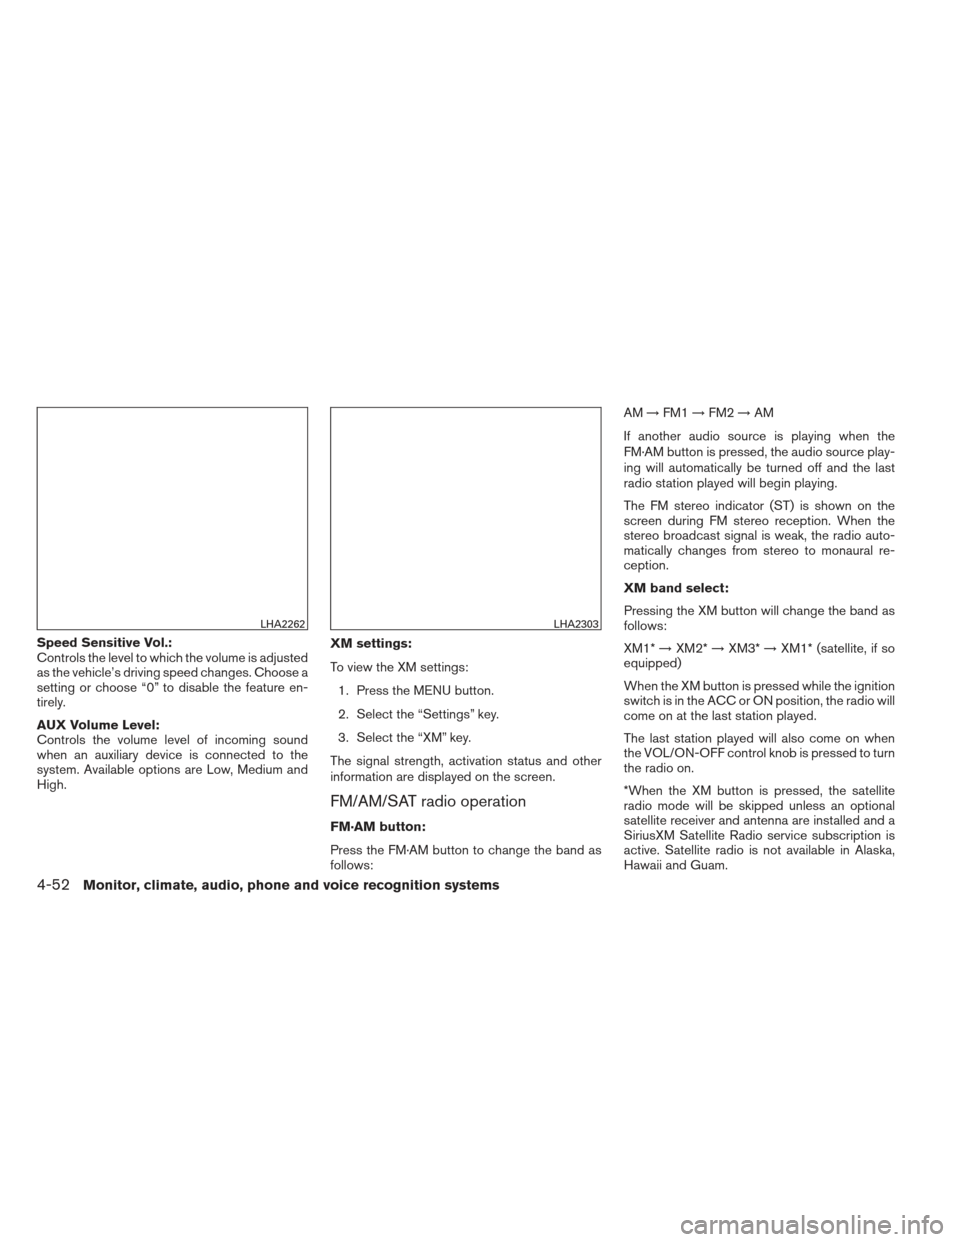
Speed Sensitive Vol.:
Controls the level to which the volume is adjusted
as the vehicle’s driving speed changes. Choose a
setting or choose “0” to disable the feature en-
tirely.
AUX Volume Level:
Controls the volume level of incoming sound
when an auxiliary device is connected to the
system. Available options are Low, Medium and
High.XM settings:
To view the XM settings:
1. Press the MENU button.
2. Select the “Settings” key.
3. Select the “XM” key.
The signal strength, activation status and other
information are displayed on the screen.
FM/AM/SAT radio operation
FM·AM button:
Press the FM·AM button to change the band as
follows: AM
→FM1 →FM2 →AM
If another audio source is playing when the
FM·AM button is pressed, the audio source play-
ing will automatically be turned off and the last
radio station played will begin playing.
The FM stereo indicator (ST) is shown on the
screen during FM stereo reception. When the
stereo broadcast signal is weak, the radio auto-
matically changes from stereo to monaural re-
ception.
XM band select:
Pressing the XM button will change the band as
follows:
XM1* →XM2* →XM3* →XM1* (satellite, if so
equipped)
When the XM button is pressed while the ignition
switch is in the ACC or ON position, the radio will
come on at the last station played.
The last station played will also come on when
the VOL/ON-OFF control knob is pressed to turn
the radio on.
*When the XM button is pressed, the satellite
radio mode will be skipped unless an optional
satellite receiver and antenna are installed and a
SiriusXM Satellite Radio service subscription is
active. Satellite radio is not available in Alaska,
Hawaii and Guam.
LHA2262LHA2303
4-52Monitor, climate, audio, phone and voice recognition systems
Page 248 of 413
phone module when the ignition switch is placed
in the ON position with the previously connected
cellular phone turned on and carried in the ve-
hicle.
NOTE:
Some devices require the user to accept
connections to other Bluetooth® devices.
If your phone does not connect automatic
ally to the system, consult the phone’s
Owner’s Manual for details on device op-
eration.
You can connect up to 5 different Bluetooth®
cellular phones to the in-vehicle phone module.
However, you can talk on only one cellular phone
at a time.
Before using the Bluetooth® Hands-Free Phone
System, refer to the following notes.● Set up the wireless connection between a
compatible cellular phone and the in-vehicle
phone module before using the hands-free
phone system.
● Some Bluetooth® enabled cellular phones
may not be recognized or work properly.
Please visit www.nissanusa.com/bluetooth
for a recommended phone list and connect-
ing instructions. ●
You will not be able to use a hands-free
phone under the following conditions:
– Your vehicle is outside of the cellular ser- vice area.
– Your vehicle is in an area where it is difficult to receive a cellular signal; such
as in a tunnel, in an underground parking
garage, near a tall building or in a moun-
tainous area.
– Your cellular phone is locked to prevent it from being dialed.
● When the radio wave condition is not ideal
or ambient sound is too loud, it may be
difficult to hear the other person’s voice dur-
ing a call.
● Do not place the cellular phone in an area
surrounded by metal or far away from the
in-vehicle phone module to prevent tone
quality degradation and wireless connection
disruption.
● While a cellular phone is connected through
the Bluetooth® wireless connection, the
battery power of the cellular phone may dis-
charge quicker than usual. The Bluetooth®
Hands-Free Phone System cannot charge
cellular phones. ●
If the hands-free phone system seems to be
malfunctioning, see “Troubleshooting guide”
in this section. You can also visit
www.nissanusa.com/bluetooth for trouble-
shooting help.
● Some cellular phones or other devices may
cause interference or a buzzing noise to
come from the audio system speakers. Stor-
ing the device in a different location may
reduce or eliminate the noise.
● Refer to the cellular phone Owner’s Manual
regarding the telephone charges, cellular
phone antenna and body, etc.
REGULATORY INFORMATION
FCC Regulatory information
– CAUTION: To maintain compliance with
FCC’s RF exposure guidelines, use only the
supplied antenna. Unauthorized antenna,
modification, or attachments could damage
the transmitter and may violate FCC regula-
tions.
– Operation is subject to the following two con- ditions:
1. This device may not cause interference and
2. this device must accept any interference, including interference that may cause unde-
sired operation of the device.
Monitor, climate, audio, phone and voice recognition systems4-89
Page 295 of 413
●The LDW system is only a warning de-
vice to help inform the driver of a poten-
tial unintended lane departure. It will
not steer the vehicle or prevent loss of
control. It is the driver’s responsibility
to stay alert, drive safely, keep the ve-
hicle in the traveling lane, and be in
control of the vehicle at all times.
● The camera unit may not function prop-
erly under the following conditions:
– When towing a trailer.
– When strong light enters the camera unit. (e.g. light directly shines on the
rear of the vehicle at sunrise or
sunset.)
– When ambient brightness changes suddenly. (e.g. when the vehicle en-
ters or exits a tunnel or passes under
a bridge.)
● If the camera lens is excessively dirty,
the automatic washer may not be able
to completely clean the lens. This could
result in the camera not detecting ve-
hicles or lane markers.
● Excessive noise (e.g. audio system vol-
ume, open vehicle window) will inter-
fere with the chime sound, and it may
not be heard.
BSW SYSTEM OPERATION
The BSW system operates above approximately
20 MPH (32 km/h).
When the camera unit detects vehicles in the
detection zone, the Blind spot indicator light lo-
cated inside the outside mirrors will illuminate. If
the turn signal is then activated, the system
chimes (twice) and the Blind spot indicator light
flashes to alert the driver.
The Blind spot indicator light continues to flash
until the detected vehicle(s) leave the detection
zone.
LSD2053LSD2105
5-20Starting and driving
Page 296 of 413
Detection zone
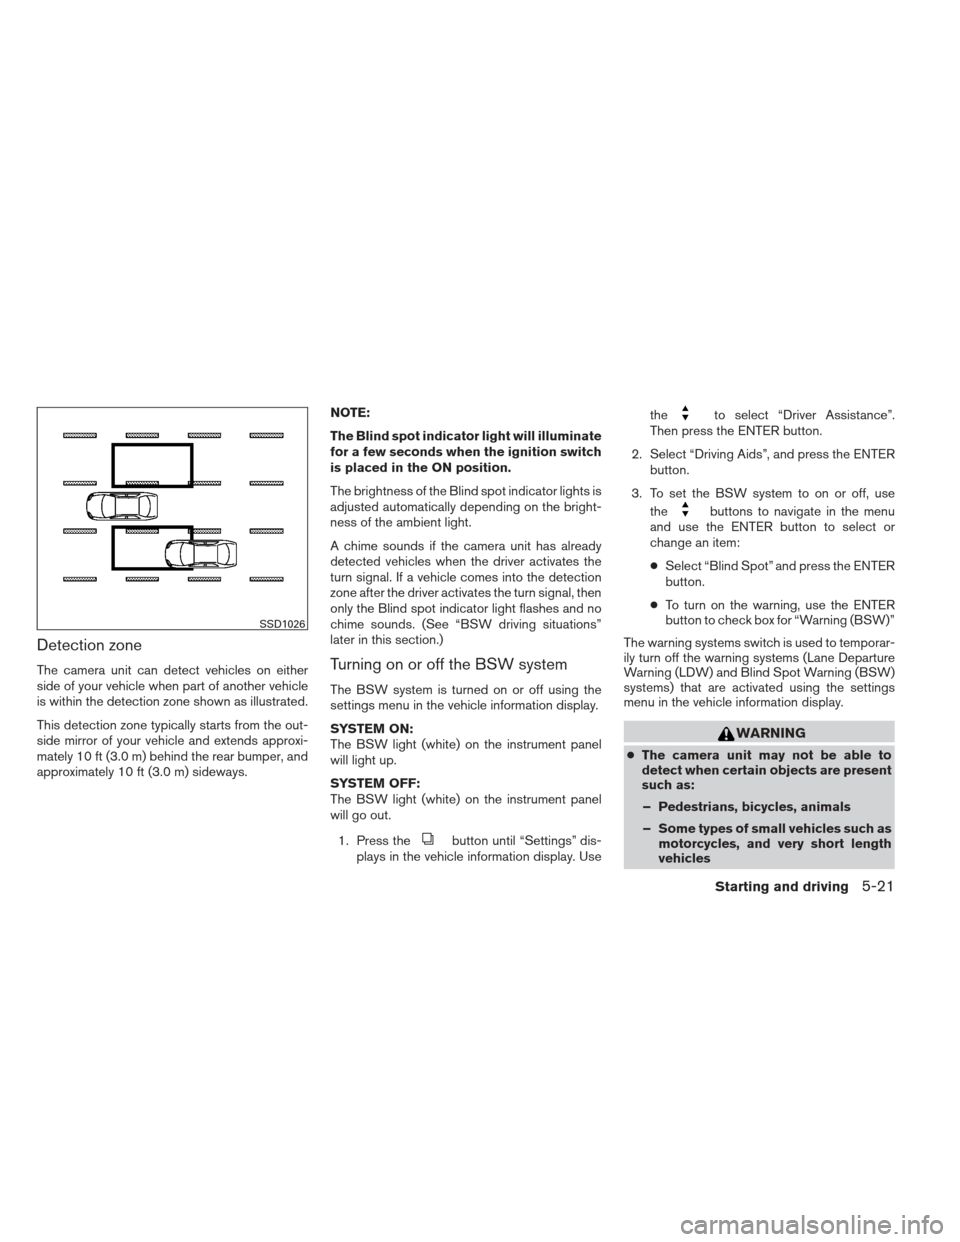
The camera unit can detect vehicles on either
side of your vehicle when part of another vehicle
is within the detection zone shown as illustrated.
This detection zone typically starts from the out-
side mirror of your vehicle and extends approxi-
mately 10 ft (3.0 m) behind the rear bumper, and
approximately 10 ft (3.0 m) sideways.NOTE:
The Blind spot indicator light will illuminate
for a few seconds when the ignition switch
is placed in the ON position.
The brightness of the Blind spot indicator lights is
adjusted automatically depending on the bright-
ness of the ambient light.
A chime sounds if the camera unit has already
detected vehicles when the driver activates the
turn signal. If a vehicle comes into the detection
zone after the driver activates the turn signal, then
only the Blind spot indicator light flashes and no
chime sounds. (See “BSW driving situations”
later in this section.)Turning on or off the BSW system
The BSW system is turned on or off using the
settings menu in the vehicle information display.
SYSTEM ON:
The BSW light (white) on the instrument panel
will light up.
SYSTEM OFF:
The BSW light (white) on the instrument panel
will go out.
1. Press the
button until “Settings” dis-
plays in the vehicle information display. Use the
to select “Driver Assistance”.
Then press the ENTER button.
2. Select “Driving Aids”, and press the ENTER button.
3. To set the BSW system to on or off, use the
buttons to navigate in the menu
and use the ENTER button to select or
change an item:
● Select “Blind Spot” and press the ENTER
button.
● To turn on the warning, use the ENTER
button to check box for “Warning (BSW)”
The warning systems switch is used to temporar-
ily turn off the warning systems (Lane Departure
Warning (LDW) and Blind Spot Warning (BSW)
systems) that are activated using the settings
menu in the vehicle information display.
WARNING
● The camera unit may not be able to
detect when certain objects are present
such as:
– Pedestrians, bicycles, animals
– Some types of small vehicles such as motorcycles, and very short length
vehicles
SSD1026
Starting and driving5-21
Page 298 of 413
If the driver activates the turn signal, then the
Blind Spot indicator light flashes and a chime will
sound twice.
NOTE:
If the driver activates the turn signal before
a vehicle enters the detection zone, the
Blind Spot indicator light will flash but no
chime will sound when the other vehicle is
detected.Overtaking other vehicles
The Blind Spot indicator light illuminates if you
overtake a vehicle and that vehicle stays in the
detection zone for approximately 3 seconds.
The camera unit may not detect slower moving
vehicles if they are passed quickly.If the driver activates the turn signal while another
vehicle is in the detection zone, then the Blind
Spot indicator light flashes and a chime will
sound twice.
LSD2114LSD2116LSD2117
Starting and driving5-23
Page 299 of 413
LDW SYSTEM OPERATION
The LDW system operates above approximately
45 MPH (70 km/h).
When the vehicle approaches either the left or
the right of the traveling lane, the LDW system
will chime a sound and the LDW light (orange) on
the instrument panel will blink to alert the driver
The LDW system is not designed to operate
under the following conditions●
When you operate the lane change signal
and change traveling lanes in the direction of
the signal. (The LDW system will become
operable again approximately 2 seconds af-
ter the lane change signal is turned off.)
● When the vehicle speed is less than approxi-
mately 45 MPH (70 km/h).
Turning on or off the LDW system
The LDW system is turned on or off using the
settings menu in the vehicle information display.
SYSTEM ON:
The LDW light (white) on the instrument panel
will light up. SYSTEM OFF:
The LDW light (white) on the instrument panel
will go out.
1. Press the
button until “Settings” dis-
plays in the vehicle information display. Use
the
to select “Driver Assistance”.
Then press the ENTER button.
2. Select “Driving Aids”, and press the ENTER button.
3. To set the LDW system to on or off, use the
buttons to navigate in the menu
and use the ENTER button to select or
change an item:
● Select “Lane” and press the ENTER but-
ton.
● To turn on the warning, use the ENTER
button to check box for “Warning (LDW)”
The warning systems switch is used to temporar-
ily turn off the warning systems (Lane Departure
Warning (LDW) and Blind Spot Warning (BSW)
systems) that are activated using the settings
menu in the vehicle information display.
LSD2101LSD2102
5-24Starting and driving