2013 MINI Paceman turn signal
[x] Cancel search: turn signalPage 64 of 275

Controls overviewCONTROLS
63
1Button for:
>Selecting display
> Setting values
> Confirming selected display or set values
> Calling up computer information 61
Exiting displays
1.Press the button in the turn signal lever
repeatedly until "HOME" is displayed.
2. Press the button for a longer period.
Displays are also exited if no entries are made
for approx. 8 seconds.
Next setting or item of information
1. While in a setting or information item, press
the button in the turn signal indicator
repeatedly until "NEXT" is displayed.
2. Press the button for a longer period.
The display changes directly to the next setting
or item of information.
SymbolFunction
Adjusting rain sensor 56
Calling up Check
Control 67
Service requirements 64
Exiting the menu
00320051004F004C00510048000300280047004C0057004C005200510003
Page 68 of 275
Controls overviewCONTROLS
67
4.Turn MINI joystick until the desired time
zone is set and press the MINI joystick.
The time zone is stored.
Date
Setting date
1."Settings"
2. "Time/Date"
3. "Date:"
4. Turn MINI joystick until the desired day is
displayed and press the MINI joystick.
5. Create the necessary settings for the month
and year.
The date is stored.
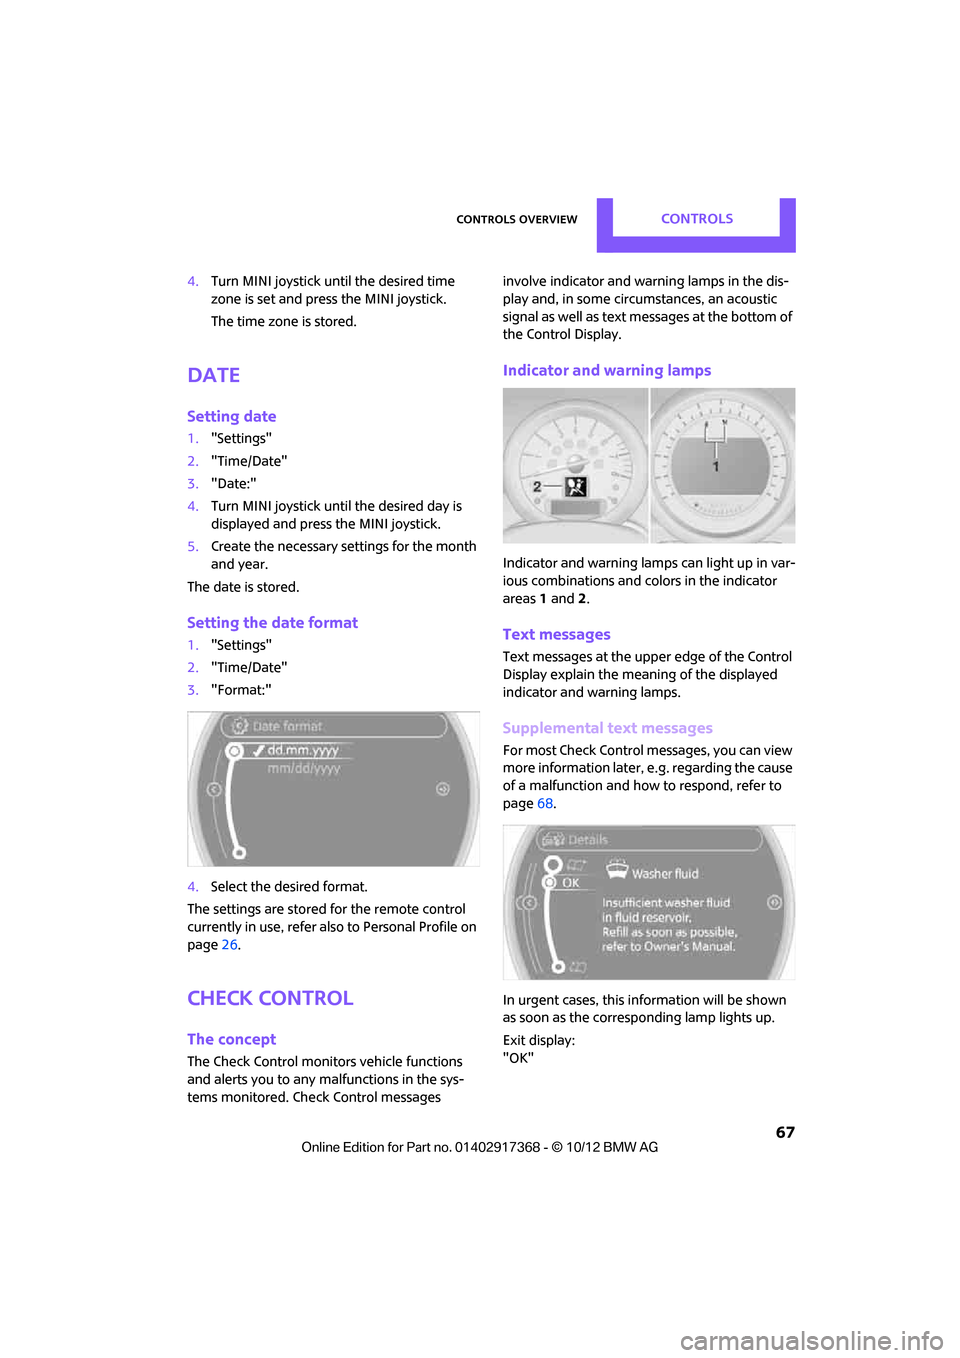
Setting the date format
1. "Settings"
2. "Time/Date"
3. "Format:"
4. Select the desired format.
The settings are stored for the remote control
currently in use, refer also to Personal Profile on
page 26.
Check Control
The concept
The Check Control monitors vehicle functions
and alerts you to any ma lfunctions in the sys-
tems monitored. Check Control messages involve indicator and warning lamps in the dis-
play and, in some circ
umstances, an acoustic
signal as well as text messages at the bottom of
the Control Display.
Indicator and warning lamps
Indicator and warning lamps can light up in var-
ious combinations and colors in the indicator
areas 1 and 2.
Text messages
Text messages at the upper edge of the Control
Display explain the meaning of the displayed
indicator and warning lamps.
Supplemental text messages
For most Check Control messages, you can view
more information later, e.g. regarding the cause
of a malfunction and how to respond, refer to
page 68.
In urgent cases, this information will be shown
as soon as the corresponding lamp lights up.
Exit display:
"OK"
00320051004F004C00510048000300280047004C0057004C005200510003
Page 69 of 275
CONTROLSControls overview
68
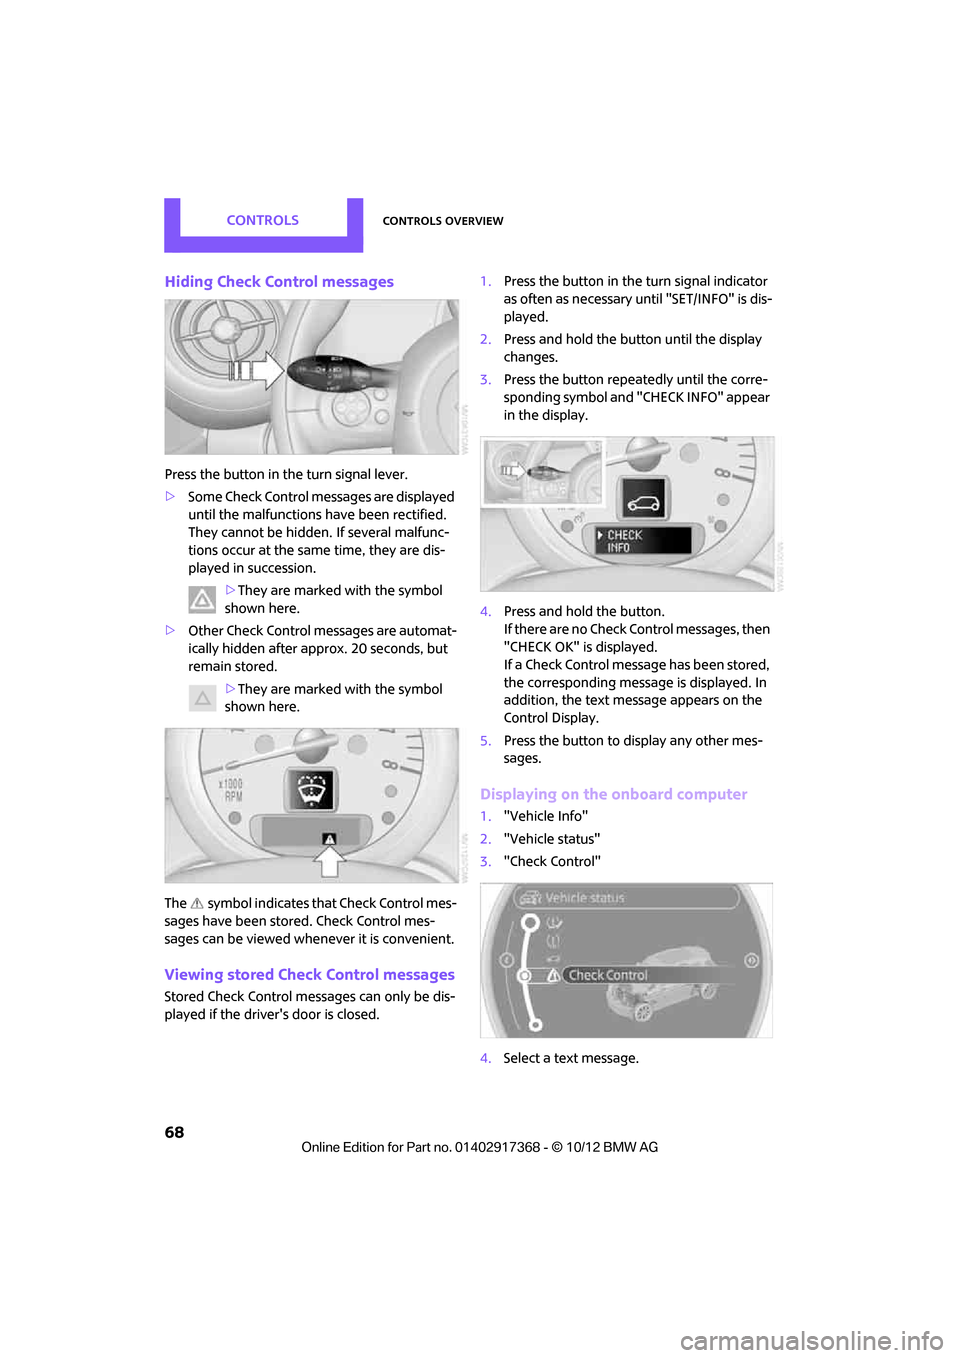
Hiding Check Control messages
Press the button in the turn signal lever.
> Some Check Control me ssages are displayed
until the malfunctions have been rectified.
They cannot be hidden. If several malfunc-
tions occur at the same time, they are dis-
played in succession.
>They are marked with the symbol
shown here.
> Other Check Control messages are automat-
ically hidden after approx. 20 seconds, but
remain stored.
>They are marked with the symbol
shown here.
The symbol indicates that Check Control mes-
sages have been stor ed. Check Control mes-
sages can be viewed whenever it is convenient.
Viewing stored Check Control messages
Stored Check Control me ssages can only be dis-
played if the driver's door is closed. 1.
Press the button in the turn signal indicator
as often as necessary until "SET/INFO" is dis-
played.
2. Press and hold the button until the display
changes.
3. Press the button repeatedly until the corre-
sponding symbol and "CHECK INFO" appear
in the display.
4. Press and hold the button.
If there are no Check Control messages, then
"CHECK OK" is displayed.
If a Check Control message has been stored,
the corresponding message is displayed. In
addition, the text message appears on the
Control Display.
5. Press the button to display any other mes-
sages.
Displaying on the onboard computer
1. "Vehicle Info"
2. "Vehicle status"
3. "Check Control"
4. Select a text message.
00320051004F004C00510048000300280047004C0057004C005200510003
Page 73 of 275

CONTROLSTechnology for driving comfort and safety
72
enter the sensors' blind spots before or after a
continuous audible signal is given. Higher, pro-
truding objects, such as wall ledges, may not be
detectable. Therefore, always drive cautiously;
otherwise, there is a risk of personal injury or
property damage. Loud sound sources outside
or inside the car can drown out the PDC signal. <
Driving stability control
systems
Your MINI has a number of systems that help to
maintain the vehicle's stability even in adverse
driving conditions.
The laws of physics cannot be repealed,
even with driving stability control systems.
An appropriate driving style always remains the
responsibility of the driver. Therefore do not
reduce the additional safe t y m a r g i n b y e n g a g i n g
in hazardous driving thereby running the risk of
an accident. <
Antilock Brake System ABS
ABS prevents locking of the wheels during brak-
ing. Safe steering response is maintained even
during full braking. Active safety is thus
increased.
Braking safely, refer to page 105.
ABS is operational every time you start the
engine.
Cornering Brake Control CBC
Driving stability and stee ring characteristics are
further enhanced while braking in turns or dur-
ing a lane change.
Electronic brake-force distribution EBV
The system controls the brake pressure in the
rear wheels to ensure stable braking behavior.
Brake Assist
Rapidly depressing the brake causes this system
to automatically develop maximum braking force. Thus, the system helps keep braking dis-
tance to a minimum. At the same time, all the
benefits provided by ABS are exploited.
Do not reduce the pressure on the brake for the
duration of the full braking application.
Dynamic Stability Control DSC
The concept
DSC prevents the driving wheels from losing
traction when you pull away from rest or accel-
erate.
DSC also detect
s unstable driving conditions
such as when the vehicle's rear end fishtails or
the vehicle is sliding on its front wheels. In these
cases, DSC helps the ve hicle maintain a safe
course within physical limits by reducing engine
output and through braking actions at the indi-
vidual wheels.
Every time that the engine is started, DSC is
ready to operate.
Deactivating DSC
Press the switch until the DSC OFF indicator
lamp on the speedometer lights up and DSC OFF
is displayed on the tachometer. DSC is deacti-
vated. Stabilizing and propulsion promoting
actions are no longer executed.
When driving with snow chains or to 'rock free'
in snow, it can be helpfu l to switch off DSC for a
brief period.
To increase vehicle stabil ity, activate DSC again
as soon as possible.
00320051004F004C00510048000300280047004C0057004C005200510003
Page 77 of 275
CONTROLSTechnology for driving comfort and safety
76
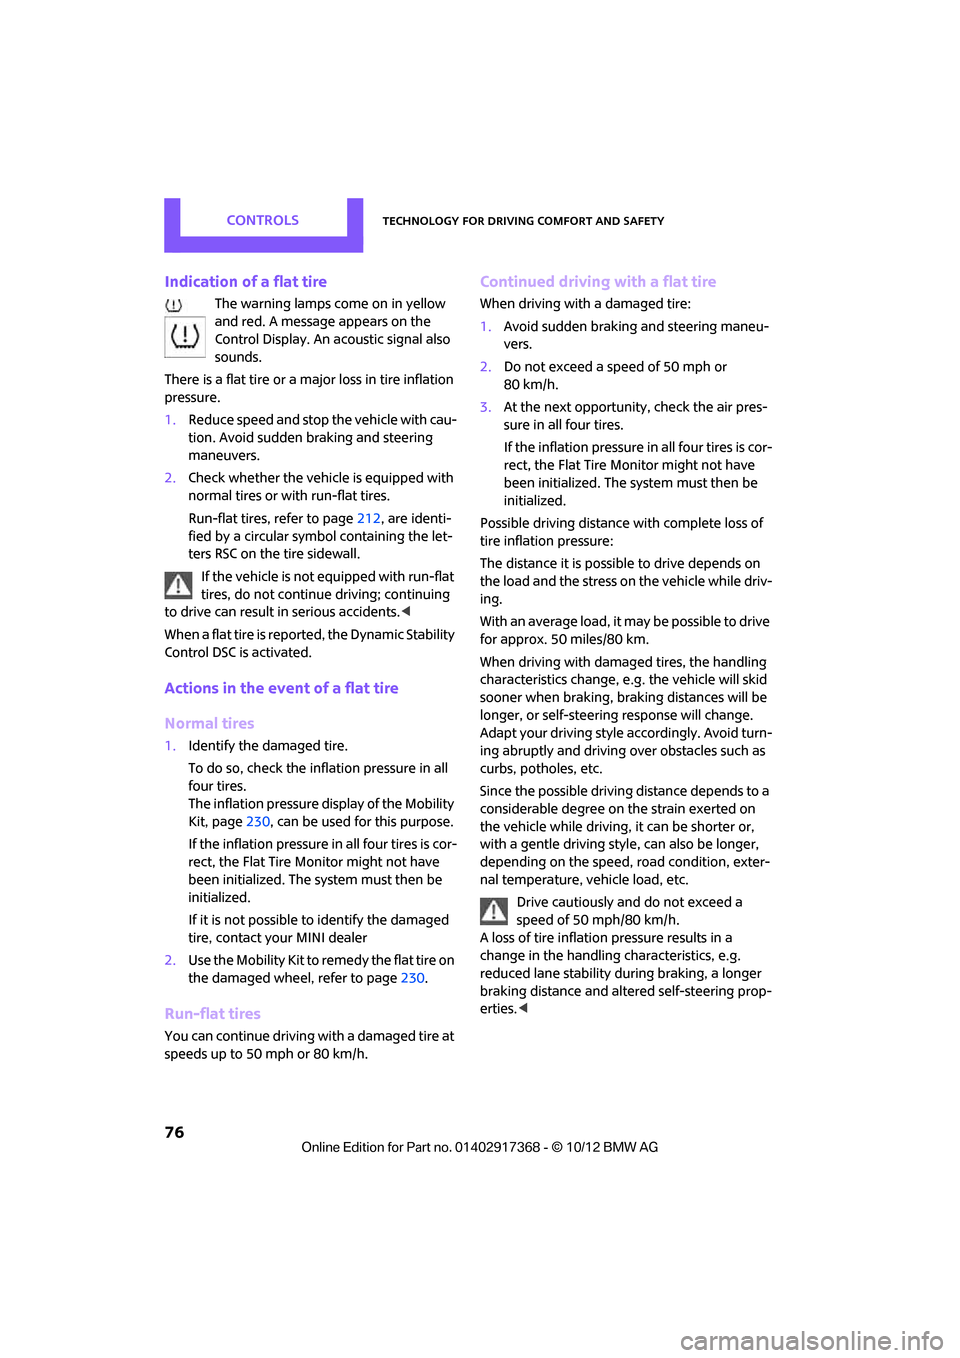
Indication of a flat tire
The warning lamps come on in yellow
and red. A message appears on the
Control Display. An acoustic signal also
sounds.
There is a flat tire or a major loss in tire inflation
pressure.
1. Reduce speed and stop the vehicle with cau-
tion. Avoid sudden braking and steering
maneuvers.
2. Check whether the vehicle is equipped with
normal tires or with run-flat tires.
Run-flat tires, refer to page 212, are identi-
fied by a circular symbol containing the let-
ters RSC on the tire sidewall.
If the vehicle is not equipped with run-flat
tires, do not continue driving; continuing
to drive can result in serious accidents.<
When a flat tire is repo rted, the Dynamic Stability
Control DSC is activated.
Actions in the event of a flat tire
Normal tires
1. Identify the damaged tire.
To do so, check the infl ation pressure in all
four tires.
The inflation pressure display of the Mobility
Kit, page 230, can be used for this purpose.
If the inflation pressure in all four tires is cor-
rect, the Flat Tire Mo nitor might not have
been initialized. The system must then be
initialized.
If it is not possible to identify the damaged
tire, contact your MINI dealer
2. Use the Mobility Kit to remedy the flat tire on
the damaged wheel, refer to page 230.
Run-flat tires
You can continue driving with a damaged tire at
speeds up to 50 mph or 80 km/h.
Continued driving with a flat tire
When driving with a damaged tire:
1.Avoid sudden braking and steering maneu-
vers.
2. Do not exceed a speed of 50 mph or
80 km/h.
3. At the next opportunity, check the air pres-
sure in all four tires.
If the inflation pressure in all four tires is cor-
rect, the Flat Tire Monitor might not have
been initialized. The system must then be
initialized.
Possible driving distance with complete loss of
tire inflation pressure:
The distance it is possible to drive depends on
the load and the stress on the vehicle while driv-
ing.
With an average load, it may be possible to drive
for approx. 50 miles/80 km.
When driving with damaged tires, the handling
characteristics change, e. g. the vehicle will skid
sooner when braking, braking distances will be
longer, or self-steerin g response will change.
Adapt your driving style accordingly. Avoid turn-
ing abruptly and driving over obstacles such as
curbs, potholes, etc.
Since the possible driving distance depends to a
considerable degree on the strain exerted on
the vehicle while driving, it can be shorter or,
with a gentle driving styl e, can also be longer,
depending on the speed, road condition, exter-
nal temperature, vehicle load, etc.
Drive cautiously and do not exceed a
speed of 50 mph/80 km/h.
A loss of tire inflation pressure results in a
change in the handling characteristics, e.g.
reduced lane stability during braking, a longer
braking distance and alte red self-steering prop-
erties. <
00320051004F004C00510048000300280047004C0057004C005200510003
Page 87 of 275

CONTROLSLamps
86
In reverse, the Adaptive Light Control is not acti-
vated.
Malfunction
A message is displayed.
The Adaptive Light Control is malfunctioning or
failed. Have the system checked as soon as pos-
sible.
High beams/
roadside parking lamps
1 Turn signals/roadside parking lamps
2 Switching on high beams
3 Switching off high beams/headlamp flasher
Roadside parking lamps, left or right
The vehicle can be illuminated on one side for
parking. Comply with local regulations when
doing so.
Switching on
After parking the vehicle, press and hold the
lever up or down, arrow 1.
The roadside parking lamps drain the bat-
tery. Therefore, do not leave them on for
unduly long periods of time; otherwise, the bat-
tery might not have enough power to start the
engine. <
Switching off
Press the lever up or down to the pressure point.
Front fog lamps
Turn on front fog lamps:
Press the switch.
To switch them off, press the switch upward or
downward again.
Front fog lamps
The parking lamps or low beams must be
switched on for the fog lamps to operate. The
green indicator lamp lights up when the fog
lamps are switched on.
Depending on your vehicle's equipment, the fog
lamps are switched off when you activate the
headlamp flasher or switch on the high beams.
If the automatic headlamp control is acti-
vated, the low beams will come on auto-
matically when you switch on the fog lamps. <
Instrument lighting
You can adjust the brightness of the instrument
lighting only when the parking lamps or the low
beams are on.
The intensity of the brightness changes up to a
predetermined end point, and then decreases.
00320051004F004C00510048000300280047004C0057004C005200510003
Page 142 of 275
On/off and toneEntertainment
141
Adjusting volume
Turn the knob to the desired volume.
The volume can also be adjusted on the steering
wheel, refer to page10.
The setting is stored for the remote control cur-
rently in use; refer to Personal Profile, page 26.
Setting tone controls
Various tone settings can be changed, e.g. treble
and bass or the speed-dependent volume con-
trol.
The tone settings are set for all audio sources at
once.
The settings are stored for the remote control
currently in use; refer to Personal Profile,
page 26.
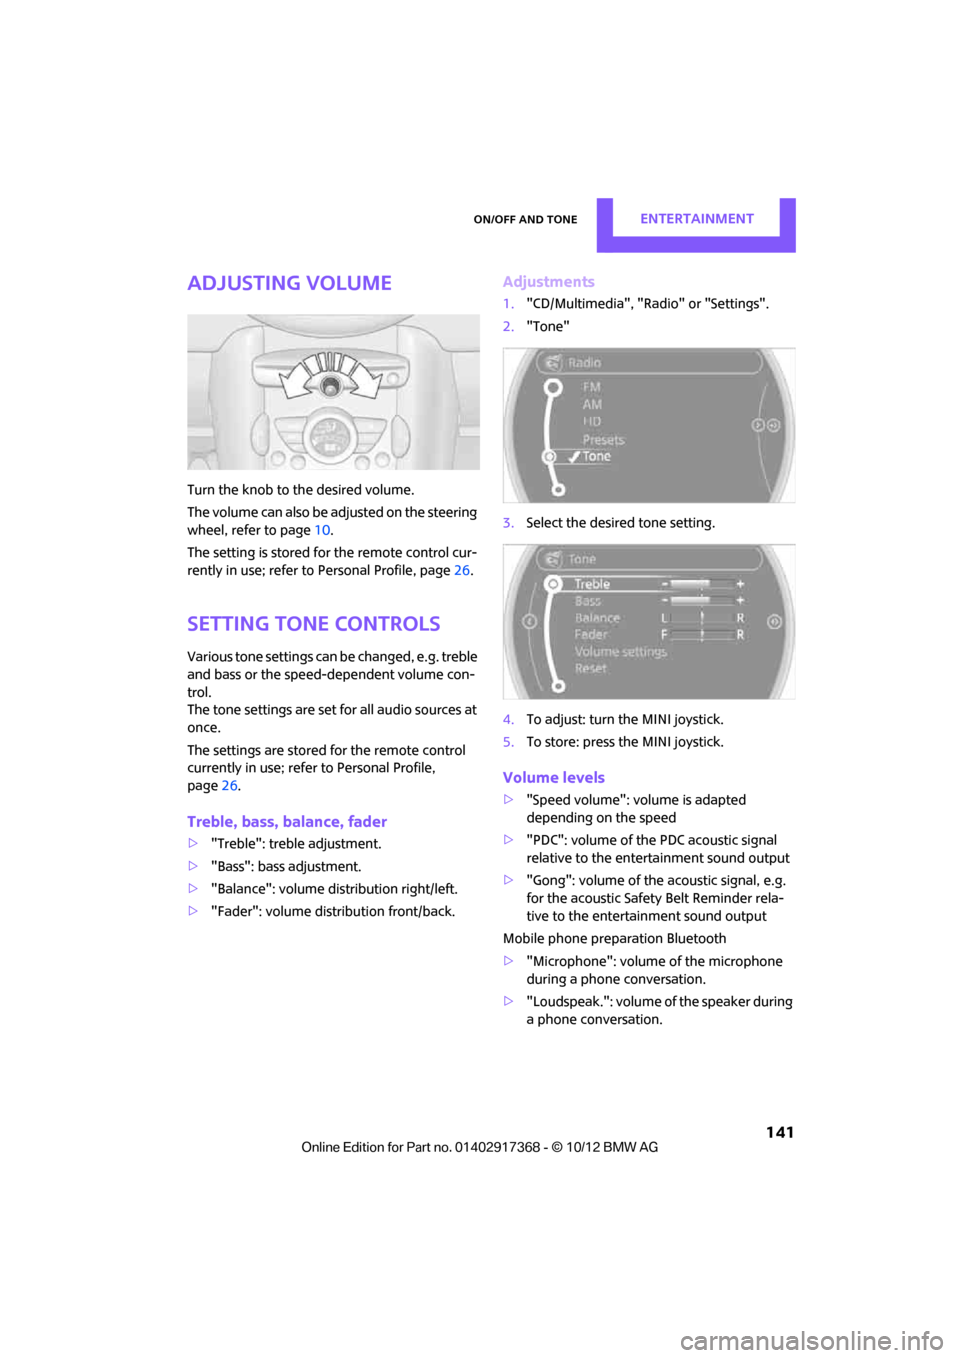
Treble, bass, balance, fader
> "Treble": treble adjustment.
> "Bass": bass adjustment.
> "Balance": volume distribution right/left.
> "Fader": volume distribution front/back.
Adjustments
1."CD/Multimedia", "Rad io" or "Settings".
2. "Tone"
3. Select the desired tone setting.
4. To adjust: turn the MINI joystick.
5. To store: press the MINI joystick.
Volume levels
>"Speed volume": vo lume is adapted
depending on the speed
> "PDC": volume of the PDC acoustic signal
relative to the entertainment sound output
> "Gong": volume of the acoustic signal, e.g.
for the acoustic Safety Belt Reminder rela-
tive to the entertainment sound output
Mobile phone preparation Bluetooth
> "Microphone": volume of the microphone
during a phone conversation.
> "Loudspeak.": volume of the speaker during
a phone conversation.
00320051004F004C00510048000300280047004C0057004C005200510003
Page 145 of 275
EntertainmentRadio
144
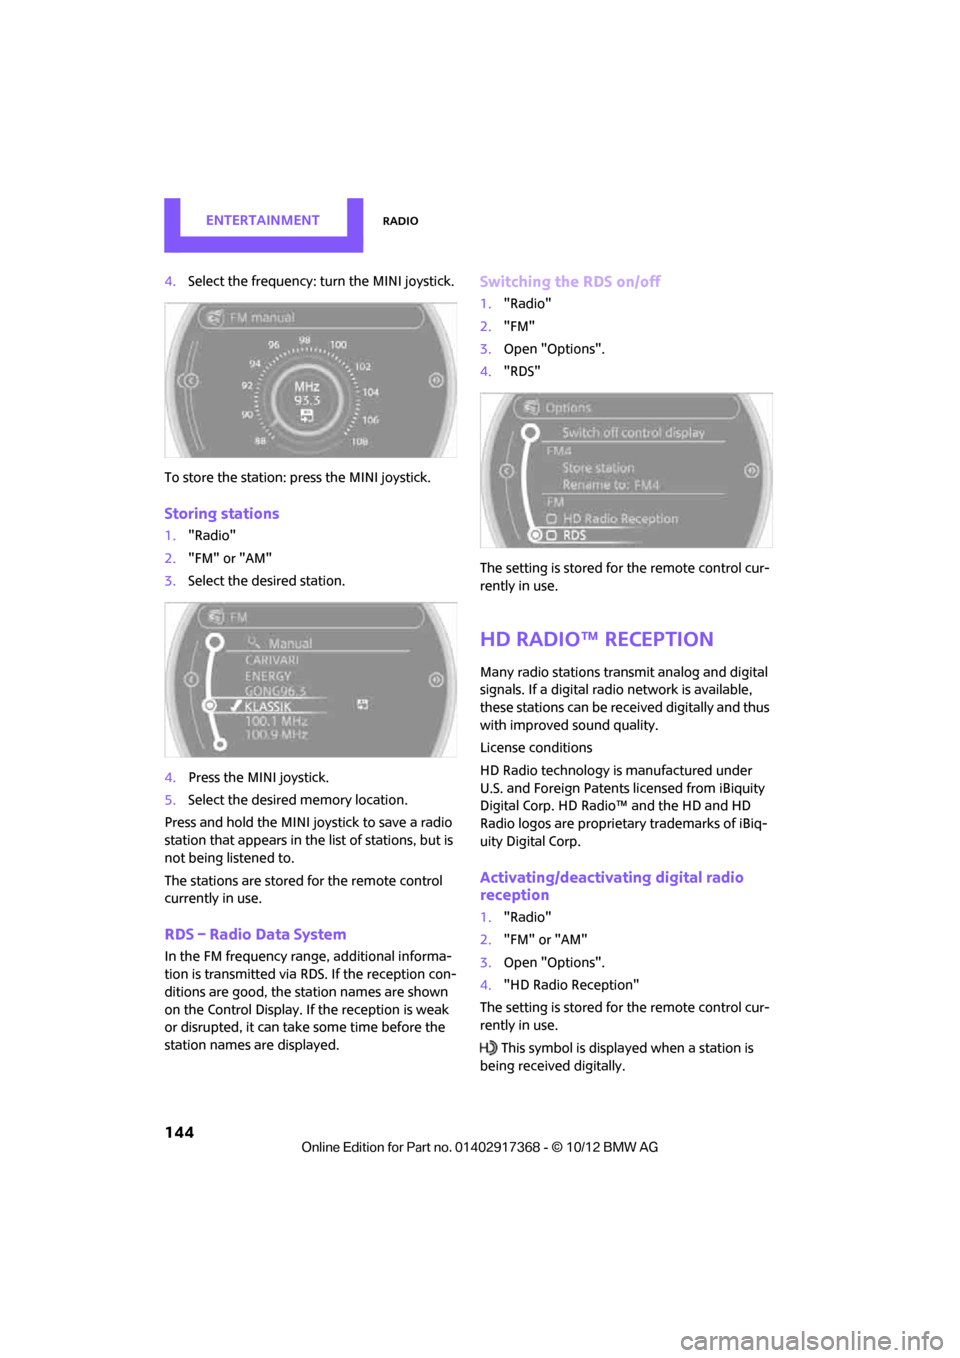
4.Select the frequency: turn the MINI joystick.
To store the station: press the MINI joystick.
Storing stations
1."Radio"
2. "FM" or "AM"
3. Select the desired station.
4. Press the MINI joystick.
5. Select the desired memory location.
Press and hold the MINI joystick to save a radio
station that appears in the list of stations, but is
not being listened to.
The stations are stored for the remote control
currently in use.
RDS – Radio Data System
In the FM frequency rang e, additional informa-
tion is transmitted via RDS. If the reception con-
ditions are good, the st ation names are shown
on the Control Display. If the reception is weak
or disrupted, it can take some time before the
station names are displayed.
Switching the RDS on/off
1. "Radio"
2. "FM"
3. Open "Options".
4. "RDS"
The setting is stored fo r the remote control cur-
rently in use.
HD Radio™ reception
Many radio stations tran smit analog and digital
signals. If a digital radio network is available,
these stations can be rece ived digitally and thus
with improved sound quality.
License conditions
HD Radio technology is manufactured under
U.S. and Foreign Patents licensed from iBiquity
Digital Corp. HD Radio™ and the HD and HD
Radio logos are proprietary trademarks of iBiq-
uity Digital Corp.
Activating/deactivating digital radio
reception
1. "Radio"
2. "FM" or "AM"
3. Open "Options".
4. "HD Radio Reception"
The setting is stored fo r the remote control cur-
rently in use.
This symbol is displa yed when a station is
being received digitally.
00320051004F004C00510048000300280047004C0057004C005200510003