Page 17 of 292
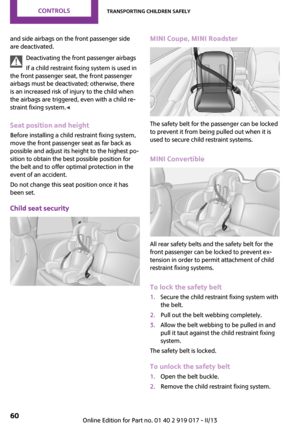
All around the head‐
liner1Indicator/warning lamps for the front pas‐
senger airbags 922Switch panelReading lamps 88MINI Roadster: interior lamps/
reading lamps 88Ambient lighting color 89MINI Coupe, MINI Roadster: ex‐
tending and retracting the spoiler
manually 103MINI Convertible: opening and
closing the sliding sunroof or
convertible top 42
MINI Roadster: opening and clos‐
ing the convertible top 50Interior lamps 88All around the shift/
selector lever1USB audio interface 1722Buttons in the center consoleSport button 103Driving stability control sys‐
tems 1013MINI joystick with buttons 18Seite 17CockpitAt a glance17
Online Edition for Part no. 01 40 2 919 017 - II/13
Page 18 of 292

Onboard monitorVehicle equipmentThis chapter describes all series equipment as
well as country-specific and special equipment
offered for this model series.Therefore, it also
describes equipment that may not be found in
your vehicle, for instance due to the selected
special equipment or the country version. This
also applies to safety-related functions and sys‐
tems.
The concept The onboard monitor combines the functions
of a large number of different switches. Thus,
these functions can be operated from a central
location.
Using the onboard monitor during a trip
To avoid becoming distracted and posing
an unnecessary hazard to your vehicle's occu‐
pants and to other road users, never attempt to
use the controls or enter information unless
traffic and road conditions allow this. ◀
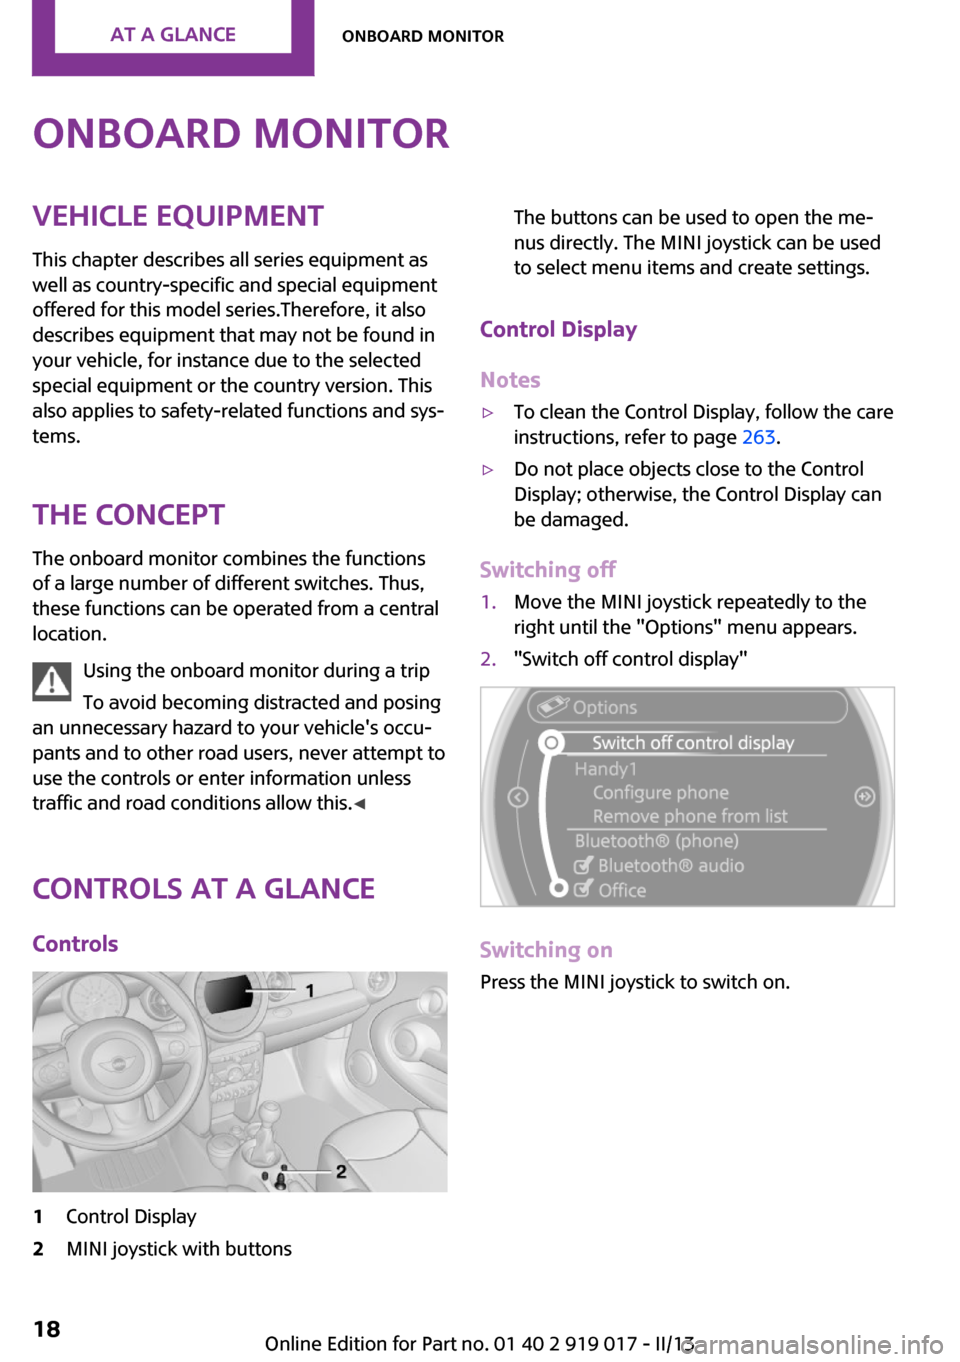
Controls at a glance Controls1Control Display2MINI joystick with buttonsThe buttons can be used to open the me‐
nus directly. The MINI joystick can be used
to select menu items and create settings.
Control Display
Notes
▷To clean the Control Display, follow the care
instructions, refer to page 263.▷Do not place objects close to the Control
Display; otherwise, the Control Display can
be damaged.
Switching off
1.Move the MINI joystick repeatedly to the
right until the "Options" menu appears.2."Switch off control display"
Switching on
Press the MINI joystick to switch on.
Seite 18At a glanceOnboard monitor18
Online Edition for Part no. 01 40 2 919 017 - II/13
Page 19 of 292
MINI joystick with buttonsSelect menu items and create settings.1.Turn, arrow 1.2.Press, arrow 2.3.Move in four directions.
Buttons on the MINI joystick
Press the buttonFunction
Opens the main menu. Changes to another menu.
Operating concept
Start screen In the radio ready state and higher, the follow‐
ing message appears on the Control Display:
To hide the message: press the MINI joystick.
The main menu is displayed.
The message is automatically hidden after ap‐
prox. 10 seconds.
Opening the main menu
Press the button.
The main menu is displayed.
All onboard monitor functions can be called up
via the main menu.
Seite 19Onboard monitorAt a glance19
Online Edition for Part no. 01 40 2 919 017 - II/13
Page 20 of 292

Selecting menu items
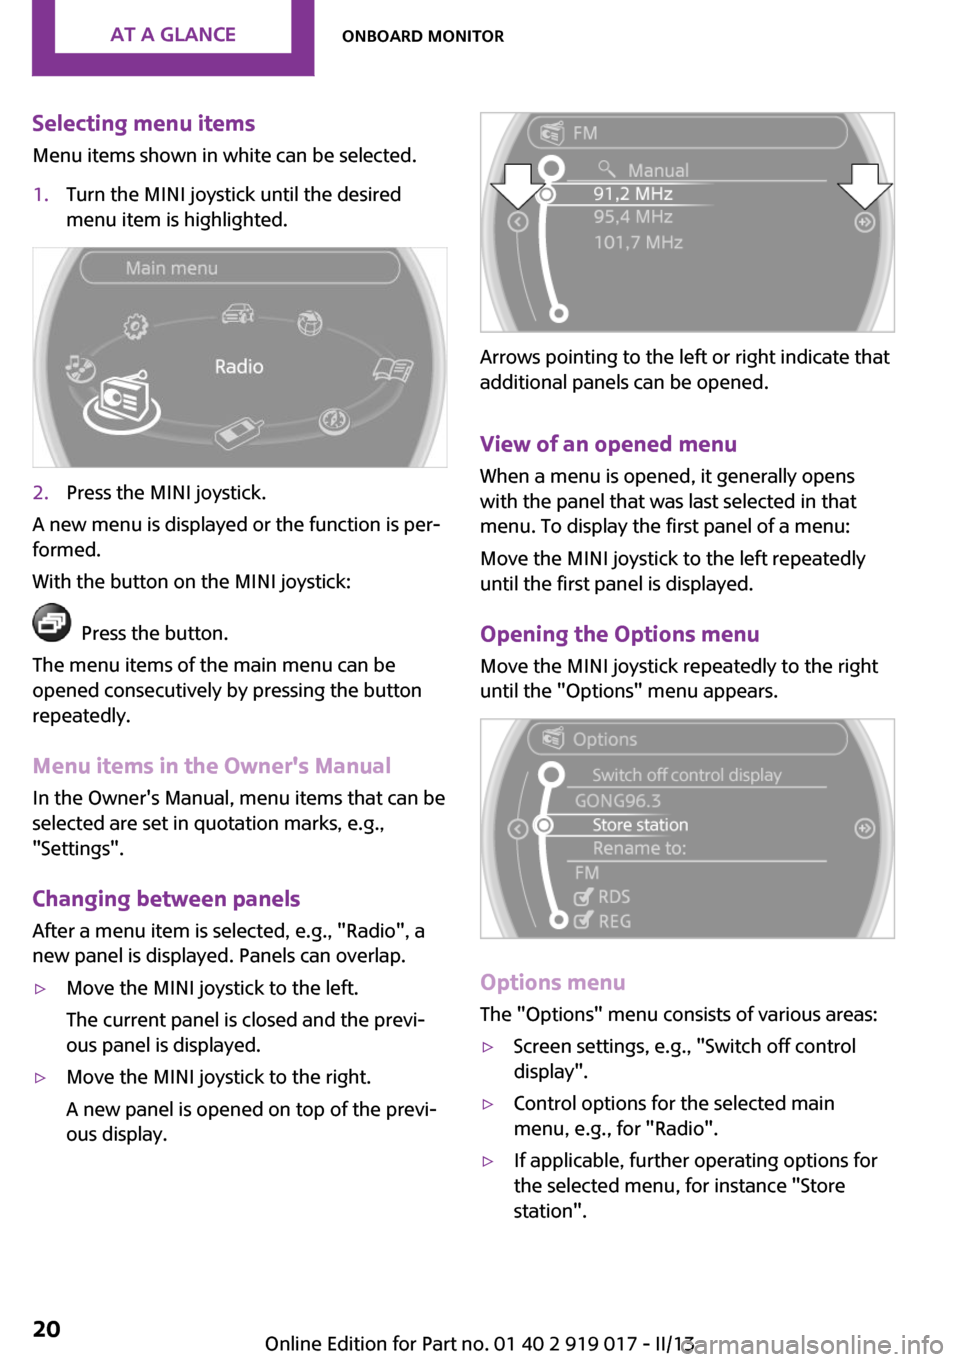
Menu items shown in white can be selected.1.Turn the MINI joystick until the desired
menu item is highlighted.2.Press the MINI joystick.
A new menu is displayed or the function is per‐
formed.
With the button on the MINI joystick:
Press the button.
The menu items of the main menu can be
opened consecutively by pressing the button
repeatedly.
Menu items in the Owner's Manual
In the Owner's Manual, menu items that can be
selected are set in quotation marks, e.g.,
"Settings".
Changing between panelsAfter a menu item is selected, e.g., "Radio", a
new panel is displayed. Panels can overlap.
▷Move the MINI joystick to the left.
The current panel is closed and the previ‐
ous panel is displayed.▷Move the MINI joystick to the right.
A new panel is opened on top of the previ‐
ous display.
Arrows pointing to the left or right indicate that
additional panels can be opened.
View of an opened menu
When a menu is opened, it generally opens
with the panel that was last selected in that
menu. To display the first panel of a menu:
Move the MINI joystick to the left repeatedly
until the first panel is displayed.
Opening the Options menu
Move the MINI joystick repeatedly to the right
until the "Options" menu appears.
Options menu
The "Options" menu consists of various areas:
▷Screen settings, e.g., "Switch off control
display".▷Control options for the selected main
menu, e.g., for "Radio".▷If applicable, further operating options for
the selected menu, for instance "Store
station".Seite 20At a glanceOnboard monitor20
Online Edition for Part no. 01 40 2 919 017 - II/13
Page 21 of 292

Changing settings1.Select a field.2.Turn the MINI joystick until the desired set‐
ting is displayed.3.Press the MINI joystick to confirm the set‐
ting.
Activating/deactivating the functions
Several menu items are preceded by a check‐box. It indicates whether the function is acti‐
vated or deactivated. Selecting the menu item
activates or deactivates the function.
The function is activated.
The function is deactivated.
Example: setting the
clock
Setting the clock1. Press the button. The main menu is
displayed.2.Turn the MINI joystick until "Settings" is
highlighted and press the MINI joystick.3.If necessary, move the MINI joystick to the
left to display "Time/Date".4.Turn the MINI joystick until "Time/Date" is
highlighted and press the MINI joystick.5.Turn the MINI joystick to set the hours and
press the MINI joystick.6.Turn the MINI joystick to set the minutes
and press the MINI joystick.
Status information
Status fieldThe following information is displayed in the
status field at the top right:
Seite 21Onboard monitorAt a glance21
Online Edition for Part no. 01 40 2 919 017 - II/13
Page 22 of 292

▷Time.▷Current entertainment source.▷Sound output, on/off.▷Wireless network reception strength.▷Telephone status.▷Traffic bulletin reception.
Check Control messages and entries using the
voice activation system temporarily hide the
status information.
Status field symbols
The symbols are grouped into various catego‐
ries.
Radio symbols
SymbolMeaning HD Radio™ is switched on. Satellite radio is switched on.
Telephone symbols
SymbolMeaning Incoming or outgoing call. Wireless network reception strength
Symbol flashes: searching for network. Wireless network is not available. Bluetooth is switched on. Roaming is active. Text message, e-mail was received.
Entertainment symbols
SymbolMeaning CD player. AUX-IN port.SymbolMeaning USB audio interface. Music interface for smartphones.
Additional symbols
SymbolMeaning Spoken instructions are switched off.
Entering letters and
numbers
General information
1.Turn the MINI joystick: select letters or
numbers.2.Select additional letters or numbers if
needed.3."OK": confirm the entry.SymbolFunction Press the MINI joystick: delete the let‐
ter or number. Press the MINI joystick for an ex‐
tended period: delete all letters or
numbers. Enter a blank space.
Switching between letters and numbers
Depending on the menu, you can switch be‐
tween entering letters and numbers.
Seite 22At a glanceOnboard monitor22
Online Edition for Part no. 01 40 2 919 017 - II/13
Page 23 of 292
SymbolFunction Enter the letters. Enter the numbers.
Switching between upper and lower
case letters
Depending on the menu, you can switch be‐tween entering uppercase and lowercase let‐
ters.
SymbolFunction Move the MINI joystick forward:
switch from upper to lower case
letters. Move the MINI joystick forward:
switch from lower to upper case
letters.
Entry comparison
Entry of names and addresses: the selection is
narrowed down every time a letter is entered
and letters may be added automatically.
The entries are continuously compared to the
data stored in the vehicle.
▷Only those letters are offered during the
entry for which data is available.▷Destination search: town/city names can be
entered using the spelling of language
available on the Control Display.Seite 23Onboard monitorAt a glance23
Online Edition for Part no. 01 40 2 919 017 - II/13
Page 24 of 292

Voice activation systemVehicle equipment
This chapter describes all series equipment as
well as country-specific and special equipment
offered for this model series.Therefore, it also
describes equipment that may not be found in
your vehicle, for instance due to the selected
special equipment or the country version. This
also applies to safety-related functions and sys‐
tems.
The concept▷Most functions that are displayed on the
Control Display can be operated with the
voice activation system using spoken com‐
mands. The system prompts you to make
your entries.▷Functions that can only be used when the
vehicle is stationary cannot be operated us‐
ing the voice activation system.▷The system uses a special microphone in
the headliner on the driver's side.▷›...‹ Verbal instructions in the Owner's
Manual to use with the voice activation sys‐
tem.
Requirements
Via the Control Display, set a language that is
also supported by the voice activation system
so that the spoken commands can be identi‐
fied.
Set the language, refer to page 80.
Using voice activation
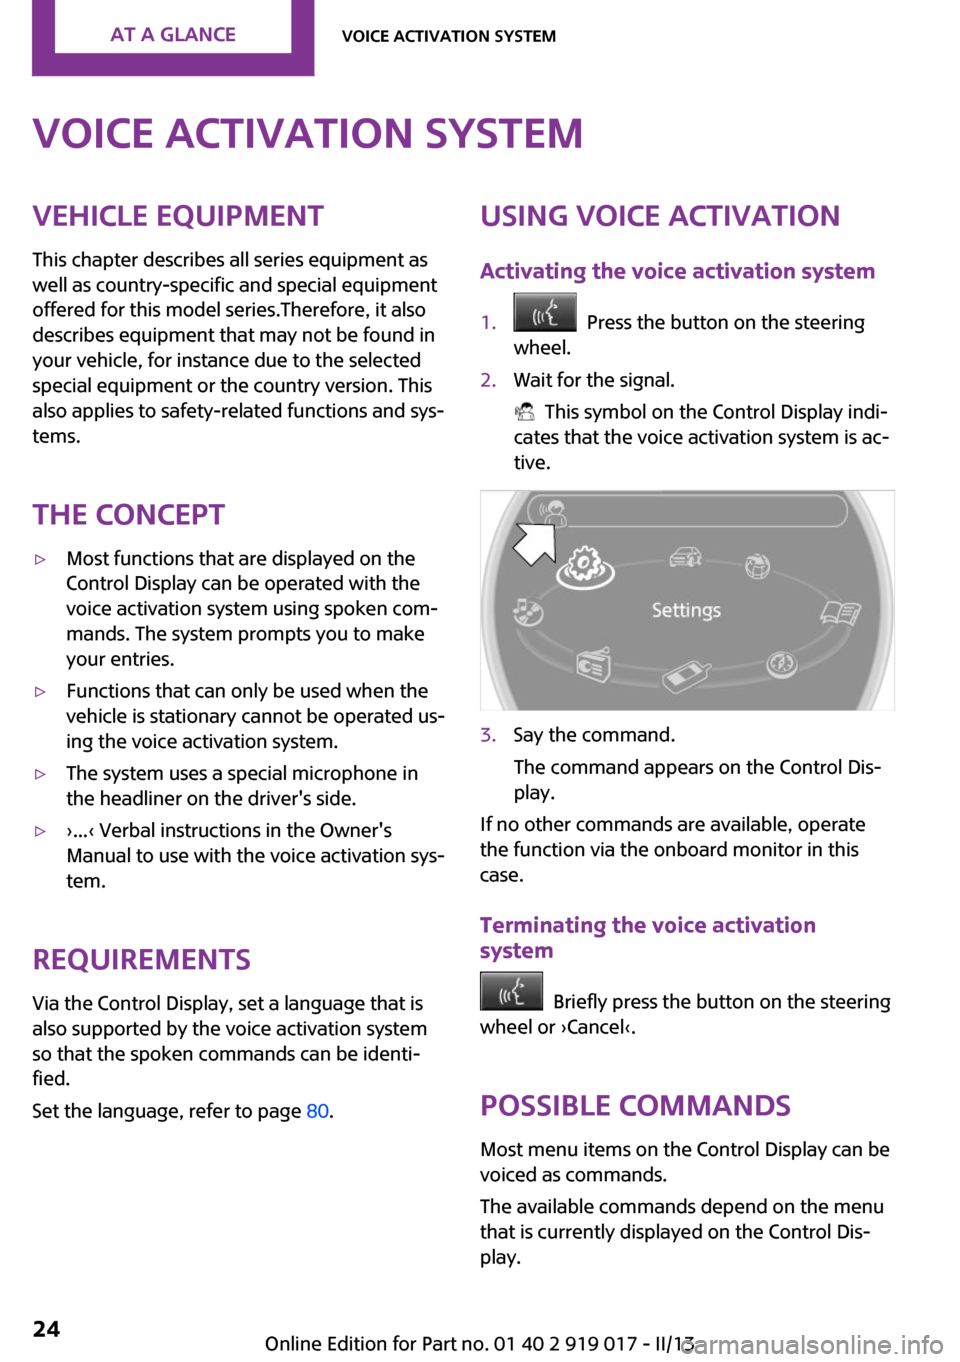
Activating the voice activation system1. Press the button on the steering
wheel.2.Wait for the signal.
This symbol on the Control Display indi‐
cates that the voice activation system is ac‐
tive.
3.Say the command.
The command appears on the Control Dis‐
play.
If no other commands are available, operate
the function via the onboard monitor in this
case.
Terminating the voice activation
system
Briefly press the button on the steering
wheel or ›Cancel‹.
Possible commands
Most menu items on the Control Display can be
voiced as commands.
The available commands depend on the menu
that is currently displayed on the Control Dis‐
play.
Seite 24At a glanceVoice activation system24
Online Edition for Part no. 01 40 2 919 017 - II/13