2013 MERCEDES-BENZ SL-CLASS ROADSTER maintenance
[x] Cancel search: maintenancePage 455 of 572
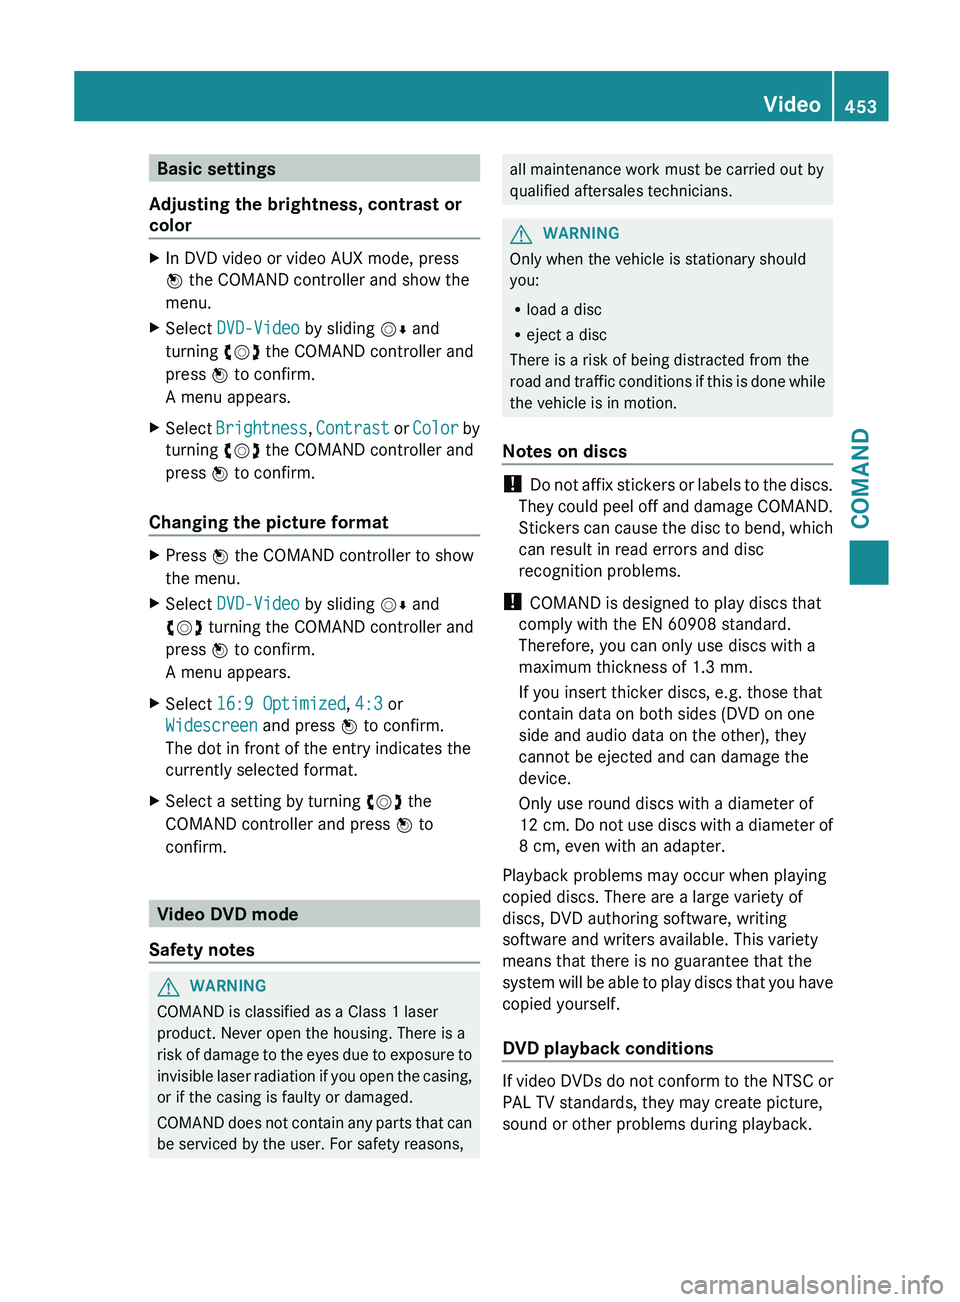
Basic settings
Adjusting the brightness, contrast or
color X
In DVD video or video AUX mode, press
W the COMAND controller and show the
menu.
X Select DVD-Video by sliding VÆ and
turning cVd the COMAND controller and
press W to confirm.
A menu appears.
X Select Brightness, Contrast or
Color
by
turning cVd the COMAND controller and
press W to confirm.
Changing the picture format X
Press
W the COMAND controller to show
the menu.
X Select DVD-Video by sliding VÆ and
cVd turning the COMAND controller and
press W to confirm.
A menu appears.
X Select 16:9 Optimized, 4:3 or
Widescreen and press W to confirm.
The dot in front of the entry indicates the
currently selected format.
X Select a setting by turning cVd the
COMAND controller and press W to
confirm. Video DVD mode
Safety notes G
WARNING
COMAND is classified as a Class 1 laser
product. Never open the housing. There is a
risk of
damage to the eyes due to exposure to
invisible laser radiation if you open the casing,
or if the casing is faulty or damaged.
COMAND does not contain any parts that can
be serviced by the user. For safety reasons, all maintenance work must be carried out by
qualified aftersales technicians.
G
WARNING
Only when the vehicle is stationary should
you:
R load a disc
R eject a disc
There is a risk of being distracted from the
road and
traffic conditions if this is done while
the vehicle is in motion.
Notes on discs !
Do not
affix stickers or labels to the discs.
They could peel off and damage COMAND.
Stickers can cause the disc to bend, which
can result in read errors and disc
recognition problems.
! COMAND is designed to play discs that
comply with the EN 60908 standard.
Therefore, you can only use discs with a
maximum thickness of 1.3 mm.
If you insert thicker discs, e.g. those that
contain data on both sides (DVD on one
side and audio data on the other), they
cannot be ejected and can damage the
device.
Only use round discs with a diameter of
12 cm. Do not use discs with a diameter of
8 cm, even with an adapter.
Playback problems may occur when playing
copied discs. There are a large variety of
discs, DVD authoring software, writing
software and writers available. This variety
means that there is no guarantee that the
system will be able to play discs that you have
copied yourself.
DVD playback conditions If
video DVDs do not conform to the NTSC or
PAL TV standards, they may create picture,
sound or other problems during playback. Video
453
COMAND Z
Page 494 of 572
Vehicle remote malfunction diagnosis
With the vehicle remote malfunction
diagnosis (Vehicle Health Check), the
Customer Assistance center can provide
improved support for problems with your
vehicle. During an existing call, vehicle data
is transferred to the Customer Assistance
center. The customer service representative
can
use
the received data to decide what kind
of assistance is required. You are then, for
example, guided to the nearest Mercedes-
Benz Service center or a recovery vehicle is
called.
If vehicle data needs to be transferred during
an MB Info call or a Roadside Assistance call,
this is initiated by the Customer Assistance
center. You will see the Roadside
Assistance Connected message in the
COMAND display. If the vehicle remote
malfunction diagnosis is able to be started,
the Request for vehicle diagnosis
received. Start vehicle diagnosis?
message appears in the display.
X Press Yes to confirm the message.
X If the Vehicle Diagnosis: Please
switch on ignition. message appears:
turn the key to position 2 in the ignition
lock.
X If the Please follow the
instructions received
by phone and
move your vehicle to a safe
position. message appears: follow the
instructions of the customer service
representative.
The message in the display disappears.
If you select Cancel, the vehicle remote
malfunction diagnosis is canceled
completely.
The vehicle operating state check begins.
Meanwhile, the Vehicle diagnosis
activated message appears.
When the check is finished, the Sending
vehicle diagnosis data...(Voice
connection may be interrupted
during data transfer.) message appears. The vehicle data can now be sent to
the Customer Assistance center.
X
Press OK to confirm the message.
The voice connection with the Customer
Assistance center is terminated.
The Vehicle Diagnosis:
Transferring data... appears.
The vehicle data is sent to the Customer
Assistance center.
Depending on what the customer service
representative agreed with you, the voice
connection is
re-established after the transfer
is complete. If necessary, you will be
contacted at a later time by another means,
e.g. by E-Mail or telephone.
Further functions of the vehicle remote
malfunction diagnosis include, for example:
R transfer of service data to the Customer
Assistance center. If a service is overdue,
the COMAND display shows a message
about various special offers at your
workshop.
R monthly status information E-Mail on oil
level, air pressure, maintenance, brakes,
etc. If applicable, you will receive
information on special offers in the E-Mail.
USA only: this information can also be
called up under "Owners Online" at http://
www.mbusa.com.
Information on the data stored in the vehicle
(Y page 32).
Information on roadside assistance
(Y page 29).
Downloading routes Downloading routes allows you to transfer
and save predefined routes in the navigation
system.
To
do this, an SD memory card must
be inserted into the COMAND system. If no
SD memory card is inserted, you must insert
the card into the card slot on the COMAND
system before saving.
A route can be prepared and sent either by a
customer service representative or via the
mbrace portal on the Internet. Each route can 492
Features
Stowage and features
Page 497 of 572
Useful information ............................
496
Engine compartment ........................ 496
ASSYST PLUS .................................... 500
Care .................................................... 500 495Maintenance and care
Page 498 of 572
Useful information
i This Operator's Manual describes all
models and all standard and optional
equipment of your vehicle available at the
time of publication of the Operator's
Manual. Country-specific differences are
possible. Please
note that your vehicle may
not be equipped with all features
described. This also applies to safety-
related systems and functions.
i Read the information on qualified
specialist workshops: ( Y page 31).Engine compartment
Hood
Opening the hood G
WARNING
Do
not pull the release lever while the vehicle
is in motion. Otherwise, the hood could be
forced open by passing air flow.
This could
cause the hood to come loose and
injure you and/or others. G
WARNING
Do not open the hood when the engine is
overheated. You could be seriously injured.
Observe the coolant temperature gauge to
determine whether the engine may be
overheated. If you see flames or smoke
coming from the engine compartment, move
away from the vehicle. Wait until the engine
has cooled. If necessary, call the fire
department. G
WARNING
There is a risk of injury if the hood is open,
even if the engine is not running.
Some engine components can become very
hot.
To avoid the risk of burns, only touch those
components described in the Operator's
Manual and
observe the relevant safety notes. G
WARNING
To avoid injury, stay clear of moving parts
when the hood is open and the engine is
running.
The radiator fan may continue to run for
approximately
30seconds
or
may even restart
after the engine has been switched off. For
this reason, you must not reach into the fan
rotation area. G
WARNING
The engine is equipped with a transistorized
ignition system. Because of the high voltage,
it is dangerous to touch any components
(ignition coils, spark plug sockets, diagnostic
socket) of the ignition system:
R with the engine running
R while starting the engine
R when the ignition is switched on and the
engine is turned manually G
WARNING
The windshield wipers and wiper linkage
could be set in motion.
When the hood is open, you or others could
be injured by the wiper linkage.
Make sure that the windshield wipers are
switched off. Remove the SmartKey or make
sure that no ignition position has been
selected with KEYLESS-GO. All indicator
lamps must be off in the instrument panel.
! Make sure
that the windshield wipers are
not folded away from the windshield. You
could otherwise damage the windshield
wipers or the hood. 496
Engine compartment
Maintenance and care
Page 499 of 572
X
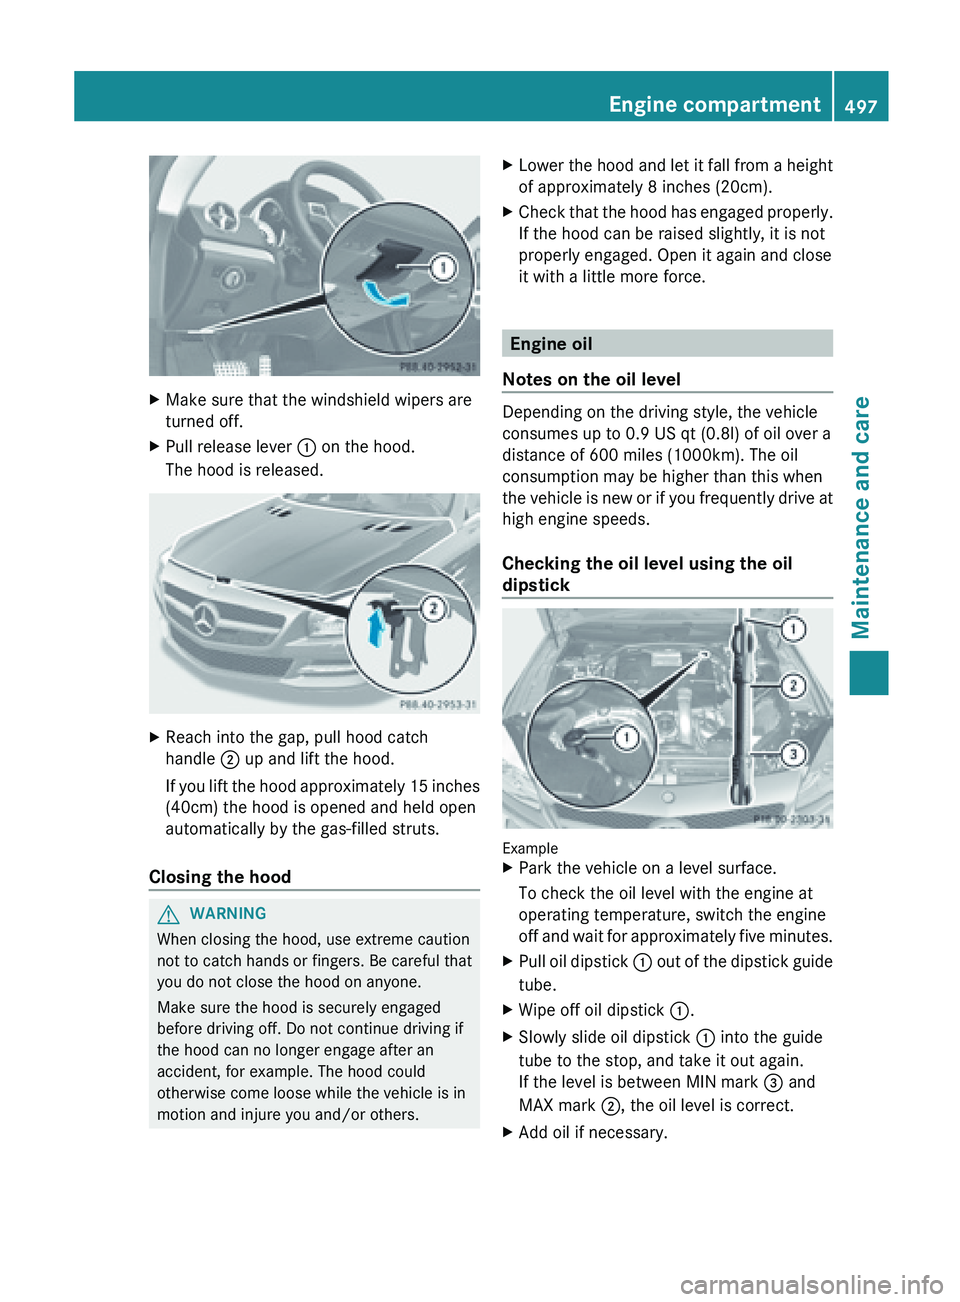
Make sure that the windshield wipers are
turned off.
X Pull release lever : on the hood.
The hood is released. X
Reach into the gap, pull hood catch
handle ; up and lift the hood.
If you
lift the hood approximately 15 inches
(40cm) the hood is opened and held open
automatically by the gas-filled struts.
Closing the hood G
WARNING
When closing the hood, use extreme caution
not to catch hands or fingers. Be careful that
you do not close the hood on anyone.
Make sure the hood is securely engaged
before driving off. Do not continue driving if
the hood can no longer engage after an
accident, for example. The hood could
otherwise come loose while the vehicle is in
motion and injure you and/or others. X
Lower the hood and let it fall from a height
of approximately 8 inches (20cm).
X Check
that the hood has engaged properly.
If the hood can be raised slightly, it is not
properly engaged. Open it again and close
it with a little more force. Engine oil
Notes on the oil level Depending on the driving style, the vehicle
consumes up to 0.9 US qt (
0.8l) of oil over a
distance of 600 miles (1000km). The oil
consumption may be higher than this when
the
vehicle is new or if you frequently drive at
high engine speeds.
Checking the oil level using the oil
dipstick Example
X
Park the vehicle on a level surface.
To check the oil level with the engine at
operating temperature, switch the engine
off and
wait for approximately five minutes.
X Pull oil dipstick : out
of the dipstick guide
tube.
X Wipe off oil dipstick :.
X Slowly slide oil dipstick : into the guide
tube to the stop, and take it out again.
If the level is between MIN mark = and
MAX mark ;, the oil level is correct.
X Add oil if necessary. Engine compartment
497
Maintenance and care Z
Page 500 of 572

Adding engine oil
G
WARNING
If engine oil comes into contact with hot
engine parts,
it may ignite and you could burn
yourself. Do not spill any engine oil on hot
engine parts. H
Environmental note
When adding oil, take care not to spill any. If
oil enters the soil or waterways, it is harmful
to the environment.
! Use only engine oils and oil filters that
have been approved for vehicles equipped
with a service system. A list of the engine
oils and oil filters tested and approved in
accordance with the Mercedes-Benz
Specifications for Service Products can be
called up by visiting http://
www.mbusa.com (USA only). More
information about tested and approved
engine oils and oil filters is available from
any authorized Mercedes-Benz Center.
Damage to
the engine or exhaust system is
caused by the following:
R using engine oils and oil filters which
have not been specifically approved for
the service system.
R replacing the engine oil or oil filter after
the replacement interval required by the
service system has elapsed
R using engine oil additives.
! Do not add too much oil. If the oil level is
above the "max" mark on the dipstick, too
much oil has been added. This can lead to
damage to the engine or the catalytic
converter. Have excess oil siphoned off. Example: engine oil cap
X
Turn cap : counter-clockwise and remove
it.
X Add the amount of oil required.
Fill carefully to the maximum mark on the
oil dipstick.
X Replace cap :
on the filler neck and
tighten clockwise.
Ensure that the cap locks into place
securely.
i The difference between the minimum
mark and the maximum mark on the oil
dipstick is approximately 1.4 US qt (
1.3l).
i Further information on engine oil
(Y page 562). Checking and adding other service
products
Checking the coolant level G
WARNING
In order to avoid potentially serious burns:
R use extreme caution when opening the
hood if there are any signs of vapor or
coolant leaking
from the cooling system, or
if the coolant temperature display indicates
that the coolant is overheated.
R do not remove the pressure cap on the
coolant tank if the coolant temperature is
above 158 ‡ (70 †). Allow the engine to
cool down before removing the cap. The
coolant tank contains hot fluid and is under
pressure.498
Engine compartment
Maintenance and care
Page 501 of 572
R
using a cloth, slowly turn the cap
approximately Ö turn to relieve excess
pressure. If
you open the cap immediately,
pressurized scalding hot fluid and vapor will
be blown out.
R do not spill antifreeze on hot engine parts.
Antifreeze contains ethylene glycol which
may burn if it comes into contact with hot
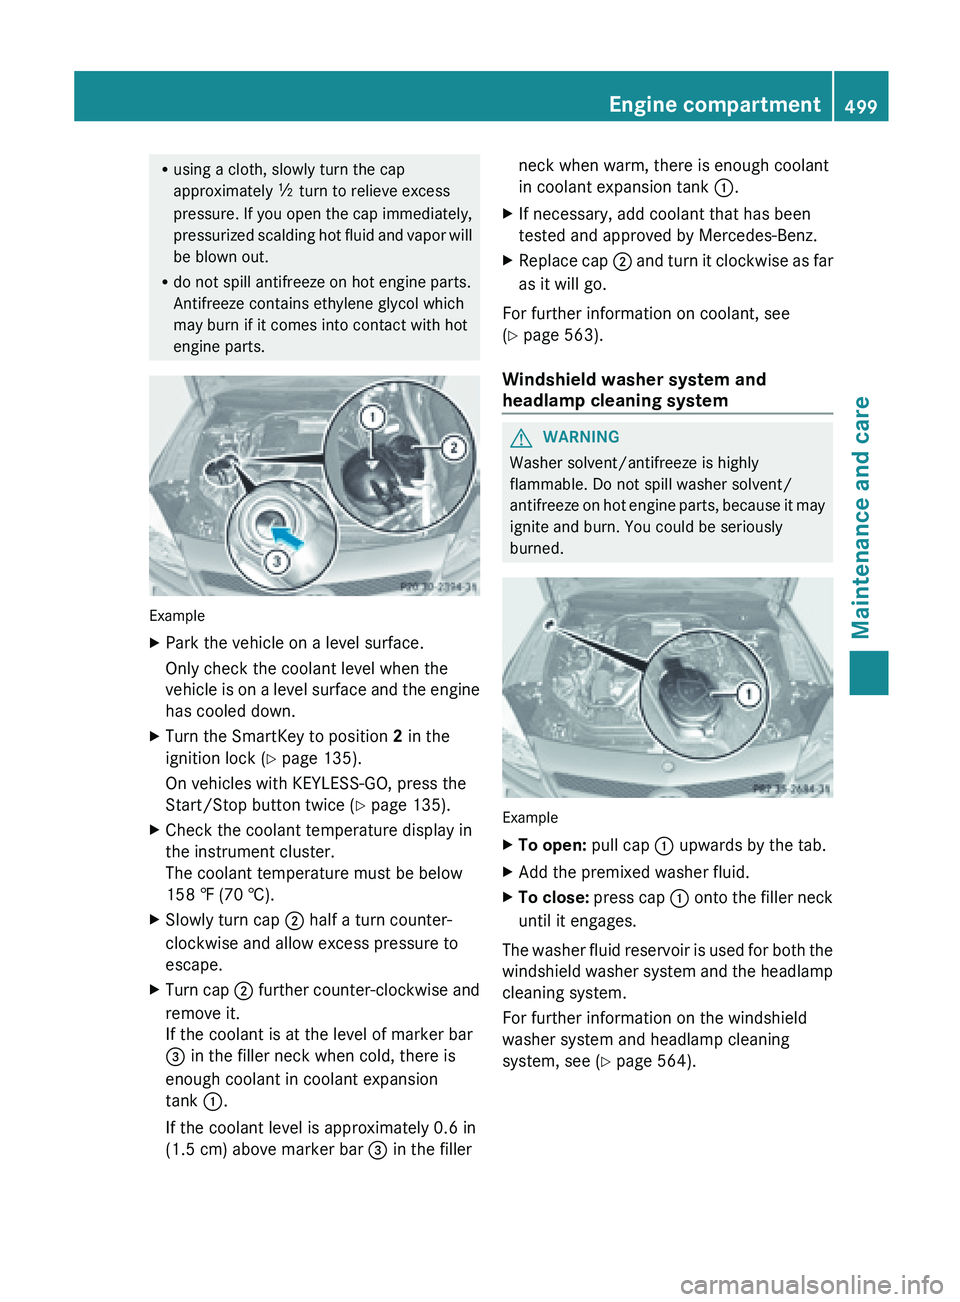
engine parts. Example
X
Park the vehicle on a level surface.
Only check the coolant level when the
vehicle is
on a level surface and the engine
has cooled down.
X Turn the SmartKey to position 2 in the
ignition lock (Y page 135).
On vehicles with KEYLESS-GO, press the
Start/Stop button twice (
Y page 135).
X Check the coolant temperature display in
the instrument cluster.
The coolant temperature must be below
158 ‡ (70 †).
X Slowly turn cap ;
half a turn counter-
clockwise and allow excess pressure to
escape.
X Turn cap ; further
counter-clockwise and
remove it.
If the coolant is at the level of marker bar
= in the filler neck when cold, there is
enough coolant in coolant expansion
tank :.
If the coolant level is approximately 0.6 in
(1.5 cm) above marker bar = in the fillerneck when warm, there is enough coolant
in coolant expansion tank
:.
X If necessary, add coolant that has been
tested and approved by Mercedes-Benz.
X Replace cap ; and
turn it clockwise as far
as it will go.
For further information on coolant, see
(Y page 563).
Windshield washer system and
headlamp cleaning system G
WARNING
Washer solvent/antifreeze is highly
flammable. Do not spill washer solvent/
antifreeze on
hot engine parts, because it may
ignite and burn. You could be seriously
burned. Example
X
To open:
pull cap
: upwards by the tab.
X Add the premixed washer fluid.
X To close:
press cap :
onto the filler neck
until it engages.
The washer fluid reservoir is used for both the
windshield washer
system and the headlamp
cleaning system.
For further information on the windshield
washer system and headlamp cleaning
system, see ( Y page 564). Engine compartment
499
Maintenance and care Z
Page 502 of 572

ASSYST PLUS
The ASSYST PLUS service interval display
informs you of the next service due date.
Information on
the type of service and service
intervals (see separate Maintenance
Booklet).
You can obtain further information from an
authorized Mercedes-Benz Center or at
http://www.mbusa.com (USA only).
i The ASSYST PLUS service interval display
does not show any information on the
engine oil level. Observe the notes on the
engine oil level ( Y page 497).Care
Notes on care
G
WARNING
Many cleaning products can be hazardous.
Some are poisonous, others are flammable.
Always follow the instructions on the
particular container. Always open your
vehicle's doors
or windows when cleaning the
inside.
Never use fluids or solvents that are not
designed for cleaning your vehicle.
Always lock away cleaning products and keep
them out of reach of children. H
Environmental note
Dispose of empty packaging and cleaning
cloths in an environmentally responsible
manner.
! For cleaning your vehicle, do not use any
of the following:
R dry, rough or hard cloths
R abrasive cleaning agents
R solvents
R cleaning agents containing solvents
Do not scrub.
Do not touch the surfaces or protective
films with hard objects, e.g. a ring or ice scraper. You could otherwise scratch or
damage the surfaces and protective film.
! Do not park the vehicle for an extended
period straight
after cleaning it, particularly
after having cleaned the wheels with wheel
cleaner. Wheel cleaners could cause
increased corrosion of the brake discs and
brake pads/linings. For this reason, you
should drive for a few minutes after
cleaning. Braking heats the brake discs and
the brake pads/linings, thus drying them.
The vehicle can then be parked.
Regular care of your vehicle is a condition for
retaining the quality in the long term.
Use care products and cleaning agents
recommended and approved by Mercedes-
Benz. Washing
the vehicle and cleaning the
paintwork
Automatic car wash G
WARNING
Braking efficiency is reduced after washing
the vehicle.
This could cause an accident. For
this reason, you must drive particularly
carefully after washing the vehicle until the
brakes have dried. G
WARNING
The
vehicle is braked when the HOLD function
or DISTRONIC PLUS is activated. Therefore,
deactivate the
HOLD function and DISTRONIC
PLUS before the vehicle is washed in an
automatic car wash.
! It is preferable to use car washes with
adjustable high-pressure pre-cleaning that
corresponds to the specification for the
Cabriolet program. In car washes that use
high water pressures, there is a risk that a
small amount of water may leak into the
vehicle.
! Never clean your vehicle in a Touchless
Automatic Car Wash as these use special 500
Care
Maintenance and care