2013 MERCEDES-BENZ GLK-CLASS SUV hood open
[x] Cancel search: hood openPage 177 of 380
If you wish to exit the vehicle, always turn off
DISTRONIC PLUS and secure the vehicle
against rolling away.
Deactivating DISTRONIC PLUS
(Y page 177).
If DISTRONIC PLUS detects that the vehicle
in front is stopping, it
brakes your vehicle until
it is stationary.
Once your vehicle is stationary, it remains
stationary and you do not need to depress the
brake.
i Depending on the specified minimum
distance, your vehicle will come to a
standstill at a sufficient distance behind the
vehicle in front. The specified minimum
distance is set using the control on the
cruise control lever.
When DISTRONIC PLUS is activated, the
transmission is shifted automatically to
position P if:
R the driver's door is open and the driver's
seat belt is unfastened.
R the engine is switched off, unless it is
automatically switched off by the ECO
start/stop function.
R the hood is opened.
R a system malfunction occurs.
R the power supply is not sufficient.
Setting a speed X
Press the cruise control lever up 0043 for a
higher speed or down 0044
for a lower speed.
X To adjust the set speed in 1 mph
increments (1 km/h increments):
briefly
press the cruise control lever up 0043
or
down 0044 to the pressure point.
Every time the cruise control lever is
pressed up 0043 or down 0044 the last speed
stored is increased or reduced.
X To adjust the set speed in 5 mph
increments (10 km/h increments):
briefly press the cruise control lever up
0043 or down 0044 beyond the pressure
point.
Every time the cruise control lever is
pressed up 0043 or down 0044, the last speed
stored is increased or reduced.
i DISTRONIC PLUS is not
deactivated
if you
depress the accelerator pedal. If you
accelerate to overtake, DISTRONIC PLUS
adjusts the vehicle's speed to the last
speed stored after you have finished
overtaking.
Storing the current speed or calling up
a stored speed X
Briefly pull the cruise control lever towards
you 0085.
X Remove your foot from the accelerator
pedal.
DISTRONIC PLUS is activated. The first
time it is activated, the current speed is
stored. Otherwise, it sets the
vehicle cruise
speed to the previously stored value.
Setting the specified minimum distance You can set the specified minimum distance
for
DISTRONIC PLUS
by varying
the time span
between one and two seconds. With this
function, you can set the minimum distance
that DISTRONIC PLUS keeps to the vehicle in
front, dependent on vehicle speed. You can
see this distance in the multifunction display
(Y page 176).
i Make sure that you maintain a sufficient
distance to the vehicle in front and comply
with the minimum distance as required by
law. Adjust the distance to the vehicle in
front if necessary. Driving systems
175
Driving and parking Z
Page 182 of 380

Activating the HOLD function
X
Make sure that the activation conditions
are met.
X Depress the brake pedal.
X Quickly depress the brake pedal further
until 00D9 appears in the multifunction
display.
The HOLD function is activated. You can
release the brake pedal.
i If depressing the brake pedal the first
time does not activate the HOLD function,
wait briefly and then try again.
Deactivating the HOLD function The HOLD function is deactivated
automatically if:
R
you accelerate and the transmission is in
position D or R
R the transmission is in position P.
R you depress the brake pedal again with a
certain amount of pressure until 00D9
disappears from the multifunction display
R you activate DISTRONIC PLUS
When the HOLD function is activated, the
automatic transmission is shifted
automatically to position P if:
R the driver's door is open and the driver's
seat belt is unfastened.
R the engine is switched off, unless it is
automatically switched off by the ECO
start/stop function.
R the hood is opened.
R a system malfunction occurs.
R the power supply is not sufficient.
The horn will also sound
at regular intervals if
the HOLD function is activated and you:
R switch the engine off, open the driver's
door and remove your seat belt
R open the hood
The sounding of the horn alerts you to the fact
that the vehicle has been parked while the
HOLD function is still activated. If you attempt to lock the vehicle, the tone becomes louder.
The vehicle is not locked until the HOLD
function is deactivated.
i
If the engine has been switched off, it
cannot be started again until the HOLD
function has been deactivated.
If there is a malfunction in the system or
power supply while the HOLD function is
activated, the Brake Immediately message
is shown in the multifunction display.
Immediately depress the brake firmly until
the warning message in the multifunction
display goes out.
You can
also shift the transmission to position
P. This deactivates the HOLD function. PARKTRONIC
Important safety notes PARKTRONIC is an electronic parking aid with
ultrasonic sensors. It indicates visually and
audibly the distance between your vehicle
and an object.
PARKTRONIC is only an aid. It is not a
replacement for your attention to your
immediate surroundings. You are always
responsible for safe maneuvering, parking
and exiting a parking space. When
maneuvering, parking or pulling out of a
parking space, make sure that there are no
persons, animals or objects in the area in
which you are maneuvering.
!
When parking, pay particular attention
to
objects above or below the sensors, such
as flower pots or trailer drawbars.
PARKTRONIC does not detect such objects
when they are in the immediate vicinity of
the vehicle. You could damage the vehicle
or the objects.
The sensors may not detect snow and other
objects that absorb ultrasonic waves.
Ultrasonic sources such as an automatic
car wash, the compressed-air brakes on a 180
Driving systems
Driving and parking
Page 218 of 380

Useful information
i This Operator's Manual describes all
models and all standard and optional
equipment of your vehicle available at the
time of publication of the Operator's
Manual. Country-specific differences are
possible. Please note that your
vehicle may
not be equipped with all features
described. This also applies to safety-
related systems and functions.
i Read the information on qualified
specialist workshops: ( Y page 27).Important safety notes
G
WARNING
If you operate information systems and
communication equipment integrated in the
vehicle while driving, you will be distracted
from traffic conditions. You could also lose
control of the vehicle. There is a risk of an
accident.
Only operate the equipment when the traffic
situation permits. If you are
not sure that this
is possible, park the vehicle paying attention
to traffic conditions and operate the
equipment when the vehicle is stationary. G
WARNING
If the instrument cluster has failed or
malfunctioned, you may not recognize
function restrictions in systems relevant to
safety. The operating safety of your vehicle
may be impaired. There is a risk of an
accident.
Drive on carefully. Have the vehicle checked
at a qualified specialist workshop
immediately.
You must observe the legal requirements for
the country in which you
are currently driving
when operating the on-board computer.
The on-board computer only shows messages
or warnings from certain systems in the multifunction display. You should therefore
make sure your vehicle is operating safely at
all times. Otherwise, a vehicle that is not
operating safely may cause an accident.
For an overview, see the instrument panel
illustration (
Y page 31). Displays and operation
Coolant temperature display
G
WARNING
Opening the hood when the engine is
overheated or when there is a fire in the
engine compartment could expose you
to hot
gases or other service products. There is a
risk of injury.
Let an overheated engine cool down before
opening the hood. If there is a fire in the
engine compartment, keep the hood closed
and contact the fire department.
The coolant temperature gauge is in the
instrument cluster on the left-hand side.
Under normal operating conditions and with
the specified coolant level, the coolant
temperature may rise to 248 ‡ (120 †).
! A display message is shown if the coolant
temperature is too high.
If the coolant temperature is over
248 ‡(120 †), do not continue driving. The
engine will otherwise be damaged. Tachometer
The red band in the
tachometer indicates the
engine's overrevving range.
! Do not drive in the overrevving range, as
this could damage the engine.
The fuel supply is interrupted to protect the
engine when the red band is reached. 216
Displays and operation
On-board computer and displays
Page 246 of 380
Display messages Possible causes/consequences and
0050 Solutions00AC
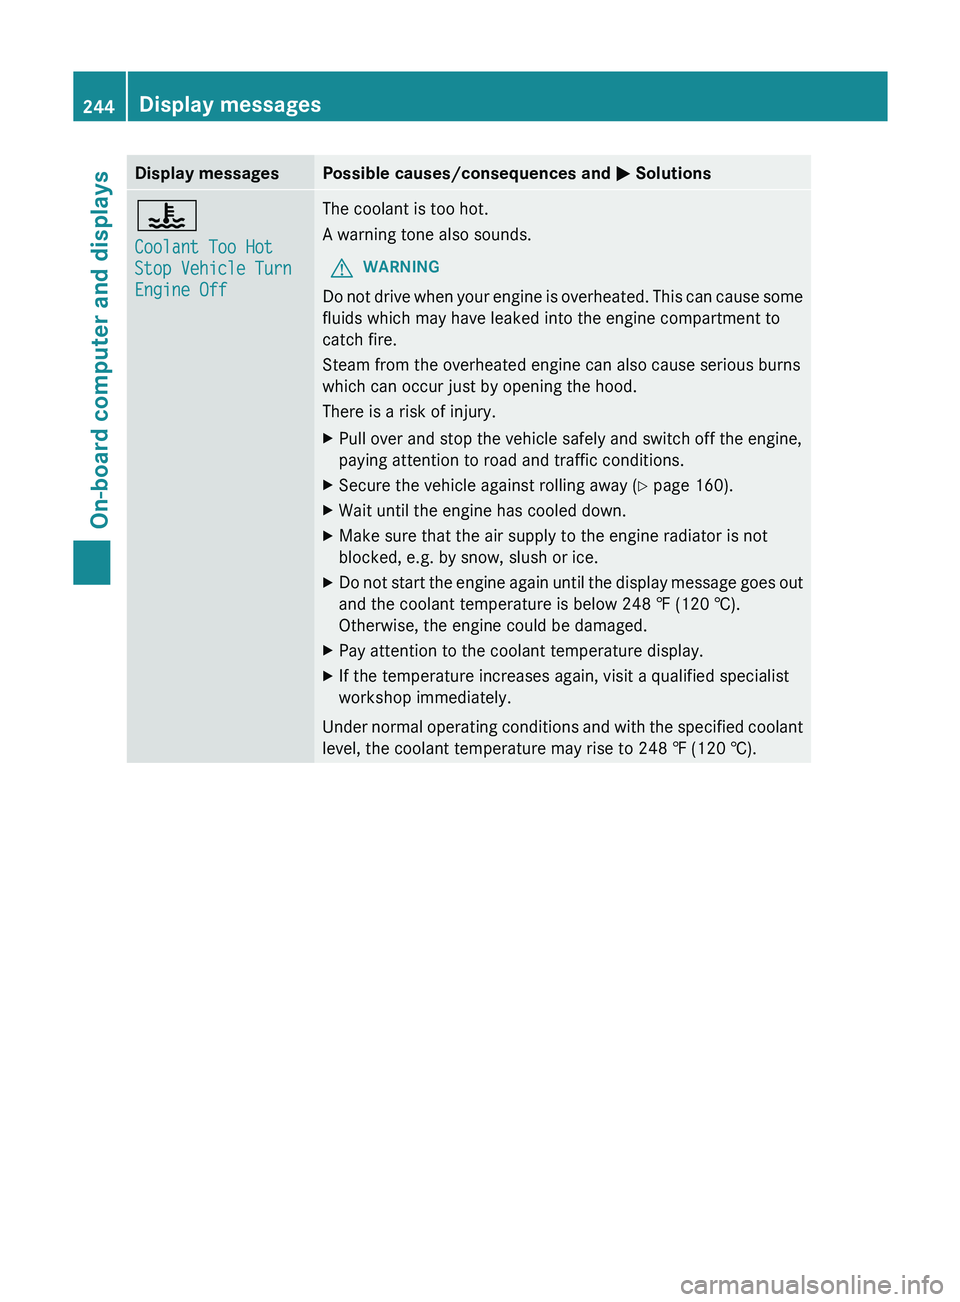
Coolant Too Hot
Stop Vehicle Turn
Engine Off The coolant is too hot.
A warning tone also sounds.
G WARNING
Do not drive when your engine is overheated. This can cause some
fluids which may have leaked into the engine compartment to
catch fire.
Steam from the overheated engine can also cause serious burns
which can occur just by opening the hood.
There is a risk of injury.
X Pull over and stop the vehicle safely and switch off the engine,
paying attention to road and traffic conditions.
X Secure the vehicle against rolling away ( Y page 160).
X Wait until the engine has cooled down.
X Make sure that the air supply to the engine radiator is not
blocked, e.g. by snow, slush or ice.
X Do not start the engine again until the display message goes out
and the coolant temperature is below 248 ‡ (120 †).
Otherwise, the engine could be damaged.
X Pay attention to the coolant temperature display.
X If the temperature increases again, visit a qualified specialist
workshop immediately.
Under normal operating
conditions and with the specified coolant
level, the coolant temperature may rise to 248 ‡ (120 †). 244
Display messages
On-board computer and displays
Page 247 of 380
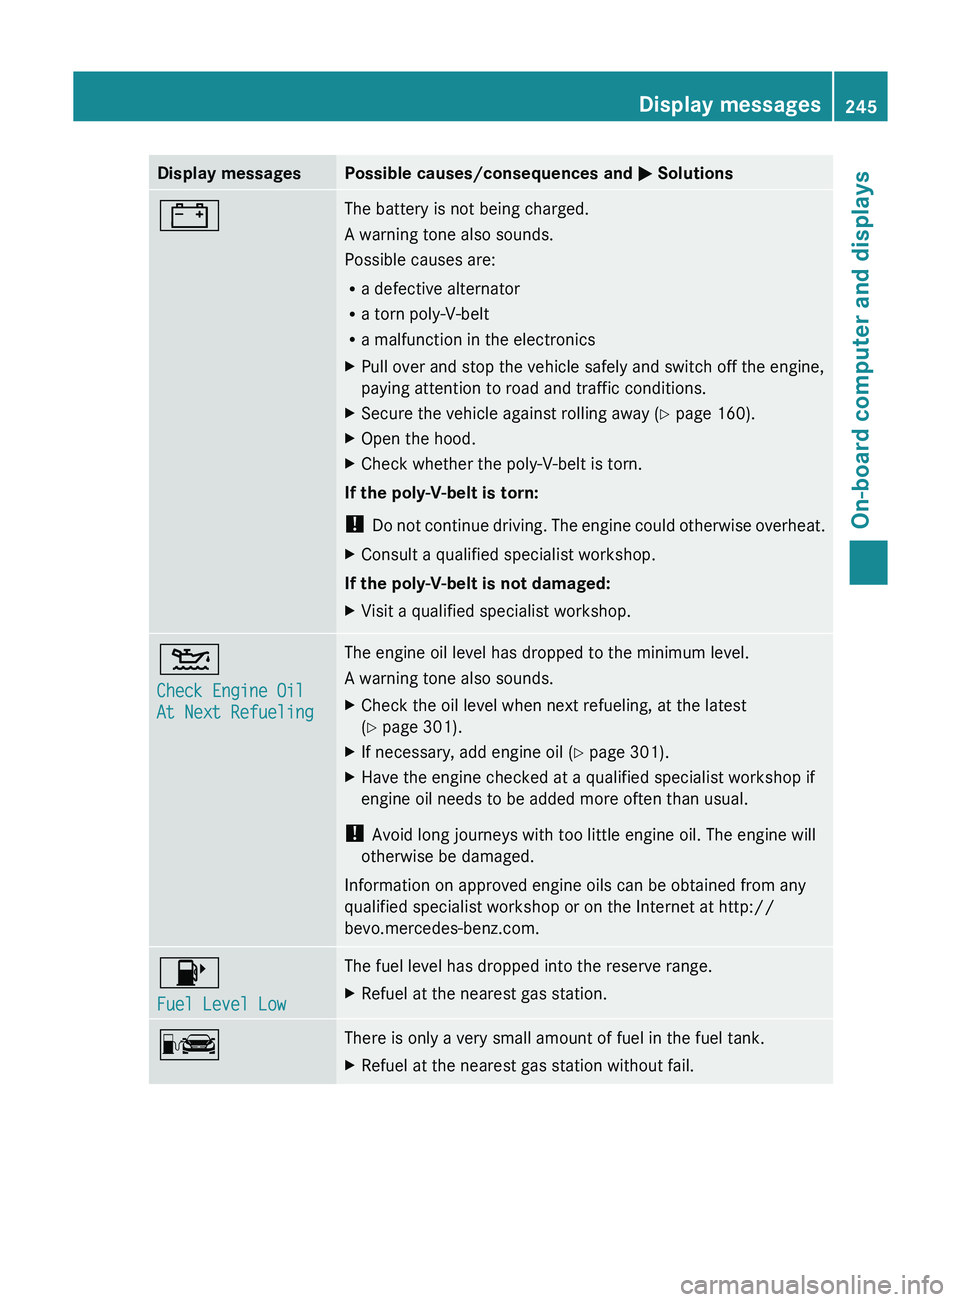
Display messages Possible causes/consequences and
0050 Solutions003D The battery is not being charged.
A warning tone also sounds.
Possible causes are:
R
a defective alternator
R a torn poly-V-belt
R a malfunction in the electronics
X Pull over and stop the vehicle safely and switch off the engine,
paying attention to road and traffic conditions.
X Secure the vehicle against rolling away ( Y page 160).
X Open the hood.
X Check whether the poly-V-belt is torn.
If the poly-V-belt is torn:
! Do not continue driving. The
engine could otherwise overheat.
X Consult a qualified specialist workshop.
If the poly-V-belt is not damaged:
X Visit a qualified specialist workshop. 00B2
Check Engine Oil
At Next Refueling The engine oil level has dropped to the minimum level.
A warning tone also sounds.
X
Check the oil level when next refueling, at the latest
(Y page 301).
X If necessary, add engine oil ( Y page 301).
X Have the engine checked at a qualified specialist workshop if
engine oil needs to be added more often than usual.
! Avoid long journeys with too little engine oil. The engine will
otherwise be damaged.
Information on approved engine oils can be obtained from any
qualified specialist workshop or on the Internet at http://
bevo.mercedes-benz.com. 00B6
Fuel Level Low The fuel level has dropped into the reserve range.
X
Refuel at the nearest gas station. 00A8 There is only a very small amount of fuel in the fuel tank.
X
Refuel at the nearest gas station without fail. Display messages
245
On-board computer and displays Z
Page 257 of 380
Display messages Possible causes/consequences and
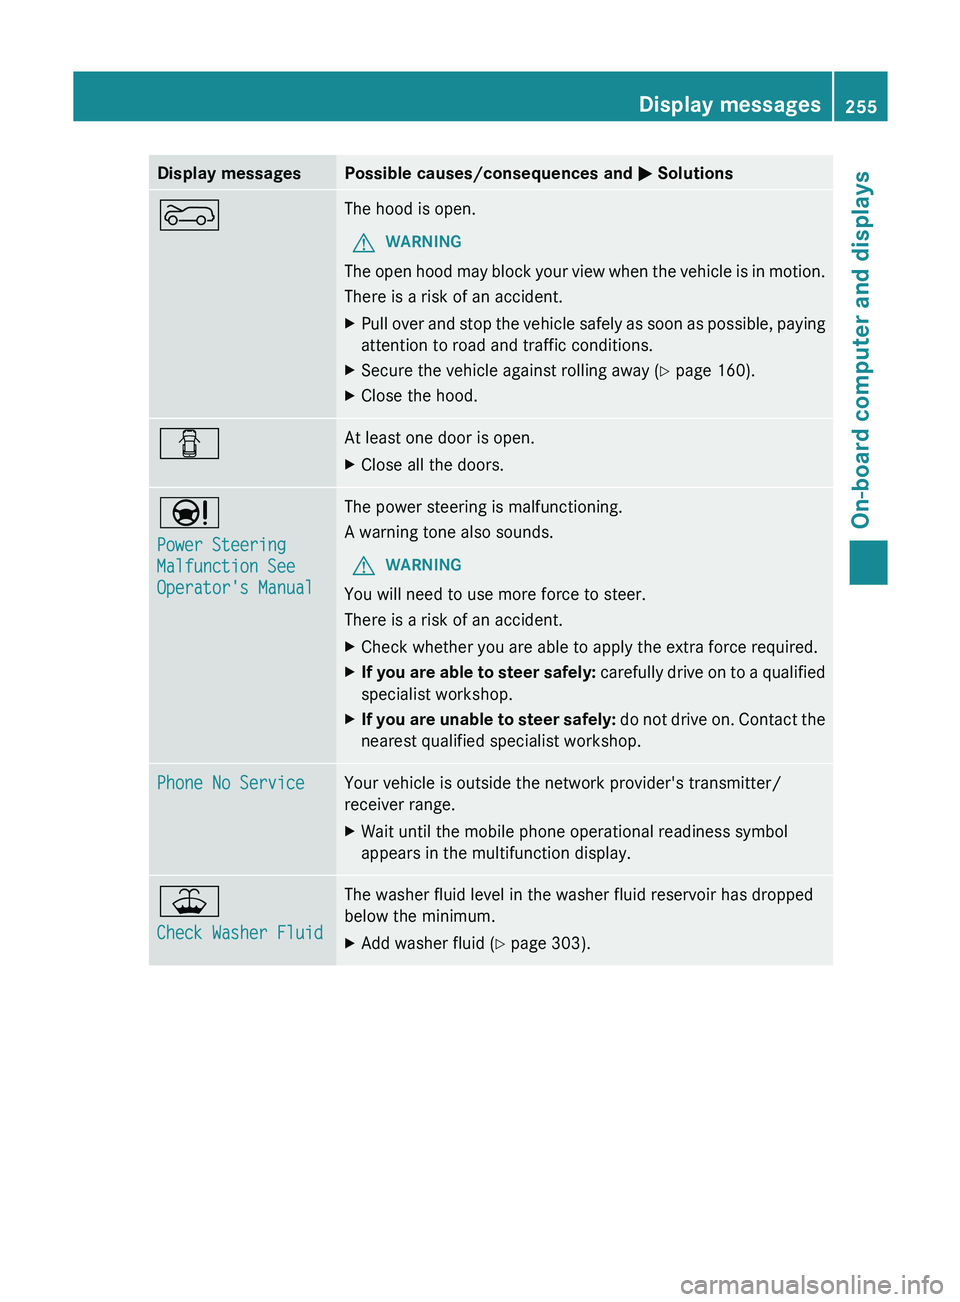
0050 Solutions0066 The hood is open.
G WARNING
The open hood may block your view when the vehicle is in motion.
There is a risk of an accident.
X Pull over and stop the vehicle safely as soon as possible, paying
attention to road and traffic conditions.
X Secure the vehicle against rolling away ( Y page 160).
X Close the hood. 0051 At least one door is open.
X
Close all the doors. 00CC
Power Steering
Malfunction See
Operator's Manual The power steering is malfunctioning.
A warning tone also sounds.
G WARNING
You will need to use more force to steer.
There is a risk of an accident.
X Check whether you are able to apply the extra force required.
X If you are able to steer safely:
carefully drive
on to
a qualified
specialist workshop.
X If you are unable to steer safely: do not drive on.
Contact the
nearest qualified specialist workshop. Phone No Service Your vehicle is outside the network provider's transmitter/
receiver range.
X
Wait until the mobile phone operational readiness symbol
appears in the multifunction display. 00B2
Check Washer Fluid The washer fluid level in the washer fluid reservoir has dropped
below the minimum.
X
Add washer fluid ( Y page 303). Display messages
255
On-board computer and displays Z
Page 268 of 380
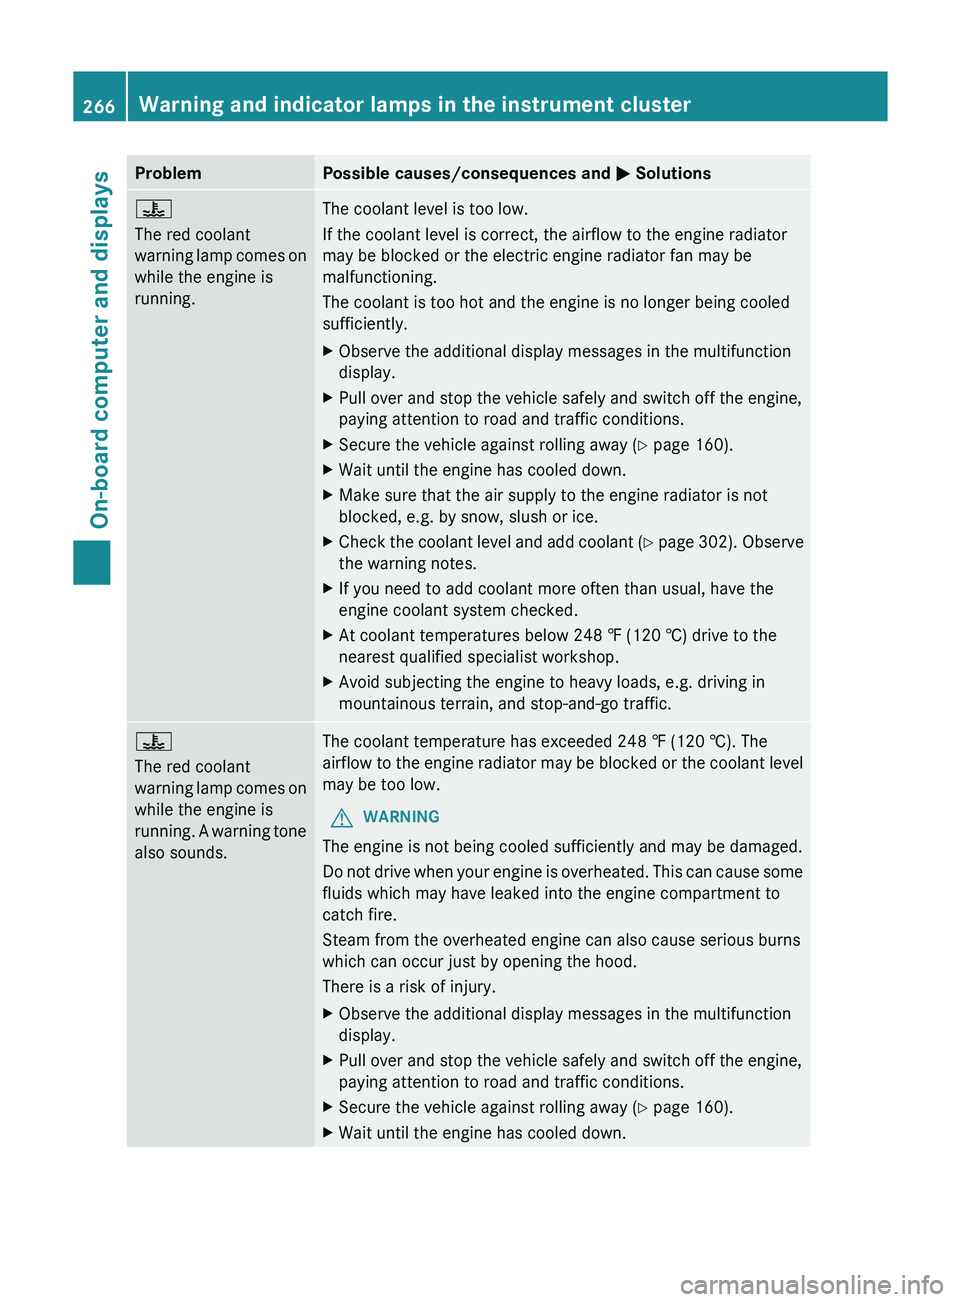
Problem Possible causes/consequences and
0050 Solutions00AC
The red coolant
warning lamp comes on
while the engine is
running.
The coolant level is too low.
If the coolant level is correct, the airflow to the engine radiator
may be blocked or the electric engine radiator fan may be
malfunctioning.
The coolant is too hot and the engine is no longer being cooled
sufficiently.
X
Observe the additional display messages in the multifunction
display.
X Pull over and stop the vehicle safely and switch off the engine,
paying attention to road and traffic conditions.
X Secure the vehicle against rolling away ( Y page 160).
X Wait until the engine has cooled down.
X Make sure that the air supply to the engine radiator is not
blocked, e.g. by snow, slush or ice.
X Check the coolant level and add coolant (Y page 302). Observe
the warning notes.
X If you need to add coolant more often than usual, have the
engine coolant system checked.
X At coolant temperatures below 248 ‡ (120 †) drive to the
nearest qualified specialist workshop.
X Avoid subjecting the engine to heavy loads, e.g. driving in
mountainous terrain, and stop-and-go traffic. 00AC
The red coolant
warning lamp comes on
while the engine is
running.
A
warning tone
also sounds. The coolant temperature has exceeded 248 ‡ (120 †). The
airflow
to the
engine radiator
may be blocked or the coolant level
may be too low.
G WARNING
The engine is not being cooled sufficiently and may be damaged.
Do not drive when your
engine is overheated. This can cause some
fluids which may have leaked into the engine compartment to
catch fire.
Steam from the overheated engine can also cause serious burns
which can occur just by opening the hood.
There is a risk of injury.
X Observe the additional display messages in the multifunction
display.
X Pull over and stop the vehicle safely and switch off the engine,
paying attention to road and traffic conditions.
X Secure the vehicle against rolling away ( Y page 160).
X Wait until the engine has cooled down.266
Warning and indicator lamps in the instrument cluster
On-board computer and displays
Page 295 of 380
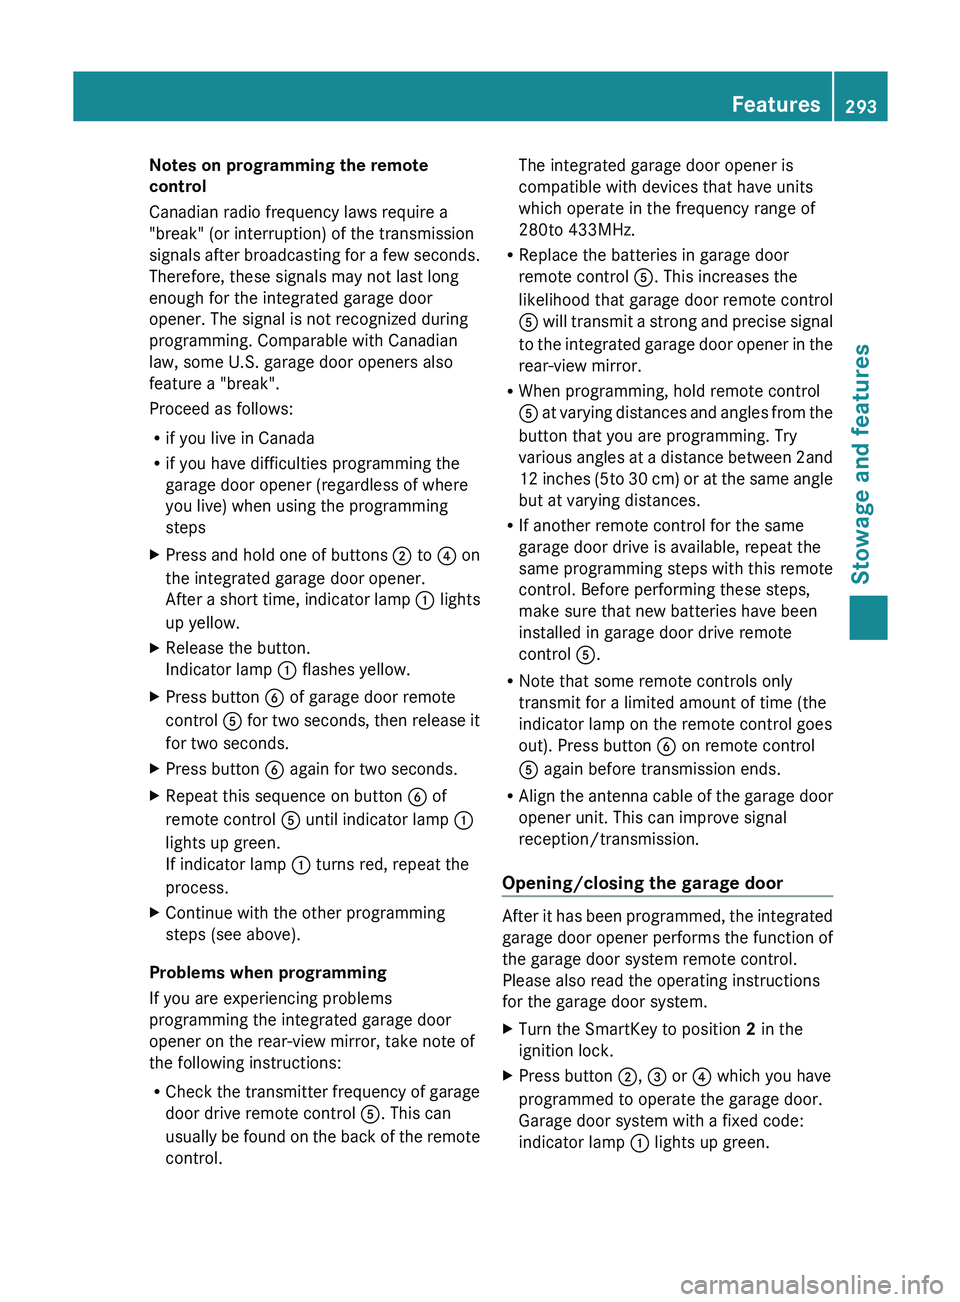
Notes on programming the remote
control
Canadian radio frequency laws require a
"break" (or interruption) of the transmission
signals after broadcasting for
a
few seconds.
Therefore, these signals may not last long
enough for the integrated garage door
opener. The signal is not recognized during
programming. Comparable with Canadian
law, some U.S. garage door openers also
feature a "break".
Proceed as follows:
R if you live in Canada
R if you have difficulties programming the
garage door opener (regardless of where
you live) when using the programming
steps
X Press and hold one of buttons 0044 to 0085 on
the integrated garage door opener.
After a short time, indicator
lamp 0043 lights
up yellow.
X Release the button.
Indicator lamp 0043 flashes yellow.
X Press button 0084 of garage door remote
control 0083 for two seconds, then
release it
for two seconds.
X Press button 0084 again for two seconds.
X Repeat this sequence on button 0084 of
remote control 0083 until indicator lamp 0043
lights up green.
If indicator lamp 0043 turns red, repeat the
process.
X Continue with the other programming
steps (see above).
Problems when programming
If you are experiencing problems
programming the integrated garage door
opener on the rear-view mirror, take note of
the following instructions:
R Check the transmitter frequency
of
garage
door drive remote control 0083. This can
usually be found on the back of the remote
control. The integrated garage door opener is
compatible with devices that have units
which operate in the frequency range of
280to 433
MHz.
R Replace the batteries in garage door
remote control 0083. This increases the
likelihood that garage door remote control
0083 will
transmit a strong and precise signal
to the integrated garage door opener in the
rear-view mirror.
R When programming, hold remote control
0083 at varying distances and angles from the
button that you are programming. Try
various angles at a distance between 2and
12 inches (5to 30 cm) or at the same angle
but at varying distances.
R If another remote control for the same
garage door drive is available, repeat the
same programming steps with this remote
control. Before performing these steps,
make sure that new batteries have been
installed in garage door drive remote
control 0083.
R Note that some remote controls only
transmit for a limited amount of time (the
indicator lamp on the remote control goes
out). Press button 0084 on remote control
0083 again before transmission ends.
R Align the antenna cable of the garage door
opener unit. This can improve signal
reception/transmission.
Opening/closing the garage door After it has been programmed, the integrated
garage door opener performs the function of
the garage door system remote control.
Please also read the operating instructions
for the garage door system.
X
Turn the SmartKey to position 2 in the
ignition lock.
X Press button 0044, 0087 or 0085 which you have
programmed to operate the garage door.
Garage door system with a fixed code:
indicator lamp 0043 lights up green. Features
293
Stowage and features Z