2013 MERCEDES-BENZ GLA SUV wiper fluid
[x] Cancel search: wiper fluidPage 9 of 401

BAS (Brake Assist System)
................. 73
Battery (key)
Checking .......................................... 88
Important safety notes .................... 88
Replacing ......................................... 89
Battery (vehicle)
Charging ........................................ 340
Display message ............................ 273
Important safety notes .................. 338
Jump starting ................................. 342
Belt
see Seat belts
Belt tensioner
Activation ......................................... 57
Blind Spot Assist
Activating/deactivating ................. 245
Display message ............................ 276
Notes/function .............................. 222
Trailer towing ................................. 224
Bonnet
Active bonnet (pedestrian protec-tion) ............................................... 316
Closing ........................................... 318
Display message ............................ 285
Important safety notes .................. 316
Opening ......................................... 317
Boot
see Tailgate
Boot load (maximum) ........................ 391
Brake Assist
see BAS (Brake Assist System)
Brake fluid
Display message ............................ 261
Notes ............................................. 390
Brake lamps
Adaptive ........................................... 76
Changing bulb s.............................. 131
Display message ............................ 269
Brakes
ABS .................................................. 72
Adaptive Brake Assist ...................... 74
BAS .................................................. 73
Brake fluid (notes) ......................... 390
Display message ............................ 255
Driving tips .................................... 183
HOLD function ............................... 201
Important safety notes .................. 183
Parking brake ................................ 180 Warning lamp ................................. 289
Breakdown
see Flat tyre
see Towing away/tow-starting
Bulbs
see Replacing bulbs C
Calling up a fault see Display messages
Capacities (technical data) ............... 384
Car
see Vehicle
Car wash (care) ................................. 323
Care
Automatic car wash ....................... 323
Carpets .......................................... 329
Display ........................................... 328
Exhaust pipe .................................. 327
Exterior lighting ............................. 326
Gear or selector lever .................... 328
High-pressure cleaner .................... 324
Interior ........................................... 328
Matt paintwork .............................. 325
Notes ............................................. 323
Paint .............................................. 325
Plastic trim .................................... 328
Reversing camera .......................... 327
Roof lining ...................................... 329
Seat belt ........................................ 329
Seat cove r..................................... 328
Sensors ......................................... 326
Steering wheel ............................... 328
Trim pieces .................................... 328
Washing by hand ........................... 324
Wheels ........................................... 324
Windows ........................................ 325
Wiper blades .................................. 326
Wooden trim .................................. 328
Central locking
Automatic locking (on-board com-
puter) ............................................. 249
Locking/unlocking (key) .................. 87
Centre console
Lower section .................................. 37
Upper section .................................. 36 6
Index
Page 24 of 401

LIM (DISTRONIC PLUS) .................. 194
LIM (variable SPEEDTRONIC) .........1
91
Overview .......................................... 34
PASSENGER AIR BAG ..................... .43
Reserve fuel .................................. .295
Seat belt ........................................ 288
Tyre pressure monitor ................... 298
Warning triangle ................................ 332
Washer fluid
Display message ............................ 287
Wheel and tyre combinations
see Tyres
Wheel bolt tightening torque ........... 365
Wheel chock ...................................... 363
Wheels
Changing a wheel .......................... 361
Changing/replacing ....................... 361
Checking ........................................ 353
Cleaning ......................................... 324
Cleaning (warning) ......................... 362
Emergency spare wheel ................. 377
Fitting a new wheel ........................ 365
Fitting a wheel ............................... 362
Important safety notes .................. 352
Removing a wheel .......................... 365
Storing .......................................... .362
Tightening torque ........................... 365
Wheel size/tyre size ..................... .366
Windowbag
Display message ............................ 265
Operation ......................................... 51
Windows
Cleaning ......................................... 325
see Side windows
Windscreen
Demisting ...................................... 146
Windscreen washer fluid
see Windscreen washer system
Windscreen washer system
Notes ............................................. 391
Topping up ..................................... 321
Windscreen wipers
Display message ............................ 287
Problem (malfunction) ................... 135
Rear window wiper ........................ 133
Replacing the wiper blades ............ 133
Switching on/off ........................... 132 Winter driving
General notes ................................ 354
Winter operation
Slippery road surfaces ................... 184
Snow chains .................................. 355
Winter tyres
Limiting the speed (on-board com-
puter) ............................................. 248
M+S tyres ...................................... 354
Wiper blades
Cleaning ......................................... 326
Important safety notes .................. 133
Replacing (on the rear window) ..... 134
Replacing (windscreen) .................. 133
Wooden trim (cleaning instruc-
tions) ................................................. .328
Workshop
see Qualified specialist workshop Z
ZONE function Switching on/off ........................... 145 Index
21
Page 127 of 401

Headlamp cleaning system
If the "Wipe with washer fluid" function is
operated five times (Y page 132) while the
lights are on and the engine is running, the
headlamps are cleaned automatically. When
you switch off the ignition, the automatic
headlamp cleaning system is reset and count-
ing is resumed from 0. Intelligent Light System
General notes The Intelligent Light System is a system that
adjusts the headlamps automatically to suit
the prevailing driving and weather conditions.
It offers advanced functions for improved illu-
mination of the road surface, e.g. depending
on the vehicle speed or weather conditions.
The system includes the active light function, cornering light function, motorway mode and
extended range foglamps. The system is only active when it is dark.
You can activate or deactivate the "IntelligentLight System" using the on-board computer
(Y page 247).
Active light function The active light function is a system that
moves the headlamps according to the steer-
ing movements of the front wheels. In this
way, relevant areas remain illuminated while
driving. This allows you to recognise pedes-
trians, cyclists and animals.
Active: when the lights are switched on. Cornering light function
The cornering light function improves the illu-
mination of the road over a wide angle in the direction you are turning, enabling better vis-
ibility in tight bends, for example. The corner- ing light function can only be activated when
the dipped-beam headlamps are switched on.
Active:
R if you are driving at speeds below 40 km/h
and switch on the turn signal or turn the
steering wheel
R if you are driving at speeds between
40 km/h and 70 km/h and turn the steer-
ing wheel
Not active: if you are driving at speeds above
70 km/h or switch off the turn signal or turn
the steering wheel to the straight-ahead posi- tion
The cornering lamp may remain lit for a short
time, but is automatically switched off after
no more than three minutes.
Motorway mode 124
Exterior lightingLights and windscreen wipers
Page 135 of 401

X
Remove screws =using a screwdriver.
X Remove the bulb holder from the lamp clus-
ter. Bulb holder
?
Turn signals
A Brake lamp
X Turn signal lamp: lightly press the bulb
into the bulb holder, turn it anti-clockwise
and remove it from the bulb holder.
X Insert the new bulb into the bulb holder and
turn it clockwise.
X Brake lamp: remove the corresponding
bulb from the bulb holder.
X Insert the new bulb into the bulb holder.
X Insert the bulb holder into the lamp cluster
and screw it firmly into place using screws =.
X Insert the lamp cluster into the vehicle.
X Tighten wing nut ;and re-establish con-
tact with connector :.
X Close the side trim panel (Y page 131).
Reversing lamp and rear foglamp
Due to their location, have the bulbs in the
reversing lamp and rear foglamp in the tail-
gate (vehicles with halogen headlamps)
changed at a qualified specialist workshop. Windscreen wipers
Switching the windscreen wipers on/
off
! Do not operate the windscreen wipers
when the windscreen is dry, as this could
damage the wiper blades. Moreover, dust
that has collected on the windscreen can
scratch the glass if wiping takes place when the windscreen is dry.
If it is necessary to switch on the wind-
screen wipers in dry weather conditions,
always operate them using washer fluid.
! If the windscreen wipers leave smears on
the windscreen after the vehicle has been
washed in an automatic car wash, this may
be due to wax or other residue. Clean the
windscreen with washer fluid after an auto- matic car wash. Combination switch
1 $ Windscreen wipers off
2 Ä Intermittent wipe, low (rain sensor
set to low sensitivity)
3 Å Intermittent wipe, high (rain sensor
set to high sensitivity)
4 ° Continuous wipe, slow
5 ¯ Continuous wipe, fast
B í Single wipe/ îto wipe the wind-
screen using washer fluid
X Turn the key to position 1or 2in the ignition
lock (Y page 159).
X Turn the combination switch to the corre-
sponding position. 132
Windscreen wipersLights and windscreen wipers
Page 136 of 401

!
Vehicles with a rain sensor: if the wind-
screen becomes dirty in dry weather con-
ditions, the windscreen wipers may be acti- vated inadvertently. This could damage the
windscreen wiper blades or scratch the
windscreen.
For this reason, you should always switch
off the windscreen wipers in dry weather.
Vehicles with a rain sensor: in theÄor
Å position, the appropriate wiping fre-
quency is automatically set according to the
intensity of the rain. In the Åposition, the
rain sensor is more sensitive than in the Ä
position, causing the windscreen wipers to
wipe more frequently.
If the wiper blades are worn, the windscreen
will no longer be wiped properly. This could
prevent you from observing the traffic condi-
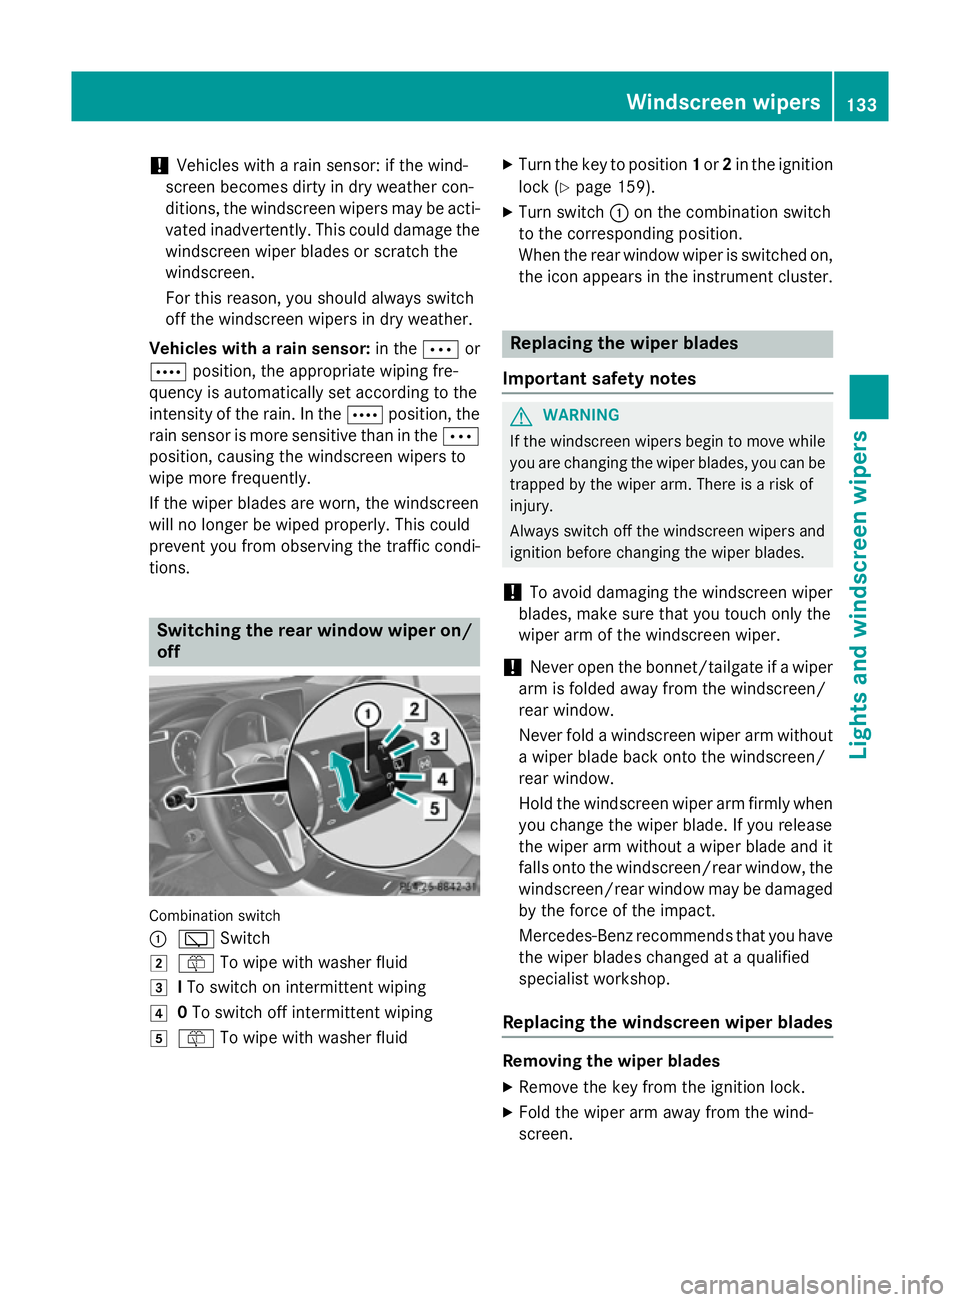
tions. Switching the rear window wiper on/
off Combination switch
:
è Switch
2 ô To wipe with washer fluid
3 ITo switch on intermittent wiping
4 0To switch off intermittent wiping
5 ô To wipe with washer fluid X
Turn the key to position 1or 2in the ignition
lock (Y page 159).
X Turn switch :on the combination switch
to the corresponding position.
When the rear window wiper is switched on,
the icon appears in the instrument cluster. Replacing the wiper blades
Important safety notes G
WARNING
If the windscreen wipers begin to move while
you are changing the wiper blades, you can be trapped by the wiper arm. There is a risk of
injury.
Always switch off the windscreen wipers and
ignition before changing the wiper blades.
! To avoid damaging the windscreen wiper
blades, make sure that you touch only the
wiper arm of the windscreen wiper.
! Never open the bonnet/tailgate if a wiper
arm is folded away from the windscreen/
rear window.
Never fold a windscreen wiper arm without a wiper blade back onto the windscreen/
rear window.
Hold the windscreen wiper arm firmly when
you change the wiper blade. If you release
the wiper arm without a wiper blade and it
falls onto the windscreen/rear window, the windscreen/rear window may be damaged
by the force of the impact.
Mercedes-Benz recommends that you have
the wiper blades changed at a qualified
specialist workshop.
Replacing the windscreen wiper blades Removing the wiper blades
X Remove the key from the ignition lock.
X Fold the wiper arm away from the wind-
screen. Windscreen wipers
133Lights and windscreen wipers Z
Page 138 of 401

Problems with the windscreen wipers
Problem
Possible causes/consequences and
M
MSolutions The windscreen wipers
are jammed. Leaves or snow, for example, may be obstructing the windscreen
wiper movement. The wiper motor has been deactivated.
X For safety reasons, you should remove the key from the ignition
lock.
X Remove the cause of the obstruction.
X Switch the windscreen wipers back on. The windscreen wipers
fail completely. The windscreen wiper drive is malfunctioning.
X Select another wiper speed on the combination switch.
X Have the windscreen wipers checked at a qualified specialist
workshop. The windscreen washer
fluid from the spray
nozzles no longer hits
the centre of the wind-
screen. The spray nozzles are misaligned.
X Have the spray nozzles adjusted at a qualified specialist work-
shop. Windscreen wipers
135Lights and windscreen wipers Z
Page 290 of 401

Display messages
Possible causes/consequences and
M
MSolutions Telephone No ser‐
Telephone No ser‐
vice vice Your vehicle is outside the network provider's transmitter/
receiver range.
X Wait until the mobile phone operational readiness symbol
appears in the multifunction display. ¥
Top Top
up
upwasher
washer fluid
fluid The washer fluid level in the washer fluid reservoir has dropped
below the minimum.
i If, during the winter months, you do not add antifreeze to the
washer fluid, it may freeze in the washer fluid container. In this
case, the Top Topup
upwasher
washer fluid
fluiddisplay message may appear
in the multifunction display.
X Top up the washer fluid (Y page 321).Wiper malfunction‐
Wiper malfunction‐
ing ing The windscreen wipers are defective.
X Visit a qualified specialist workshop. Hazard warning
Hazard warning
lamps malfunction‐ lamps malfunction‐
ing ing The hazard warning lamps are faulty.
X Visit a qualified specialist workshop. Key
Display messages
Possible causes/consequences and
M
MSolutions +
Key does not Key does not
belong to vehicle belong to vehicle You have put the wrong key in the ignition lock.
X Use the correct key. +
Replace key Replace key The key needs to be replaced.
X Visit a qualified specialist workshop. Display
messages
287On-board computer and displays Z
Page 328 of 401

Cleaning the paintwork
!
Do not affix:
R stickers
R films
R magnetic plates or similar items
to painted surfaces. You could otherwise
damage the paintwork.
X Remove impurities immediately, where
possible, whilst avoiding rubbing too hard.
X Soak insect remains with insect remover
and rinse off the treated areas afterwards.
X Soak bird droppings with water and rinse
off the treated areas afterwards.
X Remove coolant, brake fluid, tree resin,
oils, fuels and greases by rubbing gently
with a cloth soaked in petroleum ether or
lighter fluid.
X Use tar remover to remove tar stains.
X Use silicone remover to remove wax.
The following cannot always be completely
repaired:
R scratches
R corrosive deposits
R areas affected by corrosion
R damage caused by inadequate care
In such cases, visit a qualified specialist work-
shop.
Care and treatment of matt paintwork !
Never polish the vehicle or the light alloy
wheels. Polishing makes the paintwork
shiny.
! The following may cause the paint to
become shiny and thus reduce the matt
effect:
R Vigorous rubbing with unsuitable mate-
rials.
R Frequent use of car washes.
R Washing the vehicle in direct sunlight.
! Never use paint cleaner, buffing or pol-
ishing products, or gloss preserver, e.g. wax. These products are only suitable for
high-gloss surfaces. Their use on vehicles
with matt finish leads to considerable sur-
face damage (shiny, spotted areas).
Always have paintwork repairs carried out
at a qualified specialist workshop.
! Do not use wash programs with a hot wax
treatment under any circumstances.
Observe these notes if your vehicle has a
clear matt finish. This will help you to avoid
damage to the paintwork due to incorrect
treatment.
These notes also apply to light-alloy wheels
with a clear matt finish.
i The vehicle should preferably be washed
by hand using a soft sponge, car shampoo
and plenty of water.
i Use only insect remover and car shampoo
from the range of recommended and
approved Mercedes-Benz care products.
Cleaning the windows G
WARNING
If the windscreen wipers are set in motion
when cleaning the windscreen or wiper
blades, you could become trapped. There is a danger of injury.
Always switch off the windscreen wipers and
the ignition before cleaning the windscreen orwiper blades.
! Only fold the windscreen wipers away
from the windscreen when vertical. Other-
wise, you will damage the bonnet.
! Do not use dry cloths, abrasive products,
solvents or cleaning agents containing sol- vents to clean the inside of the windows. Do
not touch the insides of the windows with
hard objects, e.g. an ice scraper or ring.
There is otherwise a risk of damaging the
windows.
! Clean the water drainage channels of the
windscreen and the rear window at regular Care
325Maintenance and care Z