2013 MERCEDES-BENZ GLA SUV fuel
[x] Cancel search: fuelPage 180 of 401
i
Close the fuel filler flap before locking the
vehicle. Refuelling
177Driving and pa rking Z
Page 181 of 401
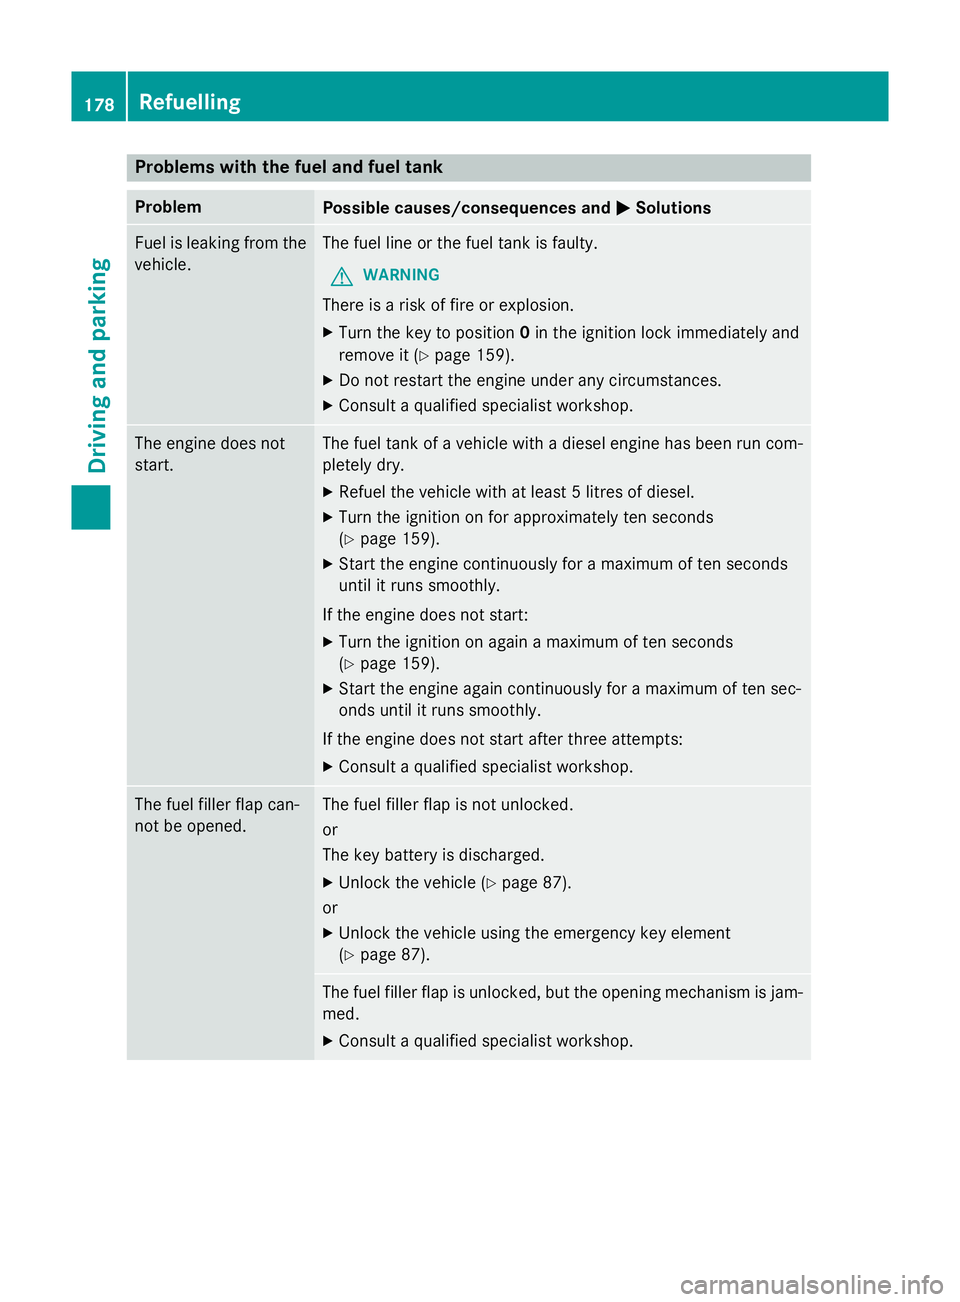
Problems with the fuel and fuel tank
Problem
Possible causes/consequences and
M
MSolutions Fuel is leaking from the
vehicle. The fuel line or the fuel tank is faulty.
G WARNING
There is a risk of fire or explosion. X Turn the key to position 0in the ignition lock immediately and
remove it (Y page 159).
X Do not restart the engine under any circumstances.
X Consult a qualified specialist workshop. The engine does not
start. The fuel tank of a vehicle with a diesel engine has been run com-
pletely dry.
X Refuel the vehicle with at least 5 litres of diesel.
X Turn the ignition on for approximately ten seconds
(Y page 159).
X Start the engine continuously for a maximum of ten seconds
until it runs smoothly.
If the engine does not start:
X Turn the ignition on again a maximum of ten seconds
(Y page 159).
X Start the engine again continuously for a maximum of ten sec-
onds until it runs smoothly.
If the engine does not start after three attempts:
X Consult a qualified specialist workshop. The fuel filler flap can-
not be opened. The fuel filler flap is not unlocked.
or
The key battery is discharged.
X Unlock the vehicle (Y page 87).
or
X Unlock the vehicle using the emergency key element
(Y page 87). The fuel filler flap is unlocked, but the opening mechanism is jam-
med.
X Consult a qualified specialist workshop. 178
RefuellingDriving and parking
Page 185 of 401

If you leave the vehicle parked up for longer
than six weeks, the vehicle may suffer dam-
age as a result of lack of use.
X Visit a qualified specialist workshop and
seek advice.
i You can obtain information about trickle
chargers from a qualified specialist work-
shop. Driving tips
General notes
G
WARNING
If you switch off the ignition while driving,
safety-relevant functions are only available
with limitations, or not at all. This could affect, for example, the power steering and the brake
boosting effect. You will require considerably
more effort to steer and brake. There is a risk of an accident.
Do not switch off the ignition while driving. ECO display
The ECO display provides feedback on how
economical your driving characteristics are.
The ECO display assists you in achieving the
most economical driving style for the selec-
ted settings and prevailing conditions. Con-
sumption can be significantly influenced by
your driving style. Example: ECO display
The ECO display consists of three bars:
R Acceleration Acceleration
R Constant
Constant
R Coasting
Coasting The percentage count is the mean value of the
three bar values. The three bars and the mean
value begin at the value of 50 %. A higher per- centage count indicates a more economical
driving style.
The ECO display does not indicate the actual
fuel consumption. A fixed percentage count
in the ECO display does not indicate a fixed
consumption.
In addition to driving style, the consumption is
affected by many other factors, such as:
R load
R tyre pressure
R cold start
R choice of route
R the use of electrical consumers
These factors are not included in the ECO dis-
play.
The evaluation of your driving style takes the
following three categories into consideration:
R Acceleration Acceleration (evaluation of all accelera-
tion processes):
- The bar fills up: moderate acceleration,
especially at higher speeds
- The bar empties: sporty acceleration
R Constant Constant (assessment of driving behav-
iour at all times):
- The bar fills up: constant speed and
avoidance of unnecessary acceleration
and deceleration
- The bar empties: fluctuations in speed
R Coasting Coasting (assessment of all deceleration
processes):
- The bar fills up: anticipatory driving,
keeping your distance and early release
of the accelerator. The vehicle can coast
without use of the brakes
- The bar empties: frequent braking
i An economical driving style involves driv-
ing at a moderate engine speed.
To achieve a higher value in the categories
Acceleration
Acceleration andConstant Constant: 182
Driving tipsDriving and parking
Page 189 of 401
The following driving systems are specially
adapted for driving over easily negotiable off-
road terrain:
R Off-road program (Y page 205)
R Off-road ABS (Y page 73)
R Off-road 4ETS (Y page 77)
R Off-road ESP ®
(Y page 80)
R DSR (Downhill Speed Regulation)
(Y page 204)
Observe the following notes:
R Stop the vehicle before driving off-road. If
necessary, activate the off-road program
(Y page 205).
R To avoid damaging the vehicle, make sure
there is always sufficient ground clearance.
R Make sure that items of luggage and loads
are stowed safely and are well secured
(Y page 306).
R Always keep the engine running and in gear
when driving on a downhill gradient. Acti-
vate DSR (Y page 204).
R Drive slowly and evenly, if necessary at
walking pace.
R Ensure that the wheels are in contact with
the ground at all times.
R Drive with extreme care on unknown off-
road routes where visibility is poor. For
safety reasons, get out of the vehicle first
and survey the off-road route.
R Check the depth of water before fording
rivers and streams.
R Watch out for obstacles.
R Take care when turning on an uphill or
downhill slope or when driving across a
slope. The vehicle could otherwise tip over.
R Always keep the side windows and the pan-
orama sliding sunroof closed during the
journey.
R Do not deviate from marked routes.
i Do not use the HOLD function when driv-
ing off-road, on steep uphill or downhill gra- dients or on slippery or loose surfaces. The HOLD function cannot hold the vehicle on
such surfaces.
Checklist before driving off-road X
Engine oil level: check the engine oil and
top it up if necessary.
When driving on steep gradients, the oil
level must be sufficiently high to ensure a
correct oil supply in the vehicle.
X Wheels and tyres: check the tyre tread
depth and tyre pressure.
X Check for damage and remove any foreign
objects, e.g. small stones, from the
wheels/tyres.
X Replace any missing valve caps.
X Replace dented or damaged wheels.
X Wheels: dented or bent wheels can lead to
a loss of tyre pressure and damage to the
tyre bead. Before driving off-road, check
the wheels and replace them if necessary.
Checklist after driving off-road !
If you detect damage to the vehicle after
driving off-road, have the vehicle checked
immediately at a qualified specialist work-
shop.
X Deactivate off-road program (Y page 205).
X Deactivate DSR (Y page 204).
X Clean the headlamps and rear lights and
check for damage.
X Clean the front and rear licence plates.
X Clean the wheels/tyres with a water jet and
remove any foreign objects.
X Clean the wheels, wheel arches and the
vehicle underside with a water jet; check
for any foreign objects and damage.
X Check whether twigs or other parts of
plants have become trapped. These
increase the risk of fire and can damage
fuel pipes, brake hoses or the rubber bel-
lows of the axle joints and propeller shafts.
X After the trip, examine without fail the
entire undercarriage, wheels, tyres, brakes, 186
Driving tipsDriving and parking
Page 230 of 401

This can impair the vehicle's handling char-
acteristics. Adapt your driving style accord-
ingly. Maintain a safe distance. Drive care-
fully.
When towing a trailer, always adjust your
speed to the current road and weather con-
ditions. Do not exceed the maximum permis- sible speed for your vehicle/trailer combina-
tion.
General notes X
When towing a trailer, set the tyre pressure
on the rear axle of the towing vehicle for a
maximum load; see the tyre pressure table in the fuel filler flap (Y page 356).
Please note that when towing a trailer, PARK-
TRONIC (Y page 206) and Blind Spot Assist
(Y page 222) availability is limited or not avail-
able at all.
i The height of the ball coupling changes
with the load of the vehicle. If necessary,
use a trailer with a height-adjustable draw- bar.
You will find fitting dimensions and loads
under "Technical data" (Y page 393).
Driving tips i
Observe the notes on ESP ®
trailer stabi-
lisation (Y page 80).
The maximum permissible speed for vehicle/
trailer combinations depends on the type of
trailer. Before beginning the journey, check
the trailer's documents to see what the max- imum permitted speed is. Observe the legally
prescribed maximum speed in the relevant
country.
For certain Mercedes-Benz vehicles, the max-
imum permissible rear axle load is increased
when towing a trailer. Refer to the "Technical
data" section to find out whether this applies to your vehicle. If you utilise any of the added
maximum rear axle load when towing a trailer, the vehicle/trailer combination may not
exceed a maximum speed of 100 km/h for reasons concerning the operating permit.
This also applies in countries in which the
permissible maximum speed for vehicle/
trailer combinations is above 100 km/h.
When towing a trailer, your vehicle's handling
characteristics will be different in comparison to when driving without a trailer and it will
consume more fuel.
Change into a lower gear in good time on long
and steep downhill gradients. For vehicles
with automatic transmission, you need to
have selected manual drive program M
(Y page 172).
i This also applies if you have activated
cruise control, SPEEDTRONIC or DIS-
TRONIC PLUS.
This will use the braking effect of the engine,
so less braking will be required to maintain
vehicle speed. This relieves the load on the
brake system and prevents the brakes from
overheating and wearing too quickly. If you
need additional braking, depress the brake
pedal repeatedly rather than continuously.
i Briefly depressing the accelerator pedal
on downhill gradients while the manual
drive program Mis temporarily activated
(vehicles with automatic transmission): the automatic transmission may switch back to
the last active automatic drive program Eor
S. The automatic transmission may shift to
a higher gear. This can reduce the engine's braking effect.
Driving tips If the trailer swings from side to side:
X Do not accelerate.
X Do not countersteer.
X Brake if necessary. Towing a trailer
227Driving and parking Z
Page 238 of 401
At high outside temperatures and when driv-
ing uphill, the coolant temperature may rise
to the end of the scale. Rev counter
! Do not drive in the overrevving range.
Doing so will damage the engine.
The red band in the rev counter indicates the
engine's overrevving range.
The fuel supply is interrupted to protect the
engine when the red band is reached. Outside temperature display
You should pay special attention to road con-
ditions when temperatures are around the
freezing point.
The outside temperature display is in the mul- tifunction display.
Changes in the outside temperature are dis-
played after a short delay. Speedometer with segments
The speedometer is divided into segments on
vehicles with DISTRONIC PLUS.
The segments in the speedometer indicate
which speed range is available.
R Cruise control activated (Y page 188):
The segments light up from the stored
speed to the maximum speed.
R Variable SPEEDTRONIC activated
(Y page 192):
The segments light up from the start of the
scale to the selected limit speed.
R DISTRONIC PLUS activated (Y page 193):
One or two segments in the set speed
range light up.
R DISTRONIC PLUS detects a vehicle in front:
The segments between the speed of the
vehicle in front and the stored speed light
up. Operating the on-board computer
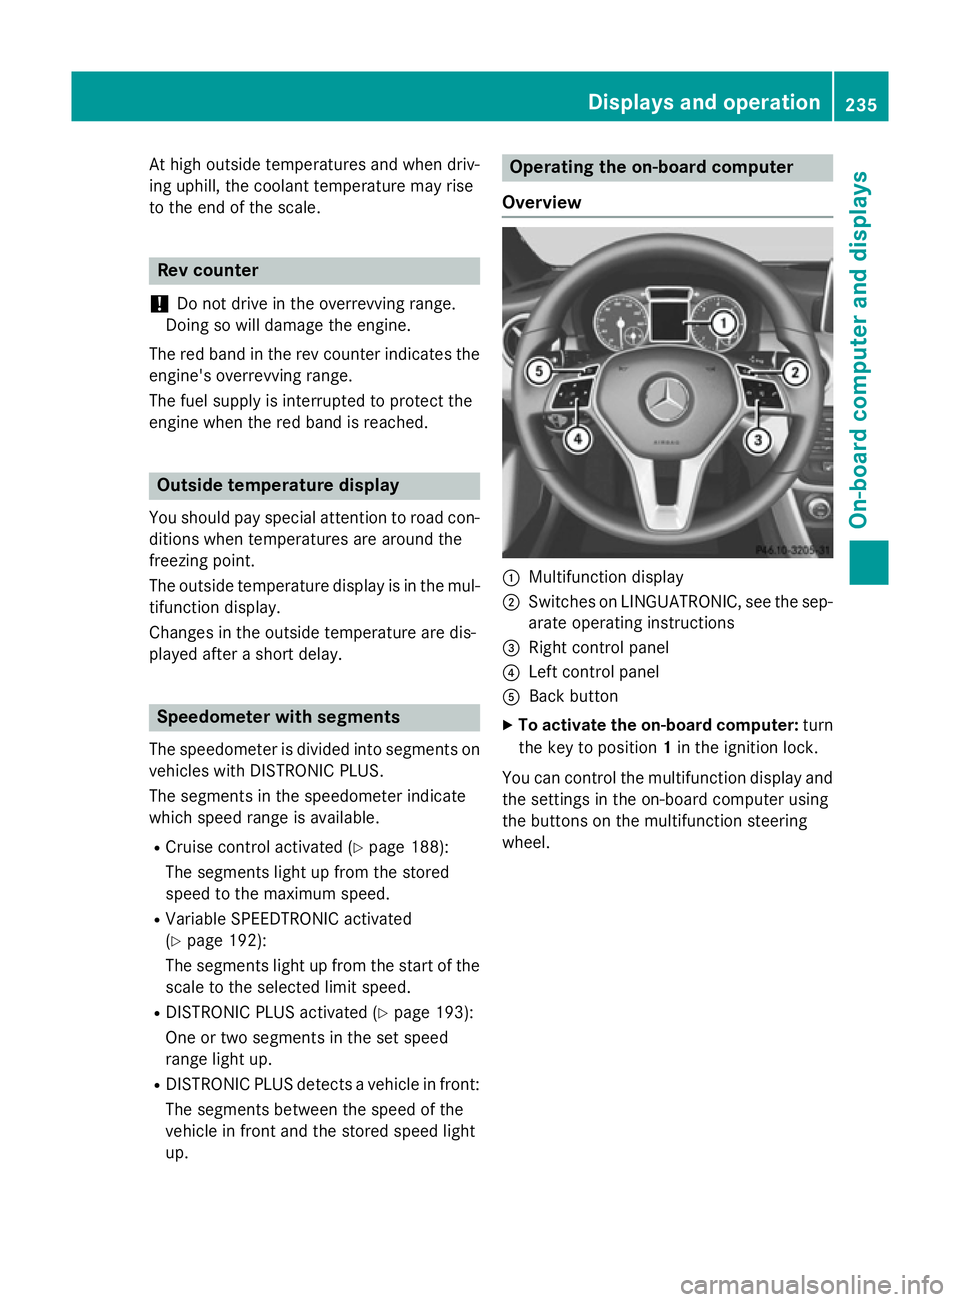
Overview :
Multifunction display
; Switches on LINGUATRONIC, see the sep-
arate operating instructions
= Right control panel
? Left control panel
A Back button
X To activate the on-board computer: turn
the key to position 1in the ignition lock.
You can control the multifunction display and
the settings in the on-board computer using
the buttons on the multifunction steering
wheel. Displays and operation
235On-board computer and displays Z
Page 240 of 401
A
Drive program (Y page 168)
B Transmission position (Y page 168)
X To show menu bar ?:press the =
or ; button on the steering wheel.
Menu bar ?disappears after a few seconds.
Text field =shows the selected menu or
submenu as well as display messages.
i You can set the time using the audio sys-
tem or COMAND Online; see the separate
operating instructions.
The following messages may appear in the
multifunction display:
Z Gearshift recommendation, for
manual transmission
(Ypage 167 )or automatic trans-
mission (Y page 172)
XjY Active Parking Assist
(Ypage 210)
¯ Cruise control (Y page 188)
È SPEEDTRONIC (Y page 191)
_ Adaptive Highbeam Assist
(Ypage 125)
¤ ECO start/stop function
(Ypage 162)
ë HOLD function (Y page 201)
120 km/h!
120 km/h! Maximum permissible speed
exceeded (only for certain coun-
tries) Menus and submenus
Menu overview
Operating the on-board computer
(Y page 235).
Depending on the equipment fitted in the
vehicle, you can call up the following menus:
R Trip Trip menu (Y page 237)
R Navi
Navi menu (navigation instructions)
(Y page 239)
R Audio
Audio menu (Y page 240)
R Tel Tel menu (telephone) (Y page 241)R
Assist. Assist. menu (assistance) (Y page 243)
R Serv.
Serv. menu (Y page 245)
R Settings
Settings menu (Ypage 245)
R AMG
AMG menu in AMG vehicles (Y page 251)
The Audio
Audio, Navi
NaviandTel
Tel menus differ slightly
in vehicles with an audio system and in vehi-
cles with COMAND Online. The examples
given in this Owner's Manual apply to vehicles
equipped with COMAND Online. Trip menu
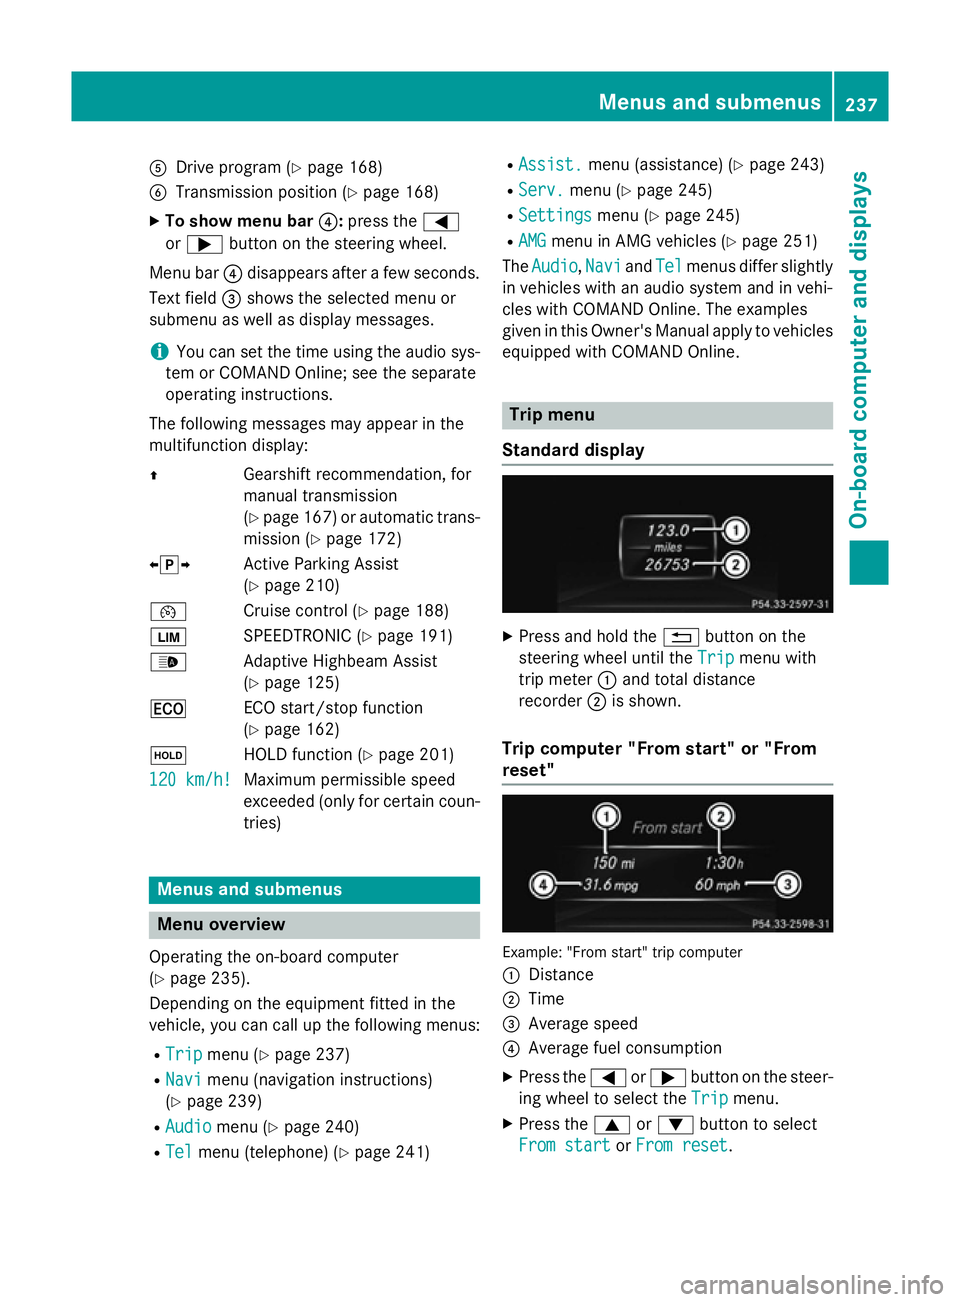
Standard display X
Press and hold the %button on the
steering wheel until the Trip Tripmenu with
trip meter :and total distance
recorder ;is shown.
Trip computer "From start" or "From
reset" Example: "From start" trip computer
:
Distance
; Time
= Average speed
? Average fuel consumption
X Press the =or; button on the steer-
ing wheel to select the Trip Tripmenu.
X Press the 9or: button to select
From start
From start orFrom reset
From reset. Menus and submenus
237On-board computer and displays Z
Page 241 of 401
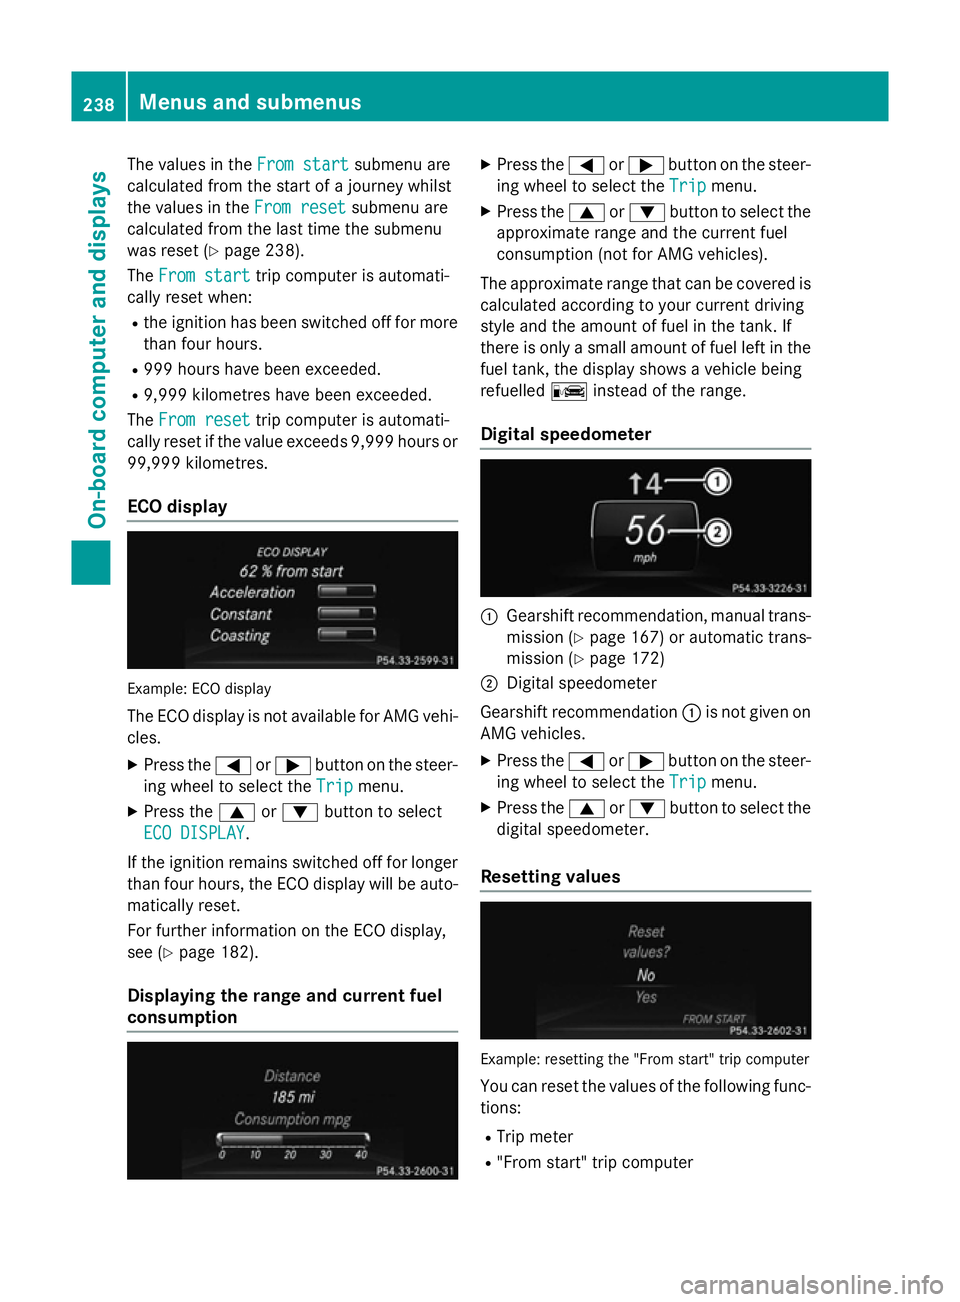
The values in the
From start
From startsubmenu are
calculated from the start of a journey whilst
the values in the From reset
From resetsubmenu are
calculated from the last time the submenu
was reset (Y page 238).
The From start
From start trip computer is automati-
cally reset when:
R the ignition has been switched off for more
than four hours.
R 999 hours have been exceeded.
R 9,999 kilometres have been exceeded.
The From reset
From reset trip computer is automati-
cally reset if the value exceeds 9,999 hours or 99,999 kilometres.
ECO display Example: ECO display
The ECO display is not available for AMG vehi-
cles.
X Press the =or; button on the steer-
ing wheel to select the Trip
Trip menu.
X Press the 9or: button to select
ECO DISPLAY
ECO DISPLAY.
If the ignition remains switched off for longer
than four hours, the ECO display will be auto- matically reset.
For further information on the ECO display,
see (Y page 182).
Displaying the range and current fuel
consumption X
Press the =or; button on the steer-
ing wheel to select the Trip Tripmenu.
X Press the 9or: button to select the
approximate range and the current fuel
consumption (not for AMG vehicles).
The approximate range that can be covered is
calculated according to your current driving
style and the amount of fuel in the tank. If
there is only a small amount of fuel left in the
fuel tank, the display shows a vehicle being
refuelled Cinstead of the range.
Digital speedometer :
Gearshift recommendation, manual trans-
mission (Y page 167) or automatic trans-
mission (Y page 172)
; Digital speedometer
Gearshift recommendation :is not given on
AMG vehicles.
X Press the =or; button on the steer-
ing wheel to select the Trip
Tripmenu.
X Press the 9or: button to select the
digital speedometer.
Resetting values Example: resetting the "From start" trip computer
You can reset the values of the following func-
tions:
R Trip meter
R "From start" trip computer 238
Menus and submenusOn-board computer and displays