2013 MERCEDES-BENZ GLA SUV air condition
[x] Cancel search: air conditionPage 237 of 401
Useful information
i This Owner's Manual describes all mod-
els, series and optional equipment for your
vehicle that were available at the time of
going to press. National variations are pos- sible. Note that your vehicle may not be
equipped with all of the functions descri-
bed. This is also the case for systems and
functions relevant to safety.
i Read the information on qualified special-
ist workshops: (Y page 25). Important safety notes
G
WARNING
Operating the integrated information systems and communications equipment in the vehicle
while driving will distract you from traffic con-
ditions. You could then lose control of the
vehicle. There is a risk of an accident.
Only operate these devices if road traffic con-
ditions permit. If you are unsure about the
surrounding conditions, pull over to a safe
location and make entries only while the vehi-
cle is stationary. G
WARNING
If the instrument cluster has failed or mal-
functioned, you may not recognise function
restrictions relevant to safety. The operating
safety of your vehicle may be impaired. There is a risk of an accident.
Drive on carefully. Have the vehicle checked
at a qualified specialist workshop immedi-
ately.
You must observe the legal requirements for
the country in which you are currently driving when operating the on-board computer.
The on-board computer only shows messages
or warnings from certain systems in the mul- tifunction display. You should therefore make
sure your vehicle is operating safely at all times. Otherwise, a vehicle that is not oper-
ating safely may cause an accident.
For an overview, see the instrument panel
illustration (Y
page 32). Displays and operation
Instrument cluster lighting
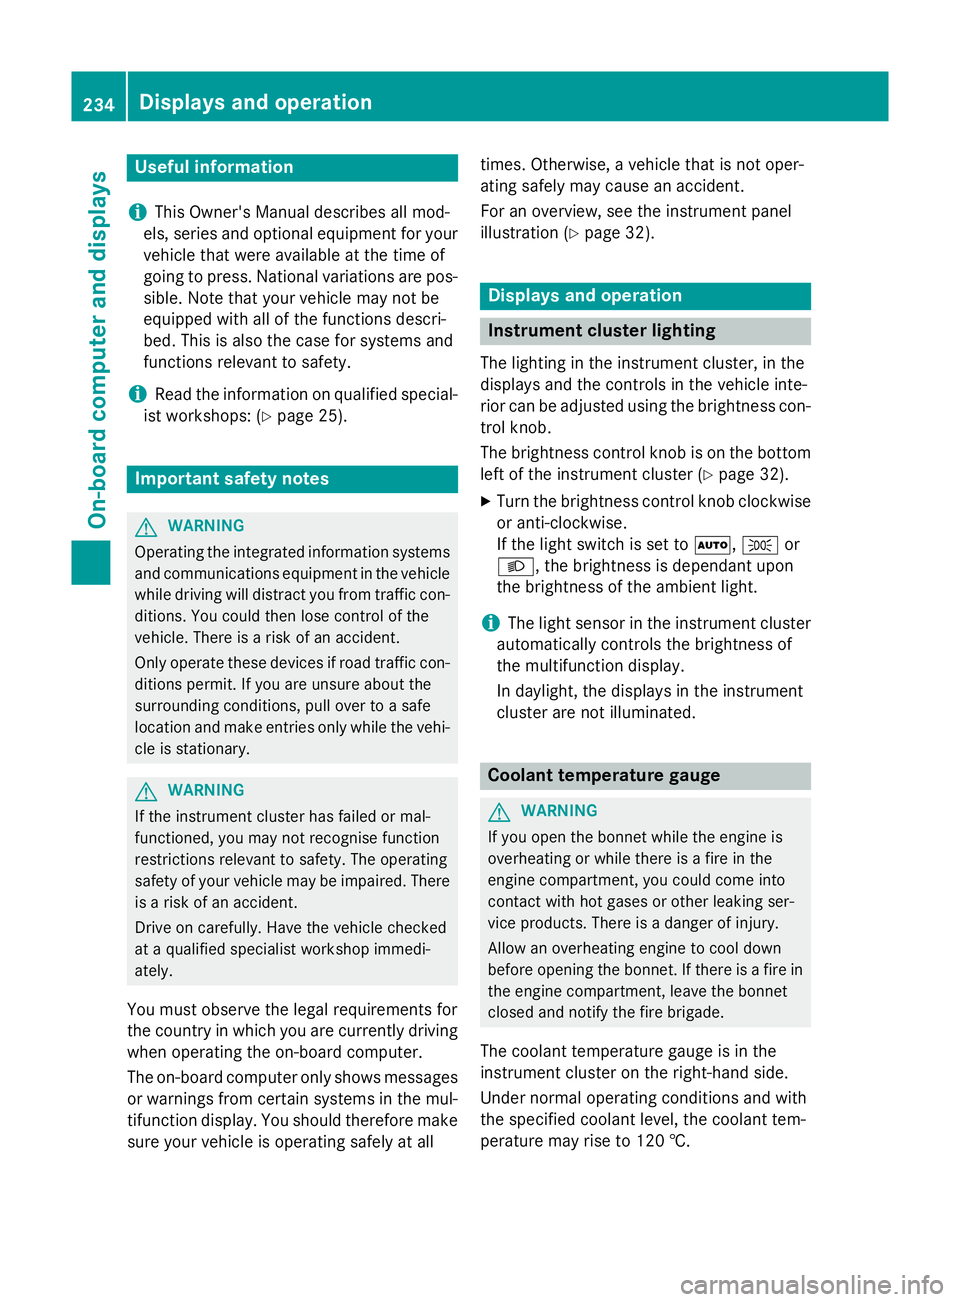
The lighting in the instrument cluster, in the
displays and the controls in the vehicle inte-
rior can be adjusted using the brightness con- trol knob.
The brightness control knob is on the bottom
left of the instrument cluster (Y page 32).
X Turn the brightness control knob clockwise
or anti-clockwise.
If the light switch is set to Ã,Tor
L, the brightness is dependant upon
the brightness of the ambient light.
i The light sensor in the instrument cluster
automatically controls the brightness of
the multifunction display.
In daylight, the displays in the instrument
cluster are not illuminated. Coolant temperature gauge
G
WARNING
If you open the bonnet while the engine is
overheating or while there is a fire in the
engine compartment, you could come into
contact with hot gases or other leaking ser-
vice products. There is a danger of injury.
Allow an overheating engine to cool down
before opening the bonnet. If there is a fire in the engine compartment, leave the bonnet
closed and notify the fire brigade.
The coolant temperature gauge is in the
instrument cluster on the right-hand side.
Under normal operating conditions and with
the specified coolant level, the coolant tem-
perature may rise to 120 †. 234
Displays and operationOn-board computer and displays
Page 253 of 401
minutes and then switches off. The auxiliary
heating adopts the set air conditioning or
THERMOTRONIC temperature setting.
You can switch off the auxiliary heating by
using the remote control or the auxiliary heat- ing button on the centre console.
i Switch the auxiliary heating on regularly
once a month for about ten minutes.
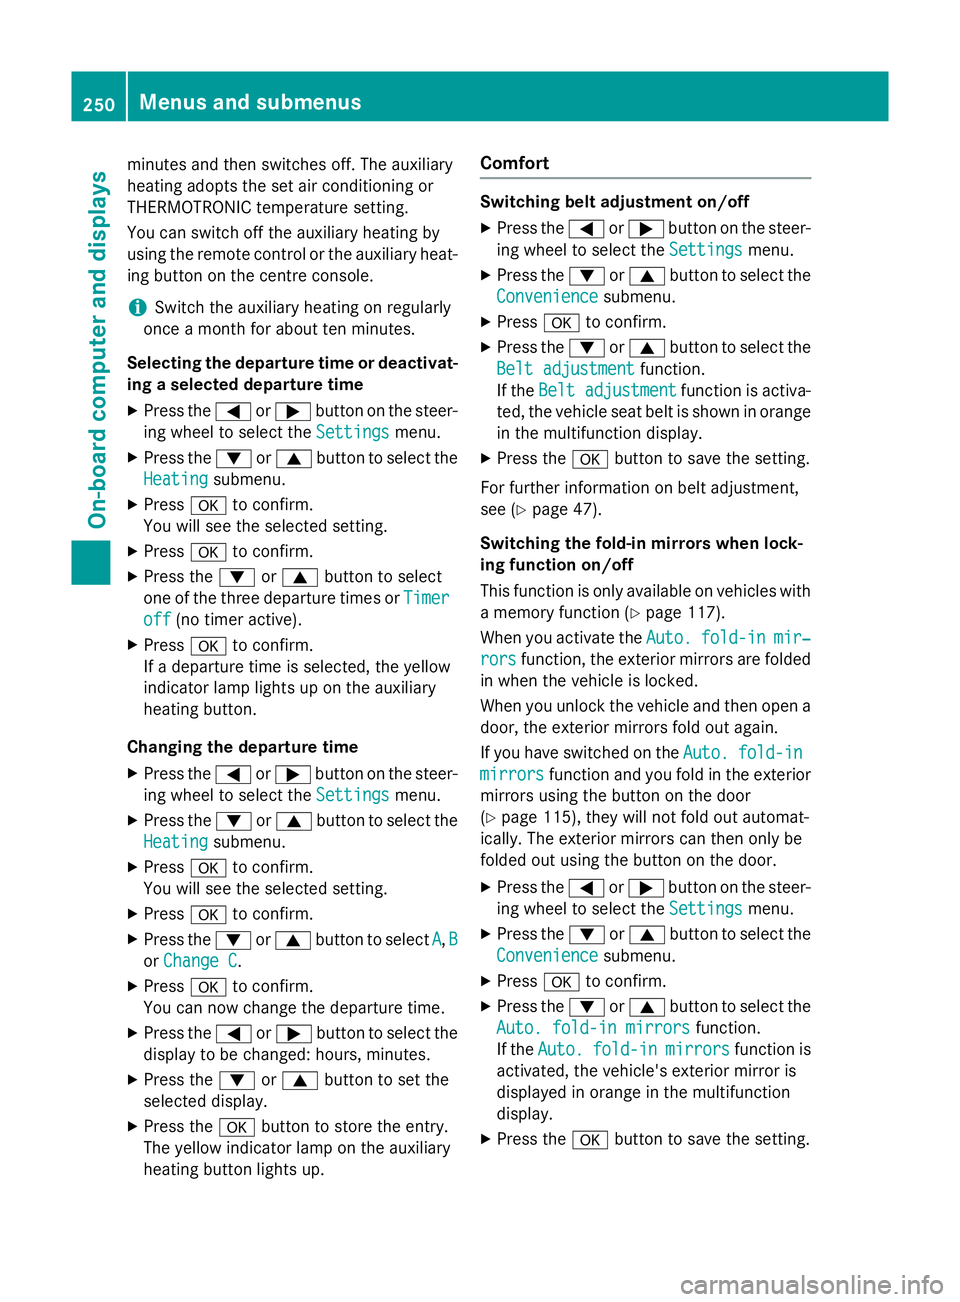
Selecting the departure time or deactivat-
ing a selected departure time
X Press the =or; button on the steer-
ing wheel to select the Settings Settingsmenu.
X Press the :or9 button to select the
Heating
Heating submenu.
X Press ato confirm.
You will see the selected setting.
X Press ato confirm.
X Press the :or9 button to select
one of the three departure times or Timer
Timer
off
off (no timer active).
X Press ato confirm.
If a departure time is selected, the yellow
indicator lamp lights up on the auxiliary
heating button.
Changing the departure time
X Press the =or; button on the steer-
ing wheel to select the Settings Settingsmenu.
X Press the :or9 button to select the
Heating
Heating submenu.
X Press ato confirm.
You will see the selected setting.
X Press ato confirm.
X Press the :or9 button to select A
A,B
B
or Change C
Change C.
X Press ato confirm.
You can now change the departure time.
X Press the =or; button to select the
display to be changed: hours, minutes.
X Press the :or9 button to set the
selected display.
X Press the abutton to store the entry.
The yellow indicator lamp on the auxiliary
heating button lights up. Comfort Switching belt adjustment on/off
X Press the =or; button on the steer-
ing wheel to select the Settings Settingsmenu.
X Press the :or9 button to select the
Convenience
Convenience submenu.
X Press ato confirm.
X Press the :or9 button to select the
Belt adjustment
Belt adjustment function.
If the Belt adjustment
Belt adjustment function is activa-
ted, the vehicle seat belt is shown in orange
in the multifunction display.
X Press the abutton to save the setting.
For further information on belt adjustment,
see (Y page 47).
Switching the fold-in mirrors when lock-
ing function on/off
This function is only available on vehicles with
a memory function (Y page 117).
When you activate the Auto. Auto.fold-in
fold-in mir‐
mir‐
rors
rors function, the exterior mirrors are folded
in when the vehicle is locked.
When you unlock the vehicle and then open a door, the exterior mirrors fold out again.
If you have switched on the Auto. Auto.fold-in
fold-in
mirrors
mirrors function and you fold in the exterior
mirrors using the button on the door
(Y page 115), they will not fold out automat-
ically. The exterior mirrors can then only be
folded out using the button on the door.
X Press the =or; button on the steer-
ing wheel to select the Settings Settingsmenu.
X Press the :or9 button to select the
Convenience
Convenience submenu.
X Press ato confirm.
X Press the :or9 button to select the
Auto. fold-in mirrors
Auto. fold-in mirrors function.
If the Auto.
Auto. fold-in
fold-in mirrors
mirrorsfunction is
activated, the vehicle's exterior mirror is
displayed in orange in the multifunction
display.
X Press the abutton to save the setting. 250
Menus and submenusOn-board computer and displays
Page 264 of 401
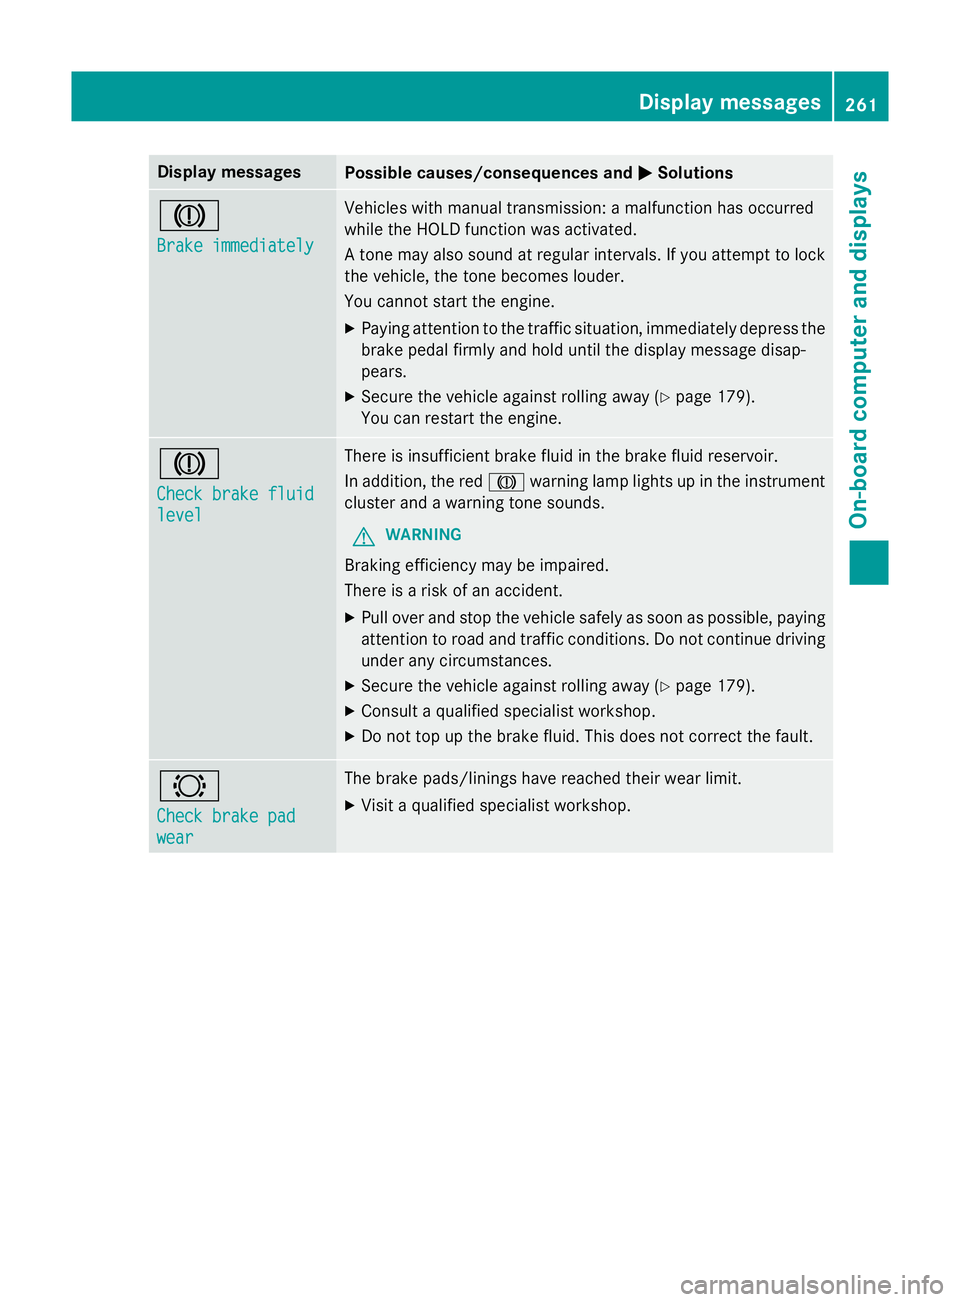
Display messages
Possible causes/consequences and
M
MSolutions J
Brake immediately Brake immediately Vehicles with manual transmission: a malfunction has occurred
while the HOLD function was activated.
A tone may also sound at regular intervals. If you attempt to lock the vehicle, the tone becomes louder.
You cannot start the engine.
X Paying attention to the traffic situation, immediately depress the
brake pedal firmly and hold until the display message disap-
pears.
X Secure the vehicle against rolling away (Y page 179).
You can restart the engine. J
Check brake fluid Check brake fluid
level level There is insufficient brake fluid in the brake fluid reservoir.
In addition, the red Jwarning lamp lights up in the instrument
cluster and a warning tone sounds.
G WARNING
Braking efficiency may be impaired.
There is a risk of an accident. X Pull over and stop the vehicle safely as soon as possible, paying
attention to road and traffic conditions. Do not continue driving
under any circumstances.
X Secure the vehicle against rolling away (Y page 179).
X Consult a qualified specialist workshop.
X Do not top up the brake fluid. This does not correct the fault. #
Check brake pad Check brake pad
wear wear The brake pads/linings have reached their wear limit.
X Visit a qualified specialist workshop. Display
messages
261On-board computer and displays Z
Page 265 of 401

Display messages
Possible causes/consequences and
M
MSolutions Collision Preven‐
Collision Preven‐
tion Assist Plus tion Assist Plus
currently unavail‐ currently unavail‐
able See Owner's able See Owner's
Manual Manual COLLISION PREVENTION ASSIST PLUS is temporarily inoperative.
Possible causes:
R the front bumper is dirty
R the function is impaired due to heavy rain or snow
R the radar sensor system is temporarily inoperative, e.g. due to
electromagnetic radiation emitted by nearby TV or radio sta-
tions or other sources of electromagnetic radiation
R AMG vehicles: ESP ®
is deactivated
R the system is outside the operating temperature range
R The on-board voltage is too low.
Once the causes listed above no longer apply, the display message goes out.
COLLISION PREVENTION ASSIST PLUS is operational again.
If the display message does not disappear:
X Pull over and stop the vehicle safely as soon as possible, paying
attention to road and traffic conditions.
X Secure the vehicle against rolling away (Y page 179).
X Clean the front bumper (Y page 326).
X Restart the engine.
X AMG vehicles: reactivate ESP ®
(Y page 78). Collision Preven‐ Collision Preven‐
tion Assist Plus tion Assist Plus
inoperative
inoperative COLLISION PREVENTION ASSIST PLUS is malfunctioning. The dis-
tance warning signal may also have failed.
X Visit a qualified specialist workshop. 262
Display
messagesOn-board computer and displays
Page 266 of 401
Display messages
Possible causes/consequences and
M
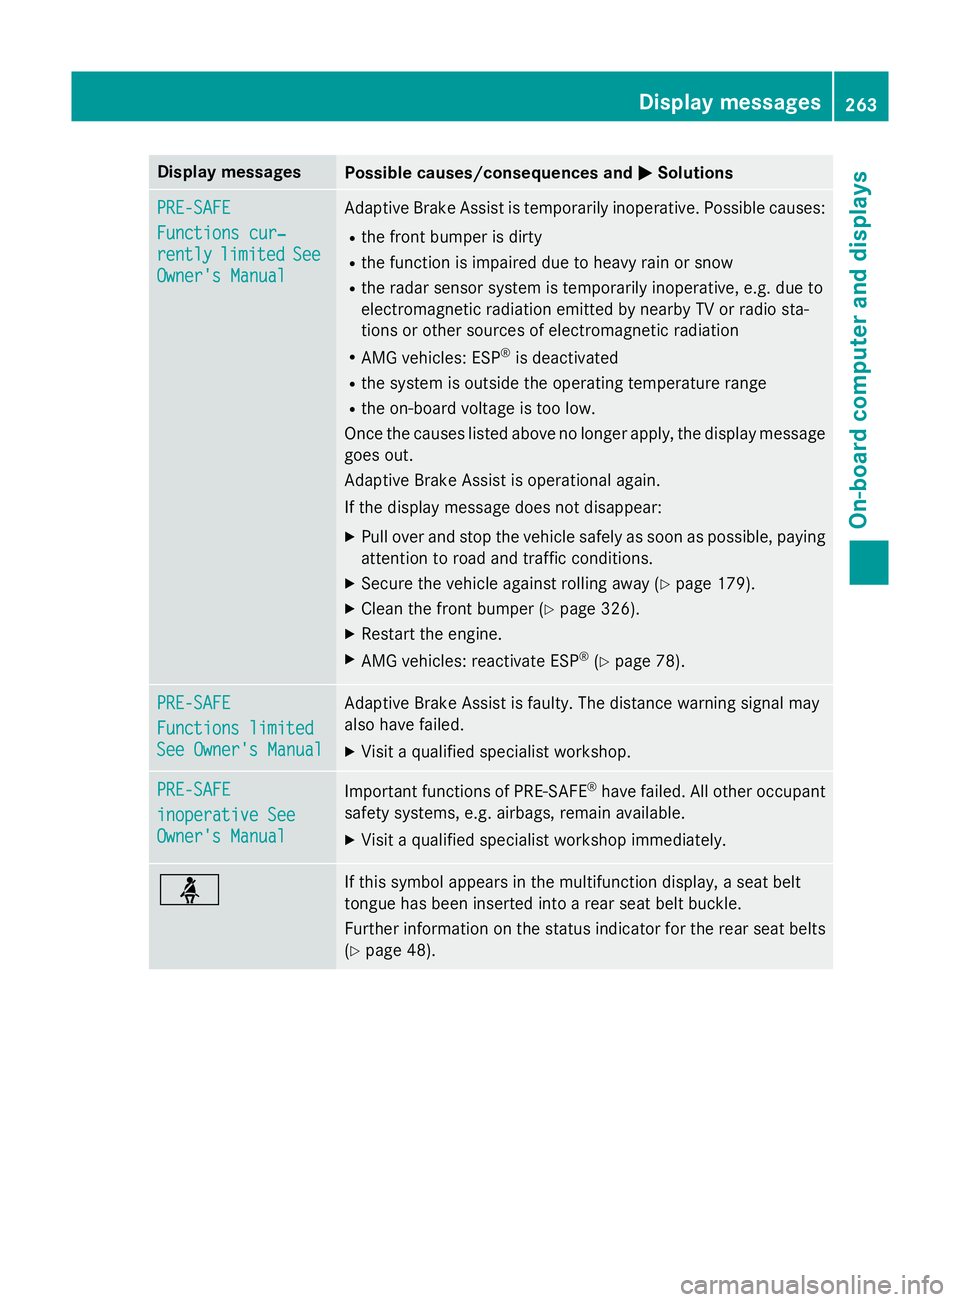
MSolutions PRE-SAFE
PRE-SAFE
Functions cur‐ Functions cur‐
rently rently
limited
limited See
See
Owner's Manual
Owner's Manual Adaptive Brake Assist is temporarily inoperative. Possible causes:
R the front bumper is dirty
R the function is impaired due to heavy rain or snow
R the radar sensor system is temporarily inoperative, e.g. due to
electromagnetic radiation emitted by nearby TV or radio sta-
tions or other sources of electromagnetic radiation
R AMG vehicles: ESP ®
is deactivated
R the system is outside the operating temperature range
R the on-board voltage is too low.
Once the causes listed above no longer apply, the display message goes out.
Adaptive Brake Assist is operational again.
If the display message does not disappear:
X Pull over and stop the vehicle safely as soon as possible, paying
attention to road and traffic conditions.
X Secure the vehicle against rolling away (Y page 179).
X Clean the front bumper (Y page 326).
X Restart the engine.
X AMG vehicles: reactivate ESP ®
(Y page 78). PRE-SAFE PRE-SAFE
Functions limited Functions limited
See Owner's Manual See Owner's Manual Adaptive Brake Assist is faulty. The distance warning signal may
also have failed.
X Visit a qualified specialist workshop. PRE-SAFE PRE-SAFE
inoperative See inoperative See
Owner's Manual Owner's Manual
Important functions of PRE-SAFE
®
have failed. All other occupant
safety systems, e.g. airbags, remain available.
X Visit a qualified specialist workshop immediately. ü If this symbol appears in the multifunction display, a seat belt
tongue has been inserted into a rear seat belt buckle.
Further information on the status indicator for the rear seat belts
(Y page 48). Display
messages
263On-board computer and displays Z
Page 269 of 401

Display messages
Possible causes/consequences and
M
MSolutions Front-passenger
Front-passenger
airbag disabled airbag disabled
See Owner's Manual See Owner's Manual The front-passenger front airbag is disabled during the journey
although:
R an adult
or
R a person larger than a certain size is occupying the front-
passenger seat
If additional forces are applied to the seat, the weight the system
detects may be too low.
G WARNING
The front-passenger front airbag does not deploy during an acci-
dent.
This poses an increased risk of injury. X Pull over and stop the vehicle safely as soon as possible, paying
attention to road and traffic conditions.
X Secure the vehicle to prevent it from rolling away (Y page 179).
X Switch the ignition off.
X Have the occupant on the front-passenger seat step out of the
vehicle.
X Make sure that the seat is unoccupied, close the front-
passenger door and switch on the ignition.
X Observe the PASSENGER AIRBAG indicator lamps in the centre
console and the multifunction display and check the following:
Seat unoccupied and ignition switched on: R the PASSENGER AIR BAG OFF and PASSENGER AIR BAG ON
indicator lamps must light up simultaneously for approximately
six seconds.
R the PASSENGER AIRBAG OFF indicator lamp must then light up
and remain lit. If the indicator lamp is on, the automatic front-
passenger front airbag deactivation system has disabled the
front-passenger front airbag (Y page 52).
R the Front-passenger airbag enabled See Owner's Man‐
Front-passenger airbag enabled See Owner's Man‐
ual ual orFront-passenger airbag disabled See Owner's
Front-passenger airbag disabled See Owner's
Manual
Manual display messages must not be shown in the multifunc-
tion display.
X Wait for a period of at least 60 seconds until the necessary sys-
tem checks have been completed.
X Make sure that the display messages do not appear in the mul-
tifunction display.
If these conditions are met, the front-passenger seat can be occu-
pied again. Whether the PASSENGER AIRBAG OFF or ON indicator
lamp remains lit or goes out depends on how the automatic front- 266
Display
messagesOn-board computer and displays
Page 270 of 401
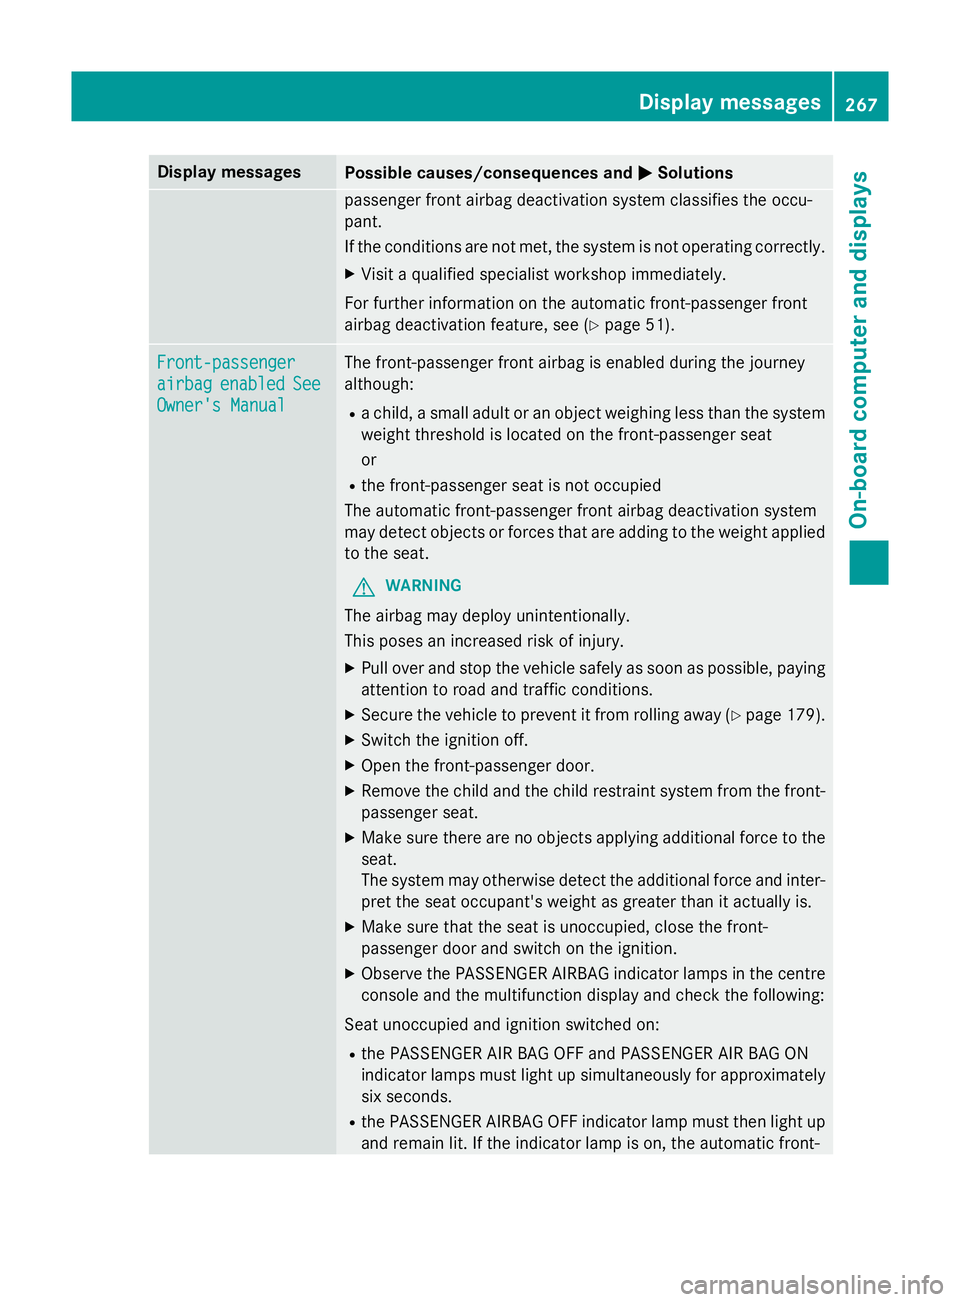
Display messages
Possible causes/consequences and
M
MSolutions passenger front airbag deactivation system classifies the occu-
pant.
If the conditions are not met, the system is not operating correctly.
X Visit a qualified specialist workshop immediately.
For further information on the automatic front-passenger front
airbag deactivation feature, see (Y page 51).Front-passenger Front-passenger
airbag airbag
enabled
enabled See
See
Owner's Manual
Owner's Manual The front-passenger front airbag is enabled during the journey
although:
R a child, a small adult or an object weighing less than the system
weight threshold is located on the front-passenger seat
or
R the front-passenger seat is not occupied
The automatic front-passenger front airbag deactivation system
may detect objects or forces that are adding to the weight applied to the seat.
G WARNING
The airbag may deploy unintentionally.
This poses an increased risk of injury.
X Pull over and stop the vehicle safely as soon as possible, paying
attention to road and traffic conditions.
X Secure the vehicle to prevent it from rolling away (Y page 179).
X Switch the ignition off.
X Open the front-passenger door.
X Remove the child and the child restraint system from the front-
passenger seat.
X Make sure there are no objects applying additional force to the
seat.
The system may otherwise detect the additional force and inter-
pret the seat occupant's weight as greater than it actually is.
X Make sure that the seat is unoccupied, close the front-
passenger door and switch on the ignition.
X Observe the PASSENGER AIRBAG indicator lamps in the centre
console and the multifunction display and check the following:
Seat unoccupied and ignition switched on: R the PASSENGER AIR BAG OFF and PASSENGER AIR BAG ON
indicator lamps must light up simultaneously for approximately
six seconds.
R the PASSENGER AIRBAG OFF indicator lamp must then light up
and remain lit. If the indicator lamp is on, the automatic front- Display
messages
267On-board computer and displays Z
Page 271 of 401
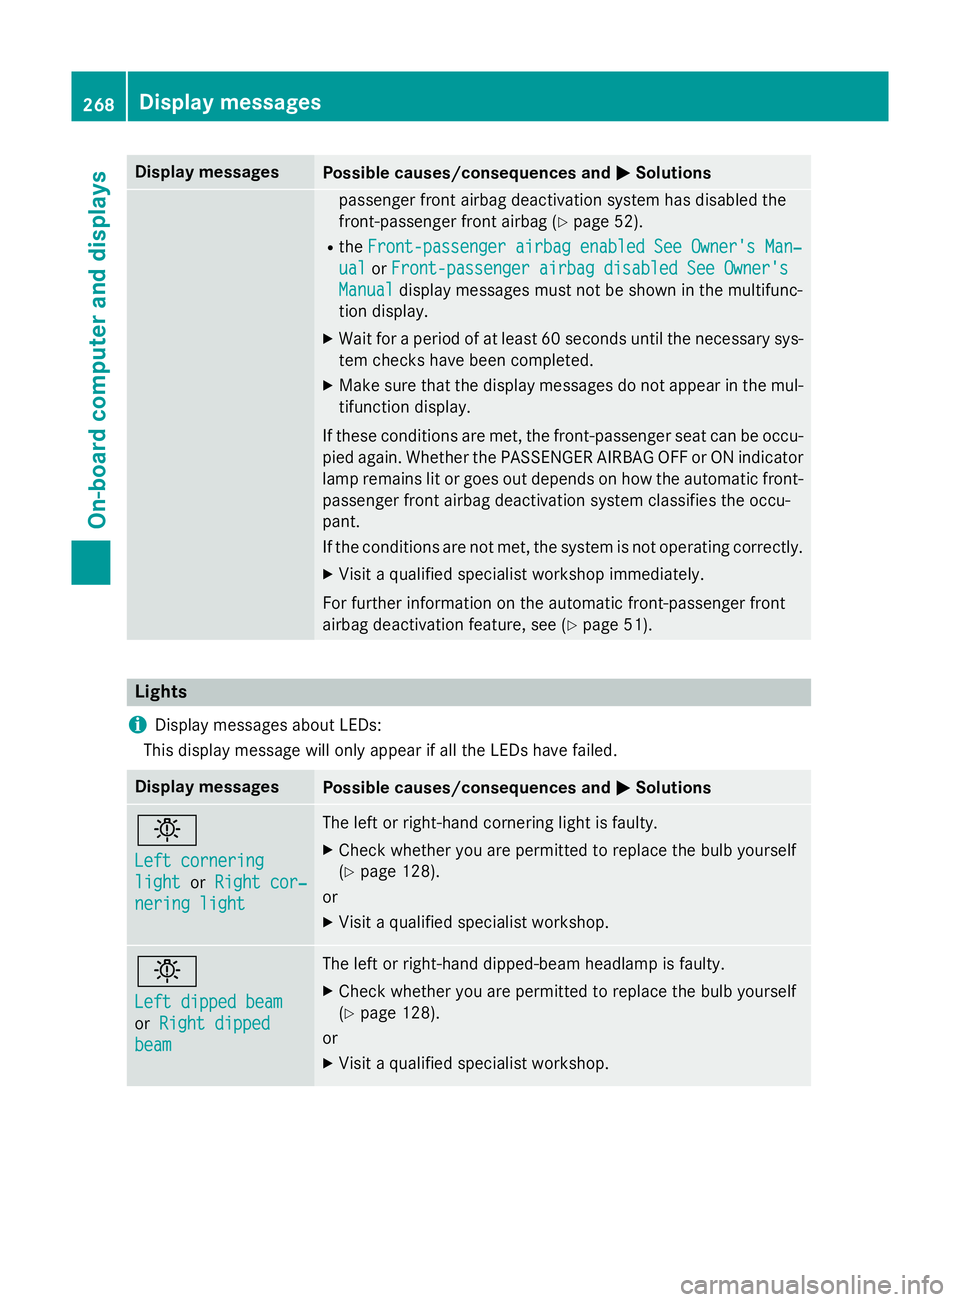
Display messages
Possible causes/consequences and
M
MSolutions passenger front airbag deactivation system has disabled the
front-passenger front airbag (Y
page 52).
R the Front-passenger airbag enabled See Owner's Man‐ Front-passenger airbag enabled See Owner's Man‐
ual
ual orFront-passenger airbag disabled See Owner's
Front-passenger airbag disabled See Owner's
Manual
Manual display messages must not be shown in the multifunc-
tion display.
X Wait for a period of at least 60 seconds until the necessary sys-
tem checks have been completed.
X Make sure that the display messages do not appear in the mul-
tifunction display.
If these conditions are met, the front-passenger seat can be occu-
pied again. Whether the PASSENGER AIRBAG OFF or ON indicator
lamp remains lit or goes out depends on how the automatic front-
passenger front airbag deactivation system classifies the occu-
pant.
If the conditions are not met, the system is not operating correctly.
X Visit a qualified specialist workshop immediately.
For further information on the automatic front-passenger front
airbag deactivation feature, see (Y page 51).Lights
i Display messages about LEDs:
This display message will only appear if all the LEDs have failed. Display messages
Possible causes/consequences and
M MSolutions b
Left cornering Left cornering
light light
orRight cor‐
Right cor‐
nering light
nering light The left or right-hand cornering light is faulty.
X Check whether you are permitted to replace the bulb yourself
(Y page 128).
or
X Visit a qualified specialist workshop. b
Left dipped beam Left dipped beam
or
Right dipped Right dipped
beam
beam The left or right-hand dipped-beam headlamp is faulty.
X Check whether you are permitted to replace the bulb yourself
(Y page 128).
or
X Visit a qualified specialist workshop. 268
Display
messagesOn-board computer and displays