2013 MERCEDES-BENZ CLS-Class AUX
[x] Cancel search: AUXPage 228 of 274

Your COMAND equipment
These operating instructions describe all the
standard and optional equipment for your
COMAND system, as available at the time of
going to print. Country-specific differences
are possible. Please note that your COMAND
system may not be equipped with all the
features described. General information
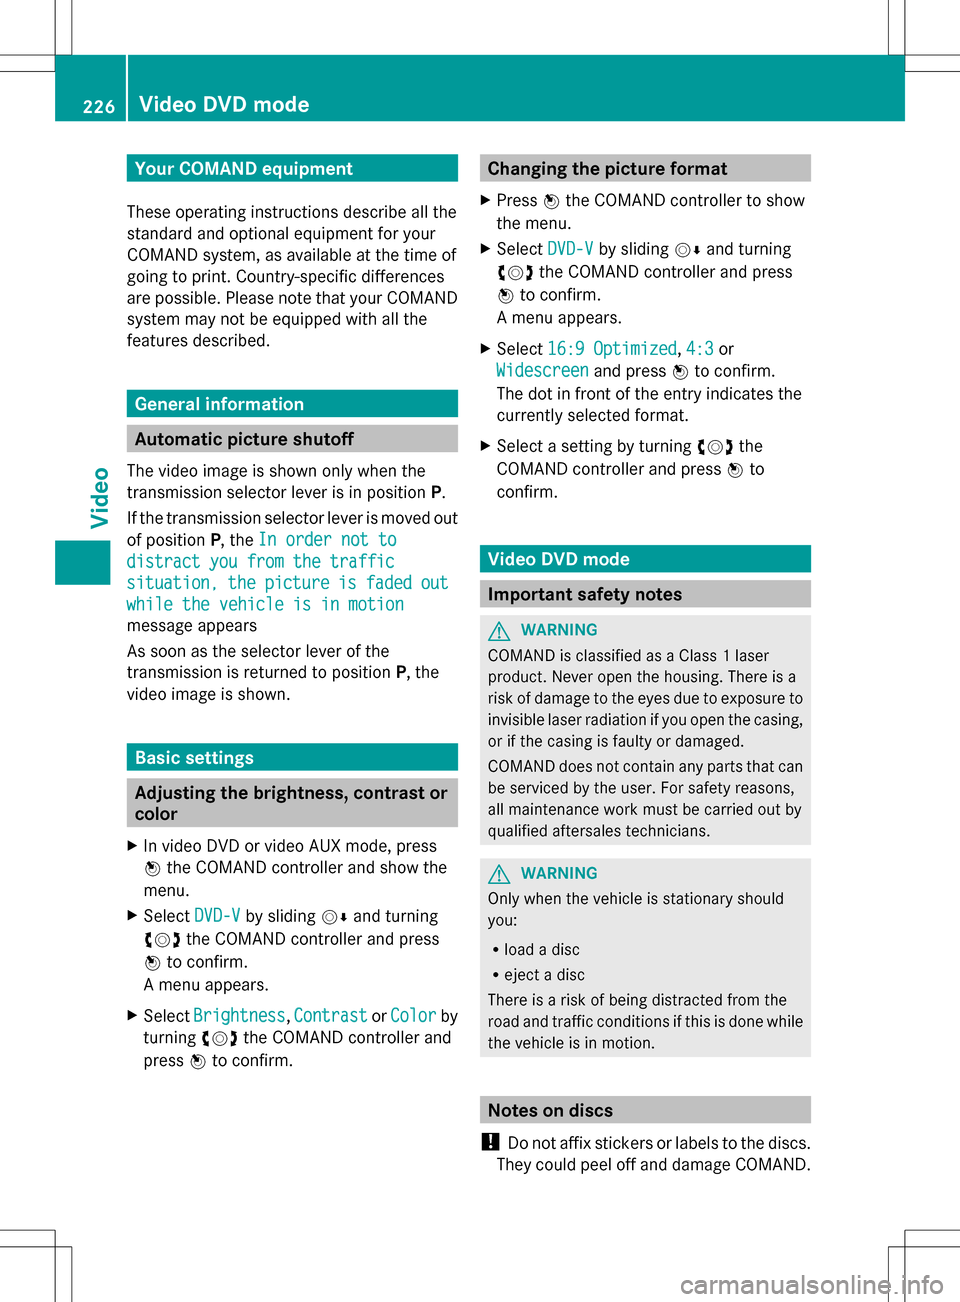
Automatic picture shutoff
The video image is shown only when the
transmission selector lever is in position P.
If the transmission selector lever is moved out
of position P, theIn order not to
In order not to
distract you from the traffic distract you from the traffic
situation, situation, the
thepicture
picture is
isfaded
faded out
out
while the vehicle is in motion
while the vehicle is in motion
message appears
As soon as the selector lever of the
transmission is returned to position P, the
video image is shown. Basic settings
Adjusting the brightness, contrast or
color
X In video DVD or video AUX mode, press
00A1 the COMAND controller and show the
menu.
X Select DVD-V
DVD-V by sliding 005B0064and turning
0082005B0083 the COMAND controller and press
00A1 to confirm.
A menu appears.
X Select Brightness Brightness ,Contrast
Contrast orColor
Color by
turning 0082005B0083the COMAND controller and
press 00A1to confirm. Changing the picture format
X Press 00A1the COMAND controller to show
the menu.
X Select DVD-V
DVD-Vby sliding 005B0064and turning
0082005B the COMAND controller and press
00A1 to confirm.
A menu appears.
X Select 16:9 Optimized
16:9 Optimized ,4:3
4:3 or
Widescreen
Widescreen and press00A1to confirm.
The dot in front of the entry indicates the
currently selected format.
X Select a setting by turning 0082005Bthe
COMAND controller and press 00A1to
confirm. Video DVD mode
Important safety notes
G
WARNING
COMAND is classified as a Class 1 laser
product. Never open the housing. There is a
risk of damage to the eyes due to exposure to
invisible laser radiation if you open the casing,
or if the casing is faulty or damaged.
COMAND does not contain any parts that can
be serviced by the user. For safety reasons,
all maintenance work must be carried out by
qualified aftersales technicians. G
WARNING
Only when the vehicle is stationary should
you:
R load a disc
R eject a disc
There is a risk of being distracted from the
road and traffic conditions if this is done while
the vehicle is in motion. Notes on discs
! Do not affix stickers or labels to the discs.
They could peel off and damage COMAND. 226
Video DVD
modeVideo
Page 230 of 274

Switching modes using the function
button
X
Press the 003Afunction button one or more
times.
COMAND switches to the previous disc
operating mode.
By pressing the function button repeatedly,
you can change the operating mode in the
following order:
R audio CD/DVD / video DVD/MP3 in the
DVD changer or DVD single drive (disc
mode)
audio CD/DVD, video DVD or MP3 disc in
the DVD changer
R memory card mode
R MUSIC REGISTER
R USB storage device
R Media Interface or audio AUX mode
R Bluetooth ®
audio mode
X DVD changer: selectMedia
Media orChanger Changer by
sliding 005B0064and turning 0082005B0083the COMAND
controller and press 00A1to confirm.
Single DVD drive: selectMedia
Media by sliding
005B0064 and turning 0082005B0083the COMAND
controller and press 00A1to confirm.
X Select a ývideo DVD from the media list
(Y page 230).
Switching on with the video menu X
Select Video
Videoin the main function bar by
sliding 00A0005Band turning 0082005B0083the COMAND
controller and press 00A1to confirm.
Video DVD mode is switched on. Hiding/showing the navigation menu
X To show: in DVD video mode, slide 00A0005B0064
the COMAND controller.
X To hide: slide00A0005B0064 the COMAND
controller.
or
X Wait for approximately eight seconds. Navigation menu displayed
0043
Type of data medium
0044 Current title
0087 Current scene
0085 Track time
0083 To show the menu
i This function is not available while the
DVD's own menu is being displayed. Showing/hiding the menu
X To show: in full-screen DVD video mode,
press 00A1the COMAND controller.
or
X Select Menu Menuwhile the navigation menu is
shown and press 00A1to confirm.
X To hide: slide00A0005Bthe COMAND controller
and confirm Full Screen
Full Screen by pressing00A1. Menu shown
0043
Video DVD options
0044 Pause function
0087 Stop function 228
Video DVD modeVideo
Page 234 of 274

you may be able to influence events by
selecting and triggering actions. The type and
number of actions depend on the DVD.
X Select an action by sliding 00A0005B0064or009E005B009F the
COMAND controller and press 00A1to
execute it.
A menu appears and the first entry,
Select
Select , is highlighted.
X Press 00A1the COMAND controller. AUX video mode
Connecting external video sources
G
WARNING
External video sources may have different
volumes, which can mean that system
messages such as traffic announcements and
navigation system announcements are much
louder. If necessary, please deactivate the
system messages or adjust their volume
manually.
If your vehicle is equipped with Media
Interface, you can connect an external video
source (AUX video) ( Ypage 217).
The 1/8 inch audio/video jacks are in the
center console stowage compartment.
i In vehicles with a rear view camera, the
AUX video jack cannot be used for external
video sources. Switching to AUX video mode
AUX video mode X
Press the 003Afunction button repeatedly
until Media Interface mode is selected.
or
X Select Video Videoin the main function bar by
sliding 00A0005Band turning 0082005B0083the COMAND
controller and press 00A1to confirm.
If AUX video mode was the last mode
selected, it will now be active.
If another video source is switched on, you
can now switch to AUX video mode in the
video menu.
X Select Video Videoand press 00A1to confirm.
X Select Aux
Auxand press 00A1to confirm.
The AUX video menu appears. You will hear
and see the content of the external video
source if it is connected and switched to
playback. Showing/hiding the menu
X To show: in video AUX mode, press 00A1the
COMAND controller.
X To hide: slide00A0005Bthe COMAND controller
and confirm Full Screen Full Screen by pressing00A1. Volume and sound settings
Information on:
R volume settings (Y page 27)
R sound settings (Y page 28) G
WARNING
External video sources may have different
volumes, which can mean that system
messages such as traffic announcements and
navigation system announcements are much
louder. If necessary, please deactivate the
system messages or adjust their volume
manually.
i A device which is connected as an
external video source may seem quieter or
louder in the vehicle, or the usual maximum
volume cannot be achieved. On some
devices, it is possible to adjust the volume 232
AUX video
modeVideo
Page 235 of 274

separately. In this case, start at a medium
volume and increase it gradually. This
enables you to determine whether the
system is able to play the sound at high
volume without distorting it. Increasing the volume on COMAND
X Show the video AUX menu (Y page 232).
X Select Volume Volume by turning 0082005B0083the
COMAND controller and press 00A1to
confirm.
A menu appears. The 003Bdot indicates the
current setting.
X Select Standard
Standard orBoost Boost and press 00A1to
confirm.
Standard Standard: the volume of the external video
source is adjusted to a standard value.
Boost Boost: the volume of the external video
source is raised by approximately 10 dB. Picture viewer
Introduction
If there are pictures on the active data
medium, you can look at them. You can
display pictures with a resolution of up to 20
megapixels. Data medium Supported picture
formats
CD/DVD with
picture files jpeg, jpg
USB devices (sticks,
hard drives)
SD memory card jpeg, jpg
Calling up a category list
X Select a data medium with pictures (e.g. a
memory card): R
In the Audio menu (Y page 182)
R In the media list (Y page 197)
X Select Search Search in the basic display by
sliding 005B0064and turning 0082005B0083the COMAND
controller and press 00A1to confirm.
The category list appears (Y page 204). Displaying pictures
X Select (Y page 204)Photos Photosin the category
list by turning 0082005B0083the COMAND controller
and press 00A1to confirm.
A folder directory appears.
X Select a folder with photos and press 00A1to
confirm.
The folder displays the existing picture files
(example). X
Select a photo and press 00A1to confirm.
The photo is displayed and the music is
stopped. Picture viewer
233Video Z
Page 237 of 274

Your COMAND equipment
................236
Overview ............................................ 236
Basic functions ................................. 243
System settings ................................ 244
Audio CD/DVD and MP3 mode ........245
Video DVD mode ............................... 250
Operation with an active COMAND
source ................................................ 255
AUX mode .......................................... 257 235Rear Seat Entertainment System
Page 238 of 274

Your COMAND equipment
These operating instructions describe all the
standard and optional equipment for your
COMAND system, as available at the time of
going to print. Country-specific differences
are possible. Please note that your COMAND
system may not be equipped with all the
features described. Overview
Important safety notes
G
WARNING
The RSE CD/DVD player is a Class 1 laser
product. There is a danger of invisible laser
radiation when you open or damage the cover.
Do not remove the cover. The RSE CD/DVD
player does not contain any parts which can
be serviced by the user. For safety reasons,
have any necessary service work performed
by qualified personnel. G
WARNING
The driver should not wear a Rear Seat
Entertainment headset while operating the
vehicle under any circumstances. The use of
a headset while driving the vehicle could
drastically impair the ability to react to audible
traffic conditions (e.g. emergency sirens from
police/fire/ambulance, another car's horn,
etc.). G
WARNING
When not in use, headsets or external video
sources should be stored in a safe location
(e.g. one of the vehicle's storage
compartments) so that they are not loose
within the passenger compartment during
braking, vehicle maneuvers or a traffic
accident. Objects moving within the
passenger compartment could cause serious
personal injury to vehicle occupants. G
WARNING
Due to a potential choking hazard, wired
headset usage by children should only occur
with adult supervision. Components
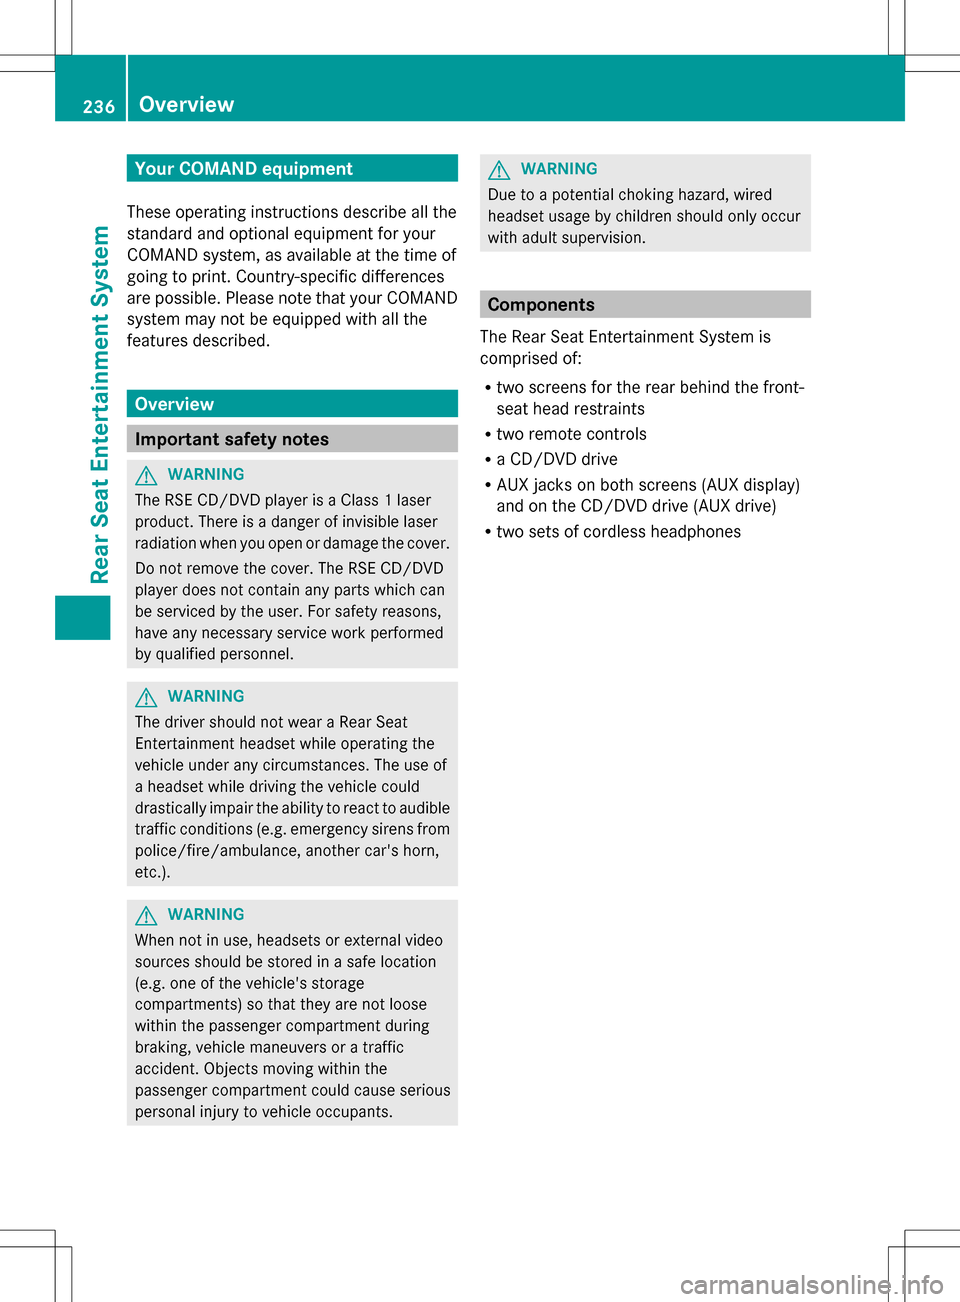
The Rear Seat Entertainment System is
comprised of:
R two screens for the rear behind the front-
seat head restraints
R two remote controls
R a CD/DVD drive
R AUX jacks on both screens (AUX display)
and on the CD/DVD drive (AUX drive)
R two sets of cordless headphones 236
OverviewRea
r Seat Entertainment System
Page 239 of 274

Rear-compartment screens
0043
AUX jacks, detailed view in the "CD/DVD drive and AUX jacks" section (Y page 239).
0044 Display Remote control
Overview 0043
To switch the screen on/off
0044 To switch the button lighting on/off
0087 To select the screen for the remote
control
0085 To select a menu or menu item
0083 To confirm a selection or setting
0084 To switch the sound on/off (for corded
headphones)
006B To adjust the volume (for corded
headphones) 006C
To skip to a track, fast-forward/fast-
rewind
006D To select a track; direct entry
006E To exit a menu (back)
i Two remote controls are included in the
scope of supply for the USA and Canada.
Selecting the screen for the remote
control You can use the remote control to operate
one of the two rear screens at a time. To do
so, you must switch the remote control to the
desired screen. Overview
237Rear Seat Entertainment System Z
Page 241 of 274

Selecting a menu/menu item and
confirming your selection X
Select a menu/menu item using the
0059006500D900630064 buttons on the
remote control and press the 008Bbutton to
confirm. CD/DVD drive and AUX jacks
0043
CD/DVD slot
0044 AUX, right-hand (R) jack for audio signal
(red)
0087 AUX, left-hand (L) jack for audio signal
(white)
0085 AUX, video (V) jack (yellow)
0083 CD/DVD eject button
The AUX jacks shown are for the AUX drive.
Identical jacks can be found on the right-hand
side of the rear-compartment screens (AUX
display) (Y page 237). Overview
239Rear Seat Entertainment System Z