2013 MERCEDES-BENZ CLA COUPE change time
[x] Cancel search: change timePage 230 of 373
X
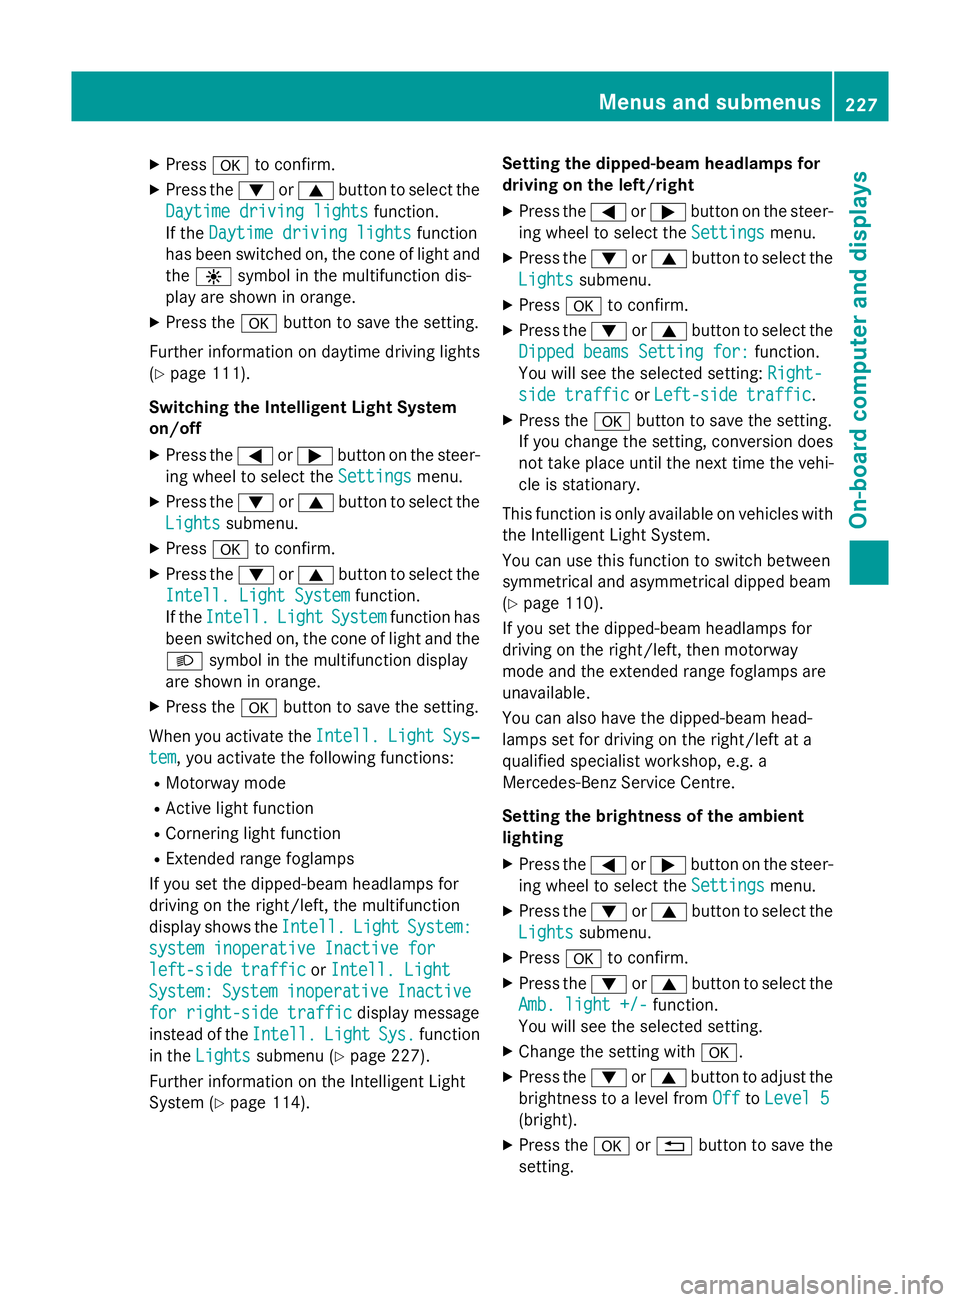
Press ato confirm.
X Press the :or9 button to select the
Daytime driving lights
Daytime driving lights function.
If the Daytime driving lights
Daytime driving lights function
has been switched on, the cone of light and
the W symbol in the multifunction dis-
play are shown in orange.
X Press the abutton to save the setting.
Further information on daytime driving lights
(Y page 111).
Switching the Intelligent Light System
on/off
X Press the =or; button on the steer-
ing wheel to select the Settings
Settings menu.
X Press the :or9 button to select the
Lights Lights submenu.
X Press ato confirm.
X Press the :or9 button to select the
Intell. Light System
Intell. Light System function.
If the Intell.
Intell. Light
LightSystem
System function has
been switched on, the cone of light and the
L symbol in the multifunction display
are shown in orange.
X Press the abutton to save the setting.
When you activate the Intell.
Intell. Light
LightSys‐
Sys‐
tem
tem, you activate the following functions:
R Motorway mode
R Active light function
R Cornering light function
R Extended range foglamps
If you set the dipped-beam headlamps for
driving on the right/left, the multifunction
display shows the Intell. Intell.Light
LightSystem:
System:
system inoperative Inactive for
system inoperative Inactive for
left-side traffic
left-side traffic orIntell. Light
Intell. Light
System:
System: System
Systeminoperative
inoperative Inactive
Inactive
for right-side traffic
for right-side traffic display message
instead of the Intell.
Intell.Light
LightSys.
Sys.function
in the Lights
Lights submenu (Y page 227).
Further information on the Intelligent Light
System (Y page 114). Setting the dipped-beam headlamps for
driving on the left/right
X Press the =or; button on the steer-
ing wheel to select the Settings
Settings menu.
X Press the :or9 button to select the
Lights Lights submenu.
X Press ato confirm.
X Press the :or9 button to select the
Dipped beams Setting for:
Dipped beams Setting for: function.
You will see the selected setting: Right-
Right-
side traffic
side traffic orLeft-side traffic
Left-side traffic.
X Press the abutton to save the setting.
If you change the setting, conversion does
not take place until the next time the vehi-
cle is stationary.
This function is only available on vehicles with
the Intelligent Light System.
You can use this function to switch between
symmetrical and asymmetrical dipped beam
(Y page 110).
If you set the dipped-beam headlamps for
driving on the right/left, then motorway
mode and the extended range foglamps are
unavailable.
You can also have the dipped-beam head-
lamps set for driving on the right/left at a
qualified specialist workshop, e.g. a
Mercedes-Benz Service Centre.
Setting the brightness of the ambient
lighting
X Press the =or; button on the steer-
ing wheel to select the Settings
Settings menu.
X Press the :or9 button to select the
Lights Lights submenu.
X Press ato confirm.
X Press the :or9 button to select the
Amb. light +/-
Amb. light +/- function.
You will see the selected setting.
X Change the setting with a.
X Press the :or9 button to adjust the
brightness to a level from Off
Off toLevel 5
Level 5
(bright).
X Press the aor% button to save the
setting. Menus and submenus
227On-board computer and displays Z
Page 233 of 373
In the
Heating
Heating submenu, you can select a
stored departure time or change a departure
time.
The auxiliary heating timer function calcu-
lates the switch-on time according to the out-
side temperature so that the vehicle is pre-
heated by the departure time. When the
departure time is reached, the auxiliary heat- ing continues to heat for a further five
minutes and then switches off. The auxiliary
heating adopts the THERMATIC or
THERMOTRONIC temperature setting.
You can switch off the auxiliary heating by
using the remote control or the auxiliary heat- ing button on the centre console.
i Switch the auxiliary heating on regularly
once a month for about ten minutes.
Selecting the departure time or deactivat-
ing a selected departure time
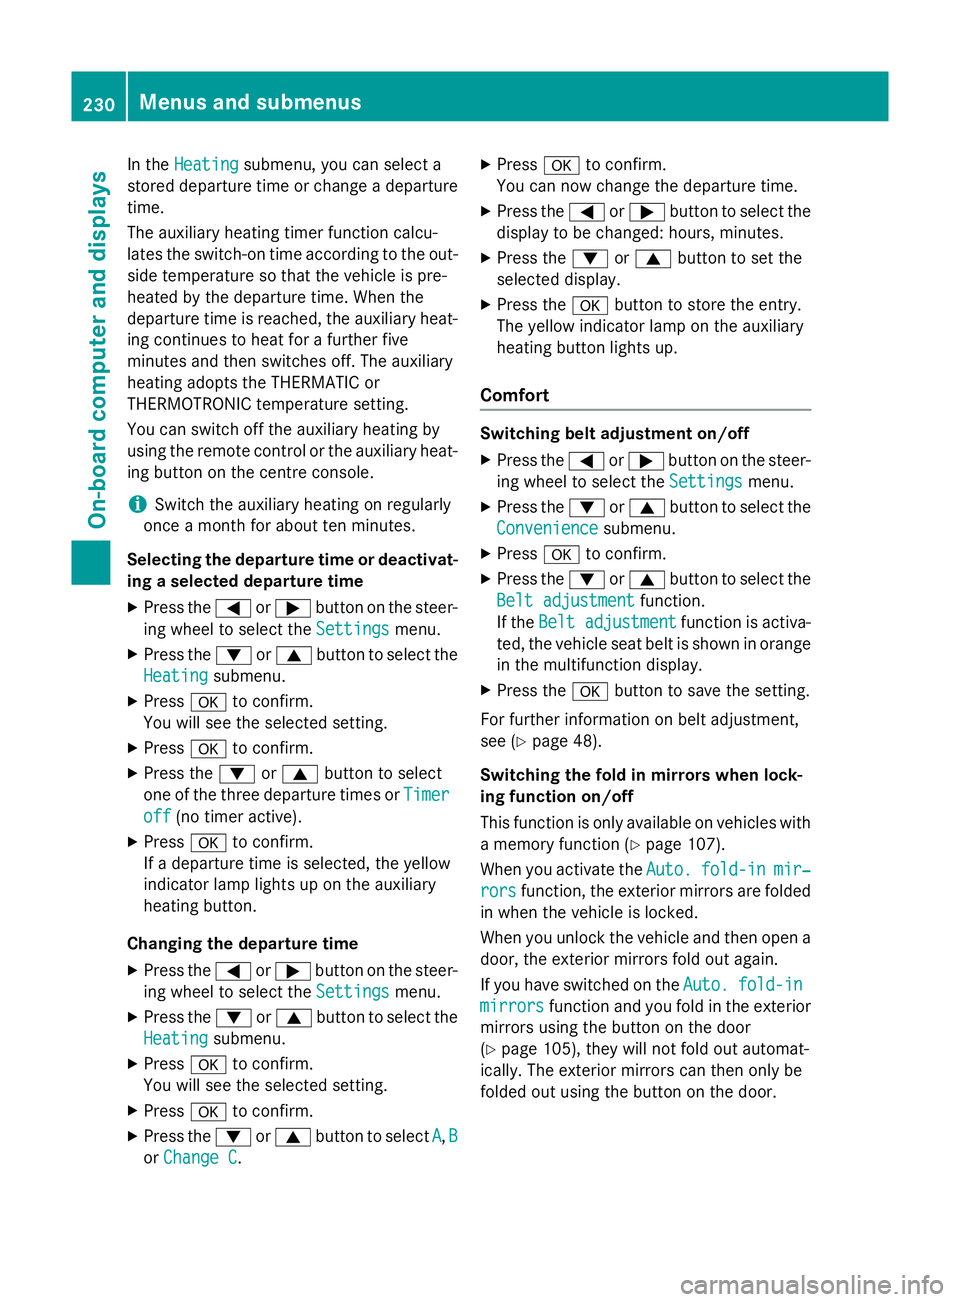
X Press the =or; button on the steer-
ing wheel to select the Settings
Settings menu.
X Press the :or9 button to select the
Heating Heating submenu.
X Press ato confirm.
You will see the selected setting.
X Press ato confirm.
X Press the :or9 button to select
one of the three departure times or Timer
Timer
off
off (no timer active).
X Press ato confirm.
If a departure time is selected, the yellow
indicator lamp lights up on the auxiliary
heating button.
Changing the departure time
X Press the =or; button on the steer-
ing wheel to select the Settings
Settings menu.
X Press the :or9 button to select the
Heating Heating submenu.
X Press ato confirm.
You will see the selected setting.
X Press ato confirm.
X Press the :or9 button to select A
A, B
B
or Change C
Change C. X
Press ato confirm.
You can now change the departure time.
X Press the =or; button to select the
display to be changed: hours, minutes.
X Press the :or9 button to set the
selected display.
X Press the abutton to store the entry.
The yellow indicator lamp on the auxiliary
heating button lights up.
Comfort Switching belt adjustment on/off
X Press the =or; button on the steer-
ing wheel to select the Settings Settingsmenu.
X Press the :or9 button to select the
Convenience
Convenience submenu.
X Press ato confirm.
X Press the :or9 button to select the
Belt adjustment
Belt adjustment function.
If the Belt adjustment
Belt adjustment function is activa-
ted, the vehicle seat belt is shown in orange
in the multifunction display.
X Press the abutton to save the setting.
For further information on belt adjustment,
see (Y page 48).
Switching the fold in mirrors when lock-
ing function on/off
This function is only available on vehicles with
a memory function (Y page 107).
When you activate the Auto. Auto.fold-in
fold-in mir‐
mir‐
rors
rors function, the exterior mirrors are folded
in when the vehicle is locked.
When you unlock the vehicle and then open a door, the exterior mirrors fold out again.
If you have switched on the Auto. Auto.fold-in
fold-in
mirrors
mirrors function and you fold in the exterior
mirrors using the button on the door
(Y page 105), they will not fold out automat-
ically. The exterior mirrors can then only be
folded out using the button on the door. 230
Menus and submenusOn-board computer and displays
Page 305 of 373
Interior care
Cleaning the display !
For cleaning, do not use any of the fol-
lowing:
R alcohol-based thinner or petrol
R abrasive cleaning agents
R commercially-available household clean-
ing agents
These may damage the display surface. Do not put pressure on the display surface
when cleaning. This could lead to irrepara-
ble damage to the display.
X Before cleaning the display, make sure that
it is switched off and has cooled down.
X Clean the display surface using a commer-
cially available microfibre cloth and
TFT/LCD display cleaner.
X Dry the display surface using a dry micro-
fibre cloth.
Cleaning the plastic trim G
WARNING
Care products and cleaning agents containing solvents can cause surfaces in the cockpit to
become porous. This could result in plastic
parts breaking away when the airbags are
deployed. There is a danger of injury.
Do not use care products and cleaning agents containing solvents to clean the cockpit.
! Do not affix the following to plastic surfa-
ces:
R stickers
R films
R scented oil bottles or similar items
You could otherwise damage the plastic.
! Do not allow cosmetics, insect repellent
or sunscreen to come in contact with the
plastic trim. This maintains the high-quality look of the surfaces. X
Wipe the plastic trim with a damp, lint-free
cloth, e.g. a microfibre cloth.
X Heavy soiling: use car care and cleaning
products recommended and approved by
Mercedes-Benz.
The surface may change colour tempora-
rily. Wait until the surface is dry again.
Cleaning the steering wheel and gear or selector lever X
Thoroughly wipe with a damp cloth or use
leather care agents that have been recom-
mended and approved by Mercedes-Benz.
Cleaning wooden trim and trim ele-
ments !
Do not use solvent-based cleaning agents
such as tar remover, wheel cleaners, pol-
ishes or waxes. There is otherwise a risk of damaging the surface.
X Wipe the wooden trim and trim elements
with a damp, lint-free cloth, e.g. a microfi-
bre cloth.
X Heavy soiling: use car care and cleaning
products recommended and approved by
Mercedes-Benz.
Cleaning the seat covers General notes
! Do not use microfibre cloths to clean gen-
uine leather, artificial leather or DINAMICA
covers. If used often, these can damage the cover.
i Note that regular care is essential to
make sure that the appearance and com-
fort of the covers are retained over time.
Genuine leather seat covers
Leather is a natural product.
It has natural surface properties, e.g.: R unevenness in structure
R marks caused by growth and injury
R subtle colour differences 302
CareMaintenance and care
Page 334 of 373
pressure can be checked using the on-board
computer.
If possible, only correct tyre pressures when
the tyres are cold.
The tyres are cold:
R if the vehicle has been parked with the tyres
out of direct sunlight for at least three
hours and
R if the vehicle has not been driven further
than 1.6 km
Depending on the ambient temperature, the
speed at which you are driving and the load on the tyres, the tyre temperature and thus the
tyre pressure changes by approximately
10 kPa (0.1 bar/1.5 psi) per 10 †. Take this
into account when checking the pressure of
warm tyres. Only correct the tyre pressure if it
is too low for the current operating condi-
tions.
Driving with tyre pressure that is too high or
too low can:
R shorten the service life of the tyres
R cause increased tyre damage
R have a negative effect on handling charac-
teristics and thus driving safety (e.g. aqua-
planing)
i The tyre pressure values given for low
loads are minimum values which offer you
good ride comfort characteristics.
However, you can also use the values given for higher loads. These are permissible andwill not adversely affect the running of the
vehicle. Tyre pressure loss warning system
General notes While the vehicle is in motion, the tyre pres-
sure loss warning system monitors the set
tyre pressure using the rotational speed of
the wheels. This enables the system to detect
significant pressure loss in a tyre. If the speed of rotation of a wheel changes as a result of aloss of pressure, a corresponding warning message will appear in the multifunction dis-
play.
You can recognise the tyre pressure loss
warning in the multifunction display in the
Service
Service menu, by the Run Flat Indica‐ Run Flat Indica‐
tor active Restart with OK
tor active Restart with OK message.
Further information on the message display
can be found under "Restarting the tyre pres- sure loss warning system" (Y page 332).
Important safety notes The tyre pressure warning system does not
warn you of an incorrectly set tyre pressure.
Observe the notes on the recommended tyre pressure (Y page 330).
The tyre pressure loss warning does not
replace the need to regularly check the tyre
pressures. An even loss of pressure on sev-
eral tyres at the same time cannot be detec-
ted by the tyre pressure loss warning system. The tyre pressure monitor is not able to warn
you of a sudden loss of pressure, e.g. if the
tyre is penetrated by a foreign object. In the
event of a sudden loss of pressure, bring the
vehicle to a halt by braking carefully. Avoid
abrupt steering manoeuvres.
The function of the tyre pressure loss warning system is limited or delayed if:
R snow chains are fitted to your vehicle's
tyres.
R road conditions are wintry.
R you are driving on sand or gravel.
R you adopt a very sporty driving style (cor-
nering at high speeds or driving with high
rates of acceleration).
R you are towing a very heavy or large trailer.
R you are driving with a heavy load (in the
vehicle or on the roof). Tyre pressure
331Wheels and tyres Z
Page 337 of 373
the spare wheel is fitted is not the same as
the current tyre pressure of the emergencyspare wheel.
Warning messages of the tyre pressure monitor If the tyre pressure monitor detects a pres-
sure loss in one or more tyres, a warning mes-
sage is shown in the multifunction display and the yellow tyre pressure monitor warning light
comes on.
R If the Please correct tyre pressure
Please correct tyre pressure
message appears in the multifunction dis-
play, the tyre pressure in at least one tyre is too low and must be corrected at the next
opportunity.
R If the Tyre pressure Check tyres
Tyre pressure Check tyres mes-
sage appears in the multifunction display,
the tyre pressure in one or more tyres has
dropped significantly and the tyres must be checked.
R If the Tyre pressure Caution Tyre
Tyre pressure Caution Tyre
malfunction
malfunction message appears in the mul-
tifunction display, the tyre pressure in one
or more tyres has dropped suddenly and
the tyres must be checked.
Observe the instructions and safety notes in
the display messages in the "Tyres" section
(Y page 256).
i If the wheel positions on the vehicle are
interchanged, for a short time the tyre pres- sures may be displayed for the wrong posi-
tions. This is rectified after a few minutes of driving and the tyre pressures are displayed for the correct positions.
Restarting the tyre pressure monitor When you restart the tyre pressure monitor,
all existing warning messages are deleted and
the warning lamps go out. The monitor uses
the currently set tyre pressures as the refer-
ence values for monitoring. In most cases, the tyre pressure monitor will automatically
detect the new reference values after you
have changed the tyre pressure. However, you can also define reference values man-
ually as described here. The tyre pressure
monitor then monitors the new tyre pressure
values.
X Use the table on the inside of the fuel filler
flap to ensure that the tyre pressure is set
correctly in all four tyres for the current
operating conditions.
Also observe the notes in the section on
tyre pressures (Y page 330).
X Make sure that the key is in position 2in the
ignition lock.
X Press the =or; button on the steer-
ing wheel to select the Serv. Serv.menu.
X Press the 9or: button to select
Tyre pressure
Tyre pressure.
X Press the abutton.
The multifunction display shows the cur-
rent tyre pressure for each tyre or the
Tyre pressures will be displayed Tyre pressures will be displayed
after after a
afew
few minutes
minutes of
ofdriving
driving mes-
sage.
X Press the :button.
The multifunction display shows the Use
Use
current
current pressures
pressures as
asnew
new reference
reference
values
values message.
If you wish to confirm the restart:
X Press the abutton.
The Tyre press. monitor restarted
Tyre press. monitor restarted
message appears in the multifunction dis-
play.
After you have driven for a few minutes, the
system checks whether the current tyre
pressures are within the specified range.
The new tyre pressures are then accepted
as reference values and monitored.
If you wish to cancel the restart:
X Press the %button.
The tyre pressure values stored at the last
restart will continue to be monitored. 334
Tyre pressureWheels and tyres
Page 338 of 373
Radio type approval for the tyre pres-
sure monitor Country Radio type approval number
Brazil 1489-10-4415
Model: MRXMERCTX1
Dubai TRA, Registered NO
0016161/08
TRA, Registered NO
ER0076990/11
Dealer-NO: DA0047074/10
Morocco MR5526 ANRT 2010/
27/04/2010
MR6706 ANRT 2011/
17/11/2011
Philip-
pines ESD-1105558C
Serbia И 011 12
Singa-
pore Compliance with IDA Standard
N0140-09
South
Africa TA-2008/1068
TA-2011/1370
Changing a wheel
Flat tyre
You can find information on what to do in the event of flat tyre in the "Flat tyre" section
(Y page 308). Information on driving with
MOExtended tyres in the event of a flat tyre
can be found under "Breakdown assistance"
(Y page 308).
Vehicles with an emergency spare wheel: in the event of a flat tyre, the emergency
spare wheel is fitted according to the descrip-
tion under "Fitting a wheel" (Y page 336). Interchanging the wheels
G
WARNING
Interchanging the front and rear wheels may
severely impair the driving characteristics if
the wheels or tyres have different dimensions. The wheel brakes or suspension components may also be damaged. There is a risk of acci-
dent.
Interchange front and rear wheels only if the
wheels and tyres are of the same dimensions.
! On vehicles fitted with a tyre pressure
monitor, electronic components are loca-
ted in the wheel.
Tyre-fitting tools should not be applied in
the area of the valve, as this could damage
the electronic components.
Only have tyres changed at a qualified spe- cialist workshop.
Interchanging the front and rear wheels of
differing dimensions can render the general
operating permit invalid.
Always pay attention to the instructions and
safety notes when changing a wheel
(Y page 335).
The wear patterns on the front and rear tyres differ, depending on the operating conditions.
Interchange the wheels before a clear wear
pattern has formed on the tyres. Front tyres
typically wear more on the shoulders and the
rear tyres in the centre.
On vehicles that have the same size front and rear wheels, you can interchange the wheels
every 5,000 to 10,000 km depending on the
degree of tyre wear. Ensure that the direction of rotation is maintained.
Clean the contact surfaces of the wheel and
the brake disc thoroughly every time a wheel
is interchanged. Check the tyre pressure and, if necessary, restart the tyre pressure loss
warning system or the tyre pressure monitor. Changing a wheel
335Wheels and tyres Z
Page 340 of 373
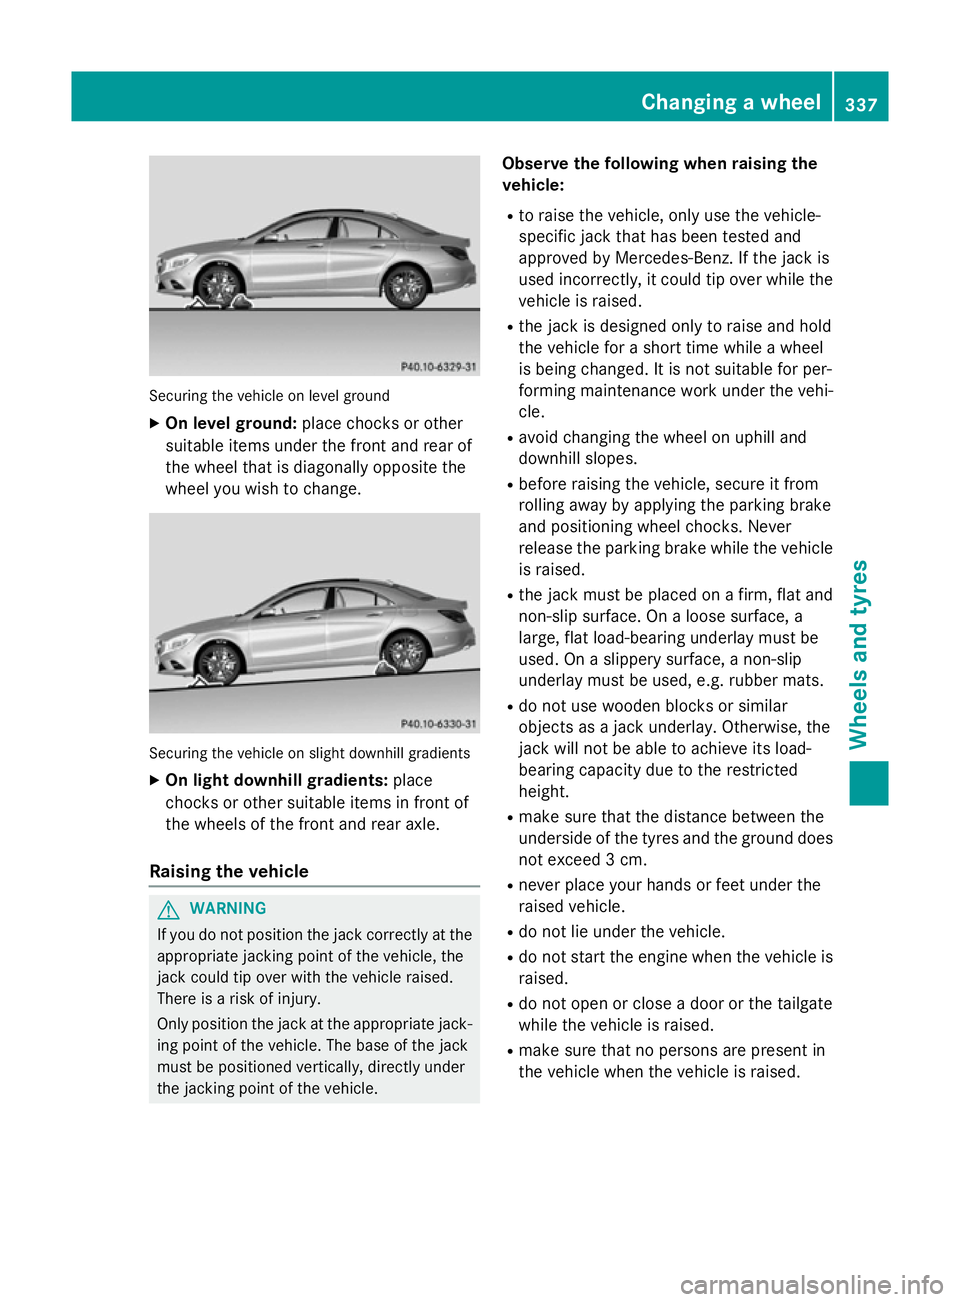
Securing the vehicle on level ground
X On level ground: place chocks or other
suitable items under the front and rear of
the wheel that is diagonally opposite the
wheel you wish to change. Securing the vehicle on slight downhill gradients
X On light downhill gradients: place
chocks or other suitable items in front of
the wheels of the front and rear axle.
Raising the vehicle G
WARNING
If you do not position the jack correctly at the appropriate jacking point of the vehicle, the
jack could tip over with the vehicle raised.
There is a risk of injury.
Only position the jack at the appropriate jack-
ing point of the vehicle. The base of the jack
must be positioned vertically, directly under
the jacking point of the vehicle. Observe the following when raising the
vehicle:
R to raise the vehicle, only use the vehicle-
specific jack that has been tested and
approved by Mercedes-Benz. If the jack is
used incorrectly, it could tip over while the vehicle is raised.
R the jack is designed only to raise and hold
the vehicle for a short time while a wheel
is being changed. It is not suitable for per-
forming maintenance work under the vehi-
cle.
R avoid changing the wheel on uphill and
downhill slopes.
R before raising the vehicle, secure it from
rolling away by applying the parking brake
and positioning wheel chocks. Never
release the parking brake while the vehicle
is raised.
R the jack must be placed on a firm, flat and
non-slip surface. On a loose surface, a
large, flat load-bearing underlay must be
used. On a slippery surface, a non-slip
underlay must be used, e.g. rubber mats.
R do not use wooden blocks or similar
objects as a jack underlay. Otherwise, the
jack will not be able to achieve its load-
bearing capacity due to the restricted
height.
R make sure that the distance between the
underside of the tyres and the ground does
not exceed 3 cm.
R never place your hands or feet under the
raised vehicle.
R do not lie under the vehicle.
R do not start the engine when the vehicle is
raised.
R do not open or close a door or the tailgate
while the vehicle is raised.
R make sure that no persons are present in
the vehicle when the vehicle is raised. Changing a wheel
337Wheels and tyres Z
Page 358 of 373
H
Environmental note
Dispose of service products in an environ-
mentally-responsible manner.
Service products include the following:
R fuels
R lubricants (e.g. engine oil, transmission oil)
R coolant
R brake fluid
R windscreen washer fluid
R climate control system refrigerant
Components and service products must be
matched. Mercedes-Benz recommends that
you use products tested and approved by
Mercedes-Benz. They are listed in this
Mercedes-Benz Owner's Manual in the appro-
priate section.
You can identify service products approved
by Mercedes-Benz by the following inscrip-
tions on the container:
R MB-Freigabe (e.g. MB-Freigabe 229.51)
R MB Approval (e.g. MB Approval 229.51)
Other designations or recommendations indi- cate a level of quality or a specification in
accordance with an MB Sheet Number (e.g.
MB 229.5). They have not necessarily been
approved by Mercedes-Benz.
Further information can be obtained from any
Mercedes-Benz Service Centre or on the
Internet at http://bevo.mercedes-benz.com. Fuel
Important safety notes G
WARNING
Fuel is highly flammable. If you handle fuel
incorrectly, there is a risk of fire and explo-
sion.
You must avoid fire, naked flames, creating
sparks and smoking. Switch off the engine
and, if applicable, the auxiliary heating before refuelling. G
WARNING
Fuels are poisonous and hazardous to health. There is a danger of injury.
Do not swallow fuel or let it come into contact
with skin, eyes or clothing. Do not inhale fuel
vapours. Keep fuels out of the reach of chil-
dren.
If you or others come into contact with fuel,
observe the following:
R Wash the fuel off any affected areas of skin
with water and soap immediately.
R If you get fuel in your eyes, rinse them thor-
oughly with clean water immediately. Seek immediate medical attention.
R If fuel is swallowed, seek immediate medi-
cal attention. Do not induce vomiting.
R Change any clothing that has come into
contact with fuel immediately.
Tank capacity The total capacity of the fuel tank may vary,
depending on the vehicle equipment. Missing
values were not available at the time of going
to print. Model Total capa-
city CLA 180 BlueEFFICIENCY
Edition 40 l
or
50.0 l CLA 180 CDI
Models with 4MATIC
56.0 l
All other models
50.0 lService products and capacities
355Technical data Z