2013 MAZDA MODEL MAZDASPEED 3 set clock
[x] Cancel search: set clockPage 247 of 611

Manual Typeí
Temperature control dial
Fan control dial Mode selector dial
Air intake selector A/C switch
Some models.
Rear window defroster switch
qControl Switches
Temperature control dial
Cold Hot
This dial controls temperature. Turn it
clockwise for hot and counterclockwise
for cold.NOTE
(U.S.A.)
When the mode is set to
orwith the fan
control dial in a position other than 0 and the
temperature control dial in the maximum cold
position, the air intake selector switches to the
recirculated air mode and the A/C turns on
automatically.
If A/C is not desired, press the A/C switch to
turn it off.
Fan control dial
6-6
Interior Comfort
íSome models.
Climate Control System
Page 252 of 611

qControl Switches
AUTO switch
By pressing the AUTO switch the
following functions will be automatically
controlled in accordance with the selected
set temperature:
lAirflow temperaturelAmount of airflowlSelection of airflow modelOutside/Recirculated air selectionlAir conditioner operation
NOTE
AUTO switch indicator lightlWhen on, it indicates AUTO operation, and
the system will function automatically.
lIf any of the following dials or switches are
operated while in AUTO control, the AUTO
switch indicator turns off.
lMode selector switchlFan control diallWindshield defroster switch
The functions for dials and switches other
than those operated in the above continue
to operate in AUTO control.
OFF switch
Pressing the OFF switch shuts off the
climate control system.
Temperature control dial
Hot Cold
This dial controls temperature. Turn it
clockwise for hot and counterclockwise
for cold.
lWhen the DUAL switch is off:
Turn the driver temperature control dial
to control the temperature.
lWhen the DUAL switch is on:
Turn the driver or front passenger
temperature control dial to control the
temperature.
NOTE
The system changes to the individual operation
mode (DUAL switch indicator light
illuminated) by turning the front passenger
temperature control dial even when the DUAL
switch is off, which allows individual control
of the set temperature for the driver and front
passenger.
Fan control dial
SlowFast
The fan has seven speeds. The selected
speed will be displayed.
Interior Comfort
Climate Control System
6-11
Page 284 of 611

“UPDATING xx%”is displayed when the
SIRIUS channel map is changed. If the
unit is initialized or the user contract
content is changed,“UPDATING”is
displayed. Updating could take as long as
three minutes depending on the
geographical area. When the unit is in an
initialized state, channel 184 is displayed
after the display indicates
“UPDATING 100%”. If the SIRIUS
channel map or the user contract content
is changed, the channel prior to the
change is displayed after“UPDATING”is
displayed. After the initialization display,
it may take as long as 12 seconds to
receive channel 184.
NOTE
Do not perform the following operation while
“UPDATING”is displayed. Otherwise, the
updating procedure will be cancelled.
lTurning off the audio powerlSwitching to other modeslSwitching the ignition off
When the SIRIUS mode is switched to
another mode, or when the power is
turned off, the present channel which is
being received is stored as the last
channel.
Channel selection
Turning the manual tuning dial allows you
to select the desired receiving channel.
lTurn the knob clockwise: Channel UplTurn the knob counterclockwise:
Channel Down
Unsubscribed channel
When a selected station has not been
subscribed to, the display indicates the
following:
After the channel number is displayed,
[CALL
888] and [539SIRI]
(Flashes alternately) is displayed.NOTE
When the subscription contract is canceled, all
of the channels including channel 184 appear
as unsubscribed.
Invalid channel
The display switches between [SR
(bank number)INVALID] and [SR
(bank number)CHANNEL] only when
a selected channel is not broadcasting.
NOTE
If the last channel selected has become
unavailable because of a channel update the
above indication is displayed until any button
is pressed.
Preset channel programming
(Programming with“channel number”
display)
1. Select the desired channel to be
programmed. At this point, the
following is displayed:
[SR
(bank number)(channel
number)]
2. Keep pressing the channel preset
button for 1.5 seconds or more.
The programming process is complete
after the channel number flashes. Then,
[SR
(bank number)] is displayed
and a beep sound is heard at the same
time.
3. [SR
(bank number)CH
(preset number)(channel number)]
are displayed.
Interior Comfort
Audio System
6-43
Page 285 of 611
![MAZDA MODEL MAZDASPEED 3 2013 Owners Manual (in English) (Programming with“text”display (e.g.
channel name))
1. Select the desired channel to be
programmed. At this point, the
following is displayed:
[SR
(bank number)(selected text
(e.g. channel name))] MAZDA MODEL MAZDASPEED 3 2013 Owners Manual (in English) (Programming with“text”display (e.g.
channel name))
1. Select the desired channel to be
programmed. At this point, the
following is displayed:
[SR
(bank number)(selected text
(e.g. channel name))]](/manual-img/28/15585/w960_15585-284.png)
(Programming with“text”display (e.g.
channel name))
1. Select the desired channel to be
programmed. At this point, the
following is displayed:
[SR
(bank number)(selected text
(e.g. channel name))]
2. Keep pressing the channel preset
button for 1.5 seconds or more.
The programming process is complete
after the text (e.g. channel name)
flashes. Then, [SR
(bank number)]
is displayed and you will hear beep
sound at the same time.
3. [SR
(bank number)CH
(preset number)(channel number)]
are displayed.
4. Three seconds later, it returns to normal
display. [SR
(bank number)(text
(e.g. channel name))]
NOTE
Six stations can be stored in each bank, SR1,
SR2, and SR3 for convenient access to your
favorite stations.
Preset channel call-up
Press and release the channel preset
button,
[SR
(bank number)CH(preset
number)
(channel number)] appears.
When the preset button is pressed during
text mode, its channel number is
displayed first for three second and then
its text is displayed.
NOTE
In the initial setting, all channels are preset to
184.
Category change
Press the category button (
or) and
select the desired category.
lPress the category button ():
Category up
lPress the category button ():
Category down
Every time the category button (
)is
pressed, the category is changed over in
the order shown below.
At this time, the lowest (smallest-number)
channel within the category indicated is
received.
When the highest (or lowest) category is
reached, the category is changed over in
the order shown below.
Highest category→All categories→
Lowest category
NOTE
While all categories are selected, all channels
covering a category can be accessed
(Category off condition).
Channel selection within a category
If you are in a selected category and the
channel number is displayed, turning the
manual tuning dial moves the channel
number up/down in that category.
lTurn the manual tuning dial clockwise:
Channel Up
lTurn the manual tuning dial
counterclockwise: Channel Down
NOTE
The channel number needs to be indicated in
the display to use manual tuning dial for this
function.
6-44
Interior Comfort
Audio System
Page 356 of 611

5. If a selection other than“GO BACK”
is made and the audio control dial is
pressed,“SURE ? NO”is displayed.
6. Rotate the audio control dial clockwise
and switch the display to“SURE ?
YES”.
NOTE
The display changes as follows depending on
whether the audio control dial is rotated
clockwise or counterclockwise.
-Clockwise:“SURE ? YES”displayed
-Counterclockwise:“SURE ? NO”displayed
7. Press the audio control dial to delete
the selected device.
NOTE
Select“GO BACK”and press the audio
control dial to return to the“PAIR DELETE”
display.
8.“PAIR DELETED”is displayed for
three seconds after the deletion is
completed, and then it returns to the
normal display.
NOTE
If an error occurs while trying to delete the
programmed device,“Err”flashes in the
display for three seconds and the display
returns to“LINK DELETE”.
Bluetooth®audio device information
display
1. Using the audio control dial, select the
pair device information display mode
“DEVICE INFO”in the“BT SETUP”
mode. (Refer to“Bluetooth
®audio
device set-up”for details.)
2. Press the audio control dial to
determine the mode.
3. The name of the Bluetooth
®unit
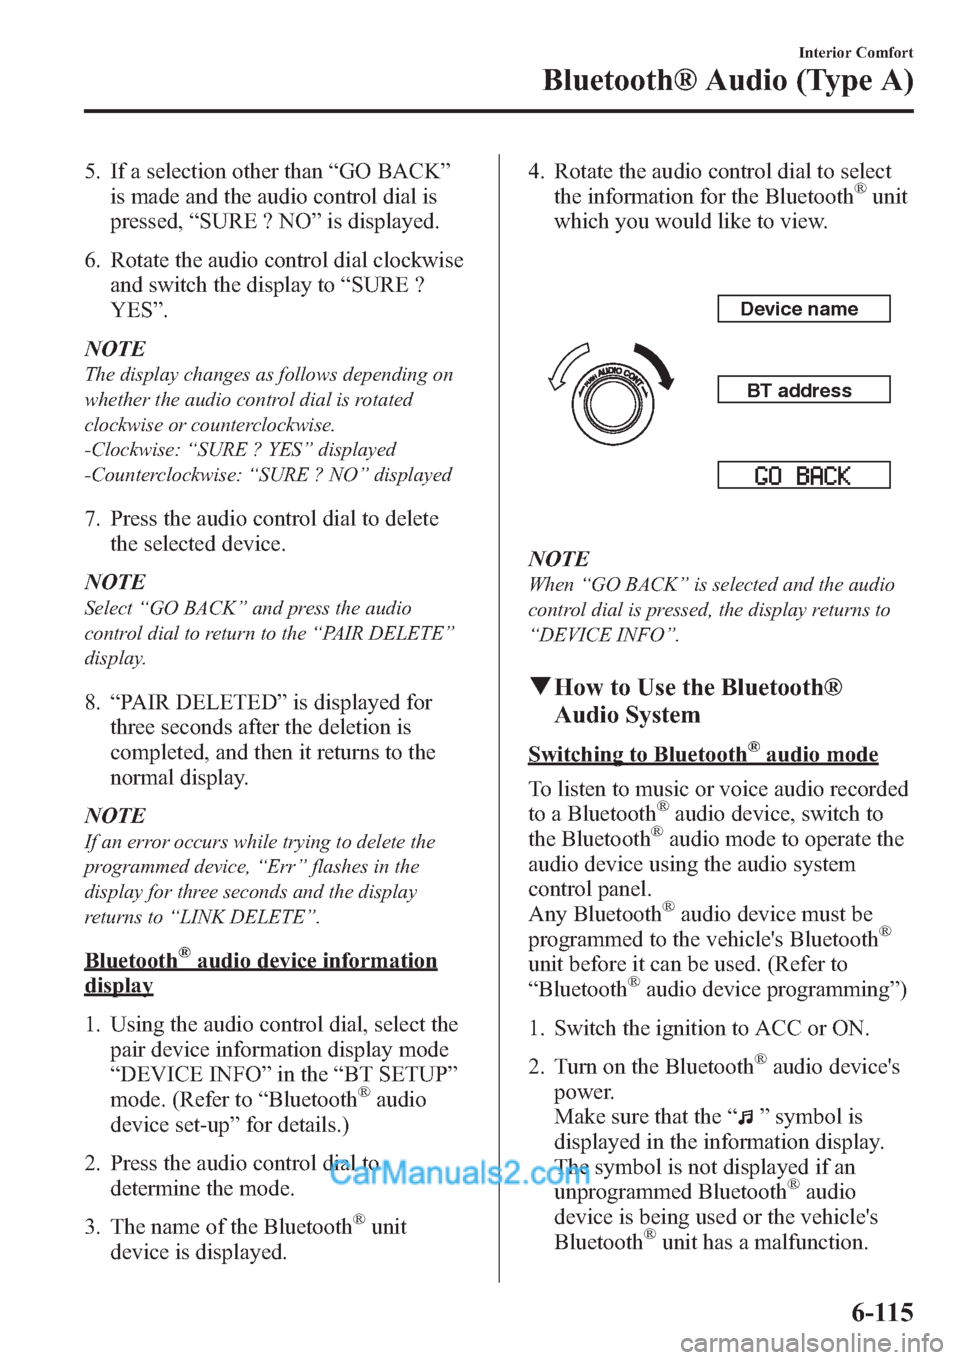
device is displayed.4. Rotate the audio control dial to select
the information for the Bluetooth
®unit
which you would like to view.
Device name
BT address
NOTE
When“GO BACK”is selected and the audio
control dial is pressed, the display returns to
“DEVICE INFO”.
qHow to Use the Bluetooth®
Audio System
Switching to Bluetooth®audio mode
To listen to music or voice audio recorded
to a Bluetooth
®audio device, switch to
the Bluetooth®audio mode to operate the
audio device using the audio system
control panel.
Any Bluetooth
®audio device must be
programmed to the vehicle's Bluetooth®
unit before it can be used. (Refer to
“Bluetooth®audio device programming”)
1. Switch the ignition to ACC or ON.
2. Turn on the Bluetooth
®audio device's
power.
Make sure that the“
”symbol is
displayed in the information display.
The symbol is not displayed if an
unprogrammed Bluetooth
®audio
device is being used or the vehicle's
Bluetooth
®unit has a malfunction.
Interior Comfort
Bluetooth® Audio (Type A)
6-115
Page 420 of 611

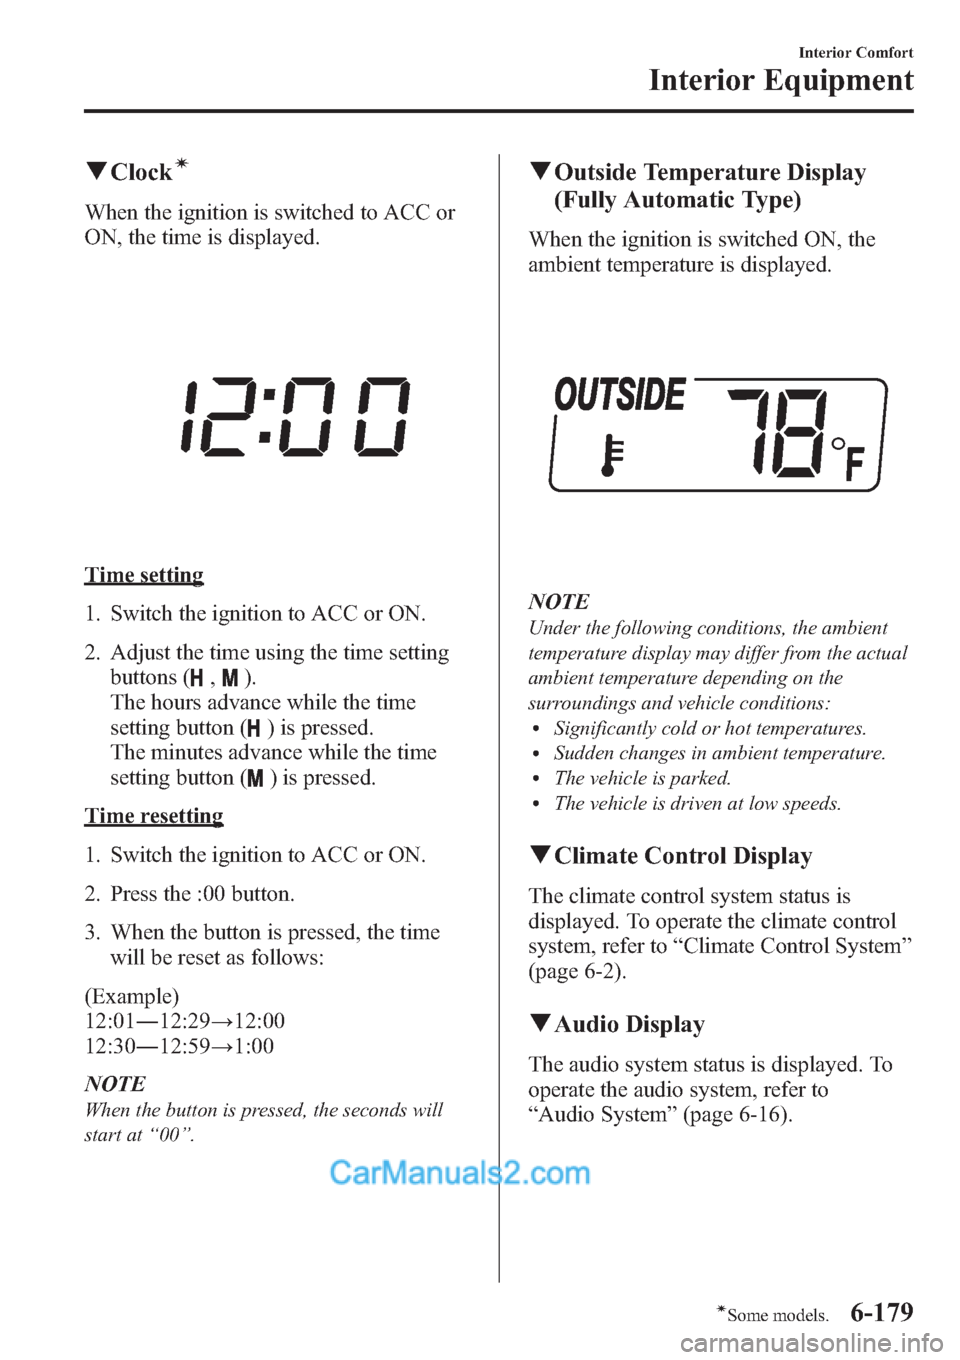
qClockí
When the ignition is switched to ACC or
ON, the time is displayed.
Time setting
1. Switch the ignition to ACC or ON.
2. Adjust the time using the time setting
buttons (
,).
The hours advance while the time
setting button (
) is pressed.
The minutes advance while the time
setting button (
) is pressed.
Time resetting
1. Switch the ignition to ACC or ON.
2. Press the :00 button.
3. When the button is pressed, the time
will be reset as follows:
(Example)
12:01―12:29→12:00
12:30―12:59→1:00
NOTE
When the button is pressed, the seconds will
start at“00”.
qOutside Temperature Display
(Fully Automatic Type)
When the ignition is switched ON, the
ambient temperature is displayed.
NOTE
Under the following conditions, the ambient
temperature display may differ from the actual
ambient temperature depending on the
surroundings and vehicle conditions:
lSignificantly cold or hot temperatures.lSudden changes in ambient temperature.lThe vehicle is parked.lThe vehicle is driven at low speeds.
qClimate Control Display
The climate control system status is
displayed. To operate the climate control
system, refer to“Climate Control System”
(page 6-2).
qAudio Display
The audio system status is displayed. To
operate the audio system, refer to
“Audio System”(page 6-16).
Interior Comfort
Interior Equipment
6-179íSome models.
Page 422 of 611

Switch Function
Enter (up/down) switch Used to select a menu and change numbers. Select up or down and press enter.
Right switch/Left
switchUsed to select digits when setting numbers.
BACK switch Press during SETTINGS to return to the previous screen.
INFO switch Press to switch to the multi information display.
Switches the setting display in the order of Trip computer
(average fuel economy/average vehicle speed)→Trip computer
(current fuel economy/distance-to-empty)→Audio display→Settings
(reset averages/maintenance/preferences). Each time the switch is pressed, the multi
information display cycles through.
qMulti Information Display Functions
Function name Details See page
Clock Constant display of time. 6-181
Outside temperature
displayConstant display of ambient temperature. 6-182
Audio display Displays the audio operation status. Displayed when the INFO switch is
pressed.6-182
Trip computer Displays the average fuel economy, average vehicle speed, current fuel
economy, and distance-to-empty. Displayed when the INFO switch is
pressed.6-182
Maintenance monitor Notification of periodic inspection and tire rotation period 6-183
Warning indicator Notification of the need to take caution 6-188
Settings Used to change the multi information display settings. Displayed when the
INFO switch is pressed.6-188
qClock
The time is displayed when the ignition is
switched to ACC or ON.
Time setting
Refer to Clock on page 6-179.
Time resetting
Refer to Clock on page 6-179.
Interior Comfort
Interior Equipment
6-181
Page 449 of 611

WARNING
Use only the front and rear jacking
positions recommended in this manual:
Attempting to jack the vehicle in
positions other than those
recommended in this manual is
dangerous. The vehicle could slip off
the jack and seriously injure or even
kill someone. Use only the front and
rear jacking positions recommended
in this manual.
Do not jack up the vehicle in a position
other than the designated jack-up
position or place any objects on or
under the jack:
Jacking up the vehicle in a position
other than the designated jack-up
position or placing objects on or
under the jack is dangerous as it
could deform the vehicle body or the
vehicle could fall off the jack
resulting in an accident.
Use only the jack provided with your
Mazda:
Using a jack that is not designed for
your Mazda is dangerous. The vehicle
could slip off the jack and seriously
injure someone.
Never place objects under the jack:
Jacking the vehicle with an object
under the jack is dangerous. The jack
could slip and someone could be
seriously injured by the jack or the
falling vehicle.NOTEIf it is difficult to set the jack due to a lowered
vehicle height for reasons such as a tire
puncture, insert the jack from the middle of the
vehicle and slide it to the designated jack-up
point.
7. Insert the jack handle into the jack.
8. Turn the jack handle clockwise and
raise the vehicle high enough so that
the spare tire can be installed. Before
removing the lug nuts, make sure your
Mazda is firmly in position and that it
cannot slip or move.
7-12
In Case of an Emergency
Flat Tire