Page 324 of 751

731
Maintenance
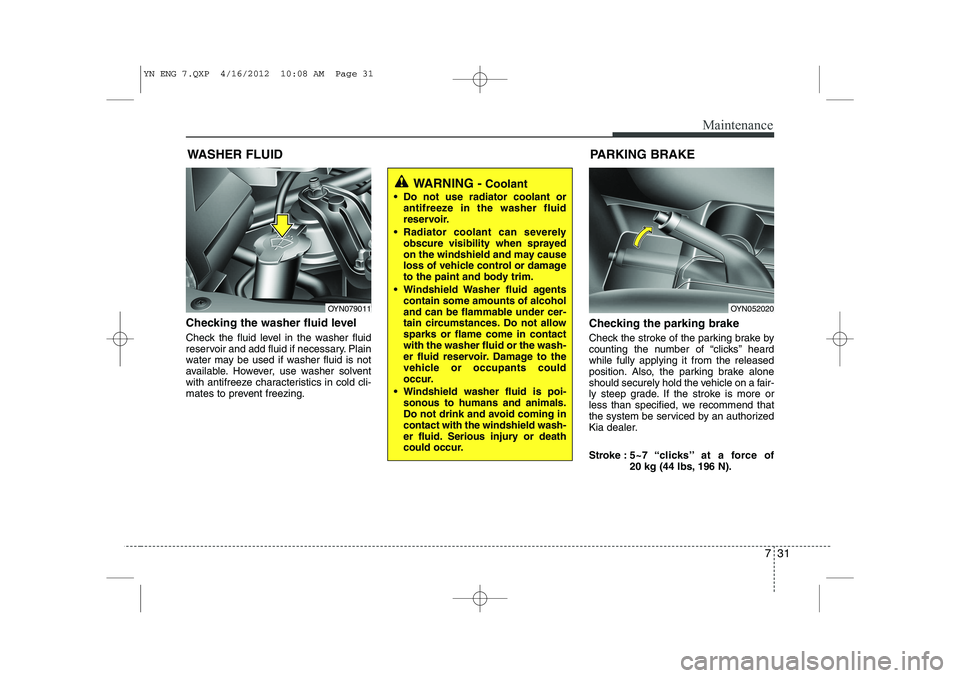
WASHER FLUID
Checking the washer fluid level
Check the fluid level in the washer fluid
reservoir and add fluid if necessary. Plain
water may be used if washer fluid is not
available. However, use washer solvent
with antifreeze characteristics in cold cli-
mates to prevent freezing. Checking the parking brake
Check the stroke of the parking brake by
counting the number of “clicks’’ heardwhile fully applying it from the released
position. Also, the parking brake alone
should securely hold the vehicle on a fair-
ly steep grade. If the stroke is more or
less than specified, we recommend that
the system be serviced by an authorized
Kia dealer.
Stroke :
5~7 “clicks’’ at a force of
20 kg (44 lbs, 196 N).
PARKING BRAKE
WARNING -
Coolant
Do not use radiator coolant or antifreeze in the washer fluid
reservoir.
Radiator coolant can severely obscure visibility when sprayed
on the windshield and may cause
loss of vehicle control or damage
to the paint and body trim.
Windshield Washer fluid agents contain some amounts of alcohol
and can be flammable under cer-
tain circumstances. Do not allowsparks or flame come in contactwith the washer fluid or the wash-
er fluid reservoir. Damage to the
vehicle or occupants could
occur.
Windshield washer fluid is poi- sonous to humans and animals.
Do not drink and avoid coming incontact with the windshield wash-
er fluid. Serious injury or death
could occur.
OYN052020OYN079011
YN ENG 7.QXP 4/16/2012 10:08 AM Page 31
Page 325 of 751
Maintenance
32
7
FUEL FILTER (FOR DIESEL)
Draining water from the fuel filter
The fuel filter for diesel engine plays an
important role of separating water from
fuel and accumulating the water in itsbottom.
If water accumulates in the fuel filter, the
warning light comes on when the ignition
switch is in the ON position. If this warning light illuminates,
we recommend that you con-
tact an authorized Kia dealer.
Extracting air from the fuel filter
If you drove until you have no fuel left or
if you replaced the fuel filter, be sure to
extract air in the fuel system as it makes
you difficult to start the engine.
1. Press the priming pump (1) severaltimes.
2. Open the air extracting hall after removing the bolt (2) using a screw-
driver to extract air.
✽✽ NOTICE
Repeat the procedure above until all the
air is out. ✽
✽
NOTICE
Page 326 of 751
733
Maintenance
AIR CLEANER
Filter replacement
You can clean the filter when inspecting the air cleaner element.
Clean the filter by using compressed air.
1. Loosen the air cleaner cover attaching clips and open the cover. 2. Wipe the inside of the air cleaner.
3. Replace the air cleaner filter.
4. Lock the cover with the cover attaching
clips. Replace the filter according to the
Maintenance Schedule.
If the vehicle is operated in extremely
dusty or sandy areas, replace the ele- ment more often than the usual recom-
mended intervals. (Refer to “Maintenance under severe usage conditions” in thissection.)
OYN079014OYN079015
CAUTION
Do not drive with the air cleaner
removed; this will result in exces-sive engine wear.
When removing the air cleaner fil- ter, be careful that dust or dirtdoes not enter the air intake, or
damage may result.
We recommend that you use parts for replacement from anauthorized Kia dealer.
YN ENG 7.QXP 4/16/2012 10:08 AM Page 33
Page 327 of 751
Maintenance
34
7
CLIMATE CONTROL AIR FILTER (IF EQUIPPED)
Filter inspection
If the vehicle is operated in the severely air-polluted cities or on dusty rough
roads for a long period, it should beinspected more frequently and replaced
earlier. When you, the owner, replace the
climate control air filter, replace it per-
forming the following procedure, and be
careful to avoid damaging other compo-
nents. Replace the filter according to the main-
tenance Schedule.
Filter replacement
1. Open the glove box.2. Loosen the screws (1) and then
remove the glove box inner panel (2).
OJC070013OJC070012
YN ENG 7.QXP 4/16/2012 10:08 AM Page 34
Page 328 of 751
735
Maintenance
3. Remove the climate control air filtercover while pressing the lock on the
right side of the cover. 4. Replace the climate control air filter.
5. Reassemble in the reverse order of
disassembly.
✽✽ NOTICE
When replacing the climate control air
filter install it properly. Otherwise, the
system may produce noise and the effec-
tiveness of the filter may be reduced.
OYF079046OJC070014
YN ENG 7.QXP 4/16/2012 10:08 AM Page 35
Page 329 of 751

Maintenance
36
7
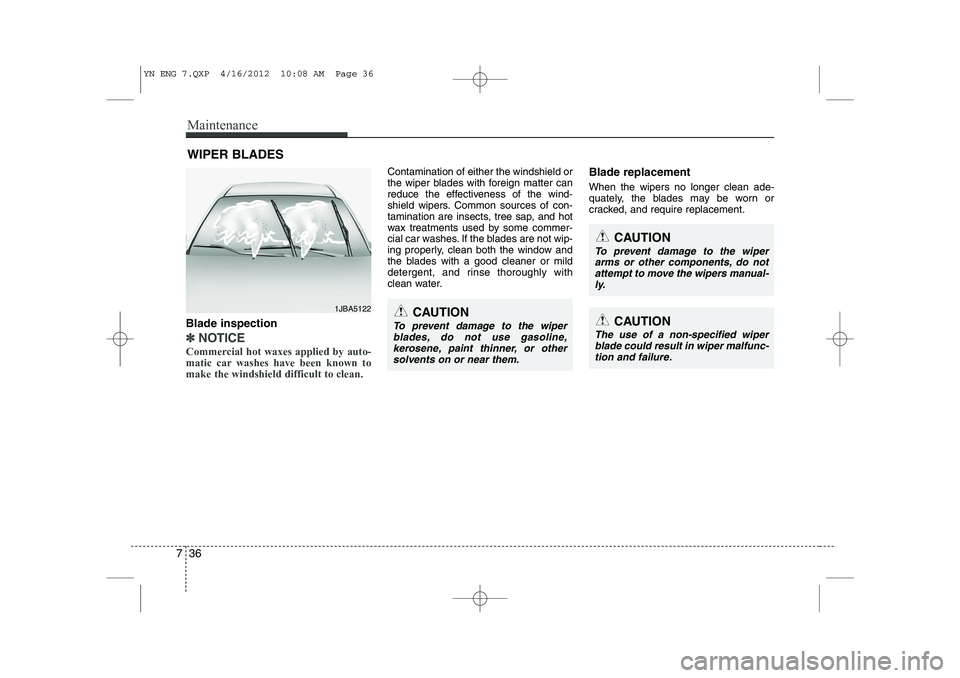
WIPER BLADES
CAUTION
To prevent damage to the wiper
arms or other components, do not
attempt to move the wipers manual- ly.
CAUTION
The use of a non-specified wiperblade could result in wiper malfunc-tion and failure.Blade inspection
✽✽ NOTICE
Commercial hot waxes applied by auto-
matic car washes have been known tomake the windshield difficult to clean.
Contamination of either the windshield or
the wiper blades with foreign matter can
reduce the effectiveness of the wind-
shield wipers. Common sources of con-
tamination are insects, tree sap, and hot
wax treatments used by some commer-
cial car washes. If the blades are not wip-
ing properly, clean both the window and
the blades with a good cleaner or mild
detergent, and rinse thoroughly with
clean water. Blade replacement When the wipers no longer clean ade-
quately, the blades may be worn or
cracked, and require replacement.
1JBA5122CAUTION
To prevent damage to the wiper
blades, do not use gasoline,
kerosene, paint thinner, or other solvents on or near them.
YN ENG 7.QXP 4/16/2012 10:08 AM Page 36
Page 330 of 751
737
Maintenance
Front windshield wiper blade
1. Raise the wiper arm.2. Press the button and slide the blade
assembly upward. 3. Install the blade assembly in the
reverse order of removal.
4. Return the wiper arm on the wind- shield.
CAUTION
Do not allow the wiper arm to fall
against the windshield, since it may
chip or crack the windshield.
OYN079060OYN079061OYN079062
YN ENG 7.QXP 4/16/2012 10:08 AM Page 37
Page 331 of 751
Maintenance
38
7
Rear window wiper blade
1. Raise the wiper arm and pull out the
wiper blade assembly. 2. Install the new blade assembly by
inserting the center part into the slot in
the wiper arm until it clicks into place.
3. Make sure the blade assembly is installed firmly by trying to pulling it
slightly.
4. Place back the wiper arm to the prop- er position.
OED076041OED076040
YN ENG 7.QXP 4/16/2012 10:09 AM Page 38