Page 425 of 655
reasons. A child or others could be seriously or
fatally injured. Children should be warned not to
touch the parking brake, brake pedal or the shift
lever. Do not leave the key in")
WARNING! (Continued)reasons. A child or others could be seriously or
fatally injured. Children should be warned not to
touch the parking brake, brake pedal or the shift
lever. Do not leave the key in or near the vehicle. A
child could operate power windows, other controls,
or move the vehicle.
CAUTION!• Before moving the shift lever out of PARK, you
must turn the ignition switch from the LOCK/OFF
position to the ON/RUN position, and also press
the brake pedal. Otherwise, damage to the shift
lever could result.
• DO NOT race the engine when shifting from
PARK or NEUTRAL into another gear range, as this
can damage the drivetrain. The following indicators should be used to ensure that
you have engaged the shift lever into the PARK position:
• When shifting into PARK, firmly move the shift lever
all the way forward and to the left until it stops and is
fully seated.
• Look at the shift lever position display and verify that
it indicates the PARK position.
• With brake pedal released, verify that the shift lever
will not move out of PARK.
REVERSE
This range is for moving the vehicle backward. Shift into
REVERSE only after the vehicle has come to a complete
stop.
5 STARTING AND OPERATING 423
Page 431 of 655

In the event that additional traction is required, the
transfer case 4H and 4L positions can be used to lock the
front and rear driveshafts together, forcing the front and
rear wheels to rotate at the same speed. This is accom-
plished by simply moving the shift lever to one of these
positions. The 4H and 4L positions are intended for loose,
slippery road surfaces only and not intended for normal
driving. Driving in the 4H and 4L positions on hard-
surfaced roads will cause increased tire wear and damage
to the driveline components.
The “4WD Indicator Light” (located in the instrument
cluster) alerts the driver that the vehicle is in four-wheel
drive, and the front and rear driveshafts are locked
together. The light will illuminate when the transfer case
is shifted into the 4H position.
NOTE: Do not attempt to shift when only the front or
rear wheels are spinning. The transfer case is not
equipped with a synchronizer, and the front and rear driveshaft speeds must be equal for a shift to take place.
Shifting while only the front or rear wheels are spinning
can cause damage to the transfer case.
When operating your vehicle in 4L, the engine speed will
be approximately three times (four times for Rubicon
models) that of the 2H or 4H positions at a given road
speed. Take care not to overspeed the engine.
Proper operation of four-wheel drive vehicles depends
on tires of equal size, type, and circumference on each
wheel. Any difference will adversely affect shifting and
cause damage to the transfer case.
Because four-wheel drive provides improved traction,
there is a tendency to exceed safe turning and stopping
speeds. Do not go faster than road conditions permit.
5 STARTING AND OPERATING 429
Page 432 of 655

position without first fully engaging the parking brake.
The transfer case N (Neutr")
WARNING!You or others could be injured if you leave the vehicle
unattended with the transfer case in the N (Neutral)
position without first fully engaging the parking brake.
The transfer case N (Neutral) position disengages both
the front and rear driveshaft from the powertrain, and
will allow the vehicle to move regardless of the trans-
mission position. The parking brake should always be
applied when the driver is not in the vehicle.
Shift Positions
For additional information on the appropriate use of each
transfer case mode position, see the information below:
2H Position
This range is used for normal street and highway driving
on hard-surfaced roads. 4H Position
This range locks the front and rear driveshafts together,
forcing the front and rear wheels to rotate at the same
speed. This range (4H) provides additional traction for
loose, slippery road surfaces and should not be used on
dry pavement.
The “4WD Indicator Light” (located in the instrument
cluster) will illuminate when the transfer case is shifted
into the 4H position.
N (Neutral) Position
This range disengages the front and rear driveshafts from
the powertrain. It is to be used for flat towing behind
another vehicle. Refer to “Recreational Towing” in “Start-
ing and Operating” for further information.
4L Position
This range locks the front and rear driveshafts together,
forcing the front and rear wheels to rotate at the same430 STARTING AND OPERATING
Page 435 of 655
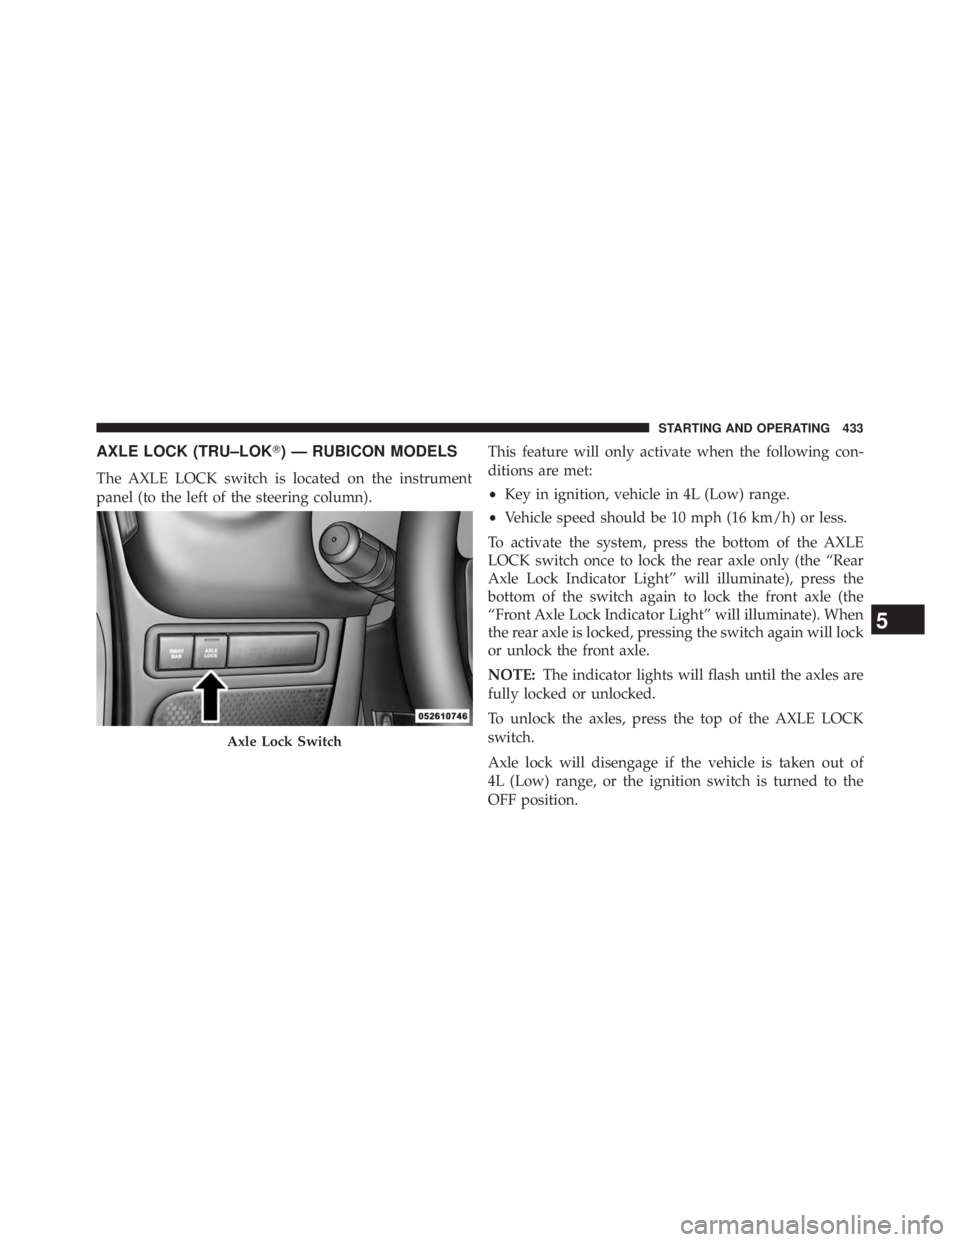
AXLE LOCK (TRU–LOK � ) — RUBICON MODELS
The AXLE LOCK switch is located on the instrument
panel (to the left of the steering column). This feature will only activate when the following con-
ditions are met:
• Key in ignition, vehicle in 4L (Low) range.
• Vehicle speed should be 10 mph (16 km/h) or less.
To activate the system, press the bottom of the AXLE
LOCK switch once to lock the rear axle only (the “Rear
Axle Lock Indicator Light” will illuminate), press the
bottom of the switch again to lock the front axle (the
“Front Axle Lock Indicator Light” will illuminate). When
the rear axle is locked, pressing the switch again will lock
or unlock the front axle.
NOTE: The indicator lights will flash until the axles are
fully locked or unlocked.
To unlock the axles, press the top of the AXLE LOCK
switch.
Axle lock will disengage if the vehicle is taken out of
4L (Low) range, or the ignition switch is turned to the
OFF position.Axle Lock Switch
5 STARTING AND OPERATING 433
Page 437 of 655
; you may lose")
sway bar should remain in on-road mode during normal
driving conditions.
WARNING!Do not disconnect the stabilizer bar and drive on
hard-surfaced roads or at speeds above 18 mph
(29 km/h); you may lose control of the vehicle, which
could result in serious injury. The front stabilizer bar
enhances vehicle stability and is necessary for main-
taining control of the vehicle. The system monitors
vehicle speed and will attempt to reconnect the
stabilizer bar at speeds over 18 mph (29 km/h). This is
indicated by a flashing or solid “Sway Bar Indicator
Light.” Once vehicle speed is reduced below 14 mph
(22 km/h), the system will once again attempt to
return to off-road mode. To disconnect the stabilizer/sway bar, shift to either 4H
or 4L and press the SWAY BAR switch to obtain the
off-road position. Refer to “Four-Wheel Drive Operation”
in “Starting and Operating” for further information. The
“Sway Bar Indicator Light” will flash until the stabilizer/
sway bar has been fully disconnected.
NOTE: The stabilizer/sway bar may be torque locked
due to left and right suspension height differences. This
condition is due to driving surface differences or vehicle
loading. In order for the stabilizer/sway bar to
disconnect/reconnect, the right and left halves of the bar
must be aligned. This alignment may require that the
vehicle be driven onto level ground or rocked from side
to side.
5 STARTING AND OPERATING 435
Page 447 of 655

Driving Downhill
Before driving down a steep hill, you need to determine
if it is too steep for a safe descent. What is the surface
traction? Is the grade too steep to maintain a slow,
controlled descent? Are there obstacles? Is it a straight
descent? Is there plenty of distance at the base of the hill
to regain control if the vehicle descends to fast? If you feel
confident in your ability to proceed, then make sure you
are in 4L (Low) and proceed with caution. Allow engine
braking to control the descent and apply your brakes, if
necessary, but do not allow the tires to lock.
WARNING!Do not descend a steep grade in NEUTRAL. Use
vehicle brakes in conjunction with engine braking.
Descending a grade too fast could cause you to lose
control and be seriously injured. Driving Across An Incline
If at all possible, avoid driving across an incline. If it is
necessary, know your vehicle’s abilities. Driving across
an incline places more weight on the downhill wheels,
which increases the possibilities of a downhill slide or
rollover. Make sure the surface has good traction with
firm and stable soils. If possible, transverse the incline at
an angle heading slightly up or down.
WARNING!Driving across an incline increases the risk of a
rollover , which may result in severe injury.
5 STARTING AND OPERATING 445
Page 448 of 655

If You Stall Or Begin To Lose Headway
If you stall or begin to lose headway while climbing a
steep hill, allow your vehicle to come to a stop and
immediately apply the brake. Restart the engine and shift
into REVERSE. Back slowly down the hill allowing
engine braking to control the descent and apply your
brakes, if necessary, but do not allow the tires to lock.
WARNING!If the engine stalls or you lose headway or cannot
make it to the top of a steep hill or grade, never attempt
to turn around. To do so may result in tipping and
rolling the vehicle, which may result in severe injury.
Always back carefully straight down a hill in RE-
VERSE. Never back down a hill in NEUTRAL using
only the vehicle brakes. Never drive diagonally across
a hill, always drive straight up or down. Driving Through Water
Extreme care should be taken crossing any type of water.
Water crossings should be avoided, if possible, and only
be attempted when necessary in a safe, responsible
manner. You should only drive through areas which are
designated and approved. You should tread lightly and
avoid damage to the environment. You should know
your vehicle’s abilities and be able to recover it if
something goes wrong. You should never stop or shut a
vehicle off when crossing deep water unless you ingested
water into the engine air intake. If the engine stalls, do
not attempt to restart it. Determine if it has ingested
water first. The key to any crossing is low and slow. Shift
into first gear (manual transmission), or DRIVE (auto-
matic transmission), with the transfer case in the 4L
(Low) position and proceed very slowly with a constant
slow speed {3 to 5 mph (5 to 8 km/h) maximum} and
light throttle. Keep the vehicle moving; do not try to446 STARTING AND OPERATING
Page 455 of 655

When the parking brake is applied with the ignition
switch ON, the “Brake Warning Light” in the instrument
cluster will illuminate.
NOTE:
• When the parking brake is applied and the automatic
transmission is placed in gear, the “Brake Warning
Light” will flash. If vehicle speed is detected, a chime
will sound to alert the driver. Fully release the parking
brake before attempting to move the vehicle.
• This light only shows that the parking brake is applied.
It does not show the degree of brake application.
When parking on a hill, it is important to turn the front
wheels toward the curb on a downhill grade and away
from the curb on an uphill grade. For vehicles equipped
with an automatic transmission, apply the parking brake before placing the shift lever in PARK, otherwise the load
on the transmission locking mechanism may make it
difficult to move the shift lever out of PARK. The parking
brake should always be applied whenever the driver is
not in the vehicle.
WARNING!• Never use the PARK position on an automatic
transmission as a substitute for the parking brake.
Always apply the parking brake fully when parked
to guard against vehicle movement and possible
injury or damage.
• When leaving the vehicle, always remove the key
fob from the ignition and lock your vehicle. (Continued)
5 STARTING AND OPERATING 453