Page 123 of 661
 Menu .......238
▫ Display Warnings And Maintenance ........240
▫ Precautions While Driving With ACC .......243
▫ General Information ...................247
▫ N")
▫Adaptive Cruise Control (ACC) Menu .......238
▫ Display Warnings And Maintenance ........240
▫ Precautions While Driving With ACC .......243
▫ General Information ...................247
▫ Normal (Fixed Speed) Cruise Control Mode . . .248
▫ Forward Collision Warning — If Equipped. . . .250
� PARKSENSE� REAR PARK ASSIST — IF
EQUIPPED .......................... .254
▫ ParkSense� Sensors....................255
▫ ParkSense� Warning Display .............256
▫ ParkSense� Display....................257
▫ Enabling And Disabling ParkSense� ........260
▫ Service The ParkSense� Rear Park Assist
System ............................ .261▫
Cleaning The ParkSense� System..........261
▫ ParkSense� System Usage Precautions .......262
� PARKVIEW� REAR BACK UP CAMERA — IF
EQUIPPED .......................... .264
▫ Turning ParkView� On Or Off — With
Navigation/Multimedia Radio ............266
▫ Turning ParkView� On Or Off — Without
Navigation/Multimedia Radio ............266
� OVERHEAD CONSOLE ..................267
▫ Front Map/Reading Lights ..............267
▫ Courtesy Lights ...................... .268
▫ Sunglasses
Bin Door ...................269
� GARAGE DOOR OPENER — IF EQUIPPED . . .269
▫ Before You Begin Programming HomeLink� . . .271
3
UNDERSTANDING THE FEATURES OF YOUR VEHICLE 121
Page 124 of 661

▫Programming A Rolling Code .............272
▫ Programming A Non-Rolling Code .........274
▫ Canadian/Gate Operator Programming ......275
▫ Using HomeLink� .....................277
▫ Security ........................... .277
▫ Troubleshooting Tips ...................277
▫ General Information ....................278
� POWER SUNROOF — IF EQUIPPED ........279
▫ Opening Sunroof — Express ..............280
▫ Opening Sunroof — Manual Mode .........284
▫ Closing Sunroof — Express ...............280
▫ Closing Sunroof — Manual Mode ..........284
▫ Pinch Protect Feature ...................285 ▫
Venting Sunroof — Express ..............281
▫ Sunshade Operation ....................281
▫ Wind Buffeting ...................... .282
▫ Sunroof Maintenance ...................282
▫ Ignition OFF Operation .................282
� COMMANDVIEW� SUNROOF WITH
POWER SHADE — IF EQUIPPED ..........282
▫ Opening Sunroof — Express ..............284
▫ Opening Sunroof — Manual Mode .........284
▫ Closing Sunroof — Express ...............284
▫ Closing Sunroof — Manual Mode ..........284
▫ Opening Power Shade — Express ..........284
▫ Opening Power Shade — Manual Mode .....285
122 UNDERSTANDING THE FEATURES OF YOUR VEHICLE
Page 269 of 661
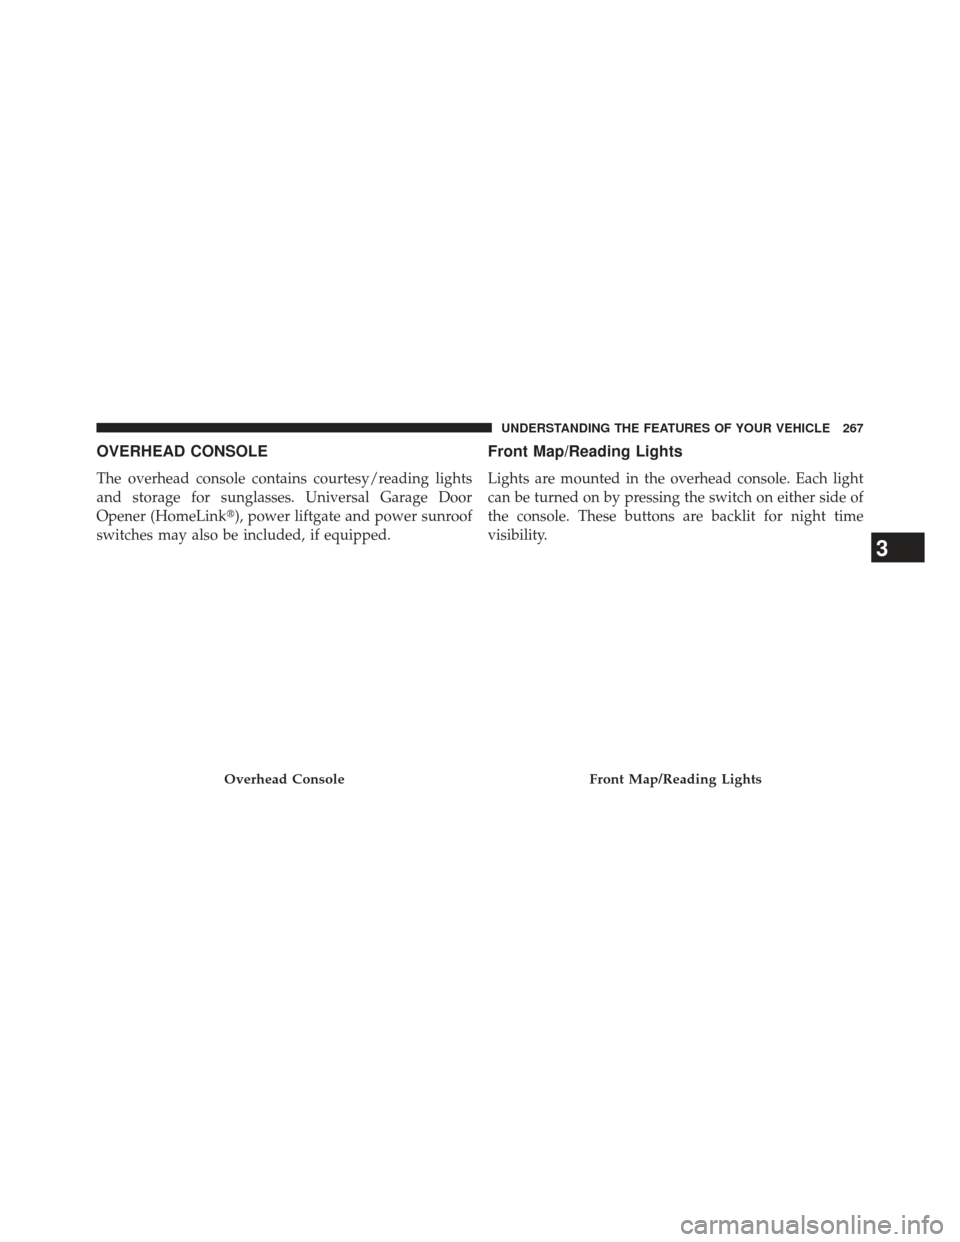
OVERHEAD CONSOLE
The overhead console contains courtesy/reading lights
and storage for sunglasses. Universal Garage Door
Opener (HomeLink�), power liftgate and power sunroof
switches may also be included, if equipped.
Front Map/Reading Lights
Lights are mounted in the overhead console. Each light
can be turned on by pressing the switch on either side of
the console. These buttons are backlit for night time
visibility.
Overhead ConsoleFront Map/Reading Lights
3
UNDERSTANDING THE FEATURES OF YOUR VEHICLE 267
Page 271 of 661
Sunglasses Bin Door
At the front of the console a compartment is provided for
the storage of a pair of sunglasses. The storage compart-
ment access is a “push/push” design. Push the chrome
pad on the door to open. Push the chrome pad on the
door to close.
GARAGE DOOR OPENER — IF EQUIPPED
HomeLink�replaces up to three hand-held transmitters
that operate devices such as garage door openers, motor-
ized gates, lighting or home security systems. The
HomeLink� unit is powered by your vehicles 12 Volt
battery.
Sunglasses Bin Door
3
UNDERSTANDING THE FEATURES OF YOUR VEHICLE 269
Page 272 of 661
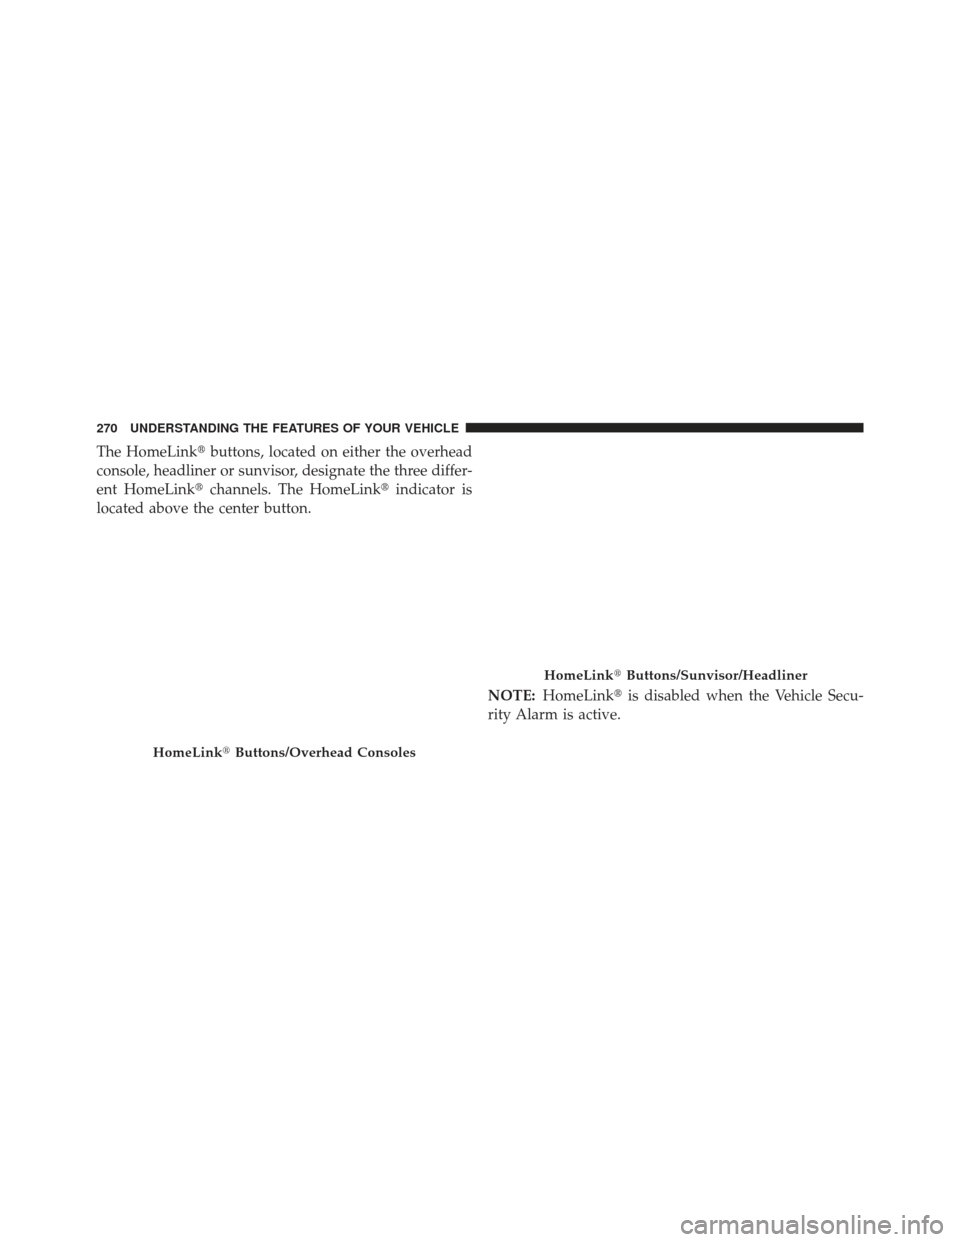
The HomeLink�buttons, located on either the overhead
console, headliner or sunvisor, designate the three differ-
ent HomeLink� channels. The HomeLink� indicator is
located above the center button.
NOTE:HomeLink� is disabled when the Vehicle Secu-
rity Alarm is active.
HomeLink� Buttons/Overhead Consoles
HomeLink�Buttons/Sunvisor/Headliner
270 UNDERSTANDING THE FEATURES OF YOUR VEHICLE
Page 273 of 661
Before You Begin Programming HomeLink�
Be sure that your vehicle is parked outside of the garage
before you begin programming.
For more efficient programming and accurate transmis-
sion of the radio-frequency signal it is recommended that
a new battery be placed in the hand-held transmitter of
the device that is being programmed to the HomeLink �
system.
Erase all channels before you begin programming. To
erase the channels place the ignition in the ON/RUN
position and press and hold the two outside HomeLink �
buttons (I and III) for up 20 seconds or until the red
indicator flashes. NOTE:
•
Erasing all channels should only be performed when
programming HomeLink� for the first time. Do not
erase channels when programming additional buttons.
• If you have any problems, or require assistance, please
call toll-free 1–800–355–3515 or, on the Internet at
www.HomeLink.com for information or assistance.
3
UNDERSTANDING THE FEATURES OF YOUR VEHICLE 271
Page 275 of 661
away from the HomeLink� button you wish to pro-
gram while keeping the HomeLink� indicator light i")
1. Cycle the ignition to the ON/RUN position.
2. Place the hand-held transmitter 1 to 3 in (3 to 8 cm)away from the HomeLink� button you wish to pro-
gram while keeping the HomeLink� indicator light in
view.
3. Simultaneously press and hold both the HomeLink� button you want to program and the hand-held trans-
mitter button.
4. Continue to hold both buttons and observe the indi- cator light. The HomeLink� indicator will flash slowly
and then rapidly after HomeLink� has received the
frequency signal from the hand-held transmitter. Re-
lease both buttons after the indicator light changes
from slow to rapid. 5. At the garage door opener motor (in the garage),
locate the “LEARN” or “TRAINING” button. This can
usually be found where the hanging antenna wire is
attached to the garage door opener/device motor.
Firmly press and release the “LEARN” or “TRAIN-
ING” button. On some garage door openers/devices
there may be a light that blinks when the garage door
opener/device is in the LEARN/TRAIN mode.
NOTE: You have 30 seconds in which to initiate the next
step after the LEARN button has been pressed.
6. Return to the vehicle and press the programmed HomeLink� button twice (holding the button for two
seconds each time). If the garage door opener/device
activates, programming is complete.
NOTE: If the garage door opener/device does not acti-
vate, press the button a third time (for two seconds) to
complete the training.
3
UNDERSTANDING THE FEATURES OF YOUR VEHICLE 273
Page 276 of 661

To program the remaining two HomeLink�buttons,
repeat each step for each remaining button. DO NOT
erase the channels.
Reprogramming A Single HomeLink �Button
To reprogram a channel that has been previously trained,
follow these steps:
1. Cycle the ignition to the ON/RUN position.
2. Press and hold the desired HomeLink� button until
the indicator light begins to flash after 20 seconds. Do
not release the button.
3. Without releasing the button proceed with “Program-
ming A Rolling Code” Step 2 and follow all remaining
steps.
Programming A Non-Rolling Code
For programming Garage Door Openers manufactured
before 1995.
1. Cycle the ignition to the ON/RUN position.
2. Place the hand-held transmitter 1 to 3 in (3 to 8 cm) away from the HomeLink� button you wish to pro-
gram while keeping the HomeLink� indicator light in
view.
3. Simultaneously press and hold both the HomeLink� button you want to program and the hand-held trans-
mitter button.
4. Continue to hold both buttons and observe the indi- cator light. HomeLink� indicator will flash slowly and
then rapidly after HomeLink� has received the fre-
quency signal from the hand-held transmitter. Release
both buttons after the indicator light changes from
slow to rapid.
274 UNDERSTANDING THE FEATURES OF YOUR VEHICLE