Page 421 of 661
Station List Menu
When listening to Satellite audio, pressing the remote
control’s MENU button displays a list of all available
channels. Navigate this list using the remote control’s
navigation buttons (�,�) to find the desired station,
press the remote control’s ENTER button to tune to that
station. To jump through the list more quickly, navigate
to the Page Up and Page Down icons on the screen.
Disc Menu
When listening to a CD Audio or CD Data disc, pressing
the remote control’s MENU button displays a list of all
commands which control playback of the disc. Using the
options you can activate or cancel Scan play and Random
play.
Disc Menu For CDs
4
UNDERSTANDING YOUR INSTRUMENT PANEL 419
Page 422 of 661
Display Settings
When watching a video source (DVD Video with the disc in
Play mode, Aux Video, SIRIUS Backseat TV™, etc.), press-
ing the remote control’s SETUP button activates the Dis-
play Settings menu. These settings control the appearance
of the video on the screen. The factory default settings are
already set for optimum viewing, so there is no need to
change these settings under normal circumstances.
To change the settings, press the remote control’s navi-
gation buttons (�,�) to select an item, then press the
remote control’s navigation buttons (�, �) to change the
value for the currently selected item. To reset all values
back to the original settings, select the Default Settings
menu option and press the remote control’s ENTER
button.
Disc Features control the remote DVD player’s (if
equipped) settings of DVD being watched in the remote
player.
Listening To Audio With The Screen Closed
To listen to only audio portion of the channel with the
screen closed:
• Set the audio to the desired source and channel.
• Close the video screen.
Video Screen Display Settings
420 UNDERSTANDING YOUR INSTRUMENT PANEL
Page 423 of 661
•To change the current audio mode, press the remote
control’s MODE button. This will automatically select
the next available audio mode without using the Mode
Select menu.
• When the screen is reopened, the video screen will
automatically turn back on and show the appropriate
display menu or media.
If the screen is closed and there is no audio heard, verify
that the headphones are turned on (the ON indicator is
illuminated) and the headphone selector switch is on the
desired channel. If the headphones are turned on, press
the remote control’s power button to turn audio on. If
audio is still not heard, check that fully charged batteries
are installed in the headphones.Disc Formats
The VES™ DVD player is capable of playing the follow-
ing types of discs (12 mm or 8 mm diameter):
• DVD-Video discs (MPEG-2 video compression) (see
notes about DVD Region Codes)
• DVD-Audio discs (2 channel audio output only)
• Audio Compact Discs (CDs)
• CD Data discs with MP3 and WMA compressed audio
format files
• Video CDs (MPEG-1 video compression)
DVD Region Codes
The VES™ DVD player and many DVD discs are coded
by geographic region. These region codes must match in
4
UNDERSTANDING YOUR INSTRUMENT PANEL 421
Page 424 of 661
order for the disc to play. If the region code for the DVD
disc does not match the region code for the player, the
disc will not play and will be ejected.
DVD Audio Support
When a DVD-Audio disc is inserted in the VES™ DVD
player, the DVD-Audio title on the disc is played by
default (most DVD-Audio discs also have a Video title,
but the Video title is ignored). All multi-channel program
material is automatically mixed down to two channels,
which may result in a lowered apparent volume level. If
you increase the volume level to account for this change
in level, remember to lower the volume before changing
the disc or to another mode.
Recorded Discs
The VES™ DVD player will play CD-R and CD-RW discs
recorded in CD-Audio or Video-CD format, or as a
CD-ROM containing MP3 or WMA files. The player willalso play DVD-Video content recorded to a DVD-R or
DVD-RW disc. DVD-ROM discs (either pressed or re-
corded) are not supported.
If you record a disc using a personal computer, there may
be cases where the VES™ DVD player may not be able to
play some or the entire disc, even if it is recorded in a
compatible format and is playable on other players. To
help avoid playback problems, use the following guide-
lines when recording discs.
•
Open sessions are ignored. Only sessions that are
closed are playable.
• For multi-session CDs that contain only multiple CD-
Audio sessions, the player will renumber the tracks so
each track number is unique.
422 UNDERSTANDING YOUR INSTRUMENT PANEL
Page 425 of 661
•For CD Data (or CD-ROM) discs, always use the
ISO-9660 (Level 1 or Level 2), Joliet, or Romeo format.
Other formats (such as UDF, HFS, or others) are not
supported.
• The player recognizes a maximum of 512 files and 99
folders per CD-R and CD-RW disc.
• Mixed media recordable DVD formats will only play
the Video_TS portion of the disc.
If you are still having trouble writing a disc that is
playable in the VES™ DVD player, check with the disc
recording software publisher for more information about
burning playable discs.
The recommended method for labeling recordable discs
(CD-R, CD-RW, and DVD-R) is with a permanent marker.
Do not use adhesive labels as they may separate from the
disc, become stuck, and cause permanent damage to the
DVD player. Compressed Audio Files (MP3 and WMA)
The DVD player is capable of playing MP3 (MPEG-1
Audio Layer 3) and WMA (Windows Media Audio) files
from a CD Data disc (usually a CD-R or CD-RW).
•
The DVD player always uses the file extension to
determine the audio format, so MP3 files must always
end with the extension �.mp3�or�.MP3� and WMA
files must always end with the extension �.wma�or
�.WMA�. To prevent incorrect playback, do not use
these extensions for any other types of files.
• For MP3 files, only version 1 ID3 tag data (such as
artist name, track title, album, etc.) are supported.
• Any file that is copy protected (such as those down-
loaded from many online music stores) will not play.
The DVD player will automatically skip the file and
begin playing the next available file.
4
UNDERSTANDING YOUR INSTRUMENT PANEL 423
Page 432 of 661
General Information
This system complies with Part 15 of the FCC Operation
is subject to the following two conditions:
1. This device may not cause harmful interference.
2. This device must accept any interference received,including interference that may cause undesired op-
eration.
HARMAN KARDON� HIGH PERFORMANCE
SOUND SYSTEM WITH DRIVER-SELECTABLE
SURROUND (DSS) – IF EQUIPPED
Your vehicle is equipped with a Harman Kardon�
GreenEdge™ audio system which offers superior sound
quality and high Sound Pressure Levels (SPL) with
minimum energy consumption. The new system utilizes
unique amplifier and speaker technologies delivering
substantial increases in component and system efficiency
levels.
The 12 Channel High Voltage GreenEdge™ Class D ampli-
fier provides 7.1-channel simulated surround sound from
any stereo audio source. The Harman Kardon �audio
system offers the ability to choose surround sound for any
audio source while the high-efficiency speaker designs
ensure higher SPL with a dramatic increase in dynamic
sound quality. The speakers are tuned for maximum effi-
ciency and perfectly matched to the amplifier output stage
ensuring state of the art multi-seat surround sound pro-
cessing.
“Audio Surround” is optimized for front seat passengers
for any audio source. This surround effect is available for
audio from any source – AM/FM/CD/ Satellite Radio or
AUX – and is activated through the Electronic Vehicle
Information Center (EVIC). Refer to “Driver-Selectable
Surround Sound (DSS)” under “Electronic Vehicle Infor-
mation Center (EVIC)” in “Understanding Your Instru-
ment Panel”.
430 UNDERSTANDING YOUR INSTRUMENT PANEL
Page 433 of 661
DSS modes for audio sources are “Stereo” and “Audio
Surround,” which is surround sound equalized for the
front seat occupants. The “Video Surround” mode is
described under Driver-Selectable Surround (DSS). The
Video Surround Mode will only be available for video
media sources (DVDs, Video CDs, or other video media
supported by the radio). Some audio will sound better in
DSS modes, others in Stereo mode.
When in “Audio Surround” mode, balance is set auto-
matically. Fader control is available in surround mode
but should be set to the center position for optimal
surround performance.
STEERING WHEEL AUDIO CONTROLS
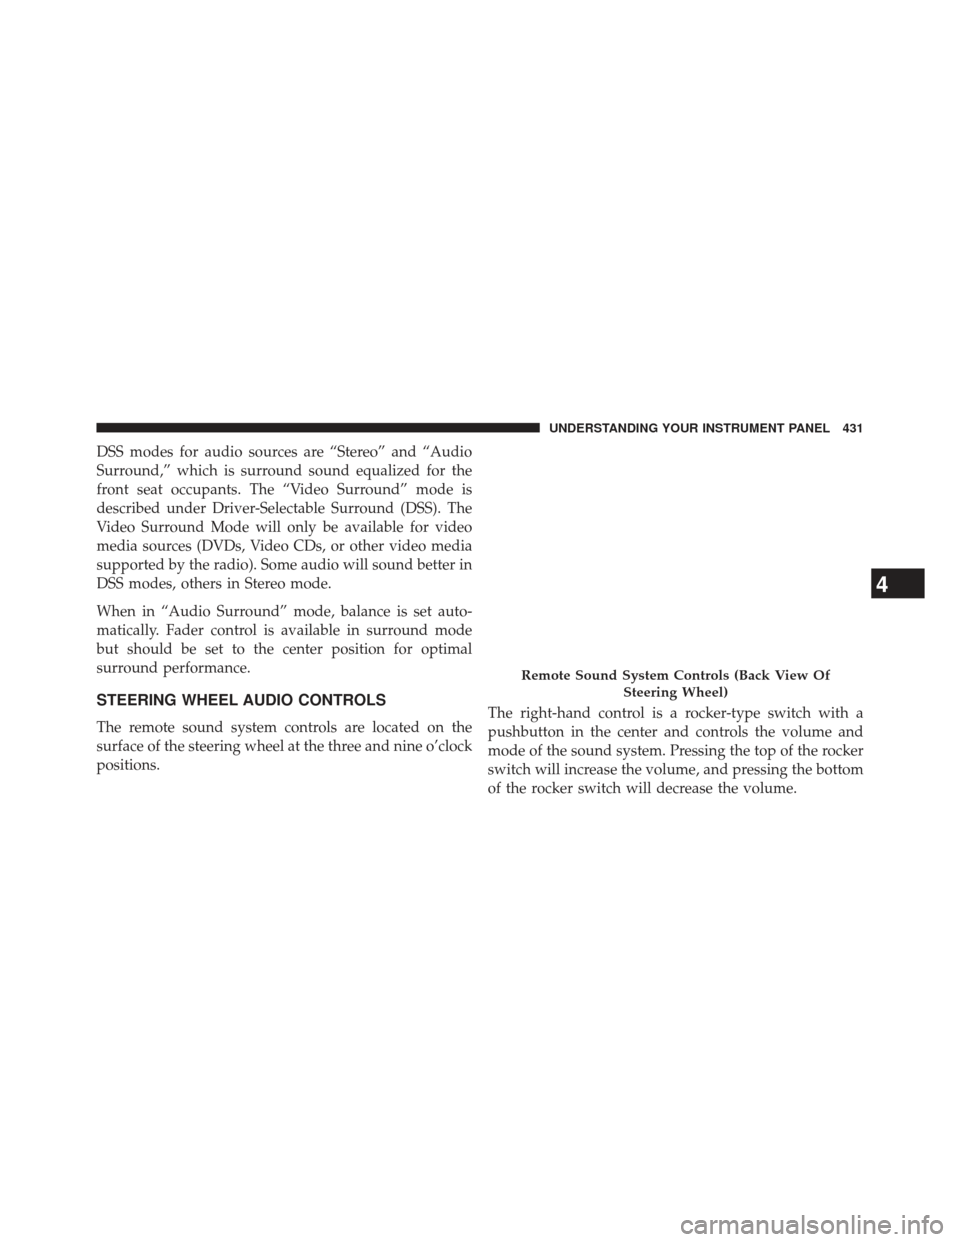
The remote sound system controls are located on the
surface of the steering wheel at the three and nine o’clock
positions.The right-hand control is a rocker-type switch with a
pushbutton in the center and controls the volume and
mode of the sound system. Pressing the top of the rocker
switch will increase the volume, and pressing the bottom
of the rocker switch will decrease the volume.
Remote Sound System Controls (Back View Of
Steering Wheel)
4
UNDERSTANDING YOUR INSTRUMENT PANEL 431
Page 600 of 661
Cavity Car-tridgeFuse Mini
Fuse Description
M11 10 Amp
Red Heating, Ventilation
& Air Conditioning (Climate Control System)
M12 30 Amp
Green Radio/Amplifier
M13 20 Amp
Yellow Instrument Cluster
M14 20 Amp
Yellow Back Up Camera –
If EquippedCavity Car- tridgeFuse Mini
Fuse Description
M15 20 Amp YellowPower Seat
Module(s)/
Adaptive Cruise Control/Audio
Telematics/Daytime Running Lights
Relay/Air Suspen- sion Module/
Instrument Cluster
M16 10 Amp RedOccupant Restraint
Controller
M18 15 Amp BlueStop Lamp
M19 25 Amp
Natural Automatic Shut-
down 1 and 2
598 MAINTAINING YOUR VEHICLE