2013 HYUNDAI VELOSTER wheel
[x] Cancel search: wheelPage 200 of 372
519
Driving your vehicle
R (Reverse)
Use this position to drive the vehicle
backward.
N (Neutral)
The wheels and transaxle are not locked.
The vehicle will roll freely even on the
slightest incline unless the parking brake
or service brakes are applied.
D (Drive)
This is the normal forward driving posi-
tion. The transaxle will automatically shift
through a 6-gear sequence, providing the
best fuel economy and power.
For extra power when passing another
vehicle or climbing grades, depress the
accelerator fully, at which time the
transaxle will automatically downshift to
the next lower gear.Sports mode
Whether the vehicle is stationary or in
motion, sports mode is selected by push-
ing the shift lever from the D (Drive) posi-
tion into the manual gate. To return to D
(Drive) range operation, push the shift
lever back into the main gate.
In sports mode, moving the shift lever
backwards and forwards will allow you to
make gearshifts rapidly.
Up (+) : Push the lever forward once to
shift up one gear.
Down (-) : Pull the lever backwards once
to shift down one gear.DS mode (Drive Sporty) - EcoShift
dual clutch
transmission
Ds mode supports the performance
mode for driver. To shift the Ds mode,
shift the transaxle to Ds mode which is
center of sports mode. If you shift [+] or
[–] gear, the mode is change to sports
mode. The transmission shift is automat-
ically changed at higher engine speeds
by engine load, your driving style, vehicle
condition.
In Ds mode, while coasting downhill, the
engine does not support the vehicle to
slow down.
In Ds mode, if you control the paddle
shifter, the gear will be changed to sports
mode. If the gear is changed to D (Drive),
the gear will be changed to D (Drive)
mode.
✽ ✽
NOTICE- EcoShift dual clutch
transmission
While stopping the vehicle by applying
parking brake in D gear, even if you
release the parking brake, the vehicle
may not move. In this case, you can
drive the vehicle by applying the foot
brake and release, applying the acceler-
ator or shifting the lever (D → →
N → →
D).
CAUTION
Always come to a complete stop
before shifting into or out of
Reverse (R) or Drive (D) to prevent
damage to the transaxle, except as
explained in “Rocking the vehicle”
in this section.
Page 203 of 372
Driving your vehicle
22 5
WARNING
Always buckle-up! In a collision,
an unbelted occupant is signifi-
cantly more likely to be seriously
injured or killed than a properly
belted occupant.
Avoid high speeds when corner-
ing or turning.
Do not make quick steering
wheel movements, such as sharp
lane changes or fast, sharp turns.
The risk of rollover is greatly
increased if you lose control of
your vehicle at highway speeds.
Loss of control often occurs if
two or more wheels drop off the
roadway and the driver over-
steers to reenter the roadway.
In the event your vehicle leaves
the roadway, do not steer sharply.
Instead, slow down before pulling
back into the travel lanes.
Never exceed posted speed lim-
its.
Good driving practices
Never move the gear shift lever from P
(Park) or N (Neutral) to any other position
with the accelerator pedal depressed.
Never move the gear shift lever into P
(Park) when the vehicle is in motion.
Be sure the car is completely stopped
before you attempt to shift into R
(Reverse) or D (Drive).
Never take the car out of gear and
coast down a hill. This may be
extremely hazardous. Always leave the
car in gear when moving.
Do not "ride" the brakes. This can
cause them to overheat and malfunc-
tion. Instead, when you are driving
down a long hill, slow down and shift to
a lower gear. When you do this, engine
braking will help slow the car.
When driving in sports mode, slow
down before shifting to a lower gear.
Otherwise, the lower gear may not be
engaged.
When parking the vehicle, always
engage the parking brake. Do not
depend on shifting into Park to keep
the vehicle from moving. Exercise extreme caution when driving
on a slippery surface. Be especially
careful when braking, accelerating or
shifting gears. On a slippery surface,
an abrupt change in vehicle speed can
cause the drive wheels to lose traction
and the vehicle to go out of control.
Optimum vehicle performance and
economy is obtained by smoothly
depressing and releasing the accelera-
tor pedal.
Page 208 of 372
527
Driving your vehicle
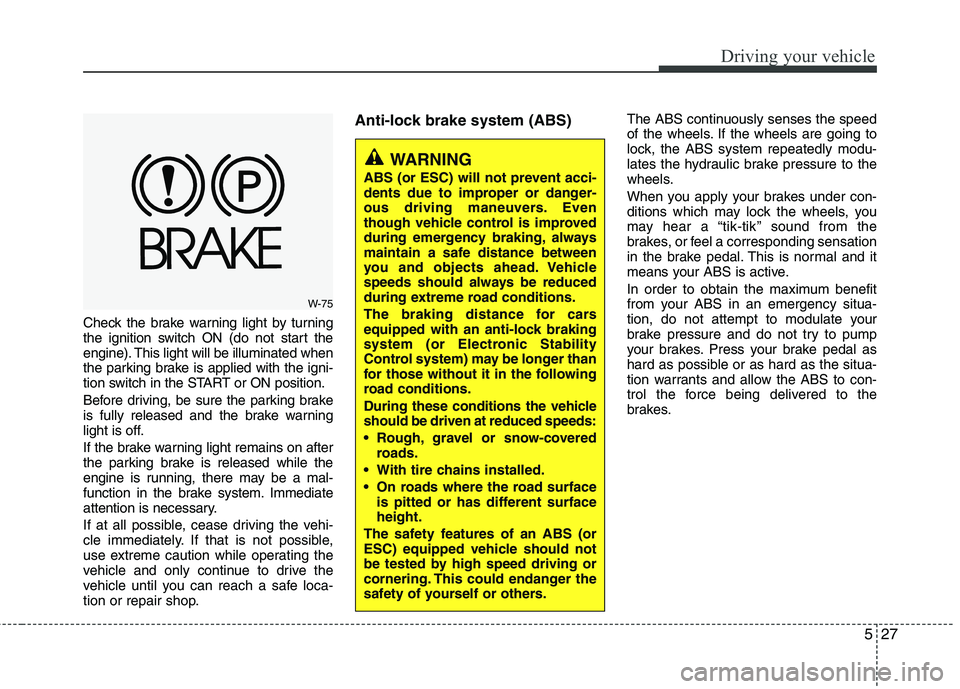
Check the brake warning light by turning
the ignition switch ON (do not start the
engine). This light will be illuminated when
the parking brake is applied with the igni-
tion switch in the START or ON position.
Before driving, be sure the parking brake
is fully released and the brake warning
light is off.
If the brake warning light remains on after
the parking brake is released while the
engine is running, there may be a mal-
function in the brake system. Immediate
attention is necessary.
If at all possible, cease driving the vehi-
cle immediately. If that is not possible,
use extreme caution while operating the
vehicle and only continue to drive the
vehicle until you can reach a safe loca-
tion or repair shop.
Anti-lock brake system (ABS)The ABS continuously senses the speed
of the wheels. If the wheels are going to
lock, the ABS system repeatedly modu-
lates the hydraulic brake pressure to the
wheels.
When you apply your brakes under con-
ditions which may lock the wheels, you
may hear a “tik-tik’’ sound from the
brakes, or feel a corresponding sensation
in the brake pedal. This is normal and it
means your ABS is active.
In order to obtain the maximum benefit
from your ABS in an emergency situa-
tion, do not attempt to modulate your
brake pressure and do not try to pump
your brakes. Press your brake pedal as
hard as possible or as hard as the situa-
tion warrants and allow the ABS to con-
trol the force being delivered to the
brakes.
WARNING
ABS (or ESC) will not prevent acci-
dents due to improper or danger-
ous driving maneuvers. Even
though vehicle control is improved
during emergency braking, always
maintain a safe distance between
you and objects ahead. Vehicle
speeds should always be reduced
during extreme road conditions.
The braking distance for cars
equipped with an anti-lock braking
system (or Electronic Stability
Control system) may be longer than
for those without it in the following
road conditions.
During these conditions the vehicle
should be driven at reduced speeds:
Rough, gravel or snow-covered
roads.
With tire chains installed.
On roads where the road surface
is pitted or has different surface
height.
The safety features of an ABS (or
ESC) equipped vehicle should not
be tested by high speed driving or
cornering. This could endanger the
safety of yourself or others.
W-75
Page 210 of 372
529
Driving your vehicle
Electronic stability control (ESC)
The Electronic Stability control (ESC)
system is designed to stabilize the vehicle
during cornering maneuvers. ESC checks
where you are steering and where the
vehicle is actually going. ESC applies the
brakes at individual wheels and
intervenes in the engine management
system to stabilize the vehicle.The Electronic Stability Control (ESC)
system is an electronic system designed
to help the driver maintain vehicle control
under adverse conditions. It is not a
substitute for safe driving practices.
Factors including speed, road conditions
and driver steering input can all affect
whether ESC will be effective in
preventing a loss of control. It is still your
responsibility to drive and corner at
reasonable speeds and to leave a
sufficient margin of safety.
When you apply your brakes under con-
ditions which may lock the wheels, you
may hear a “tik-tik’’ sound from the
brakes, or feel a corresponding sensation
in the brake pedal. This is normal and it
means your ESC is active.
✽ ✽
NOTICE
A click sound may be heard in the
engine compartment when the vehicle
begins to move after the engine is start-
ed. These conditions are normal and
indicate that the Electronic Stability
Control System is functioning properly.
WARNING
Never drive too fast for the road
conditions or too quickly when cor-
nering. Electronic stability control
(ESC) will not prevent accidents.
Excessive speed in turns, abrupt
maneuvers and hydroplaning on
wet surfaces can still result in seri-
ous accidents. Only a safe and
attentive driver can prevent acci-
dents by avoiding maneuvers that
cause the vehicle to lose traction.
Even with ESC installed, always fol-
low all the normal precautions for
driving - including driving at safe
speeds for the conditions.
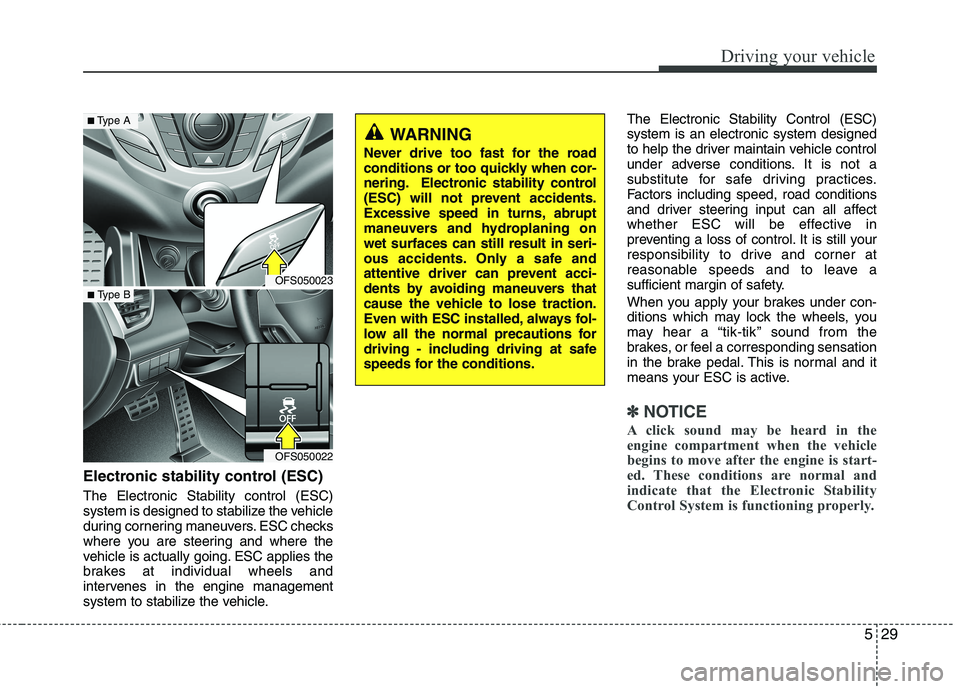
OFS050023
OFS050022
■Type A
■ Type B
Page 212 of 372
531
Driving your vehicle
ESC OFF usage
When driving
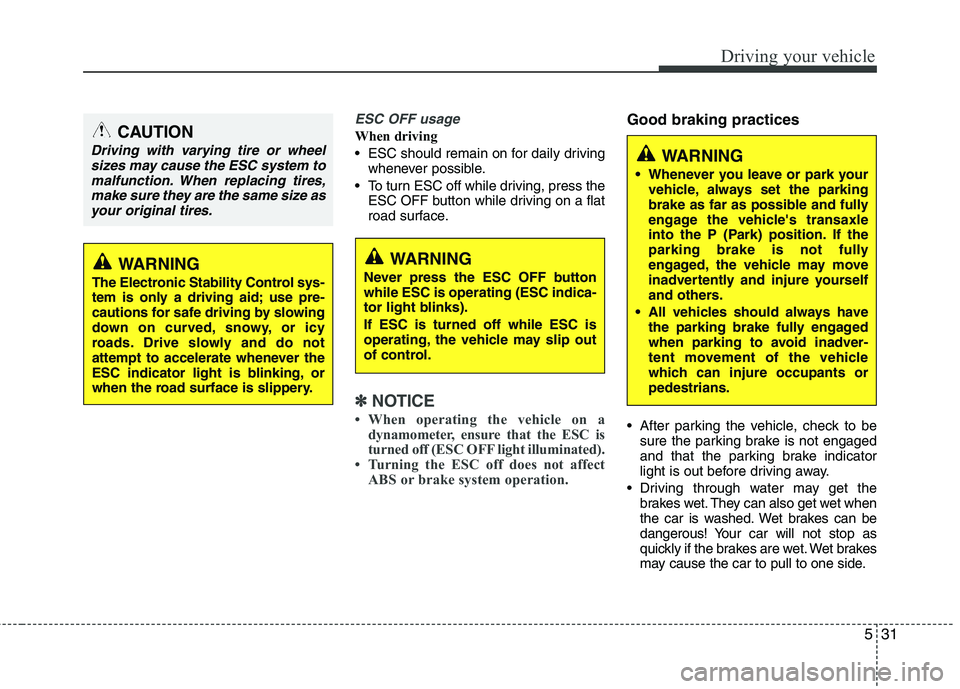
ESC should remain on for daily driving
whenever possible.
To turn ESC off while driving, press the
ESC OFF button while driving on a flat
road surface.
✽ ✽
NOTICE
• When operating the vehicle on a
dynamometer, ensure that the ESC is
turned off (ESC OFF light illuminated).
• Turning the ESC off does not affect
ABS or brake system operation.
Good braking practices
After parking the vehicle, check to be
sure the parking brake is not engaged
and that the parking brake indicator
light is out before driving away.
Driving through water may get the
brakes wet. They can also get wet when
the car is washed. Wet brakes can be
dangerous! Your car will not stop as
quickly if the brakes are wet. Wet brakes
may cause the car to pull to one side.
WARNING
The Electronic Stability Control sys-
tem is only a driving aid; use pre-
cautions for safe driving by slowing
down on curved, snowy, or icy
roads. Drive slowly and do not
attempt to accelerate whenever the
ESC indicator light is blinking, or
when the road surface is slippery.
WARNING
Never press the ESC OFF button
while ESC is operating (ESC indica-
tor light blinks).
If ESC is turned off while ESC is
operating, the vehicle may slip out
of control.
WARNING
Whenever you leave or park your
vehicle, always set the parking
brake as far as possible and fully
engage the vehicle's transaxle
into the P (Park) position. If the
parking brake is not fully
engaged, the vehicle may move
inadvertently and injure yourself
and others.
All vehicles should always have
the parking brake fully engaged
when parking to avoid inadver-
tent movement of the vehicle
which can injure occupants or
pedestrians.
CAUTION
Driving with varying tire or wheel
sizes may cause the ESC system to
malfunction. When replacing tires,
make sure they are the same size as
your original tires.
Page 213 of 372
Driving your vehicle
32 5
To dry the brakes, apply the brakes light-
ly until the braking action returns to nor-
mal, taking care to keep the car under
control at all times. If the braking action
does not return to normal, stop as soon
as it is safe to do so and call an author-
ized HYUNDAI dealer for assistance.
Do not coast down hills with the car out
of gear. This is extremely hazardous.
Keep the car in gear at all times, use
the brakes to slow down, then shift to a
lower gear so that engine braking will
help you maintain a safe speed.
Do not "ride" the brake pedal. Resting
your foot on the brake pedal while driv-
ing can be dangerous because it can
result in the brakes overheating and los-
ing their effectiveness. It also increases
the wear of the brake components.
If a tire goes flat while you are driving,
apply the brakes gently and keep the
car pointed straight ahead while you
slow down. When you are moving slow-
ly enough for it to be safe to do so, pull
off the road and stop in a safe place.
If your vehicle is equipped with a
Automatic transaxle / EcoShift dual
clutch transmission, don't let your vehi-
cle creep forward. To avoid creeping for-
ward, keep your foot firmly on the brake
pedal when the vehicle is stopped. Use caution when parking on a hill.
Firmly engage the parking brake and
place the shift lever in P (Automatic
transaxle / EcoShift dual clutch trans-
mission) or in first or reverse gear (man-
ual transaxle). If your vehicle is facing
downhill, turn the front wheels into the
curb to help keep the vehicle from
rolling. If your vehicle is facing uphill,
turn the front wheels away from the curb
to help keep the vehicle from rolling. If
there is no curb or if it is required by
other conditions to keep the vehicle
from rolling, block the wheels.
Under some conditions your parking
brake can freeze in the engaged posi-
tion. This is most likely to happen when
there is an accumulation of snow or ice
around or near the rear brakes or if the
brakes are wet. If there is a risk that the
parking brake may freeze, apply it only
temporarily while you put the gear
selector lever in P (Automatic transaxle
/ EcoShift dual clutch transmission) or
in first or reverse gear (manual
transaxle) and block the rear wheels so
the vehicle cannot roll. Then release
the parking brake.
Do not hold the vehicle on the upgrade
with the accelerator pedal. This can
cause the transaxle to overheat. Always
use the brake pedal or parking brake.Vehicle stability management
(VSM) (if equipped)
This system provides further enhance-
ments to vehicle stability and steering
responses when a vehicle is driving on a
slippery road or a vehicle detected
changes in coefficient of friction between
right wheels and left wheels when braking.
VSM operation
When the VSM is in operation, ESC indi-
cator light ( ) blinks.
When the vehicle stability management
is operating properly, you can feel a slight
pulsation in the vehicle and/or abnormal
steering responses (EPS). This is only
the effect of brake and EPS control and
indicates nothing unusual.
The VSM does not operate when:
Driving on bank road such as gradient
or incline
Driving rearward
ESC OFF indicator light ( ) remains
on the instrument cluster
EPS indicator light remains on the
instrument cluster
Page 214 of 372
533
Driving your vehicle
VSM operation off
If you press the ESC OFF button to turn off
the ESC, the VSM will also cancel and the
ESC OFF indicator light ( ) illuminates.
To turn on the VSM, press the button again.
The ESC OFF indicator light goes out.
Malfunction indicator
The VSM can be deactivated even if you
don’t cancel the VSM operation by press-
ing the ESC OFF button. It indicates that
a malfunction has been detected some-
where in the Electric Power Steering sys-
tem or VSM system. If the ESC indicator
light ( ) or EPS warning light remains
on, take your vehicle to an authorized
HYUNDAI dealer and have the system
checked.
✽ ✽
NOTICE
• The VSM is designed to function
above approximately 9 mph (15 km/h)
on curves.
• The VSM is designed to function
above approximately 18 mph (30
km/h) when a vehicle is braking on a
split-mu road. The split-mu road is
made of surfaces which have different
friction forces.
Hill-start assist control (HAC)
(if equipped)
A vehicle has the tendency to slip back
on a steep hill when the driver begins to
accelerate after a stop. The Hill-start
Assist Control (HAC) prevents the vehi-
cle from slipping back by operating the
brakes automatically for about 1.5 sec-
onds. The brakes are released when the
accelerator pedal is depressed or after
about 1.5 seconds.
✽ ✽
NOTICE
• The HAC does not operate when the
transaxle shift lever is in the P (Park)
or N (Neutral) position.
• The HAC activates even though the
ESC is off but it does not activate
when the ESC has malfunctioned.
WARNING
The Vehicle Stability Management
system is not a substitute for
safe driving practices but a sup-
plementary function only. It is the
responsibility of the driver to
always check the speed and the
distance to the vehicle ahead.
Always hold the steering wheel
firmly while driving.
Your vehicle is designed to acti-
vate according to the driver’s
intention, even with installed
VSM. Always follow all the normal
precautions for driving at safe
speeds for the conditions –
including driving inclement
weather and on a slippery road.
Driving with varying tire or wheel
sizes may cause the VSM system
to malfunction. When replacing
tires, make sure they are the
same size as your original tires.
WARNING
The HAC is activated only for about
1.5 seconds, so always depress the
accelerator pedal to begin acceler-
ating after a stop.
Page 216 of 372
535
Driving your vehicle
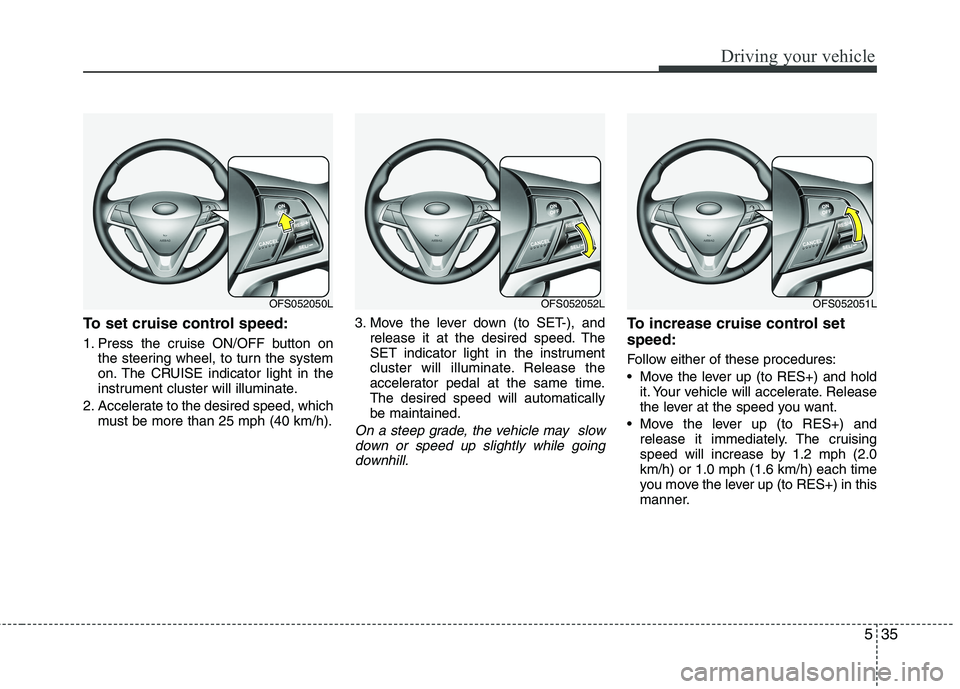
To set cruise control speed:
1. Press the cruise ON/OFF button on
the steering wheel, to turn the system
on. The CRUISE indicator light in the
instrument cluster will illuminate.
2. Accelerate to the desired speed, which
must be more than 25 mph (40 km/h).3. Move the lever down (to SET-), and
release it at the desired speed. The
SET indicator light in the instrument
cluster will illuminate. Release the
accelerator pedal at the same time.
The desired speed will automatically
be maintained.
On a steep grade, the vehicle may slow
down or speed up slightly while going
downhill.
To increase cruise control set
speed:
Follow either of these procedures:
Move the lever up (to RES+) and hold
it. Your vehicle will accelerate. Release
the lever at the speed you want.
Move the lever up (to RES+) and
release it immediately. The cruising
speed will increase by 1.2 mph (2.0
km/h) or 1.0 mph (1.6 km/h) each time
you move the lever up (to RES+) in this
manner.
OFS052052LOFS052051LOFS052050L