2013 HYUNDAI TUCSON display
[x] Cancel search: displayPage 122 of 397

Features of your vehicle
42
4
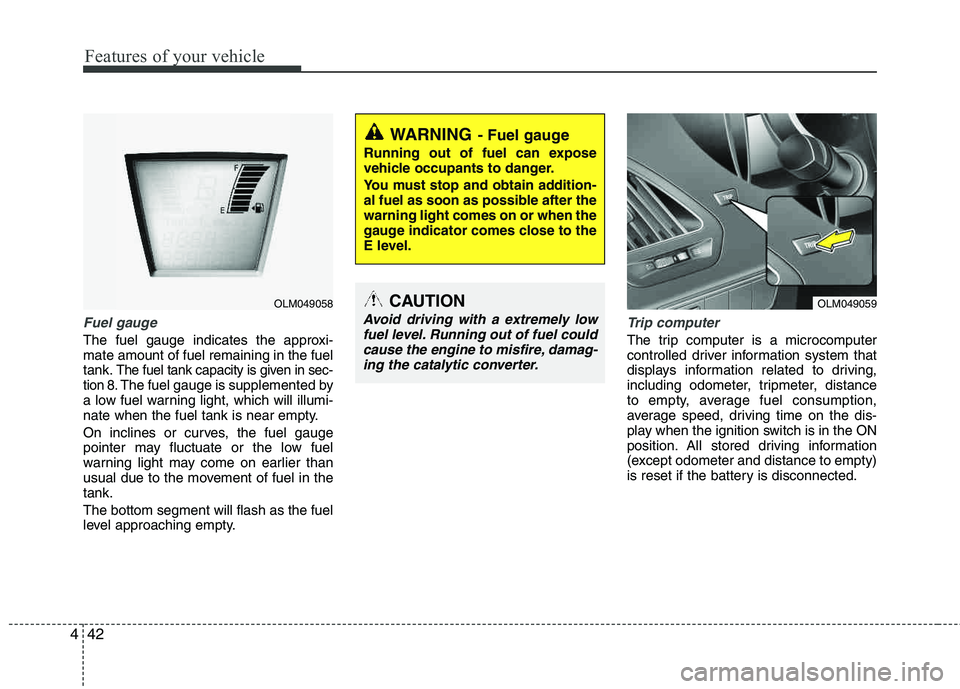
Fuel gauge
The fuel gauge indicates the approxi- mate amount of fuel remaining in the fueltank.
The fuel tank capacity is given in sec-
tion 8.The fuel gauge is supplemented by
a low fuel warning light, which will illumi-
nate when the fuel tank is near empty.
On inclines or curves, the fuel gauge
pointer may fluctuate or the low fuel
warning light may come on earlier than
usual due to the movement of fuel in the tank. The bottom segment will flash as the fuel
level approaching empty.
Trip computer
The trip computer is a microcomputer
controlled driver information system that
displays information related to driving,
including odometer, tripmeter, distance
to empty, average fuel consumption,
average speed, driving time on the dis-
play when the ignition switch is in the ON
position. All stored driving information
(except odometer and distance to empty)
is reset if the battery is disconnected.
WARNING- Fuel gauge
Running out of fuel can expose
vehicle occupants to danger.
You must stop and obtain addition-
al fuel as soon as possible after the warning light comes on or when the
gauge indicator comes close to the
E level.
CAUTION
Avoid driving with a extremely low
fuel level. Running out of fuel couldcause the engine to misfire, damag- ing the catalytic converter.
OLM049058OLM049059
Page 123 of 397

443
Features of your vehicle
The odometer is always displayed until
the instrument panel is turned off.
Push the TRIP button for less than 1 sec-
ond to select tripmeter, distance to empty,
average fuel consumption, average speed,
driving time function as follows:Odometer The odometer indicates the total dis-
tance the vehicle has been driven.
You will also find the odometer useful to
determine when periodic maintenance
should be performed.Tripmeter This mode indicates the distance of indi-
vidual trips selected since the last trip- meter reset.
The meter's working range is from 0.0 to 999.9 miles (0.0 to 999.9 km).
Pressing the TRIP button for more than 1
second, when the tripmeter is being dis-
played, clears the tripmeter to zero (0.0).
OLM049060NOLM049061N
Tripmeter
Driving time
Distance to empty
Average fuel consumption
Average speed
Page 124 of 397

Features of your vehicle
44
4
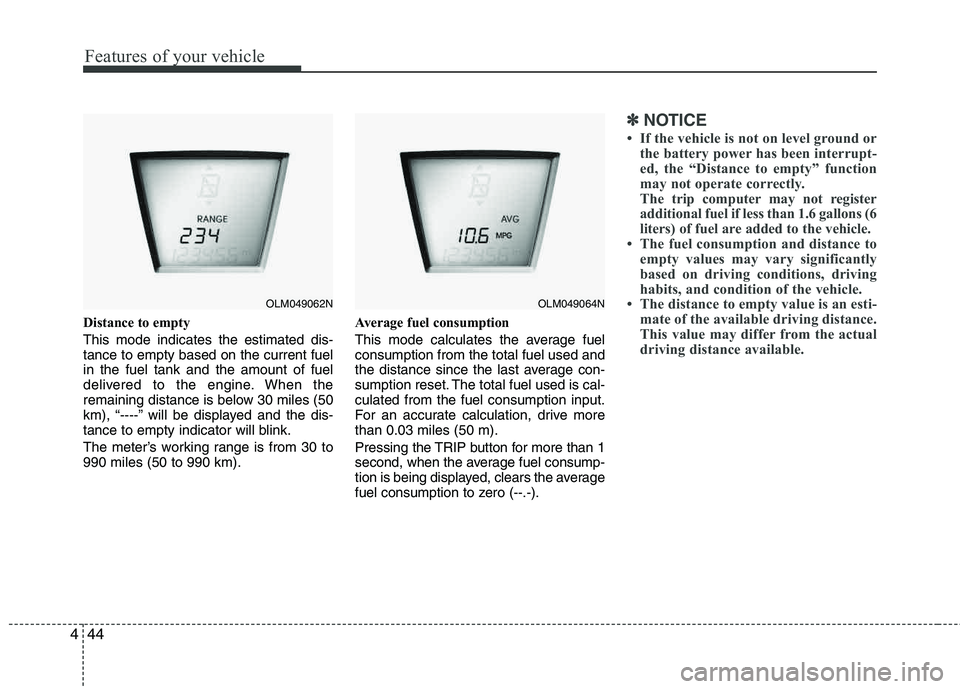
Distance to empty This mode indicates the estimated dis- tance to empty based on the current fuelin the fuel tank and the amount of fuel
delivered to the engine. When the
remaining distance is below 30 miles (50
km), “----” will be displayed and the dis-
tance to empty indicator will blink.
The meter’s working range is from 30 to 990 miles (50 to 990 km). Average fuel consumption
This mode calculates the average fuel consumption from the total fuel used and
the distance since the last average con-
sumption reset. The total fuel used is cal-culated from the fuel consumption input.
For an accurate calculation, drive more than 0.03 miles (50 m).
Pressing the TRIP button for more than 1
second, when the average fuel consump-
tion is being displayed, clears the average
fuel consumption to zero (--.-).
✽✽
NOTICE
If the vehicle is not on level ground or the battery power has been interrupt-
ed, the “Distance to empty” function
may not operate correctly.
The trip computer may not register
additional fuel if less than 1.6 gallons (6
liters) of fuel are added to the vehicle.
The fuel consumption and distance to empty values may vary significantly
based on driving conditions, driving
habits, and condition of the vehicle.
The distance to empty value is an esti-
mate of the available driving distance.
This value may differ from the actual
driving distance available.
OLM049062NOLM049064N
Page 125 of 397

445
Features of your vehicle
Average speed
This mode calculates the average speed
of the vehicle since the last averagespeed reset.
Even if the vehicle is not in motion, the
average speed is calculated while the
engine is running.
Pressing the TRIP button for more than 1
second, when the average speed is
being displayed, clears the average
speed to zero (---).Driving time
This mode indicates the total time trav-
eled since the last driving time reset.
Even if the vehicle is not in motion, the
driving time is calculated while the
engine is running.
The meter’s working range is from 0:00~99:59.
Pressing the TRIP button for more than 1
second, when the driving time is being
displayed, clears the driving time to zero (0:00).
Warnings and indicators
All warning lights are checked by turning
the ignition switch ON (do not start the
engine). Any light that does not illuminate
should be checked by an authorized
HYUNDAI dealer.
After starting the engine, check to make
sure that all warning lights are off. If any are still on, this indicates a situation that
needs attention. When releasing the
parking brake, the brake system warning
light should go off. The fuel warning light
will stay on if the fuel level is low.
OLM049066NOLM049067N
Page 129 of 397

449
Features of your vehicle
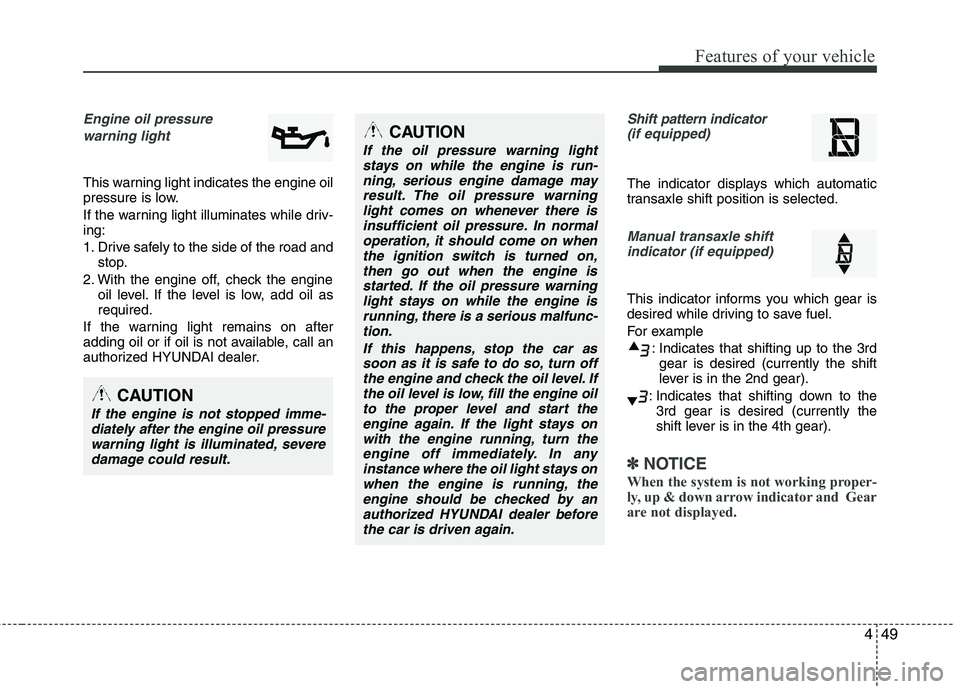
Engine oil pressure warning light
This warning light indicates the engine oil
pressure is low.
If the warning light illuminates while driv- ing:
1. Drive safely to the side of the road and stop.
2. With the engine off, check the engine oil level. If the level is low, add oil as required.
If the warning light remains on after
adding oil or if oil is not available, call an
authorized HYUNDAI dealer.
Shift pattern indicator (if equipped)
The indicator displays which automatic
transaxle shift position is selected.
Manual transaxle shift
indicator (if equipped)
This indicator informs you which gear is
desired while driving to save fuel.
For example
: Indicates that shifting up to the 3rdgear is desired (currently the shift
lever is in the 2nd gear).
: Indicates that shifting down to the 3rd gear is desired (currently the
shift lever is in the 4th gear).
✽✽ NOTICE
When the system is not working proper-
ly, up & down arrow indicator and Gear
are not displayed.
CAUTION
If the oil pressure warning light stays on while the engine is run- ning, serious engine damage may
result. The oil pressure warninglight comes on whenever there is insufficient oil pressure. In normaloperation, it should come on when
the ignition switch is turned on,then go out when the engine is started. If the oil pressure warning
light stays on while the engine isrunning, there is a serious malfunc-tion.
If this happens, stop the car assoon as it is safe to do so, turn off the engine and check the oil level. Ifthe oil level is low, fill the engine oil
to the proper level and start theengine again. If the light stays on with the engine running, turn theengine off immediately. In any
instance where the oil light stays onwhen the engine is running, theengine should be checked by anauthorized HYUNDAI dealer before
the car is driven again.
CAUTION
If the engine is not stopped imme-diately after the engine oil pressurewarning light is illuminated, severedamage could result.
Page 134 of 397

Features of your vehicle
54
4
REARVIEW CAMERA (IF EQUIPPED)
The rearview camera will activate when
the back-up light is ON with the ignition
switch ON and the shift lever in the R
(Reverse) position. This system is a supplemental system
that shows behind the vehicle through the
navigation display while backing-up. The hazard warning flasher should be
used whenever you find it necessary to stop the car in a hazardous location.
When you must make such an emer-
gency stop, always pull off the road as far
as possible.
The hazard warning lights are turned on
by pushing in the hazard switch. This
causes all turn signal lights to blink. The
hazard warning lights will operate even
though the key is not in the ignition
switch.
To turn the hazard warning lights off,
push the switch a second time.
WARNING
This system is a supplementary function only. It is the responsi-
bility of the driver to always
check the inside/outside rearview
mirror and the area behind the
vehicle before and while backingup.
Always keep the camera lens clean. If lens is covered with for-
eign matter, the camera may not
operate normally.
HAZARD WARNING FLASHER
OLM049084
OLM049081
OLM049082
Rear view display
Page 157 of 397

477
Features of your vehicle
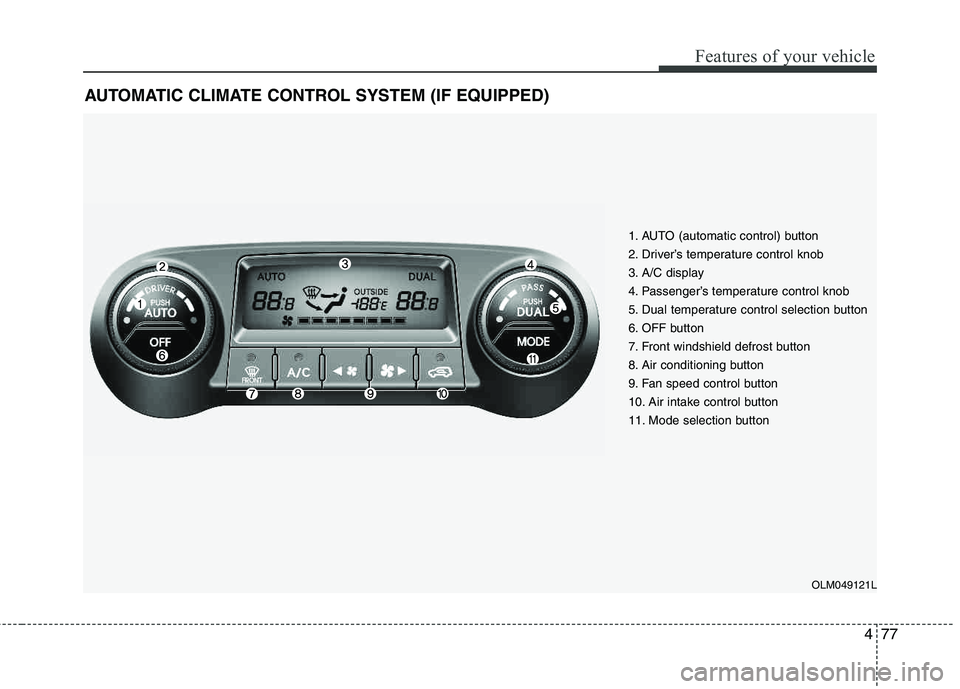
AUTOMATIC CLIMATE CONTROL SYSTEM (IF EQUIPPED)
1. AUTO (automatic control) button
2. Driver’s temperature control knob
3. A/C display
4. Passenger’s temperature control knob
5. Dual temperature control selection button
6. OFF button
7. Front windshield defrost button
8. Air conditioning button
9. Fan speed control button
10. Air intake control button
11. Mode selection button
OLM049121L
Page 161 of 397

481
Features of your vehicle
Adjusting the driver and passenger side
temperature individually
1. Press the DUAL button to operate thedriver and passenger side temperature
individually. Also, if the passenger side
temperature control switch is operat-ed, it will automatically change to the
DUAL mode as well.
2. Operate the left temperature control to adjust the driver side temperature.
Operate the right temperature control
to adjust the passenger side tempera-
ture.
When the driver side temperature is set
to the highest (HI) or lowest (Lo) temper-
ature setting, the DUAL mode is deacti-
vated for maximum heating or cooling. Adjusting the driver and passenger side
temperature equally
1. Press the DUAL button again to deac-
tivate DUAL mode. The passenger
side temperature will be set to the
same temperature as the driver side.
2. Operate the driver side temperature control switch. The driver and passen-
ger side temperature will be adjusted
equally.
Temperature conversion
You can switch the temperature mode
between Fahrenheit to Centigrade as fol-
lows:
While pressing the OFF button, press the
AUTO button for 3 seconds or more.
The display will change from Fahrenheit
to Centigrade, or from Centigrade to
Fahrenheit.
If the battery has been discharged or dis-
connected, the temperature mode dis-
play will reset to Fahrenheit.Outside thermometer
The current outside temperature is dis-
played in 1°F (1°C) increments. The tem-
perature range is between -40°F ~ 140°F(-40°C ~ 60°C).
The outside temperature on the display may not change immediately.
OLM049126OLM049127N