2013 HYUNDAI TUCSON warning light
[x] Cancel search: warning lightPage 256 of 397
Driving your vehicle
48
5
Remember, your vehicle does not
require extended warm-up. After the
engine has started, allow the engine to
run for 10 to 20 seconds prior to plac-
ing the vehicle in gear. In very cold
weather, however, give your engine a
slightly longer warm-up period.
Don't "lug" or "over-rev" the engine. Lugging is driving too slowly in too high
a gear resulting in the engine bucking.
If this happens, shift to a lower gear.
Over-revving is racing the engine
beyond its safe limit. This can be avoid-
ed by shifting at the recommended
speeds. Use your air conditioning sparingly.
The air conditioning system is operat-
ed by engine power so your fuel econ-
omy is reduced when you use it.
Open windows at high speeds can reduce fuel economy.
Fuel economy is less in crosswinds and headwinds. To help offset some of
this loss, slow down when driving in
these conditions.
Keeping a vehicle in good operating con-
dition is important both for economy and
safety. Therefore, have an authorized
HYUNDAI dealer perform scheduled
inspections and maintenance.
WARNING - Engine off dur- ing motion
Never turn the engine off to coast
down hills or anytime the vehicle is
in motion. The power steering and
power brakes will not function
properly without the engine run-
ning. Instead, keep the engine on
and downshift to an appropriate
gear for engine braking effect. In
addition, turning off the ignition
while driving could engage the
steering wheel lock resulting in
loss of vehicle steering which
could cause serious injury ordeath.
Page 257 of 397
549
Driving your vehicle
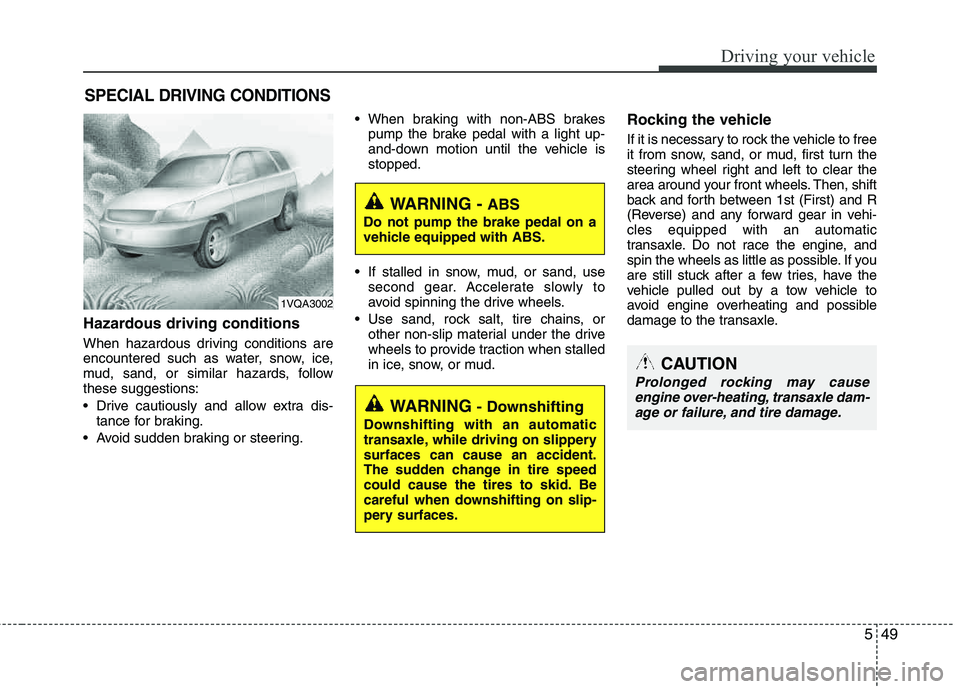
Hazardous driving conditions
When hazardous driving conditions are
encountered such as water, snow, ice,
mud, sand, or similar hazards, follow these suggestions:
Drive cautiously and allow extra dis-tance for braking.
Avoid sudden braking or steering. When braking with non-ABS brakes
pump the brake pedal with a light up-
and-down motion until the vehicle is stopped.
If stalled in snow, mud, or sand, use second gear. Accelerate slowly to
avoid spinning the drive wheels.
Use sand, rock salt, tire chains, or other non-slip material under the drive
wheels to provide traction when stalled
in ice, snow, or mud.
Rocking the vehicle
If it is necessary to rock the vehicle to free
it from snow, sand, or mud, first turn the
steering wheel right and left to clear the
area around your front wheels. Then, shift
back and forth between 1st (First) and R
(Reverse) and any forward gear in vehi- cles equipped with an automatic
transaxle. Do not race the engine, and
spin the wheels as little as possible. If you
are still stuck after a few tries, have the
vehicle pulled out by a tow vehicle to
avoid engine overheating and possible
damage to the transaxle.
SPECIAL DRIVING CONDITIONS
1VQA3002
WARNING - ABS
Do not pump the brake pedal on a
vehicle equipped with ABS.
WARNING - Downshifting
Downshifting with an automatic
transaxle, while driving on slipperysurfaces can cause an accident.
The sudden change in tire speed
could cause the tires to skid. Be
careful when downshifting on slip-
pery surfaces.
CAUTION
Prolonged rocking may cause
engine over-heating, transaxle dam- age or failure, and tire damage.
Page 258 of 397
Driving your vehicle
50
5
✽✽
NOTICE
The ESC system should be turned OFF
prior to rocking the vehicle.
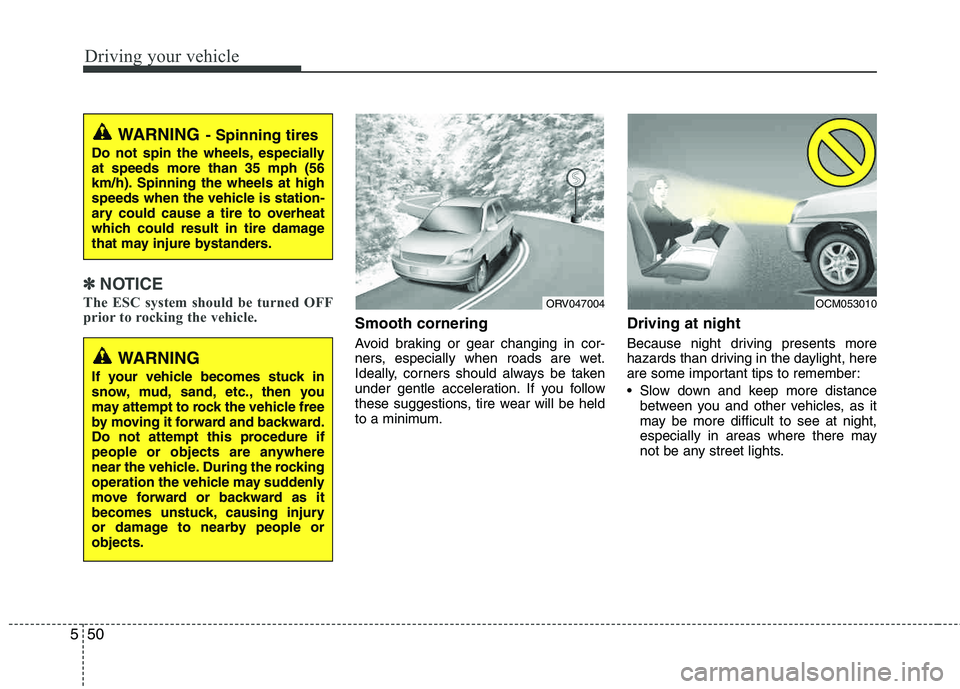
Smooth cornering
Avoid braking or gear changing in cor-
ners, especially when roads are wet.
Ideally, corners should always be taken
under gentle acceleration. If you follow
these suggestions, tire wear will be held
to a minimum.
Driving at night
Because night driving presents more
hazards than driving in the daylight, here
are some important tips to remember:
Slow down and keep more distance between you and other vehicles, as it
may be more difficult to see at night,
especially in areas where there may
not be any street lights.
WARNING- Spinning tires
Do not spin the wheels, especially at speeds more than 35 mph (56
km/h). Spinning the wheels at high
speeds when the vehicle is station-
ary could cause a tire to overheat
which could result in tire damage
that may injure bystanders.
ORV047004OCM053010
WARNING
If your vehicle becomes stuck in
snow, mud, sand, etc., then you
may attempt to rock the vehicle free
by moving it forward and backward.
Do not attempt this procedure if
people or objects are anywhere
near the vehicle. During the rocking
operation the vehicle may suddenly
move forward or backward as it
becomes unstuck, causing injury
or damage to nearby people orobjects.
Page 278 of 397
What to do in an emergency
2
6
ROAD WARNING
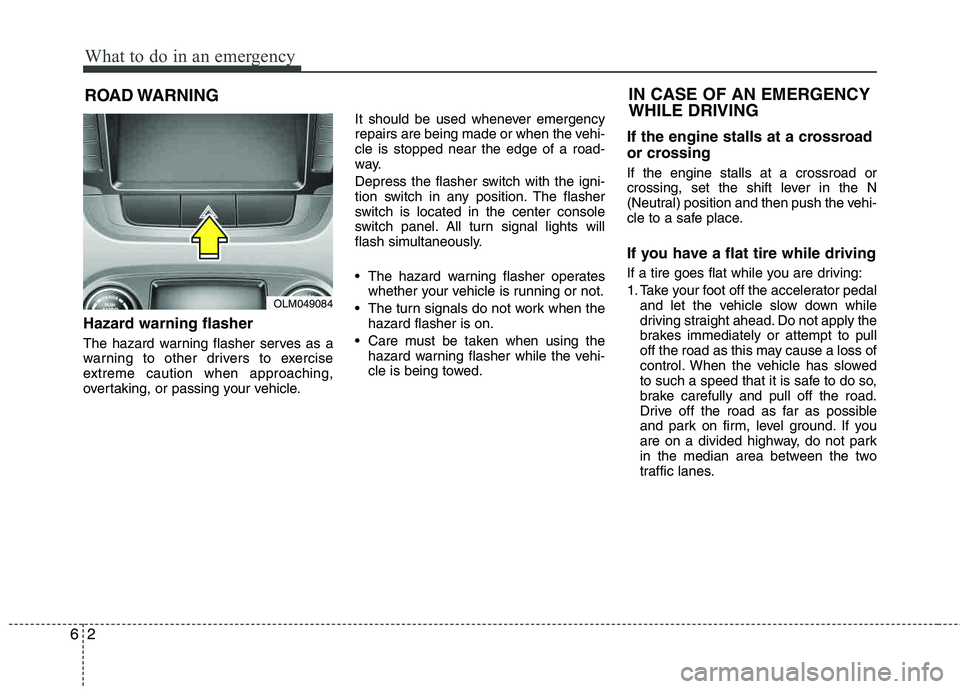
Hazard warning flasher
The hazard warning flasher serves as a
warning to other drivers to exercise
extreme caution when approaching,
overtaking, or passing your vehicle. It should be used whenever emergency
repairs are being made or when the vehi-cle is stopped near the edge of a road-
way.
Depress the flasher switch with the igni-
tion switch in any position. The flasher
switch is located in the center console
switch panel. All turn signal lights will
flash simultaneously.
• The hazard warning flasher operates
whether your vehicle is running or not.
The turn signals do not work when the hazard flasher is on.
Care must be taken when using the hazard warning flasher while the vehi-
cle is being towed.
If the engine stalls at a crossroad
or crossing
If the engine stalls at a crossroad or
crossing, set the shift lever in the N
(Neutral) position and then push the vehi-
cle to a safe place.
If you have a flat tire while driving
If a tire goes flat while you are driving:
1. Take your foot off the accelerator pedaland let the vehicle slow down while
driving straight ahead. Do not apply the
brakes immediately or attempt to pull
off the road as this may cause a loss of
control. When the vehicle has slowed
to such a speed that it is safe to do so,
brake carefully and pull off the road.
Drive off the road as far as possible
and park on firm, level ground. If you
are on a divided highway, do not park
in the median area between the two
traffic lanes.
IN CASE OF AN EMERGENCY WHILE DRIVING
OLM049084
Page 279 of 397
63
What to do in an emergency
2. When the vehicle is stopped, turn onyour emergency hazard flashers, set
the parking brake and put the transaxle
in P (automatic transaxle) or reverse
(manual transaxle).
3. Have all passengers get out of the vehicle. Be sure they all get out on the
side of the vehicle that is away from
traffic.
4. When changing a flat tire, follow the instruction provided later in this sec- tion.
If engine stalls while driving
1. Reduce your speed gradually, keeping a straight line. Move cautiously off the
road to a safe place.
2. Turn on your emergency flashers.
3. Try to start the engine again. If your vehicle will not start, contact an
authorized HYUNDAI dealer or seek
other qualified assistance.
If engine doesn't turn over or
turns over slowly
1. If your vehicle has an automatic
transaxle, be sure the shift lever is in N
(Neutral) or P (Park) and the emer-
gency brake is set.
2. Check the battery connections to be sure they are clean and tight.
3. Turn on the interior light. If the light dims or goes out when you operate the
starter, the battery is discharged.
4. Check the starter connections to be sure they are securely tightened.
5. Do not push or pull the vehicle to start it. See instructions for "Jump starting".
If engine turns over normally but
does not start
1. Check fuel level.
2. With the ignition switch in the LOCKposition, check all connectors at igni-
tion coils and spark plugs. Reconnect
any that may be disconnected or
loose.
3. Check the fuel line in the engine com- partment.
4. If the engine still does not start, call an authorized HYUNDAI dealer or seek
other qualified assistance.
IF THE ENGINE WILL NOT START
WARNING
If the engine will not start, do not
push or pull the vehicle to start it.This could result in a collision or
cause other damage. In addition,
push or pull starting may cause the
catalytic converter to be over-
loaded and create a fire hazard.
Page 287 of 397
611
What to do in an emergency
Allow the tire to cool before measur-
ing the inflation pressure. Always be
sure the tire is cold before inflating to
the recommended pressure.
A cold tire means the vehicle has
been sitting for 3 hours and driven forless than 1 mile (1.6 km) in that 3
hour period.This device complies with Part 15of the FCC rules.
Operation is subject to the following
two conditions:
1. This device may not cause harm-
ful interference, and
2. This device must accept any inter- ference received, including inter-
ference that may cause undesired
operation.
CAUTION
Do not use any tire sealant if
your vehicle is equipped with aTire Pressure MonitoringSystem. The liquid sealant candamage the tire pressure sen- sors.
WARNING - Protecting TPMS
Tampering with, modifying, or
disabling the Tire PressureMonitoring System (TPMS)
components may interfere withthe system's ability to warn the
driver of low tire pressure con-
ditions and/or TPMS malfunc-
tions. Tampering with, modify-
ing, or disabling the TirePressure Monitoring System
(TPMS) components may void
the warranty for that portion of
the vehicle.
WARNING- TPMS
The TPMS cannot alert you to severe and sudden tire dam-
age caused by external fac-
tors such as nails or roaddebris.
If you feel any vehicle instabil- ity, immediately take your foot
off the accelerator, apply the
brakes gradually and with
light force, and slowly move to
a safe position off the road.
WARNING
Changes or modifications not
expressly approved by the party
responsible for compliance
could void the user's authorityto operate the equipment.
Page 291 of 397
615
What to do in an emergency
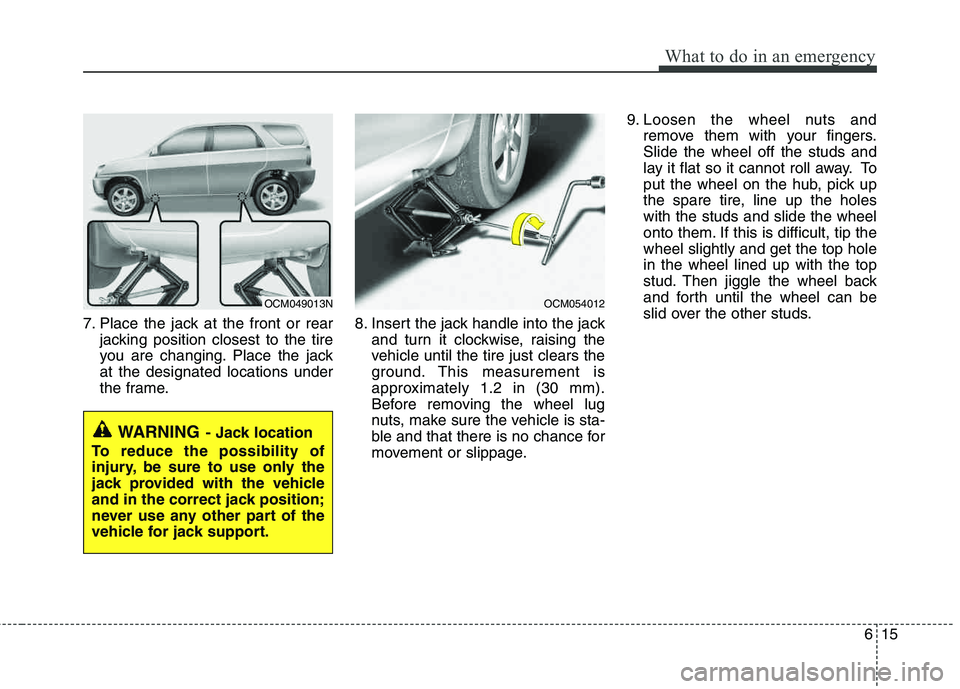
7. Place the jack at the front or rearjacking position closest to the tire
you are changing. Place the jackat the designated locations under
the frame. 8. Insert the jack handle into the jack
and turn it clockwise, raising the
vehicle until the tire just clears the
ground. This measurement is
approximately 1.2 in (30 mm).
Before removing the wheel lug
nuts, make sure the vehicle is sta-
ble and that there is no chance for
movement or slippage. 9. Loosen the wheel nuts and
remove them with your fingers.Slide the wheel off the studs and
lay it flat so it cannot roll away. To
put the wheel on the hub, pick up
the spare tire, line up the holeswith the studs and slide the wheel
onto them. If this is difficult, tip thewheel slightly and get the top holein the wheel lined up with the top
stud. Then jiggle the wheel back
and forth until the wheel can be
slid over the other studs.
WARNING- Jack location
To reduce the possibility of
injury, be sure to use only the
jack provided with the vehicle
and in the correct jack position;
never use any other part of the
vehicle for jack support.
OCM049013NOCM054012
Page 305 of 397
75
Maintenance
While operating your vehicle:
Note any changes in the sound of theexhaust or any smell of exhaust fumes
in the vehicle.
Check for vibrations in the steering wheel. Notice any increased steering
effort or looseness in the steering
wheel, or change in its straight-ahead position.
Notice if your vehicle constantly turns slightly or “pulls” to one side when trav-
eling on smooth, level road.
When stopping, listen and check for unusual sounds, pulling to one side,
increased brake pedal travel or “hard-
to-push” brake pedal.
If any slipping or changes in the oper- ation of your transaxle occurs, check
the transaxle fluid level.
Check the automatic transaxle P (Park) function.
Check the parking brake.
Check for fluid leaks under your vehicle (water dripping from the air condition-
ing system during or after use is nor-mal).
At least monthly:
Check the coolant level in the enginecoolant reservoir.
Check the operation of all exterior lights, including the stoplights, turn sig-
nals and hazard warning flashers.
Check the inflation pressures of all tires including the spare.
At least twice a year
(i.e., every Spring and Fall):
Check the radiator, heater and air con- ditioning hoses for leaks or damage.
Check the windshield washer spray and wiper operation. Clean the wiper
blades with clean cloth dampened with
washer fluid.
Check the headlight alignment.
Check the muffler, exhaust pipes, shields and clamps.
Check the lap/shoulder belts for wear and function.
Check for worn tires and loose wheel lug nuts.
At least once a year:
Clean the body and door drain holes.
Lubricate the door hinges and checks,and hood hinges.
Lubricate the door and hood locks and latches.
Lubricate the door rubber weather- strips.
Check the air conditioning system.
Inspect and lubricate the automatic transaxle linkage and controls.
Clean the battery and terminals.
Check the brake/clutch* fluid level.
* : if equipped