Page 346 of 479
589
Driving your vehicle
• If your tires are not in good condi-
tion, making a quick stop on wet
pavement can cause a skid and
possibly lead to an accident. Be
sure your tires are in good shape.
• Turn on your headlights to make it
easier for others to see you.
• Driving too fast through large pud-
dles can affect your brakes. If you
must go through puddles, try to
drive through them slowly.
• If you believe you may have gotten
your brakes wet, apply them lightly
while driving until normal braking
operation returns.Driving in flooded areas
Avoid driving through flooded areas
unless you are sure the water is no
higher than the bottom of the wheel
hub. Drive through any water slowly.
Allow adequate stopping distance
because brake performance may be
affected.
After driving through water, dry the
brakes by gently applying them sev-
eral times while the vehicle is moving
slowly.
Driving off-road
Drive carefully off-road because your
vehicle may be damaged by rocks or
roots of trees. Become familiar with
the off-road conditions where you
are going to drive before you begin
driving.
Highway driving
Tires
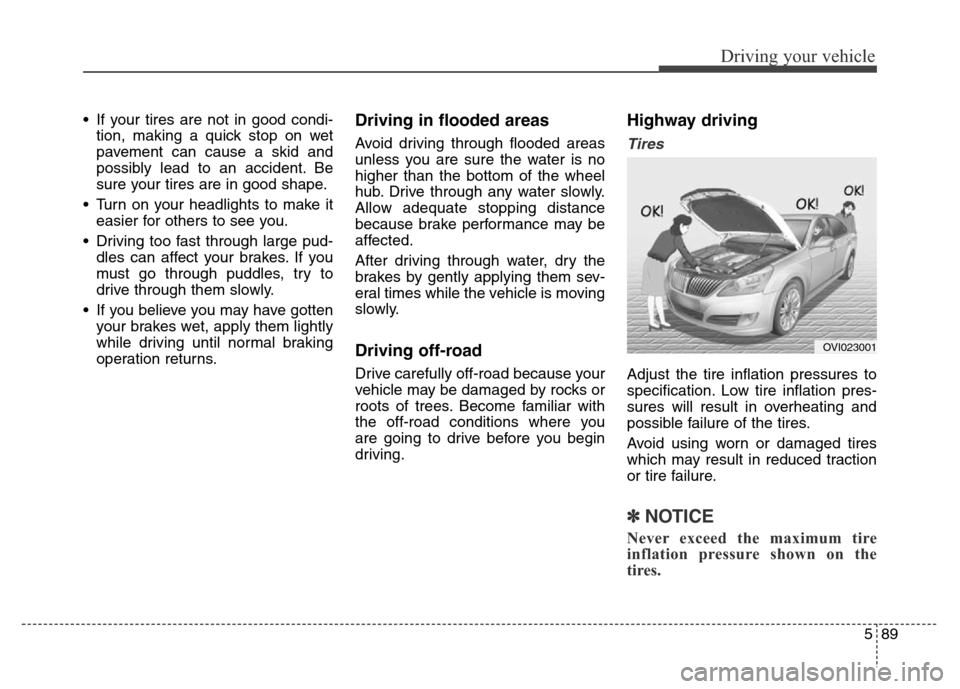
Adjust the tire inflation pressures to
specification. Low tire inflation pres-
sures will result in overheating and
possible failure of the tires.
Avoid using worn or damaged tires
which may result in reduced traction
or tire failure.
✽NOTICE
Never exceed the maximum tire
inflation pressure shown on the
tires.
OVI023001
Page 353 of 479
Driving your vehicle
96 5
Carry emergency equipment
Depending on the severity of the
weather, you should carry appropri-
ate emergency equipment. Some of
the items you may want to carry
include tire chains, tow straps or
chains, flashlight, emergency flares,
sand, a shovel, jumper cables, a win-
dow scraper, gloves, ground cloth,
coveralls, a blanket, etc.
Don't place foreign objects or
materials in the engine com-
partment
Placement of foreign objects or
materials which prevent cooling of
the engine, in the engine compart-
ment, may cause a failure or com-
bustion. The manufacturer is not
responsible for the damage caused
by such placement.
Page 357 of 479
What to do in an emergency
2 6
ROAD WARNING
Hazard warning flasher
The hazard warning flasher serves
as a warning to other drivers to exer-
cise extreme caution when
approaching, overtaking, or passing
your vehicle.It should be used whenever emer-
gency repairs are being made or
when the vehicle is stopped near the
edge of a roadway.
Depress the flasher switch with the
engine start/stop button in any posi-
tion. The flasher switch is located in
the center console switch panel. All
turn signal lights will flash simultane-
ously.
• The hazard warning flasher oper-
ates whether your vehicle is run-
ning or not.
• The turn signals do not work when
the hazard flasher is on.
• Care must be taken when using
the hazard warning flasher while
the vehicle is being towed.
OVI043086
Page 359 of 479
What to do in an emergency
4 6
IF THE ENGINE WILL NOT START
If engine doesn't turn over or
turns over slowly
1.Be sure the shift lever is in N
(Neutral) or P (Park) and the emer-
gency brake is set.
2.Check the battery connections to
be sure they are clean and tight.
3.Turn on the interior light. If the light
dims or goes out when you operate
the starter, the battery is dis-
charged.
4.Check the starter connections to
be sure they are securely tight-
ened.
5.Do not push or pull the vehicle to
start it. See instructions for "Jump
starting".
If engine turns over normally
but does not start
1.Check fuel level.
2.With the engine start/stop button in
the OFF position, check all con-
nectors at the ignition coils and
spark plugs. Reconnect any that
may be disconnected or loose.
3.If the engine still does not start, we
recommend that you call an
authorized HYUNDAI dealer or
seek other qualified assistance.
WARNING
If the engine will not start, do
not push or pull the vehicle to
start it. This could result in a
collision or cause other dam-
age.
Page 365 of 479

What to do in an emergency
10
6
TPMS malfunctions may occur for a
variety of reasons, including the
installation of replacement or alter-
nate tires or wheels on the vehicle
that prevent the TPMS from function-
ing properly. Always check the TPMS
malfunction telltale after replacing
one or more tires or wheels on your
vehicle to ensure that the replace-
ment or alternate tires and wheels
allow the TPMS to continue to func-
tion properly.
✽ ✽
NOTICE
If any of the below happens, we rec-
ommend that the system be checked
by an authorized HYUNDAI dealer.
1.The low tire pressure telltale/
TPMS malfunction indicator does
not illuminate for 3 seconds when
the ignition switch is turned to the
ON or engine is running.
2. The TPMS malfunction indicator remains illuminated after blinking
for approximately 1 minute.
3. The Low tire pressure position telltale remains illuminated.
Low tire pressure
telltale
Low tire pres-
sure position
telltale
When the tire pressure monitoring
system warning indicators are illumi-
nated and warning message dis-
played on the cluster LCD display,
one or more of your tires is signifi-
cantly under-inflated. The low tire
pressure position telltale light will
indicate which tire is significantly
under-inflated by illuminating the cor-
responding position light. If either telltale illuminates, immedi-
ately reduce your speed, avoid hard
cornering and anticipate increased
stopping distances. You should stop
and check your tires as soon as pos-
sible. Inflate the tires to the proper
pressure as indicated on the vehi-
cle’s placard or tire inflation pressure
label located on the driver’s side cen-
ter pillar outer panel. If you cannot
reach a service station or if the tire
cannot hold the newly added air,
replace the low pressure tire with a
spare tire.
If you drive the vehicle for about 10
minutes at speeds above 25 km/h
after replacing the low pressure tire
with the spare tire, the below will
happen:
The TPMS malfunction indicator
may blink for approximately 1
minute and then remain continu-
ously illuminated because the
TPMS sensor is not mounted on
the spare wheel.
OKH042081L
Page 368 of 479
613
What to do in an emergency
If you drive the vehicle for about 10
minutes at speeds above 25 km/h
after replaceing the low pressure tire
with the spare tire, the below will
happen:
• The TPMS malfunction indicator
may blink for approximately 1
minute and then remain continu-
ously illuminated because the
TPMS sensor is not mounted on
the spare wheel.You may not be able identify a low
tire by simply looking at it. Always
use a good quality tire pressure
gauge to measure the tire's inflation
pressure. Please note that a tire that
is hot (from being driven) will have a
higher pressure measurement than a
tire that is cold (from sitting station-
ary for at least 3 hours and driven
less than 1.6 km (1 mile) during that
3 hour period).
Allow the tire to cool before measur-
ing the inflation pressure. Always be
sure the tire is cold before inflating to
the recommended pressure.
A cold tire means the vehicle has
been sitting for 3 hours and driven for
less than 1.6 km (1 mile) in that 3
hour period.
WARNING- TPMS
• The TPMS cannot alert you to
severe and sudden tire dam-
age caused by external fac-
tors such as nails or road
debris.
• If you feel any vehicle instabil-
ity, immediately take your foot
off the accelerator, apply the
brakes gradually and with
light force, and slowly move to
a safe position off the road.
Page 374 of 479
619
What to do in an emergency
10. Loosen the wheel nuts and
remove them with your fingers.
Slide the wheel off the studs and
lay it flat so it cannot roll away. To
put the wheel on the hub, pick up
the spare tire, line up the holes
with the studs and slide the
wheel onto them. If this is diffi-
cult, tip the wheel slightly and get
the top hole in the wheel lined up
with the top stud. Then jiggle the
wheel back and forth until the
wheel can be slid over the other
studs.11. To reinstall the wheel, hold it on
the studs, put the wheel nuts on
the studs and tighten them finger
tight. The nuts should be installed
with their tapered small diameter
ends directed inward. Jiggle the
tire to be sure it is completely
seated, then tighten the nuts as
much as possible with your fin-
gers again.
12. Lower the vehicle to the ground
by turning the wheel nut wrench
counterclockwise.
WARNING
Wheels may have sharp edges.
Handle them carefully to avoid
possible severe injury. Before
putting the wheel into place, be
sure that there is nothing on the
hub or wheel (such as mud, tar,
gravel, etc.) that interferes with
the wheel from fitting solidly
against the hub.
If there is, remove it. If there is
not good contact on the mount-
ing surface between the wheel
and hub, the wheel nuts could
come loose and cause the loss
of a wheel. Loss of a wheel may
result in loss of control of the
vehicle. This may cause serious
injury or death.
Page 387 of 479
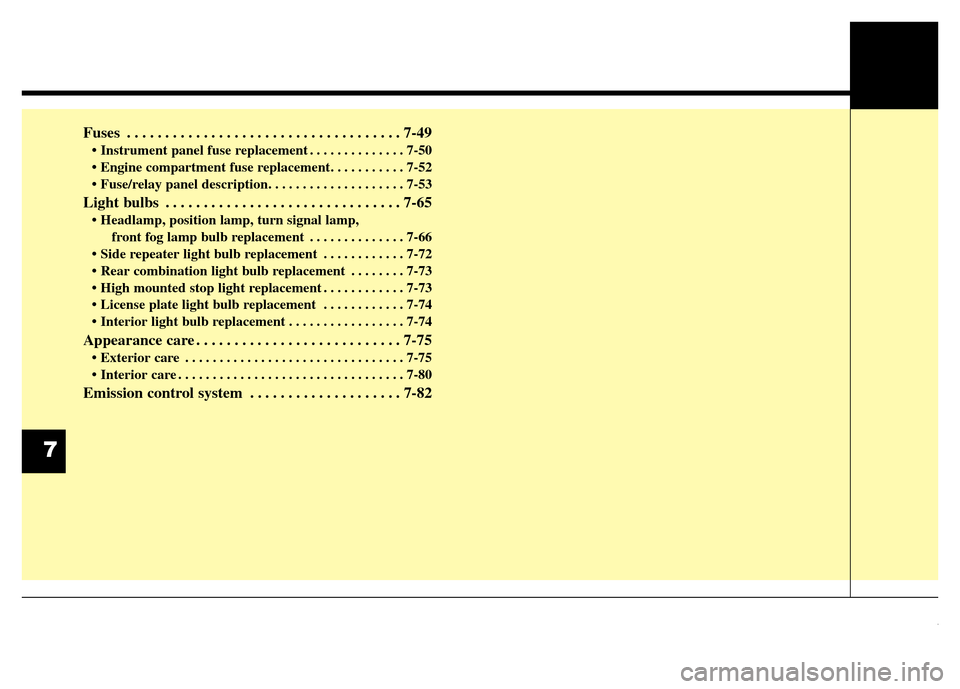
Fuses . . . . . . . . . . . . . . . . . . . . . . . . . . . . . . . . . . . . 7-49
• Instrument panel fuse replacement . . . . . . . . . . . . . . 7-50
• Engine compartment fuse replacement. . . . . . . . . . . 7-52
• Fuse/relay panel description. . . . . . . . . . . . . . . . . . . . 7-53
Light bulbs . . . . . . . . . . . . . . . . . . . . . . . . . . . . . . . 7-65
• Headlamp, position lamp, turn signal lamp,
front fog lamp bulb replacement . . . . . . . . . . . . . . 7-66
• Side repeater light bulb replacement . . . . . . . . . . . . 7-72
• Rear combination light bulb replacement . . . . . . . . 7-73
• High mounted stop light replacement . . . . . . . . . . . . 7-73
• License plate light bulb replacement . . . . . . . . . . . . 7-74
• Interior light bulb replacement . . . . . . . . . . . . . . . . . 7-74
Appearance care . . . . . . . . . . . . . . . . . . . . . . . . . . . 7-75
• Exterior care . . . . . . . . . . . . . . . . . . . . . . . . . . . . . . . . 7-75
• Interior care . . . . . . . . . . . . . . . . . . . . . . . . . . . . . . . . . 7-80
Emission control system . . . . . . . . . . . . . . . . . . . . 7-82
7