Page 4 of 286
3
Quick Reference Guide❙Headlights/Turn Signals (P95)
❙Fog Lights*
(P96)
❙Wipers/Washers (P97)
❙Paddle Shifter (Shift Down) *
(P 170)
❙Paddle Shifter (Shift Up) *
(P170)
❙Cruise Control Buttons *
(P173)
❙Bluetooth ® HandsFreeLink ® System *
(P140)
❙Horn (Press an area around .)
❙ (Select/Reset) Knob (P73)
❙Brightness Control (P99)
❙Audio Remote Control Buttons *
() See Navigation System Manual
❙Navigation System Voice Control Buttons *
() See Navigation System Manual
* Not available on all models
Main Menu
Page 12 of 286

11
Quick Reference Guide
Heating and Cooling*
System (P118)
● Rotate the fan control dial to adjust the fan speed.
● Rotate the Mode control dial ( / / / / ) to select the vents air flows from.
● Rotate the temperature control dial to adjust the temperature.
● Rotate the fan control dial to OFF to turn the system off.
● Rotate the mode to defrost the windshield.
Fan Control Dial
(Rear Window Defogger/ Heated Mirror*
) Button
A/C (Air Conditioning) Button *
Air flows from floor and windshield defroster vents.
Air flows from floor vents.
Air flows from floor and
dashboard vents.
Air flows from dashboard
vents.
Temperature Control Dial
Air flows from windshield
defroster vents.
Mode Control Dial
Fresh Air/Recirculation Lever
Clock (P76)
a Press the CLOCK button until the
displayed time begins flashing.
b Press the
(1 (Hour) or (2 (Minute)
button to set the time. Press the
(3
(Reset) button to set the time to the nearest hour.
c Press the CLOCK button again to set
the time.
The navigation system receives signals from
GPS satellites, updating the clock automatically.
Models without navigation system
Models with navigation system
* Not available on all models
Main Menu
Page 13 of 286
12
Quick Reference Guide
Features (P121)
Audio System (P125) For navigation system operation () See Navigation System Manual
FM/AM Button
SCAN Button
(Seek) Button
Selector Knob Button
(Sound) Button
(Power) Button
CD
Button
(CD Eject) Button
Preset Buttons (1-6)
Button
TITLE Button RDM/A.SEL
Button
Auxiliary Input Jack RPT Button
(Seek) Button
AUX Button
Audio Display
Main Menu
Page 74 of 286
73
uuGauges and DisplaysuInformation Display
Continued
Instrument Panel
Information Display
The information display shows the odometer, trip meter, engine oil life and
maintenance service item codes, and other gauges.
Press the (select/reset) knob to change the display.
Shows the total number of miles or kilometers that your vehicle has accumulated.
Shows the total number of miles or kilometers driven since the last reset. ■ Resetting a trip meter
To reset a trip meter, display it, then press and hold the knob. The trip meter is
reset to 0.0.
■Switching the Display
1Switching the Display
Each time you press the knob, the information
display changes as follows:
Instant Fuel Economy,
Trip Meter
Instant Fuel Economy,
Average Fuel Economy
Engine Oil Life
Instant Fuel Economy, Odometer
■Odometer
■Trip Meter
Main Menu
Main MenuTable of Contents
Page 75 of 286
74
uuGauges and DisplaysuInformation Display
Instrument Panel
Shows the estimated average fuel economy of the trip meter in mpg (U.S.) or l/100
km (Canada). The display is updated at set intervals. When a trip meter is reset, the
average fuel economy is also reset.
Shows the remaining oil life and Maintenance MinderTM
.
2 Maintenance Minder TM
P. 195
Shows the instant fuel economy as a bar graph in mpg or l/100 km.
Appears when the fuel fill cap is loose or is not installed. 2 Check/Tighten Fuel Cap Message P. 257
■Average Fuel Economy
■Engine Oil Life
■Instant Fuel Economy
■Check Fuel Cap
Main Menu
Main MenuTable of Contents
Page 77 of 286
76
Controls
Setting the Clock
Clock
You can adjust the time in the clock display, using the CLOCK button with the
ignition switch in ACCESSORY
(q or ON (w.
1. Press and hold the CLOCK button until the clock dis play begins to blink.
2. Press the
(1 (Hour) button to change the hours.
3. Press the
(2 (Minute) button to change the minutes.
4. Press the CLOCK button to go back to the normal display.
■Adjusting the Time
1Clock
Press and hold the CLOCK button until the clock
display begins to blink, then press the
(3 (Reset)
button.
Depending on the displayed time, the clock sets
forward or backward.
Example: 1:06 will reset to 1:001:53 will reset to 2:00
The clock is automatically updated through the navigation system, so the time does not need to be
adjusted.
Models without navigation system
Models with navigation system
Models without navigation system
(1 Button
(3 Button Clock Display
CLOCK Button
(2 Button
Main Menu
Main MenuTable of Contents
Page 100 of 286

99
uuOperating the Switches Around the Steering WheeluBrightness Control
Controls
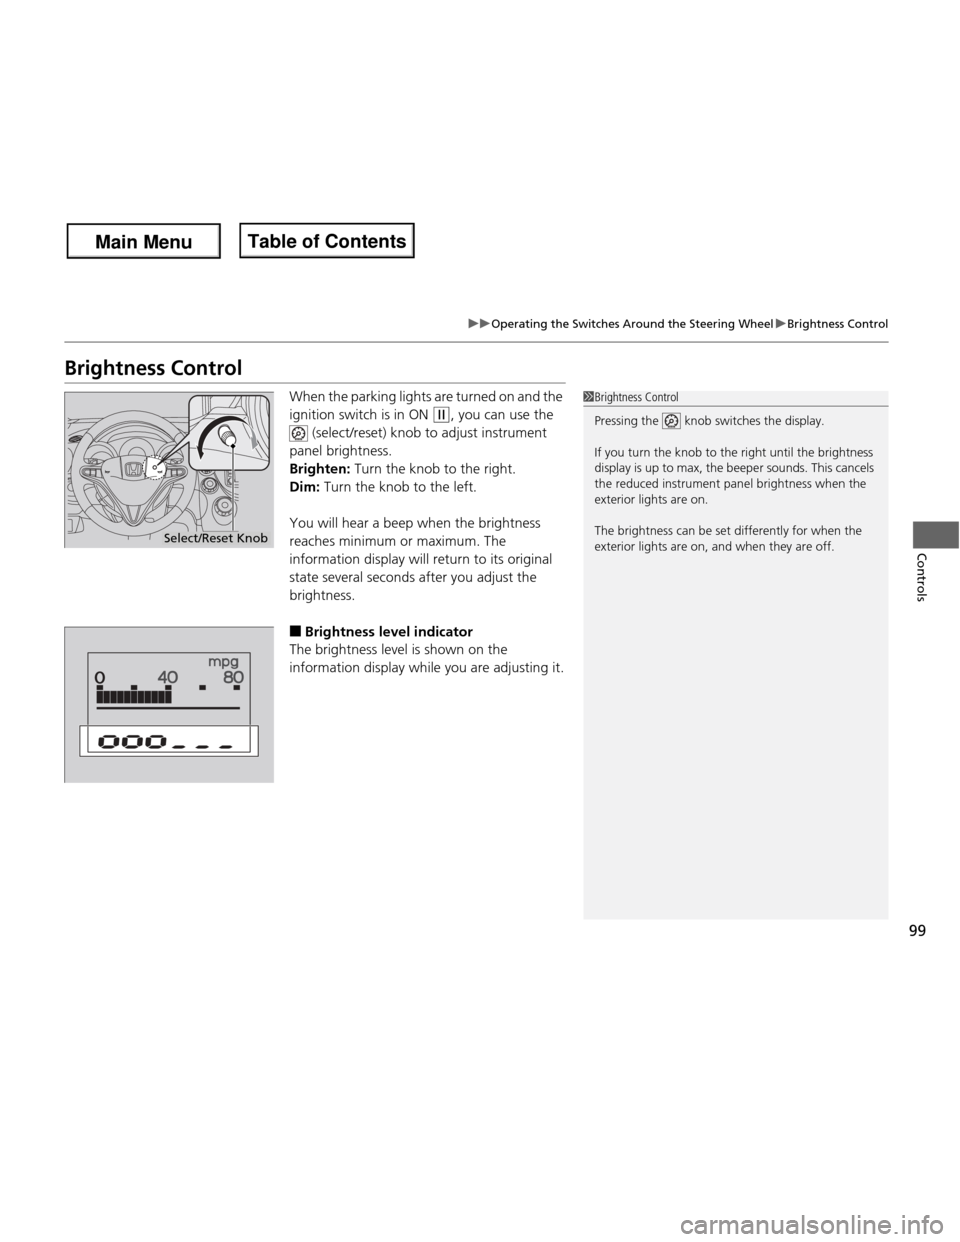
Brightness ControlWhen the parking lights are turned on and the
ignition switch is in ON
(w, you can use the
(select/reset) knob to adjust instrument
panel brightness.
Brighten: Turn the knob to the right.
Dim: Turn the knob to the left.
You will hear a beep when the brightness
reaches minimum or maximum. The
information display will return to its original
state several seconds after you adjust the
brightness.
■ Brightness level indicator
The brightness level is shown on the
information display while you are adjusting it.
1Brightness Control
Pressing the knob switches the display. If you turn the knob to the right until the brightness
display is up to max, the beeper sounds. This cancels
the reduced instrument panel brightness when the
exterior lights are on.
The brightness can be set differently for when the
exterior lights are on, and when they are off.
Select/Reset Knob
Main Menu
Main MenuTable of Contents
Page 125 of 286

124
uuAudio SystemuAudio Antenna
Features
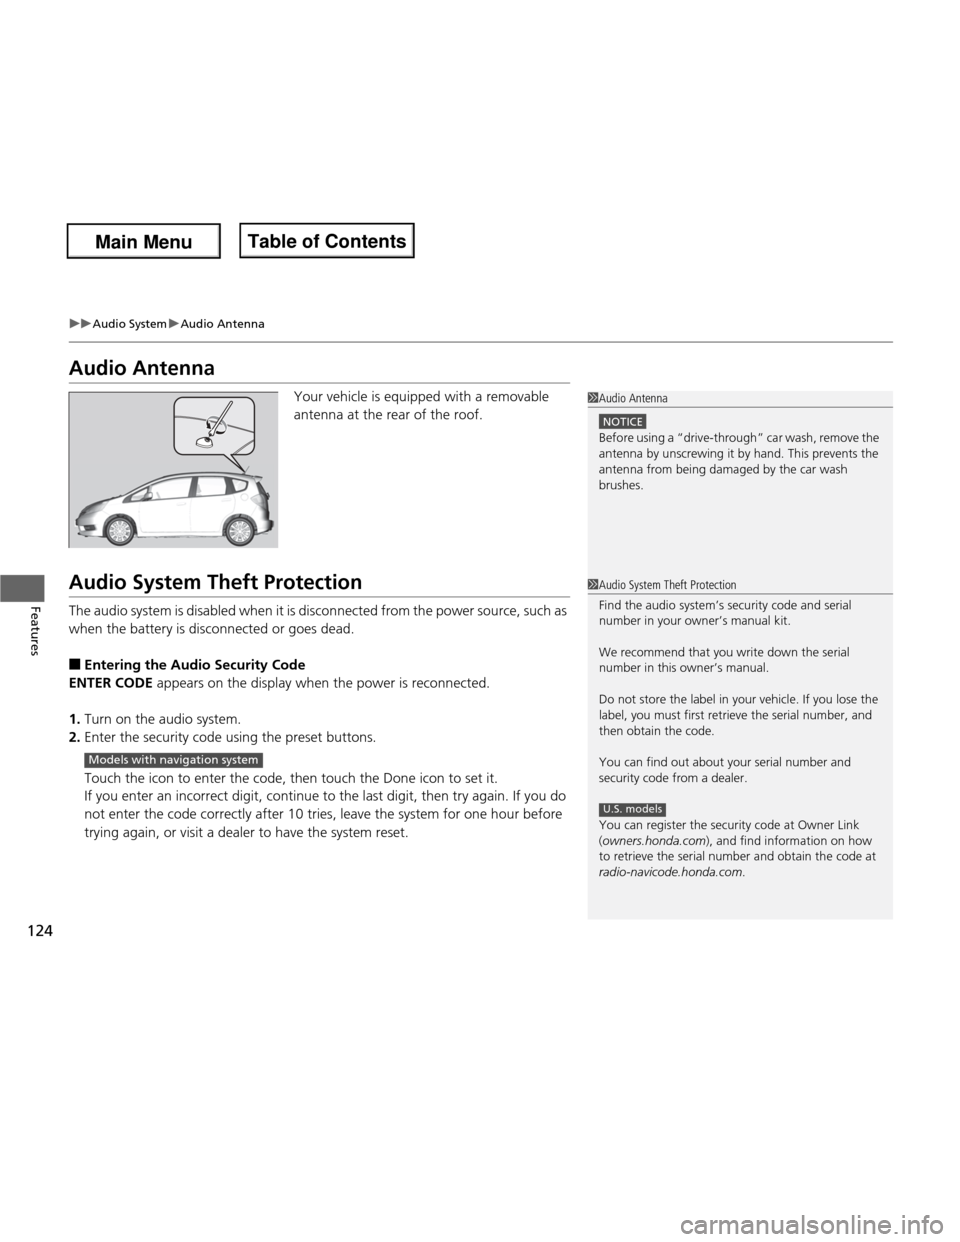
Audio AntennaYour vehicle is equipped with a removable
antenna at the rear of the roof.
Audio System Theft Protection
The audio system is disabled when it is disconnected from the power source, such as
when the battery is disconnected or goes dead. ■ Entering the Audio Security Code
ENTER CODE appears on the display when the power is reconnected.
1. Turn on the audio system.
2. Enter the security code using the preset buttons.
Touch the icon to enter the code, then touch the Done icon to set it.
If you enter an incorrect digit, continue to the last digit, then try again. If you do
not enter the code correctly after 10 tries, leave the system for one hour before
trying again, or visit a dealer to have the system reset.
1Audio Antenna
NOTICE
Before using a “drive-through” car wash, remove the
antenna by unscrewing it by hand. This prevents the
antenna from being damaged by the car wash brushes.
1Audio System Theft Protection
Find the audio system’s security code and serial number in your owner’s manual kit.
We recommend that you write down the serial
number in this owner’s manual.
Do not store the label in your vehicle. If you lose the
label, you must first retrieve the serial number, and
then obtain the code.
You can find out about your serial number and
security code from a dealer.
You can register the security code at Owner Link ( owners.honda.com ), and find information on how
to retrieve the serial number and obtain the code at
radio-navicode.honda.com .
U.S. models
Models with navigation system
Main Menu
Main MenuTable of Contents