2013 HONDA CROSSTOUR dead battery
[x] Cancel search: dead batteryPage 96 of 573
Continued95
uuLocking and Unlocking the DoorsuLocking/Unlocking the Doors from the Outside
Controls
■Unlocking the doors
Press the unlock button.
Once:
uSome exterior lights flash twice, and the driver’s door and fuel fill door unlock.
Twice:
uThe remaining doors and tailgate unlock.
1Using the Remote Transmitter
If the distance at which it works varies, the battery is probably low.
If the LED does not come on when you press a
button, the battery is dead. 2 Replacing the Button Battery P. 507
You can customize the door unlock mode setting. 2 Customized Features *
P. 281
Models with audio touch screen
* Not available on all models
Main MenuTable of contents
Page 97 of 573
uuLocking and Unlocking the DoorsuLocking/Unlocking the Doors from the Outside
96
Controls
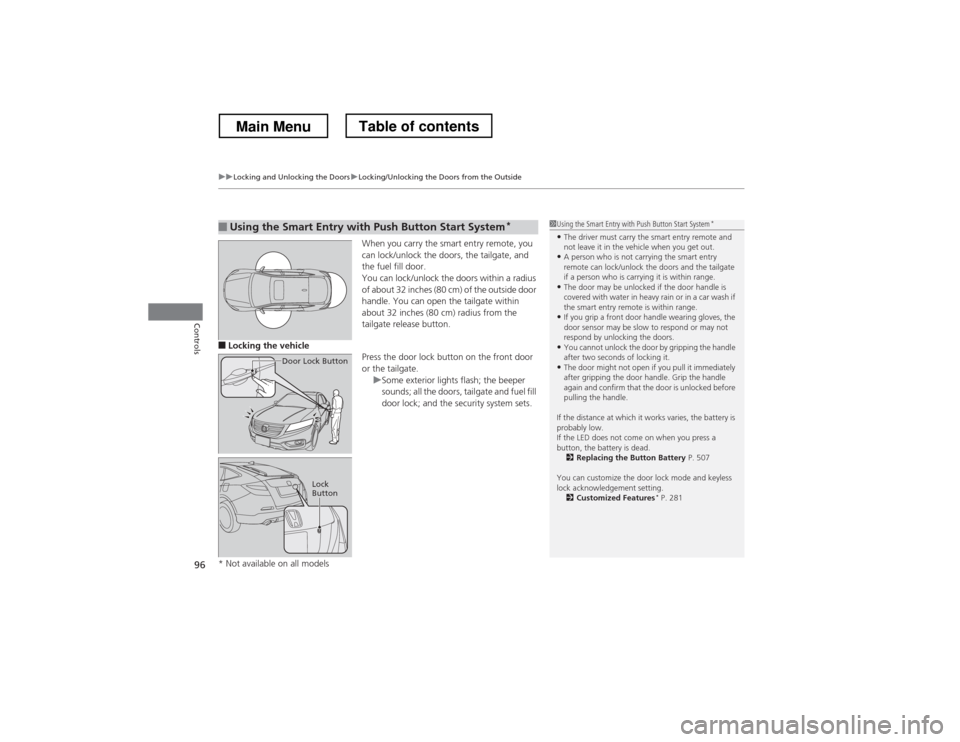
When you carry the smart entry remote, you
can lock/unlock the doors, the tailgate, and
the fuel fill door.
You can lock/unlock the doors within a radius
of about 32 inches (80 cm) of the outside door
handle. You can open the tailgate within
about 32 inches (80 cm) radius from the
tailgate release button.
■ Locking the vehicle
Press the door lock button on the front door
or the tailgate.
uSome exterior lights flash; the beeper
sounds; all the doors, tailgate and fuel fill
door lock; and the security system sets.
■Using the Smart Entry with Push Button Start System*
Door Lock Button
Lock
Button
1Using the Smart Entry with
Push Button Start System*
• The driver must carry the smart entry remote and
not leave it in the vehicle when you get out.
• A person who is not carrying the smart entry
remote can lock/unlock the doors and the tailgate
if a person who is carrying it is within range.
• The door may be unlocked if the door handle is
covered with water in heavy rain or in a car wash if
the smart entry remote is within range.
• If you grip a front door handle wearing gloves, the
door sensor may be slow to respond or may not
respond by unlocking the doors.
• You cannot unlock the door by gripping the handle
after two seconds of locking it.
• The door might not open if you pull it immediately
after gripping the door handle. Grip the handle
again and confirm that the door is unlocked before
pulling the handle.
If the distance at which it works varies, the battery is probably low.
If the LED does not come on when you press a
button, the battery is dead. 2 Replacing the Button Battery P. 507
You can customize the door lock mode and keyless
lock acknowledgement setting. 2 Customized Features *
P. 281
* Not available on all models
Main MenuTable of contents
Page 109 of 573
uuSecurity SystemuSecurity System Alarm
108
Controls
■ Setting the security system alarm
The security system alarm automatically sets when the following conditions have
been met: • The ignition switch is in LOCK
(0 *1
, and the key has been removed from the
ignition switch.
• The hood and tailgate are closed.
• All doors are locked with the key, remote transmitter, or smart entry system.
■ When the security system alarm sets
The security system alarm indicator in the instrument panel blinks. When the
blinking interval changes after about 15 seconds, the security system alarm is set.
■ To cancel the security system alarm
The security system alarm is canceled when the vehicle is unlocked using the key,
remote transmitter, or smart entry system, or the ignition switch is turned to ON
(w *1
. The security system alarm indicator goes off at the same time.
*1: Models with the smart entry system have an ENGINE START/STOP button instead of an
ignition switch.
1Security System Alarm
Do not set the security system alarm when someone
is in the vehicle or a window is open. The system can
accidentally activate when:
• Unlocking the door with the lock tab or the master
door lock switch.
If the battery goes dead after you have set the
security system alarm, the security alarm may go off
once the battery is recharged or replaced.
If this occurs, deactivate the security system alarm by
unlocking a door using the key or remote transmitter.
Do not attempt to alter this system or add another device to it.
Main MenuTable of contents
Page 167 of 573
166
uuAudio SystemuAudio System Theft Protection
Features
Audio System Theft Protection
The audio system is disabled when it is disconnected from the power source, such as
when the battery is disconnected or goes dead. ■Reactivating the audio system
1. Turn the ignition switch to ON
(w , and turn on the audio system.uIf you turn the ignition switch to ACCESSORY (q, you will be requested to
enter the audio security code.
2. Enter the audio security code using the preset buttons.
1. Turn the ignition switch to ON
(w *1
, and turn on the audio system.uIf you turn the ignition switch to ACCESSORY (q *1
, you will be requested to
enter the audio security code. See step 3.
2. Press and hold the VOL/ (power/volume) button again for more than two
seconds.
uThe audio system is reactivated when the system’s control unit recognizes that
the system is in your vehicle.
If the control unit fails to recognize, Enter code/Enter PIN Code appears on
the audio/information screen.
3. Enter the audio security code using the touch screen.
If you enter an incorrect digit, continue to the last digit, then try again. If you do not
enter the code correctly after 10 tries, leave the system for one hour before trying
again, or visit a dealer to have the system reset. *1: Models with the smart entry system have an ENGINE START/STOP button instead of an
ignition switch.
1Audio System Theft Protection
Find the audio system’s security code and serial
number label in your owner’s manual kit.
We recommend that you write down the serial
number in this owner’s manual.
Do not store the label in your vehicle. If you lose the
label, you must first retrieve the serial number, and
then obtain the code.
You can find out about your serial number and
security code from a dealer.
You can register the security code at Owner Link ( owners.honda.com. ), and find information on how
to retrieve the serial number and obtain the code at
radio-navicode.honda.com .
U.S. models
Audio system without touch screen
Audio system with touch screen
All models
Main MenuTable of contents
Page 168 of 573
167
uuAudio SystemuRegion Setting*
Features
Region Setting *
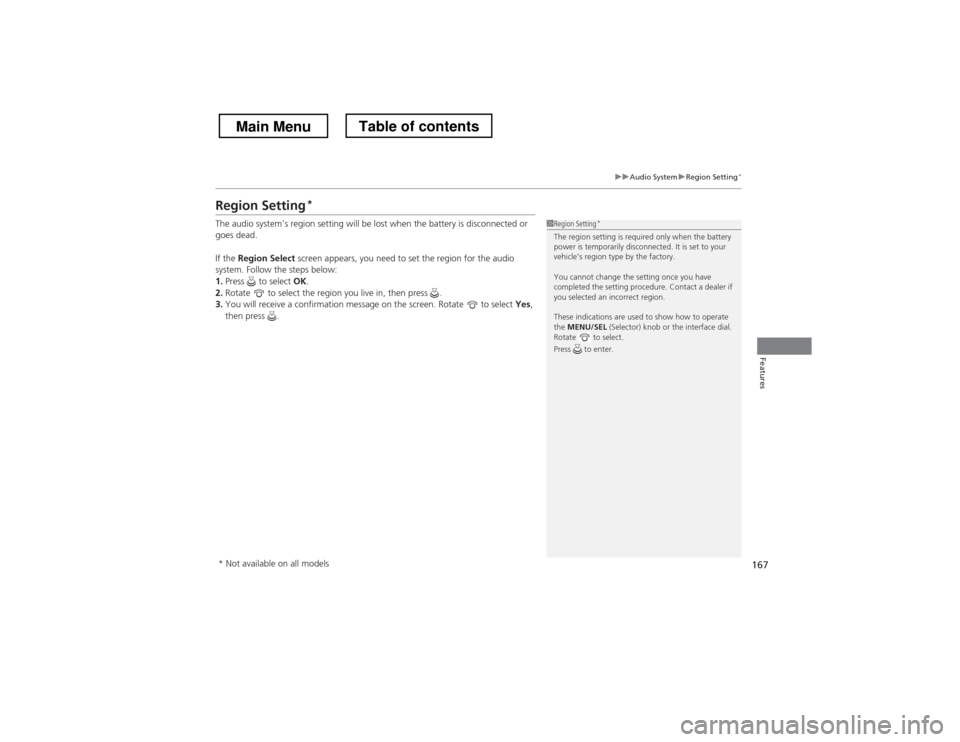
The audio system’s region setting will be lost when the battery is disconnected or
goes dead.
If the Region Select screen appears, you need to set the region for the audio
system. Follow the steps below: 1. Press to select OK.
2. Rotate to select the region you live in, then press .
3. You will receive a confirmation message on the screen. Rotate to select Yes,
then press .
1Region Setting *
The region setting is required only when the battery
power is temporarily disconnected. It is set to your
vehicle’s region type by the factory.
You cannot change the setting once you have
completed the setting procedure. Contact a dealer if
you selected an incorrect region.
These indications are used to show how to operate the MENU/SEL (Selector) knob or the interface dial.
Rotate to select.
Press to enter.
* Not available on all models
Main MenuTable of contents
Page 507 of 573
506
Maintenance
Battery
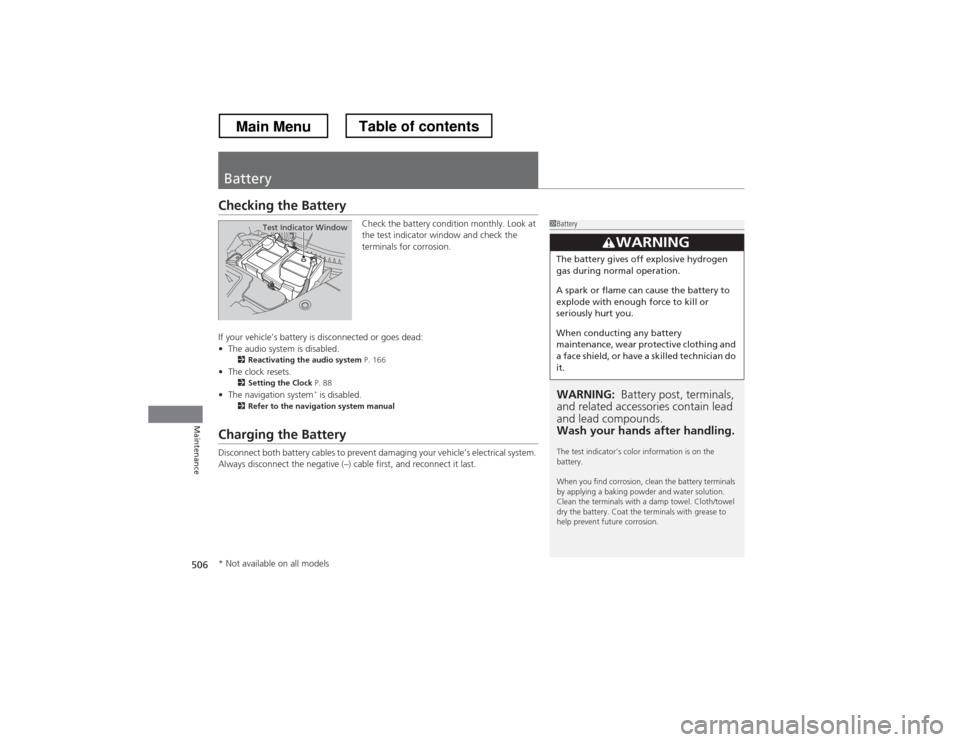
Checking the BatteryCheck the battery condition monthly. Look at
the test indicator window and check the
terminals for corrosion.
If your vehicle’s battery is disconnected or goes dead: • The audio system is disabled.
2 Reactivating the audio system P. 166
• The clock resets.
2 Setting the Clock P. 88
• The navigation system *
is disabled.
2 Refer to the navigation system manual
Charging the Battery
Disconnect both battery cables to prevent damaging your vehicle’s electrical system.
Always disconnect the negative (–) cab le first, and reconnect it last.
1Battery
WARNING: Battery post, terminals,
and related accessories contain lead and lead compounds.
Wash your hands after handling.
The test indicator’s color information is on the battery.
When you find corrosion, clean the battery terminals
by applying a baking powder and water solution.
Clean the terminals with a damp towel. Cloth/towel
dry the battery. Coat the terminals with grease to
help prevent future corrosion.
3WARNING
The battery gives off explosive hydrogen
gas during normal operation.
A spark or flame can cause the battery to
explode with enough force to kill or
seriously hurt you.
When conducting any battery
maintenance, wear protective clothing and
a face shield, or have a skilled technician do it.
Test Indicator Window
* Not available on all models
Main MenuTable of contents
Page 554 of 573
553
Continued
Information
Emissions Testing
Testing of Readiness Codes
Your vehicle uses “readiness codes,” as part of its onboard self diagnostic system.
Some states refer to these codes during testing to see if your vehicle’s emissions
components are working properly.
The codes may not be read if you go through the testing just after the battery has
gone dead or been disconnected.
To check if they are set, turn the ignition switch to ON
(w *1
, without starting the
engine. The malfunction indicator lamp will come on for several seconds. If it then
goes off, the readiness codes are set. If it blinks five times, the readiness codes are not set.
If you are required to have your vehicle tested before the readiness codes are ready,
prepare the vehicle for retesting by doing the following: 1. Fill the gas tank to approximately 3/4 full.
2. Park the vehicle and leave the engine off for 6 hours or more.
3. Make sure the ambient temperature is between 40°F and 95°F (4°C and 35°C).
4. Start the engine without touching the accelerator pedal, and let it idle for 20
seconds.
5. Keep the vehicle in
(P . Increase the engine speed to 2,000 rpm, and hold it there
for about 3 minutes.
6. Let the engine idle with your foot off the accelerator for 20 seconds.
*1: Models with the smart entry system have an ENGINE START/STOP button instead of an
ignition switch.
1Testing of Readiness Codes
The readiness codes are erased when the battery is
disconnected, and set again only after several days of
driving under a variety of conditions.
If a testing facility determines that the readiness
codes are not set, you may be requested to return at
a later date to complete the test.
If the testing facility determines the readiness codes
are still not set, see a dealer.
Main MenuTable of contents
Page 564 of 573

563
Index
Bluetooth® Audio ............................. 213, 266
Bluetooth ® HandsFreeLink ®.... 320, 332, 367
Booster Seats (For Children) ...................... 65
Brake System ............................................ 449
Anti-lock Brake System (ABS) .................. 451
Brake Assist System................................. 452
Fluid ....................................................... 481
Foot Brake .............................................. 450
Indicator ........................................... 70, 536
Parking Brake.......................................... 449
Brightness Control (Instrument Panel) ... 125
Bulb Replacement .................................... 484
Brake Light, Taillight, Back-Up Light,
Rear Turn Signal Light and Lower Rear
Side Marker Light ................................ 490
Fog Lights ............................................... 486
Front Turn Signal/Parking Light ............... 489
Headlights .............................................. 484
High-Mount Brake Light........ .................. 492
Rear License Plate Light ........................... 492
Side Marker Lights .................................. 488
Bulb Specifications ........................... 546, 548
C
Carbon Monoxide Gas ............................... 66
Cargo Hook .............................................. 149
Carrying Cargo ................................. 411, 413
CD Player .................................. 173, 200, 239
Center Pocket ........................................... 152
Certification Label ................................... 550 Changing Bulbs
......................................... 484
Charging System Indicator ................. 71, 534
Child Safety ................................................. 54
Childproof Door Locks ............................. 100
Child Seat .................................................... 54
Booster Seats............................................. 65
Child Seat for Infants ................................. 56
Child Seat for Small Children ..................... 57
Installing a Child Seat with a Lap/ Shoulder Seat Belt ................................... 61
Larger Children.......................................... 64
Rear-facing Child Seat ............................... 56
Selecting a Child Seat ................................ 58
Childproof Door Locks ............................. 100
Cleaning the Exterior ............................... 512
Cleaning the Interior ................................ 510
Climate Control System ............................ 157
Changing the Mode ................................ 157
Defrosting the Windshield and
Windows ............................................... 159
Dust and Pollen Filter ............................... 509
Recirculation and Fresh Air Mode ............ 158
Recirculation/Fresh Air Mode ................... 157
Sensors.................................................... 162
Synchronized Mode ................................. 161
Using Automatic Climate Control ............ 157
Clock ............................................................ 88
Coat Hook ................................................. 148
Compact Spare Tire .................. 517, 547, 549
Compass ............................................ 405, 407
Console Compartment ............................. 145 Controls
....................................................... 87
Coolant (Engine) ...................................... 478
Adding to the Radiator ............................ 479
Adding to the Reserve Tank..................... 478
Overheating ............................................ 532
Creeping (Automatic Transmission) ........ 425
Cruise Control ........................................... 432
Indicator.................................................... 81
Cup Holders .............................................. 146
Customer Service Information ................. 558
Customized Features ................................ 281
D
Daytime Running Lights .......................... 122
Dead Battery ............................................. 528
Defrosting the Windshield and Windows ......................................... 156, 159
Devices that Emit Radio Waves ............... 551
Dimming
Headlights ............................................... 119
Rearview Mirror....................................... 130
Dipstick (Engine Oil) ................................. 473
Directional Signals (Turn Signal) ............. 119
Display Button .................................. 186, 218
Door Mirrors ............................................. 131
Doors ........................................................... 91
Auto Door Locking .................................. 101
Auto Door Unlocking .............................. 101
Door and Trunk Open Indicator ................. 74
Door Open Indicator.................................. 31
Main Menu