Page 461 of 573

460
Driving
Accessories and Modifications
Accessories
When installing accessories, check the following: •Do not install accessories on the windshield. They can obstruct your view and
delay your reaction to driving conditions.
2 Forward Collision Warning (FCW) *
P. 435
2 Lane Departure Warning (LDW) *
P. 439
• Do not install accessories on the side pillars or across the side windows.
Accessories installed in these areas may interfere with proper operation of the
side curtain airbags.
• Be sure electronic accessories do not overload electrical circuits or interfere with
proper operation of your vehicle.
2 Fuses P. 538
• Before installing any electronic accessory, have the installer contact a dealer for
assistance. If possible, have a dealer inspect the final installation.
Modifications
Do not modify your vehicle or use non-Honda components that can affect its
handling, stability, and reliability.
Overall vehicle performance can be affected. Always make sure all equipment is
properly installed and maintained, and that it meets federal, state, province,
territory, and local regulations.
1Accessories and Modifications
Honda Genuine accessories are recommended to
ensure proper operation on your vehicle.
3WARNING
Improper accessories or modifications can
affect your vehicle
Page 484 of 573
483
uuMaintenance Under the HooduRefilling Window Washer Fluid
Maintenance
Refilling Window Washer Fluid
Check the amount of window washer fluid using the washer fluid level gauge on the cap.If the level is low, fill the washer reservoir.
If the washer fluid is low, the washer level
indicator comes on.
Pour the washer fluid carefully. Do not overflow the reservoir.
1Refilling Window Washer Fluid
NOTICEDo not use engine antifreeze or a vinegar/water
solution in the windshield washer reservoir.
Antifreeze can damage your vehicle’s paint. A
vinegar/water solution can damage the windshield washer pump.
Level Gauge
Canadian models
Main MenuTable of contents
Page 494 of 573
493
Continued
Maintenance
Checking and Maintaining Wiper Blades
Checking Wiper Blades
If the wiper blade rubber has deteriorated, it will leave streaks and the metal wiper
arm may scratch the window glass.
Changing the Front Wiper Blade Rubber
1.Lift the driver side wiper arm first, then the
passenger side.
2. Pry on the edge of the lock tab using a flat-
tip screwdriver to push it up.
uWrap the flat-tip screwdriver with a cloth
to prevent scratches.
3. Slide the blade from the wiper arm.
1Changing the Front Wiper Blade Rubber
NOTICEAvoid dropping the wiper arm; it may damage the windshield.
Lock Tab
Main MenuTable of contents
Page 496 of 573
495
uuChecking and Maintaining Wiper BladesuChanging the Rear Wiper Blade Rubber
Continued
Maintenance
Changing the Rear Wiper Blade Rubber1.Raise the wiper arm off.
2. Pry on the edge of the lock tab using a flat-
tip screwdriver to push it up.
uWrap the flat-tip screwdriver with a cloth
to prevent scratches.
3. Slide the wiper blade out from the end with
the indent.
1Changing the Rear Wiper Blade Rubber
NOTICEAvoid dropping the wiper arm; it may damage the
rear window.
Lock Tab
Blade
Main MenuTable of contents
Page 507 of 573

506
Maintenance
Battery
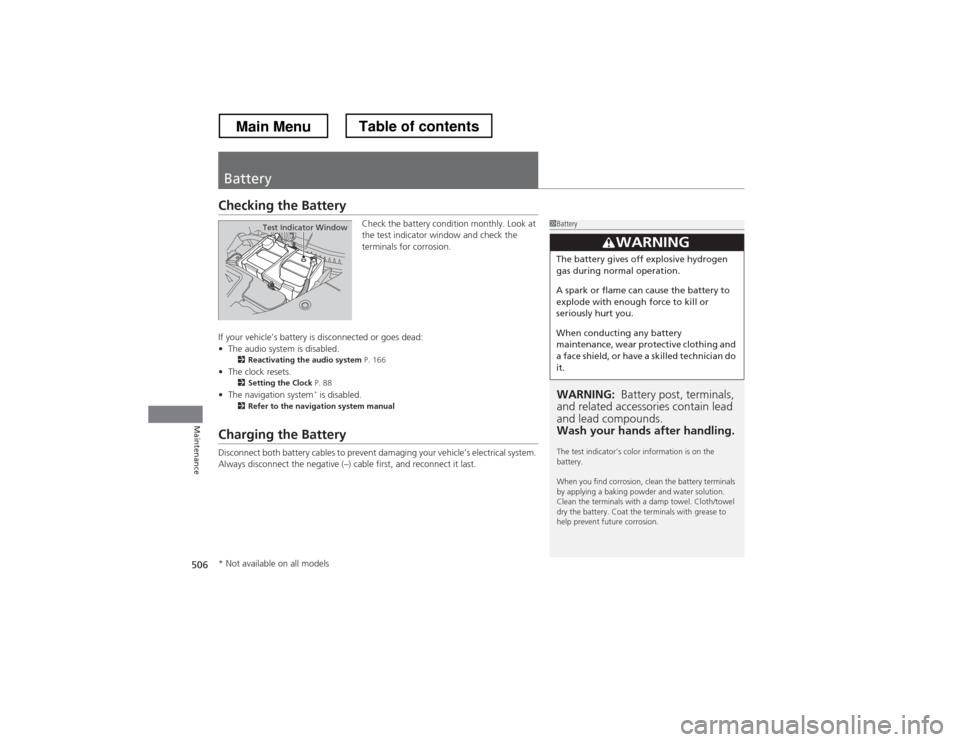
Checking the BatteryCheck the battery condition monthly. Look at
the test indicator window and check the
terminals for corrosion.
If your vehicle’s battery is disconnected or goes dead: • The audio system is disabled.
2 Reactivating the audio system P. 166
• The clock resets.
2 Setting the Clock P. 88
• The navigation system *
is disabled.
2 Refer to the navigation system manual
Charging the Battery
Disconnect both battery cables to prevent damaging your vehicle’s electrical system.
Always disconnect the negative (–) cab le first, and reconnect it last.
1Battery
WARNING: Battery post, terminals,
and related accessories contain lead and lead compounds.
Wash your hands after handling.
The test indicator’s color information is on the battery.
When you find corrosion, clean the battery terminals
by applying a baking powder and water solution.
Clean the terminals with a damp towel. Cloth/towel
dry the battery. Coat the terminals with grease to
help prevent future corrosion.
3WARNING
The battery gives off explosive hydrogen
gas during normal operation.
A spark or flame can cause the battery to
explode with enough force to kill or
seriously hurt you.
When conducting any battery
maintenance, wear protective clothing and
a face shield, or have a skilled technician do it.
Test Indicator Window
* Not available on all models
Main MenuTable of contents
Page 510 of 573
509
Maintenance
Heating and Cooling System*/Climate Control System* Maintenance
Dust and Pollen Filter
The heating and cooling system*
/climate control system *
is equipped with a dust
and pollen filter that collects pollen, dust, and other debris in the air. The
Maintenance Minder TM
messages will let you know when to replace the filter.
We recommend that you replace the dust and pollen filter sooner when using your
vehicle in areas with high concentrations of dust.
1Dust and Pollen Filter
If the airflow from the heating and cooling system *
/
climate control system *
deteriorates noticeably, and
the windows fog up easily, the filter may need to be
replaced. Please contact a dealer for replacement.
* Not available on all models
Main MenuTable of contents
Page 513 of 573

512
uuCleaninguExterior Care
Maintenance
Exterior Care
Dust off the vehicle body after you drive.
Regularly inspect your vehicle for scratches on painted surfaces. A scratch on a
painted surface can result in body rust. If you find a scratch, promptly repair it.
Wash the vehicle regularly. Wash more frequently when driving in the following
conditions: •If driving on roads with road salt.
• If driving in coastal areas.
• If tar, soot, bird droppings, insects, or tree sap are stuck to painted surfaces.
Fold in the door mirrors. Make sure to follow the instructions indicated on the
automated car wash. • Keep sufficient distance between the cleaning nozzle and the vehicle body.
• Take particular care around the windows. Standing too close may cause water to
enter the vehicle interior. Do not spray water into the engine compartment.
■Washing the Vehicle
■Using an Automated Car Wash
■Using High Pressure Cleaners
1Washing the Vehicle
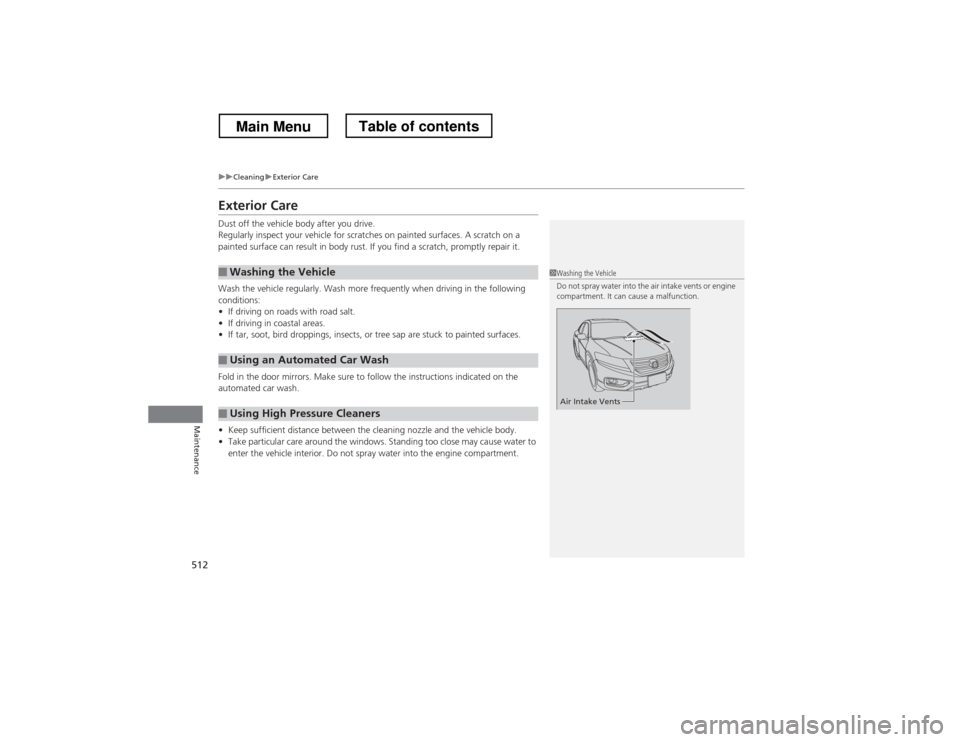
Do not spray water into the air intake vents or engine
compartment. It can cause a malfunction.
Air Intake Vents
Main MenuTable of contents
Page 514 of 573

513
uuCleaninguExterior Care
Maintenance
A good coat of automotive body wax helps protect your vehicle’s paint from the
elements. Wax will wear off over time and expose your vehicle’s paint to the
elements, so reapply as necessary.
If you get gasoline, oil, engine coolant, or battery fluid on resin coated parts, they
may be stained or the coating may peel. Promptly wipe it away using a soft cloth and
clean water.
Wipe using a glass cleaner.
Aluminum is susceptible to deterioration caused by salt and other road
contaminants. Use a sponge and mild detergent to wipe away promptly.
Be careful not to use harsh chemicals (including some commercial wheel cleaners) or
a stiff brush. They can damage the clear coat of the aluminum alloy wheels that
helps keep the aluminum from corroding and tarnishing.
■Applying Wax
■Maintaining the Bumpe rs and Other Resin Coated Parts
■Cleaning the Window
■Maintaining Aluminum Wheels
1Applying Wax
NOTICEChemical solvents and strong cleaners can damage
the paint, metal, and plastic on your vehicle. Wipe up
spills immediately.
1Maintaining the Bumpers and Other Resin Coated Parts
Ask a dealer about the correct coating material when
you want to repair the painted surface of the parts
made of resin.
1Cleaning the Window
Wires are mounted to the inside of the rear window.
Wipe along the same direction as the wires with a
soft cloth so as not to damage them.
Main MenuTable of contents