2013 FORD SUPER DUTY mirror
[x] Cancel search: mirrorPage 3 of 563

Locks 70
Locking and unlocking..................................70
SecuriCode™ keyless entry keypad.........................73
Security 75
SecuriLock® passive anti-theft system.......................75
Anti-theft alarm.......................................77
Steering Wheel 78
Adjusting the steering wheel..............................78
Steering wheel controls.................................78
Pedals 81
Adjustable pedals......................................81
Wipers and Washers 82
Windshield wipers.....................................82
Windshield washers....................................82
Lighting 83
Lighting control.......................................83
Autolamps...........................................84
Instrument lighting dimmer...............................85
Daytime running lamps..................................85
Front fog lamps.......................................86
Directionindicators ....................................86
Interior lamps........................................87
Windows and Mirrors 88
Power windows.......................................88
Exteriormirrors.......................................90
Interiormirrors .......................................92
Sunvisors ...........................................93
Moonroof............................................94
2Table of Contents
2013 F-250/350/450/550(f23)
Owners Guide gf, 1st Printing
USA(fus)
Page 63 of 563
4. Insert the new battery. Refer to the instructions inside the integrated
keyhead transmitter for the correct orientation of the battery. Press the
battery down to ensure that the battery is fully seated in the battery
housing cavity.
5. Reinstall the rubber gasket.
6. Snap the battery cover back onto the key.
Memory Feature (If Equipped)
The feature allows the remote control to recall the driver seat, power
mirrors, steering column (if equipped) and power adjustable foot pedals
(if equipped) memory positions.
Press the unlock button on the remote control to recall the memory
positions. If the easy entry and exit feature is enabled, the seat will move
to the easy entry position. The seat will move to the driver memory
position when the key is put in the ignition.
Programming Memory to the Transmitter
1. Move the memory features to the desired positions using the
associated controls.
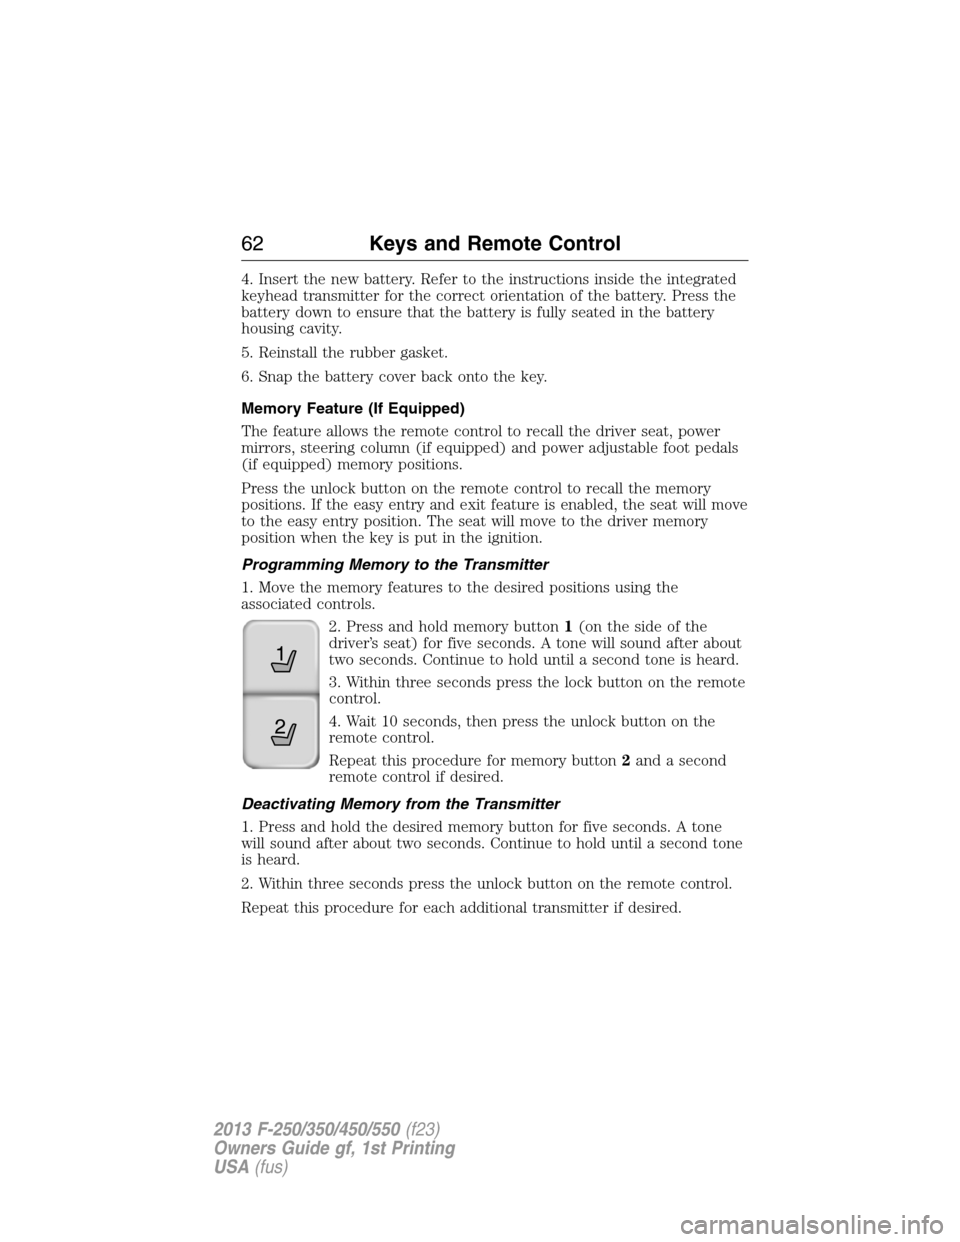
2. Press and hold memory button1(onthesideofthe
driver’s seat) for five seconds. A tone will sound after about
two seconds. Continue to hold until a second tone is heard.
3. Within three seconds press the lock button on the remote
control.
4. Wait 10 seconds, then press the unlock button on the
remote control.
Repeat this procedure for memory button2and a second
remote control if desired.
Deactivating Memory from the Transmitter
1. Press and hold the desired memory button for five seconds. A tone
will sound after about two seconds. Continue to hold until a second tone
is heard.
2. Within three seconds press the unlock button on the remote control.
Repeat this procedure for each additional transmitter if desired.
21
62Keys and Remote Control
2013 F-250/350/450/550(f23)
Owners Guide gf, 1st Printing
USA(fus)
Page 89 of 563
POWER WINDOWS (IF EQUIPPED)
WARNING:Do not leave children unattended in the vehicle and
do not let them play with the power windows. They may
seriously injure themselves.
WARNING:When closing the power windows, you should verify
they are free of obstructions and make sure that children and
pets are not in the proximity of the window openings.
Note:You may hear a rumbling noise when one or both of the rear
windows are open. Lower a front window slightly to reduce this noise.
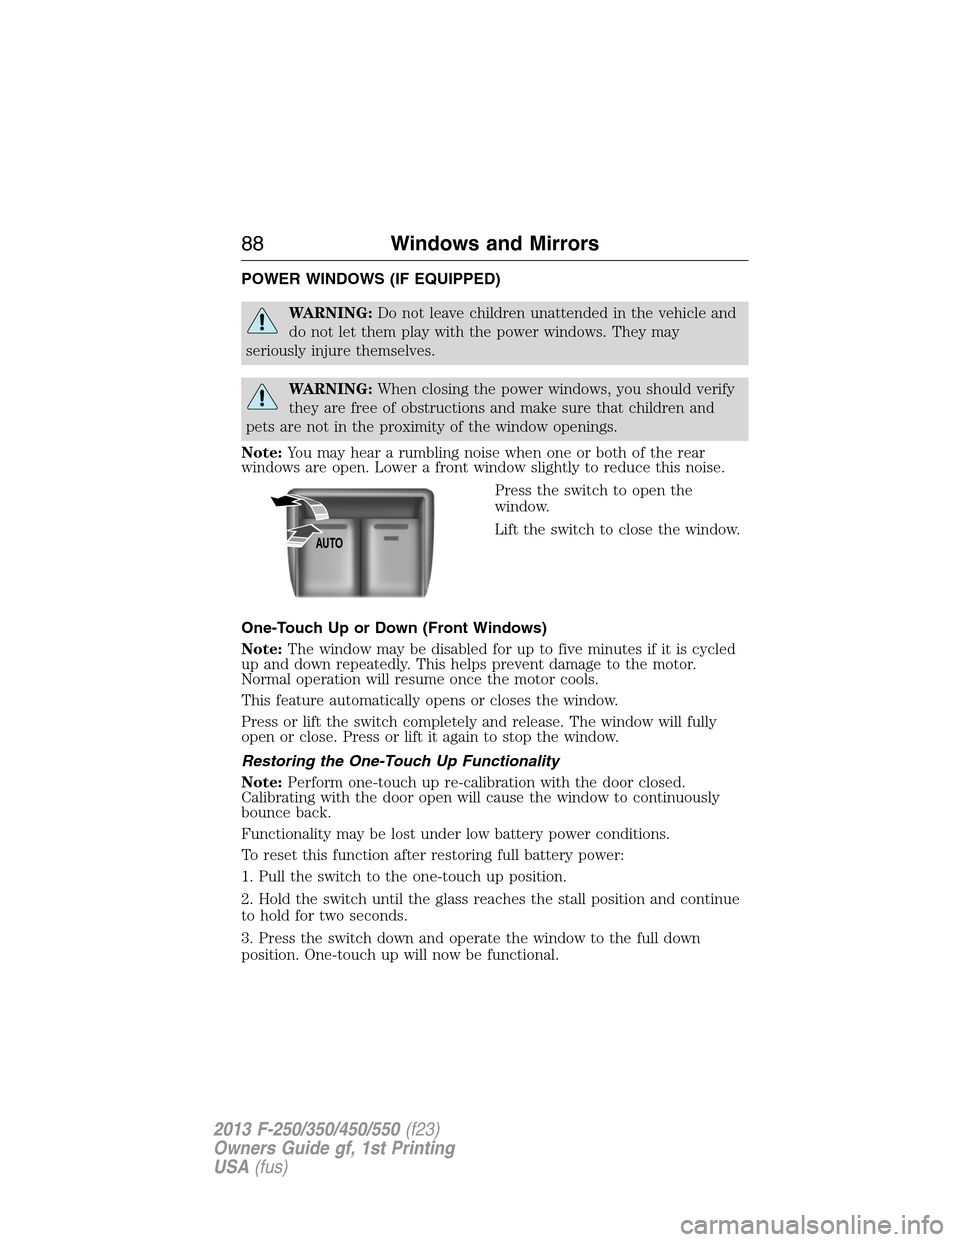
Press the switch to open the
window.
Lift the switch to close the window.
One-Touch Up or Down (Front Windows)
Note:The window may be disabled for up to five minutes if it is cycled
up and down repeatedly. This helps prevent damage to the motor.
Normal operation will resume once the motor cools.
This feature automatically opens or closes the window.
Press or lift the switch completely and release. The window will fully
open or close. Press or lift it again to stop the window.
Restoring the One-Touch Up Functionality
Note:Perform one-touch up re-calibration with the door closed.
Calibrating with the door open will cause the window to continuously
bounce back.
Functionality may be lost under low battery power conditions.
To reset this function after restoring full battery power:
1. Pull the switch to the one-touch up position.
2. Hold the switch until the glass reaches the stall position and continue
to hold for two seconds.
3. Press the switch down and operate the window to the full down
position. One-touch up will now be functional.
AUTO
88Windows and Mirrors
2013 F-250/350/450/550(f23)
Owners Guide gf, 1st Printing
USA(fus)
Page 90 of 563
Bounce-Back (One-Touch Up or Down Windows Only)
The window will stop automatically while closing and reverse some
distance if there is an obstacle in the way.
Overriding the Bounce-Back Feature
Pull up the window switch and hold within two seconds of the window
reaching the bounce-back position. The window will travel up with no
bounce-back protection. The window will stop if the switch is released
before the window is fully closed.
Global Open Windows (If Equipped)
Note:The ignition must be off and the accessory delay feature must not
be activated in order for this feature to operate.
Note:This feature can be disabled or enabled by your authorized dealer or
through the information display. Refer toInformation Displayschapter.
Press and hold the unlock button on the remote control to begin opening
the windows.
Press the lock or unlock button on the remote control to stop motion.
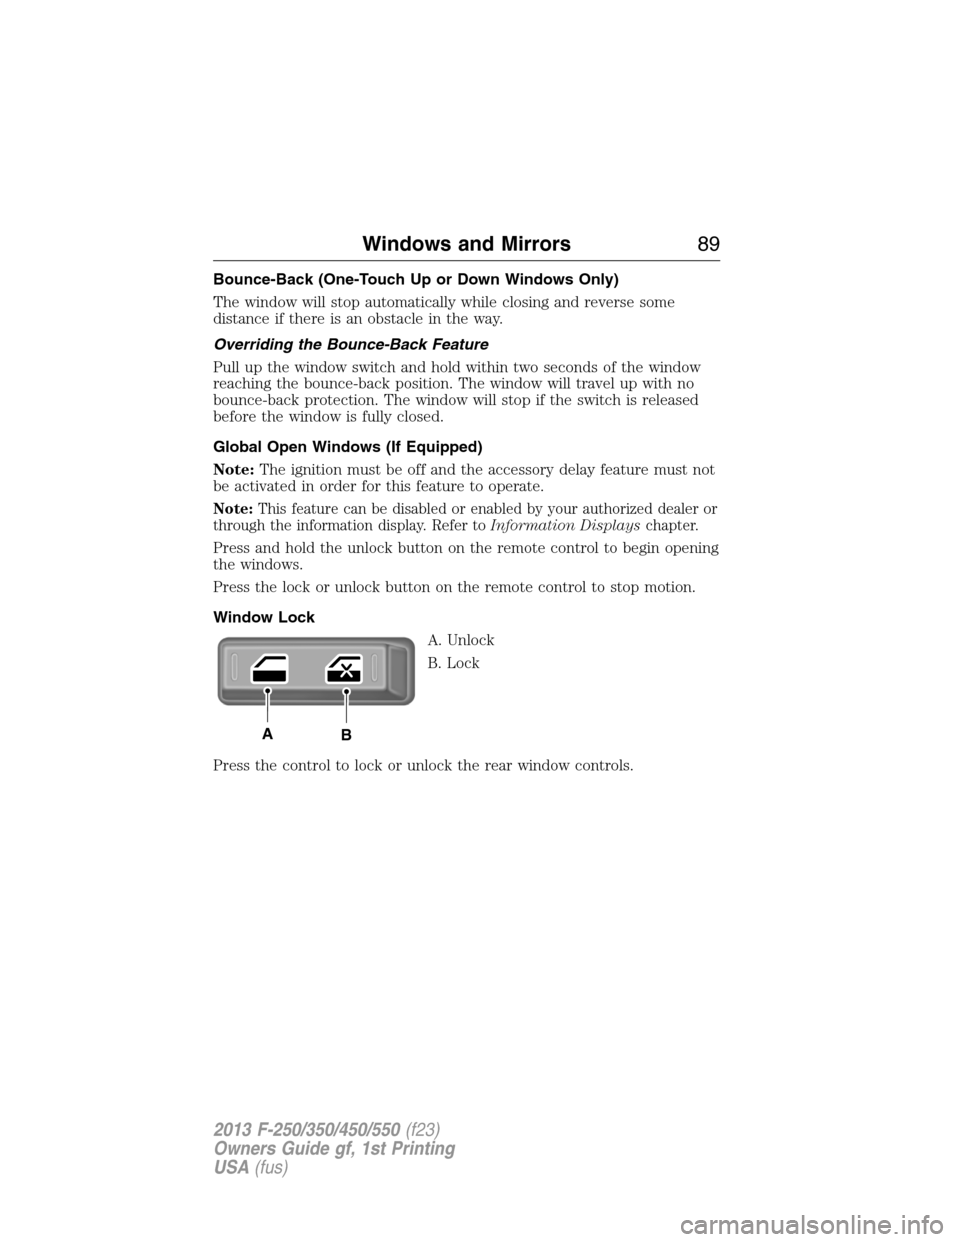
Window Lock
A. Unlock
B. Lock
Press the control to lock or unlock the rear window controls.
AB
Windows and Mirrors89
2013 F-250/350/450/550(f23)
Owners Guide gf, 1st Printing
USA(fus)
Page 91 of 563
Power Sliding Back Window (If Equipped)
WARNING:When operating the power sliding back window you
must ensure all rear seat occupants and/or cargo are not in the
proximity of the back window.
WARNING:Do not leave children unattended in the vehicle and
do not let children play with the power sliding back window.
They may seriously injure themselves.
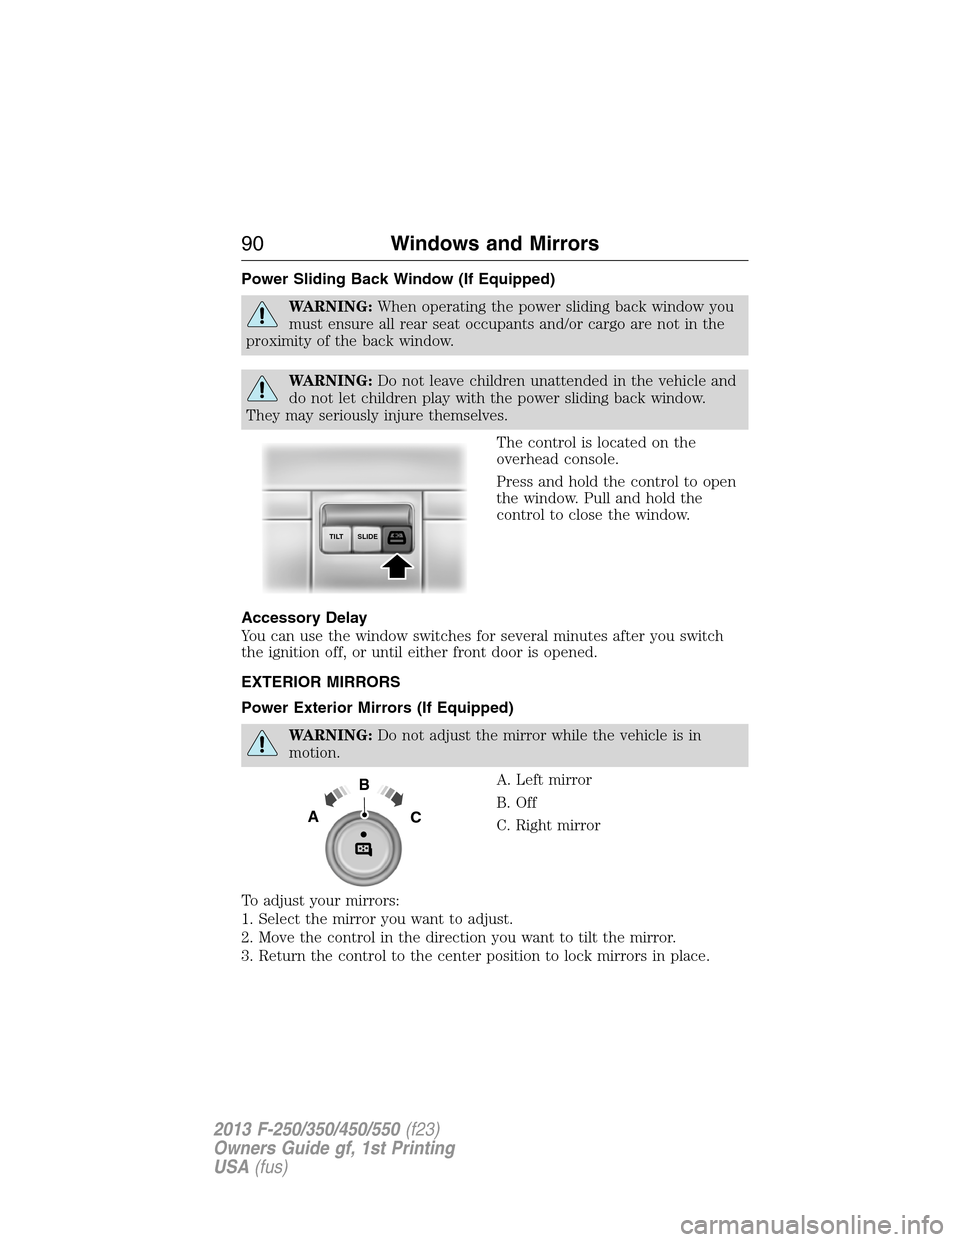
The control is located on the
overhead console.
Press and hold the control to open
the window. Pull and hold the
control to close the window.
Accessory Delay
You can use the window switches for several minutes after you switch
the ignition off, or until either front door is opened.
EXTERIOR MIRRORS
Power Exterior Mirrors (If Equipped)
WARNING:Do not adjust the mirror while the vehicle is in
motion.
A. Left mirror
B. Off
C. Right mirror
To adjust your mirrors:
1. Select the mirror you want to adjust.
2. Move the control in the direction you want to tilt the mirror.
3. Return the control to the center position to lock mirrors in place.
SLIDE TILT
B
AC
90Windows and Mirrors
2013 F-250/350/450/550(f23)
Owners Guide gf, 1st Printing
USA(fus)
Page 92 of 563
Fold-Away Exterior Mirrors
Push the mirror toward the door window glass. Make sure that you fully
engage the mirror in its support when returning it to its original position.
Power-Folding Mirrors (If Equipped)
Note:Activating the mirrors 10 or more times within one minute, or
repeated folding and unfolding of the mirrors while holding the control
down during full travel, may disable the system to protect motors from
overheating. Wait approximately three minutes with the vehicle running,
and up to 10 minutes with the vehicle off, for the system to reset and for
function to return to normal.
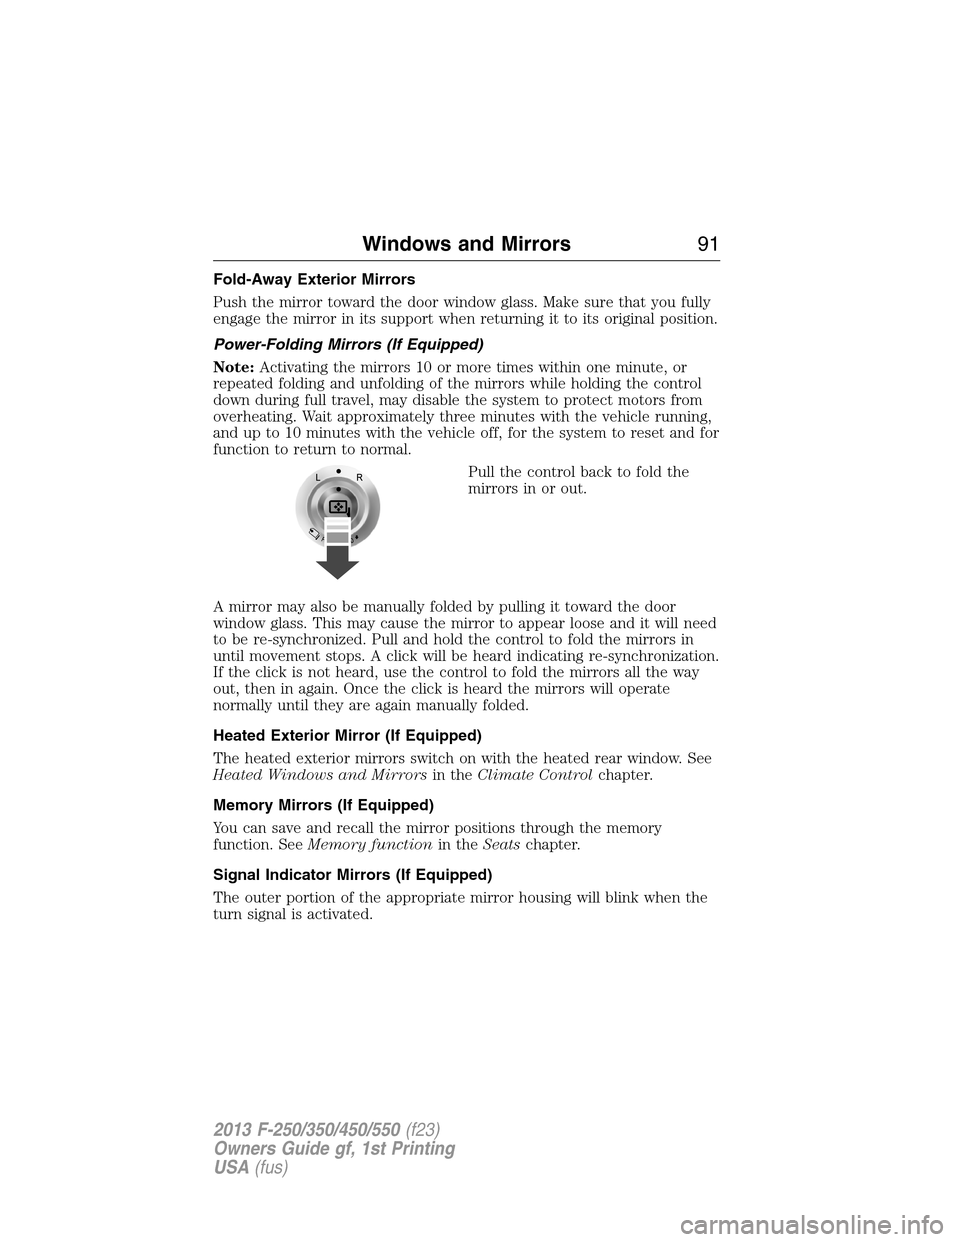
Pull the control back to fold the
mirrors in or out.
A mirror may also be manually folded by pulling it toward the door
window glass. This may cause the mirror to appear loose and it will need
to be re-synchronized. Pull and hold the control to fold the mirrors in
until movement stops. A click will be heard indicating re-synchronization.
If the click is not heard, use the control to fold the mirrors all the way
out, then in again. Once the click is heard the mirrors will operate
normally until they are again manually folded.
Heated Exterior Mirror (If Equipped)
The heated exterior mirrors switch on with the heated rear window. See
Heated Windows and Mirrorsin theClimate Controlchapter.
Memory Mirrors (If Equipped)
You can save and recall the mirror positions through the memory
function. SeeMemory functionin theSeatschapter.
Signal Indicator Mirrors (If Equipped)
The outer portion of the appropriate mirror housing will blink when the
turn signal is activated.
Windows and Mirrors91
2013 F-250/350/450/550(f23)
Owners Guide gf, 1st Printing
USA(fus)
Page 93 of 563
Clearance Lamps (If Equipped)
The lower, outer portion of the mirror housings illuminates when the
headlamps or parking lamps are switched on.
Telescoping Mirrors (If Equipped)
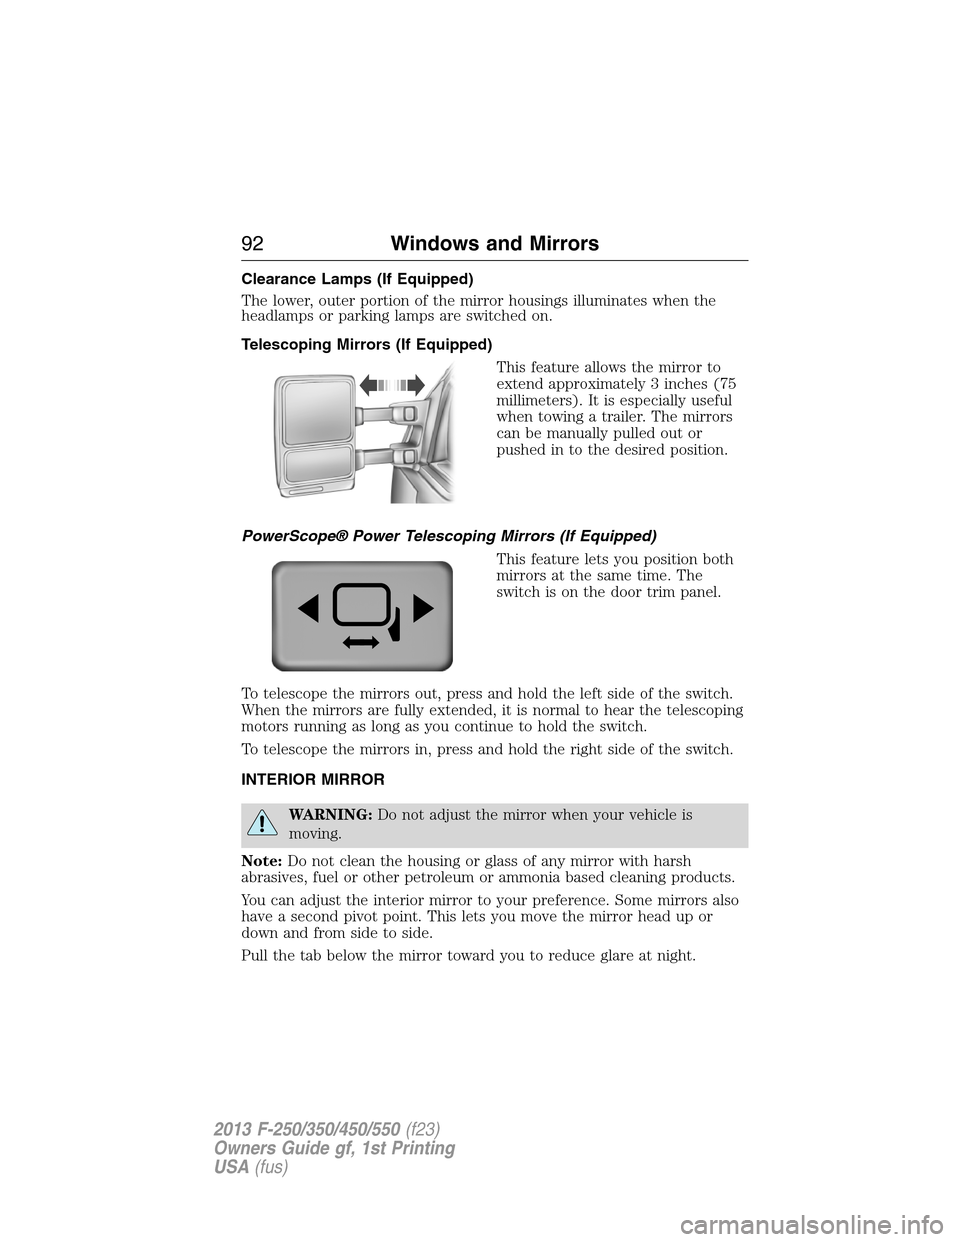
This feature allows the mirror to
extend approximately 3 inches (75
millimeters). It is especially useful
when towing a trailer. The mirrors
can be manually pulled out or
pushed in to the desired position.
PowerScope® Power Telescoping Mirrors (If Equipped)
This feature lets you position both
mirrors at the same time. The
switch is on the door trim panel.
To telescope the mirrors out, press and hold the left side of the switch.
When the mirrors are fully extended, it is normal to hear the telescoping
motors running as long as you continue to hold the switch.
To telescope the mirrors in, press and hold the right side of the switch.
INTERIOR MIRROR
WARNING:Do not adjust the mirror when your vehicle is
moving.
Note:Do not clean the housing or glass of any mirror with harsh
abrasives, fuel or other petroleum or ammonia based cleaning products.
You can adjust the interior mirror to your preference. Some mirrors also
have a second pivot point. This lets you move the mirror head up or
down and from side to side.
Pull the tab below the mirror toward you to reduce glare at night.
92Windows and Mirrors
2013 F-250/350/450/550(f23)
Owners Guide gf, 1st Printing
USA(fus)
Page 94 of 563

Auto-Dimming Mirror (If Equipped)
Note:Do not block the sensors on the front and back of the mirror.
Mirror performance may be affected. A rear center passenger or raised
rear center head restraint may also block light from reaching the sensor.
The mirror will dim automatically to reduce glare when bright lights are
detected from behind your vehicle. It will automatically return to normal
reflection when you select reverse gear to make sure you have a clear
view when backing up.
SUN VISORS
Slide-On-Rod (If Equipped)
Rotate the visor toward the side
window and extend it rearward for
extra sunlight coverage.
Retract the visor before moving it
back toward the windshield and
storing it.
Illuminated Visor Vanity Mirror (If Equipped)
Lift the cover to switch on the
lamp.
Windows and Mirrors93
2013 F-250/350/450/550(f23)
Owners Guide gf, 1st Printing
USA(fus)