2013 FORD SUPER DUTY headlamp
[x] Cancel search: headlampPage 7 of 563
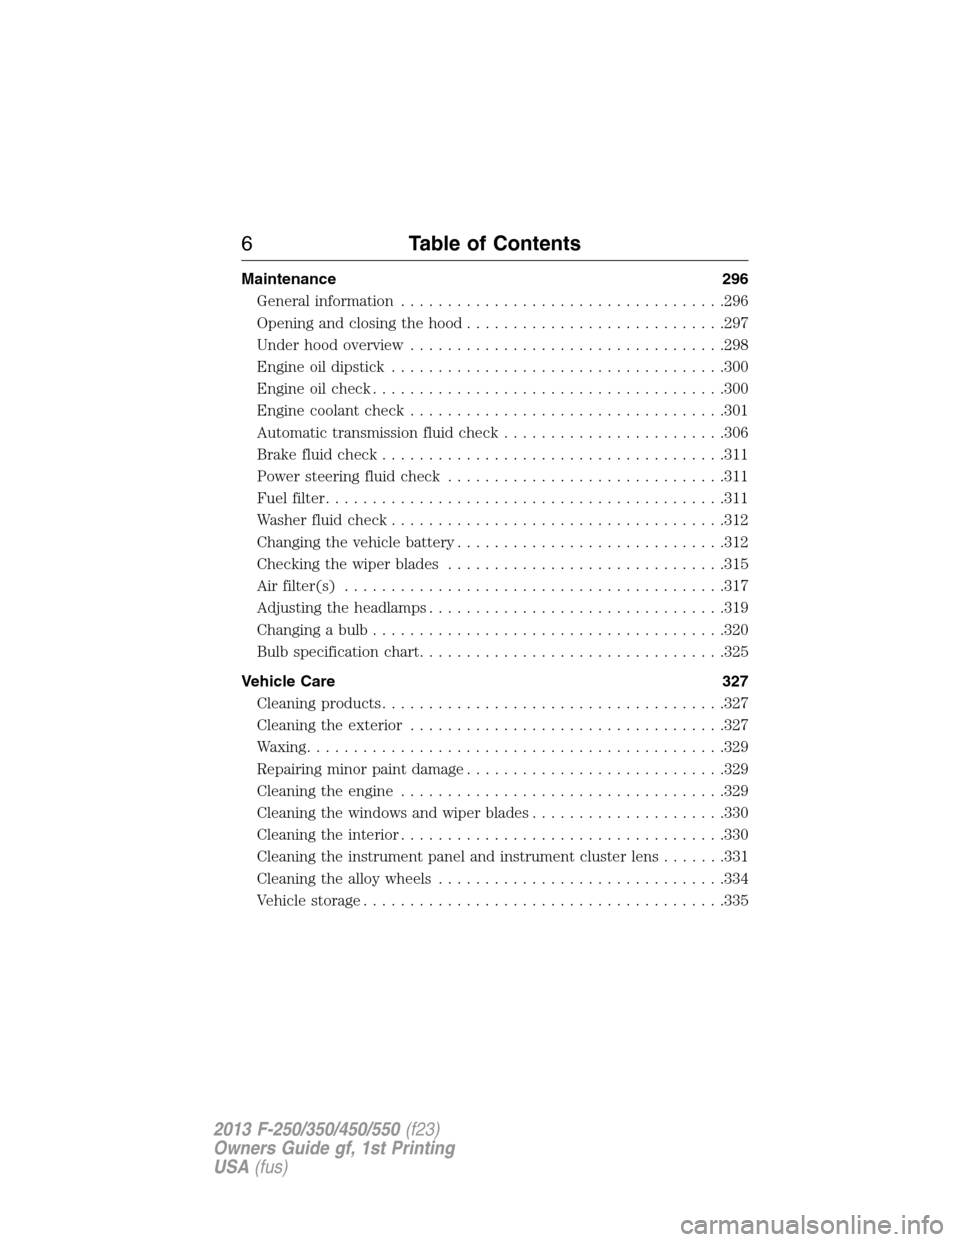
Maintenance 296
General information...................................296
Opening and closing the hood............................297
Under hood overview..................................298
Engine oil dipstick....................................300
Engine oil check......................................300
Engine coolant check..................................301
Automatic transmission fluid check........................306
Brake fluid check.....................................311
Power steering fluid check..............................311
Fuel filter...........................................311
Washer fluid check....................................312
Changing the vehicle battery.............................312
Checking the wiper blades..............................315
Air filter(s).........................................317
Adjusting the headlamps................................319
Changing a bulb......................................320
Bulb specification chart.................................325
Vehicle Care 327
Cleaning products.....................................327
Cleaning the exterior..................................327
Waxing.............................................329
Repairing minor paint damage............................329
Cleaning the engine...................................329
Cleaning the windows and wiper blades.....................330
Cleaning the interior...................................330
Cleaning the instrument panel and instrument cluster lens.......331
Cleaning the alloy wheels...............................334
Vehicle storage.......................................335
6Table of Contents
2013 F-250/350/450/550(f23)
Owners Guide gf, 1st Printing
USA(fus)
Page 45 of 563
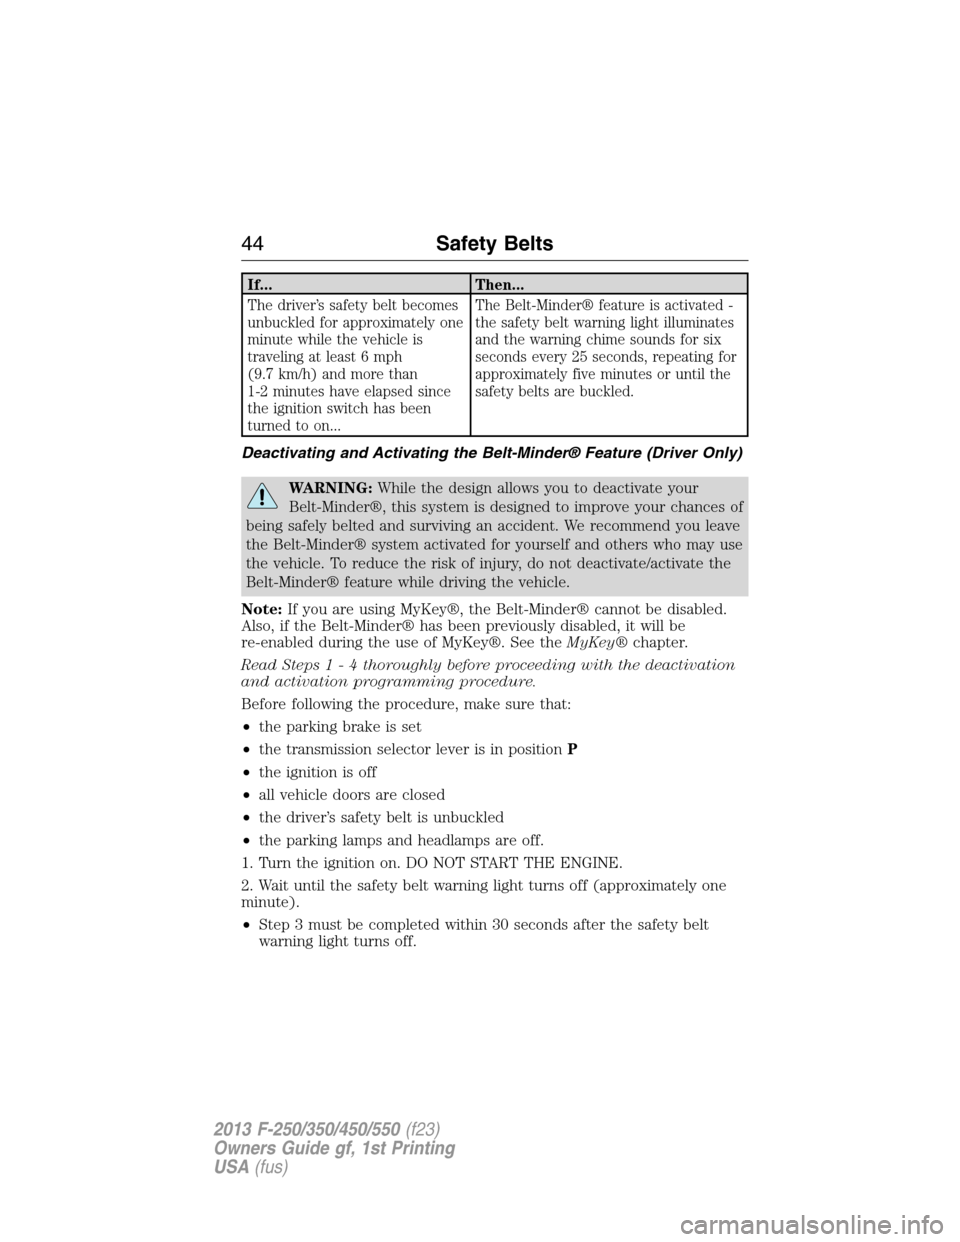
If... Then...
The driver’s safety belt becomes
unbuckled for approximately one
minute while the vehicle is
traveling at least 6 mph
(9.7 km/h) and more than
1-2 minutes have elapsed since
the ignition switch has been
turned to on...The Belt-Minder® feature is activated -
the safety belt warning light illuminates
and the warning chime sounds for six
seconds every 25 seconds, repeating for
approximately five minutes or until the
safety belts are buckled.
Deactivating and Activating the Belt-Minder® Feature (Driver Only)
WARNING:While the design allows you to deactivate your
Belt-Minder®, this system is designed to improve your chances of
being safely belted and surviving an accident. We recommend you leave
the Belt-Minder® system activated for yourself and others who may use
the vehicle. To reduce the risk of injury, do not deactivate/activate the
Belt-Minder® feature while driving the vehicle.
Note:If you are using MyKey®, the Belt-Minder® cannot be disabled.
Also, if the Belt-Minder® has been previously disabled, it will be
re-enabled during the use of MyKey®. See theMyKey®chapter.
Read Steps1-4thoroughly before proceeding with the deactivation
and activation programming procedure.
Before following the procedure, make sure that:
•the parking brake is set
•the transmission selector lever is in positionP
•the ignition is off
•all vehicle doors are closed
•the driver’s safety belt is unbuckled
•the parking lamps and headlamps are off.
1. Turn the ignition on. DO NOT START THE ENGINE.
2. Wait until the safety belt warning light turns off (approximately one
minute).
•Step 3 must be completed within 30 seconds after the safety belt
warning light turns off.
44Safety Belts
2013 F-250/350/450/550(f23)
Owners Guide gf, 1st Printing
USA(fus)
Page 84 of 563
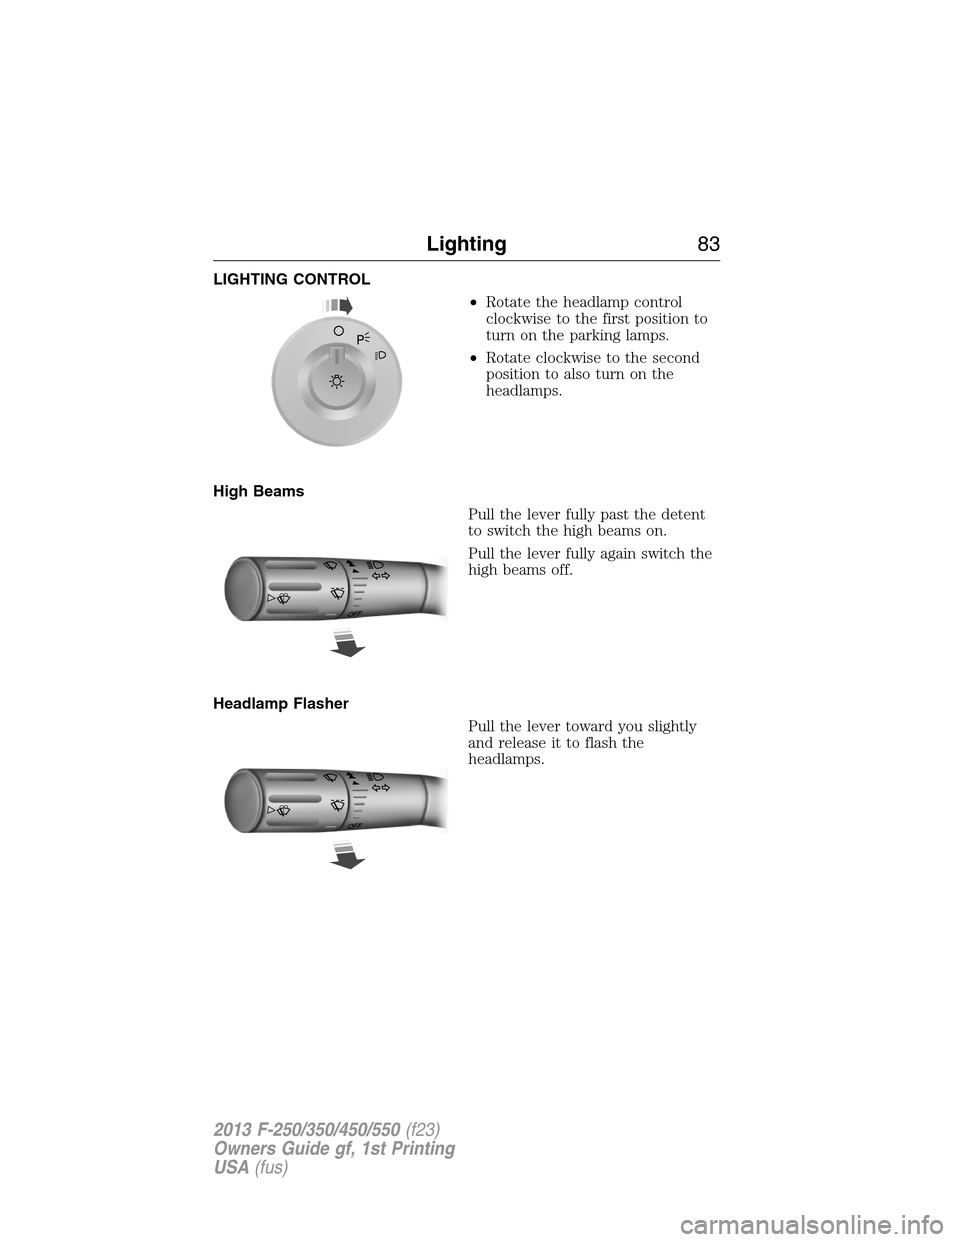
LIGHTING CONTROL
•Rotate the headlamp control
clockwise to the first position to
turn on the parking lamps.
•Rotate clockwise to the second
position to also turn on the
headlamps.
High Beams
Pull the lever fully past the detent
to switch the high beams on.
Pull the lever fully again switch the
high beams off.
Headlamp Flasher
Pull the lever toward you slightly
and release it to flash the
headlamps.
OF
F
OF
F
Lighting83
2013 F-250/350/450/550(f23)
Owners Guide gf, 1st Printing
USA(fus)
Page 85 of 563
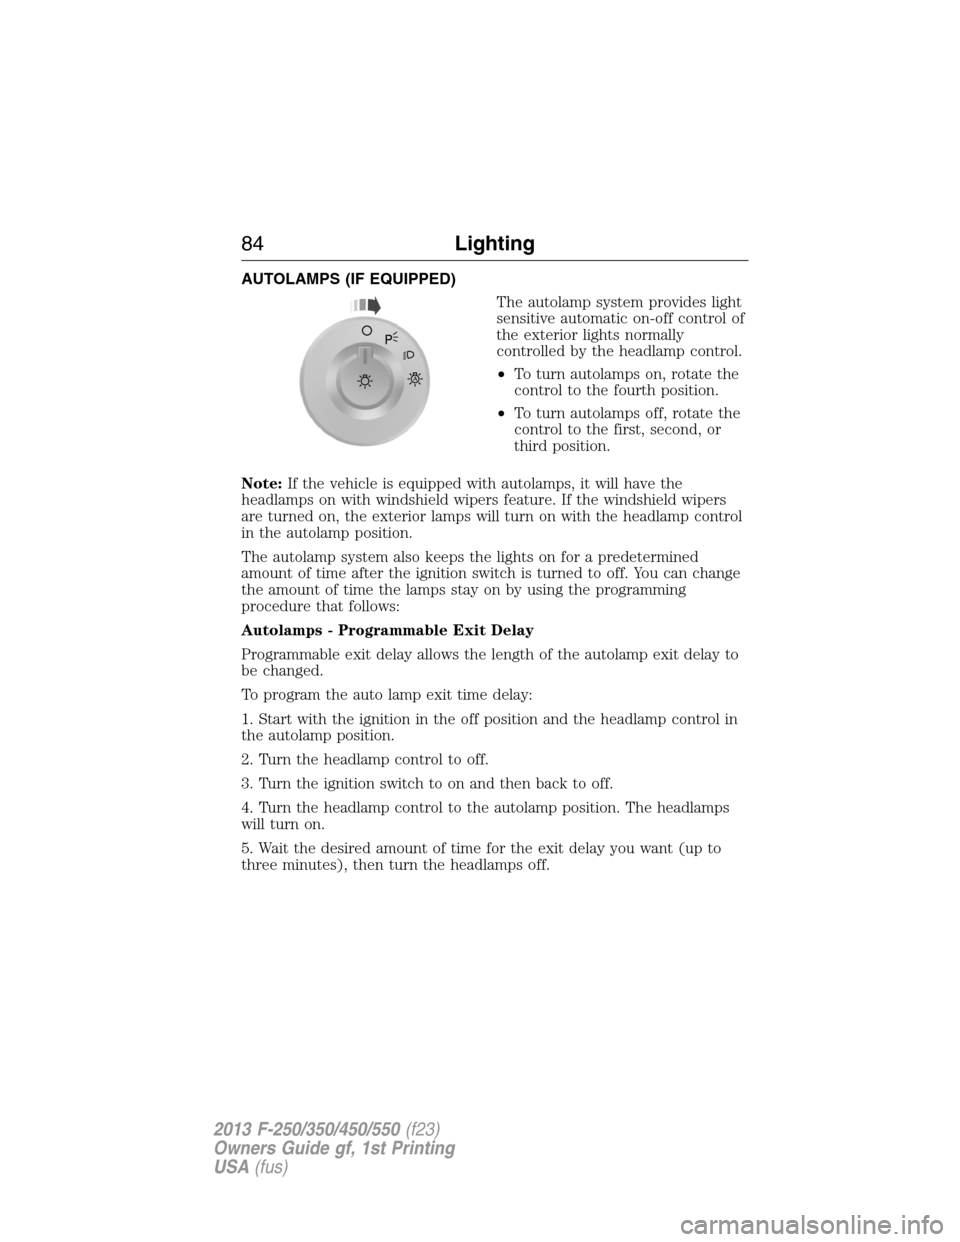
AUTOLAMPS (IF EQUIPPED)
The autolamp system provides light
sensitive automatic on-off control of
the exterior lights normally
controlled by the headlamp control.
•To turn autolamps on, rotate the
control to the fourth position.
•To turn autolamps off, rotate the
control to the first, second, or
third position.
Note:If the vehicle is equipped with autolamps, it will have the
headlamps on with windshield wipers feature. If the windshield wipers
are turned on, the exterior lamps will turn on with the headlamp control
in the autolamp position.
The autolamp system also keeps the lights on for a predetermined
amount of time after the ignition switch is turned to off. You can change
the amount of time the lamps stay on by using the programming
procedure that follows:
Autolamps - Programmable Exit Delay
Programmable exit delay allows the length of the autolamp exit delay to
be changed.
To program the auto lamp exit time delay:
1. Start with the ignition in the off position and the headlamp control in
the autolamp position.
2. Turn the headlamp control to off.
3. Turn the ignition switch to on and then back to off.
4. Turn the headlamp control to the autolamp position. The headlamps
will turn on.
5. Wait the desired amount of time for the exit delay you want (up to
three minutes), then turn the headlamps off.
A
84Lighting
2013 F-250/350/450/550(f23)
Owners Guide gf, 1st Printing
USA(fus)
Page 86 of 563
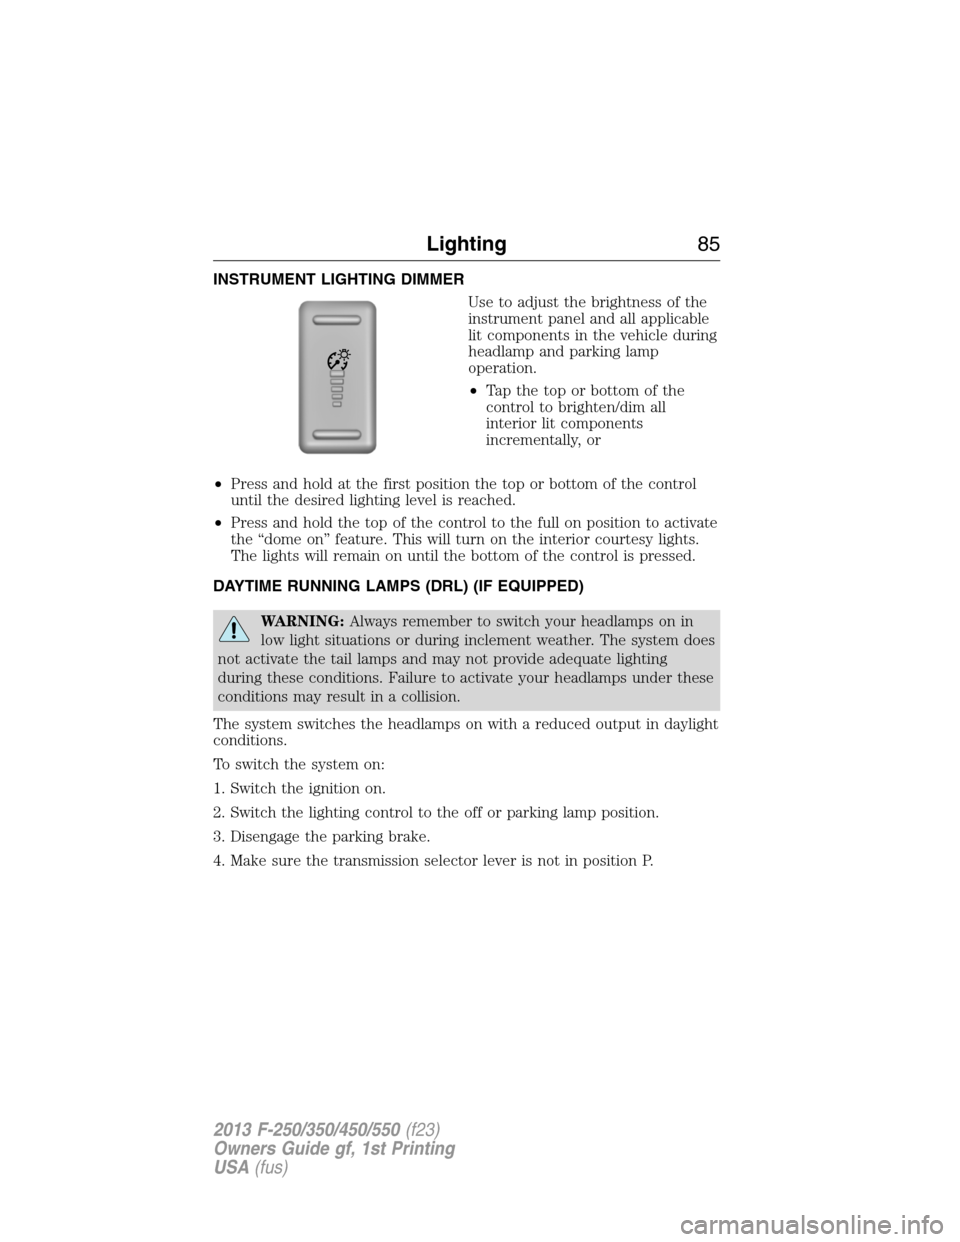
INSTRUMENT LIGHTING DIMMER
Use to adjust the brightness of the
instrument panel and all applicable
lit components in the vehicle during
headlamp and parking lamp
operation.
•Tapthetoporbottomofthe
control to brighten/dim all
interior lit components
incrementally, or
•Press and hold at the first position the top or bottom of the control
until the desired lighting level is reached.
•Press and hold the top of the control to the full on position to activate
the “dome on” feature. This will turn on the interior courtesy lights.
The lights will remain on until the bottom of the control is pressed.
DAYTIME RUNNING LAMPS (DRL) (IF EQUIPPED)
WARNING:Always remember to switch your headlamps on in
low light situations or during inclement weather. The system does
not activate the tail lamps and may not provide adequate lighting
during these conditions. Failure to activate your headlamps under these
conditions may result in a collision.
The system switches the headlamps on with a reduced output in daylight
conditions.
To switch the system on:
1. Switch the ignition on.
2. Switch the lighting control to the off or parking lamp position.
3. Disengage the parking brake.
4. Make sure the transmission selector lever is not in position P.
Lighting85
2013 F-250/350/450/550(f23)
Owners Guide gf, 1st Printing
USA(fus)
Page 87 of 563
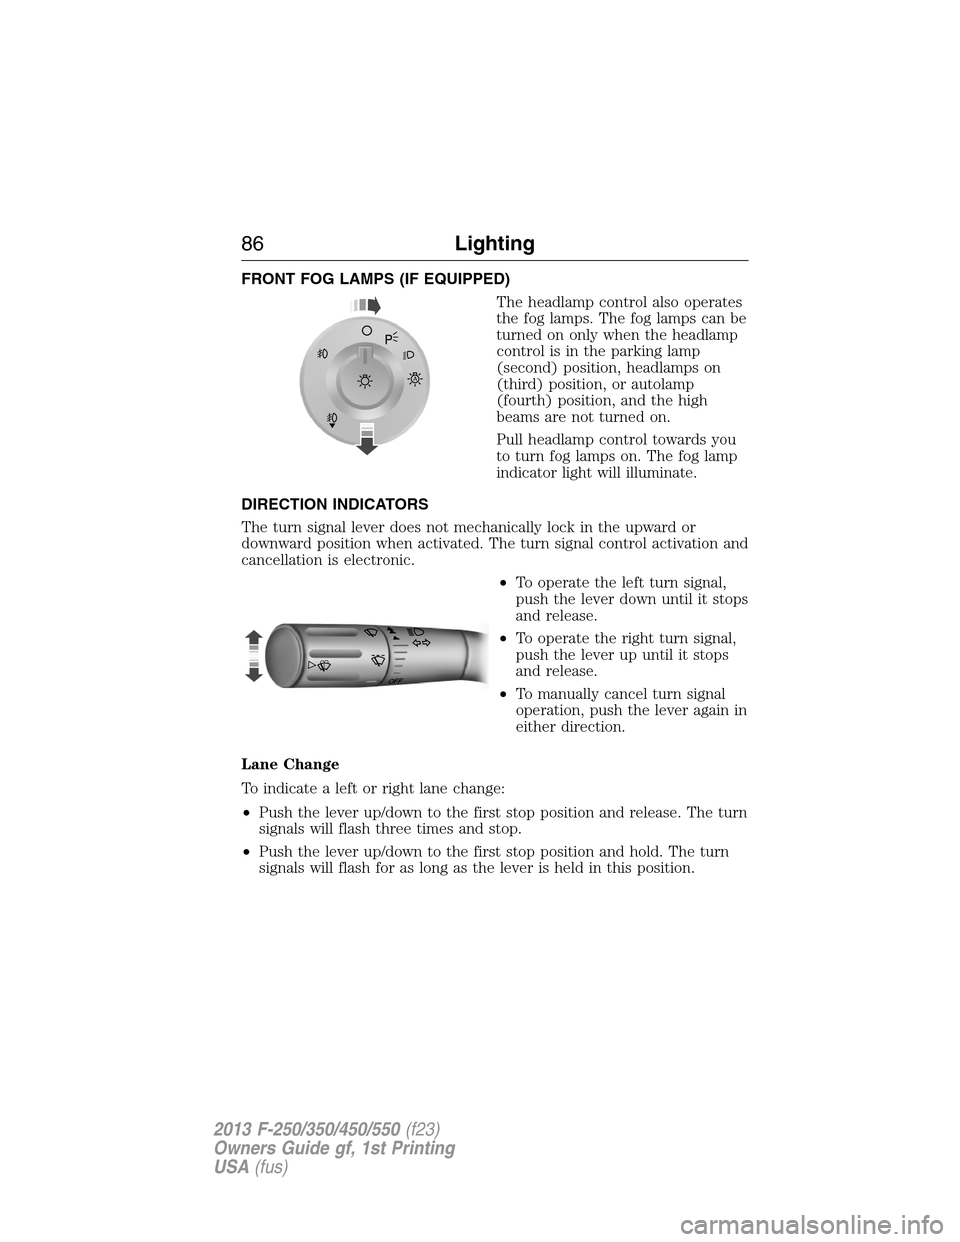
FRONT FOG LAMPS (IF EQUIPPED)
The headlamp control also operates
the fog lamps. The fog lamps can be
turned on only when the headlamp
control is in the parking lamp
(second) position, headlamps on
(third) position, or autolamp
(fourth) position, and the high
beams are not turned on.
Pull headlamp control towards you
to turn fog lamps on. The fog lamp
indicator light will illuminate.
DIRECTION INDICATORS
The turn signal lever does not mechanically lock in the upward or
downward position when activated. The turn signal control activation and
cancellation is electronic.
•To operate the left turn signal,
push the lever down until it stops
and release.
•To operate the right turn signal,
push the lever up until it stops
and release.
•To manually cancel turn signal
operation, push the lever again in
either direction.
Lane Change
To indicate a left or right lane change:
•Push the lever up/down to the first stop position and release. The turn
signals will flash three times and stop.
•Push the lever up/down to the first stop position and hold. The turn
signals will flash for as long as the lever is held in this position.
A
OF
F
86Lighting
2013 F-250/350/450/550(f23)
Owners Guide gf, 1st Printing
USA(fus)
Page 93 of 563
Clearance Lamps (If Equipped)
The lower, outer portion of the mirror housings illuminates when the
headlamps or parking lamps are switched on.
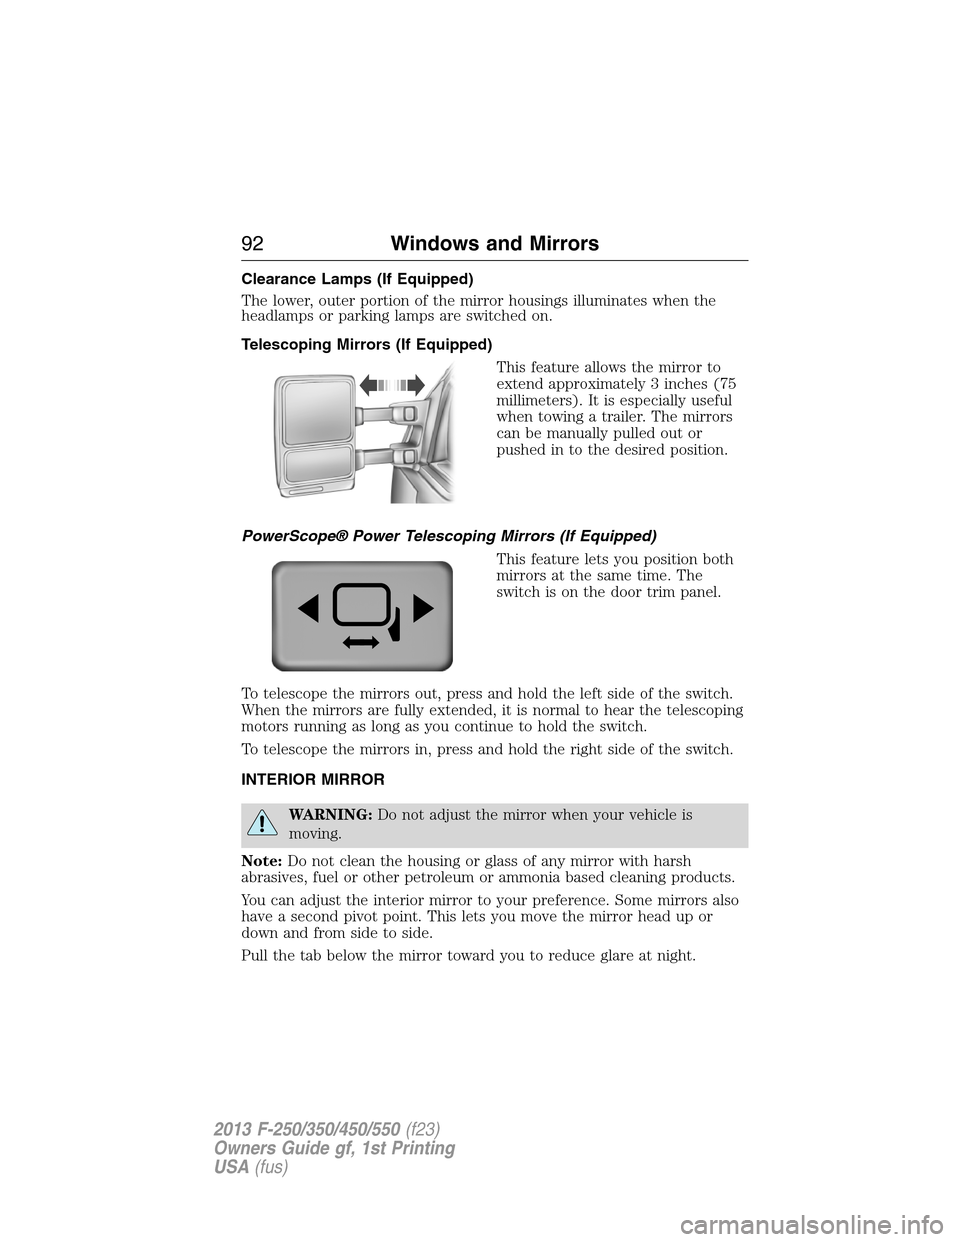
Telescoping Mirrors (If Equipped)
This feature allows the mirror to
extend approximately 3 inches (75
millimeters). It is especially useful
when towing a trailer. The mirrors
can be manually pulled out or
pushed in to the desired position.
PowerScope® Power Telescoping Mirrors (If Equipped)
This feature lets you position both
mirrors at the same time. The
switch is on the door trim panel.
To telescope the mirrors out, press and hold the left side of the switch.
When the mirrors are fully extended, it is normal to hear the telescoping
motors running as long as you continue to hold the switch.
To telescope the mirrors in, press and hold the right side of the switch.
INTERIOR MIRROR
WARNING:Do not adjust the mirror when your vehicle is
moving.
Note:Do not clean the housing or glass of any mirror with harsh
abrasives, fuel or other petroleum or ammonia based cleaning products.
You can adjust the interior mirror to your preference. Some mirrors also
have a second pivot point. This lets you move the mirror head up or
down and from side to side.
Pull the tab below the mirror toward you to reduce glare at night.
92Windows and Mirrors
2013 F-250/350/450/550(f23)
Owners Guide gf, 1st Printing
USA(fus)
Page 100 of 563
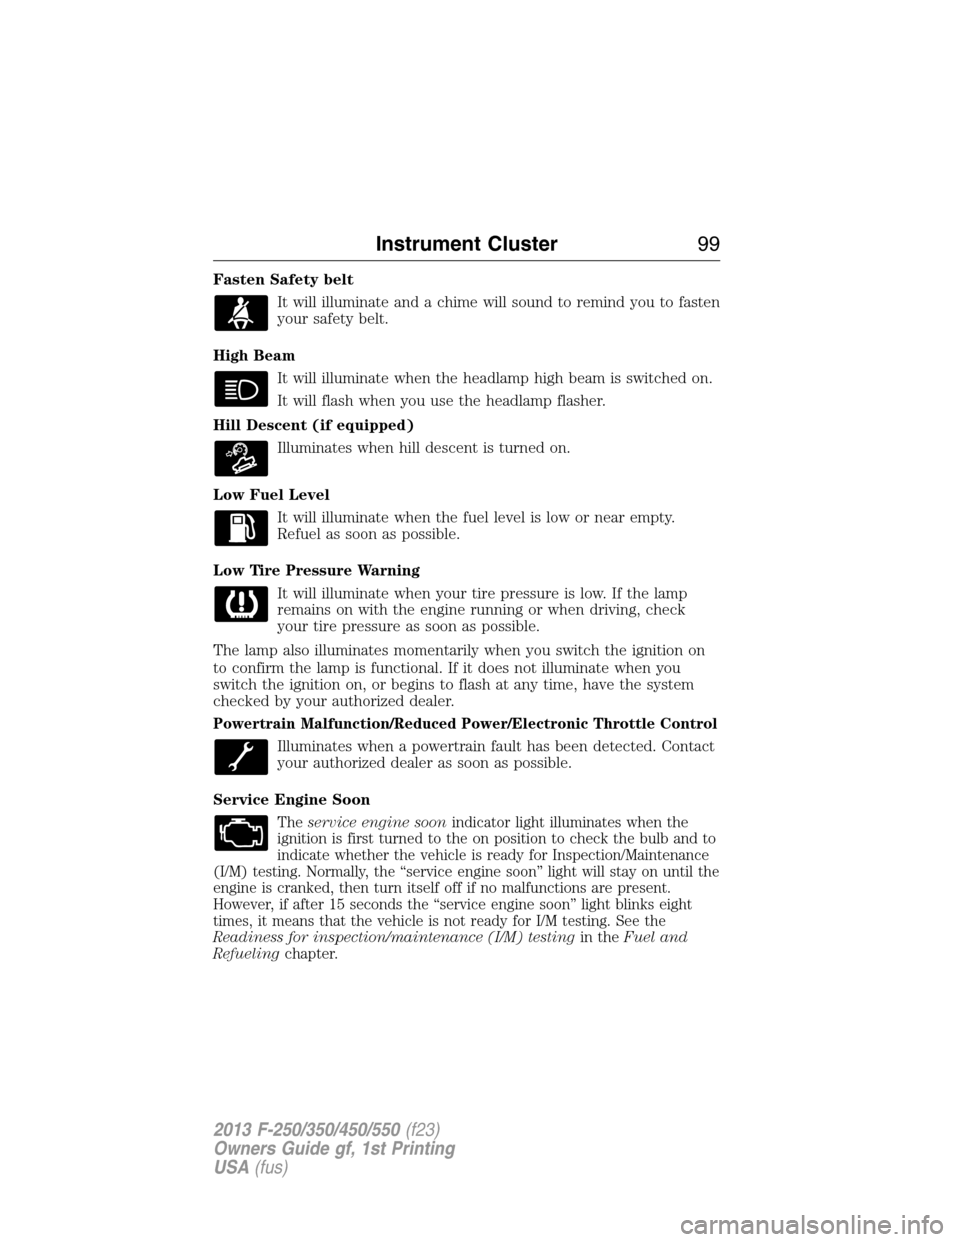
Fasten Safety belt
It will illuminate and a chime will sound to remind you to fasten
your safety belt.
High Beam
It will illuminate when the headlamp high beam is switched on.
It will flash when you use the headlamp flasher.
Hill Descent (if equipped)
Illuminates when hill descent is turned on.
Low Fuel Level
It will illuminate when the fuel level is low or near empty.
Refuel as soon as possible.
Low Tire Pressure Warning
It will illuminate when your tire pressure is low. If the lamp
remains on with the engine running or when driving, check
your tire pressure as soon as possible.
The lamp also illuminates momentarily when you switch the ignition on
to confirm the lamp is functional. If it does not illuminate when you
switch the ignition on, or begins to flash at any time, have the system
checked by your authorized dealer.
Powertrain Malfunction/Reduced Power/Electronic Throttle Control
Illuminates when a powertrain fault has been detected. Contact
your authorized dealer as soon as possible.
Service Engine Soon
Theservice engine soonindicator light illuminates when the
ignition is first turned to the on position to check the bulb and to
indicate whether the vehicle is ready for Inspection/Maintenance
(I/M) testing. Normally, the “service engine soon” light will stay on until the
engine is cranked, then turn itself off if no malfunctions are present.
However, if after 15 seconds the “service engine soon” light blinks eight
times, it means that the vehicle is not ready for I/M testing. See the
Readiness for inspection/maintenance (I/M) testingin theFuel and
Refuelingchapter.
Instrument Cluster99
2013 F-250/350/450/550(f23)
Owners Guide gf, 1st Printing
USA(fus)