2013 FORD SUPER DUTY bulb
[x] Cancel search: bulbPage 7 of 563
Maintenance 296
General information...................................296
Opening and closing the hood............................297
Under hood overview..................................298
Engine oil dipstick....................................300
Engine oil check......................................300
Engine coolant check..................................301
Automatic transmission fluid check........................306
Brake fluid check.....................................311
Power steering fluid check..............................311
Fuel filter...........................................311
Washer fluid check....................................312
Changing the vehicle battery.............................312
Checking the wiper blades..............................315
Air filter(s).........................................317
Adjusting the headlamps................................319
Changing a bulb......................................320
Bulb specification chart.................................325
Vehicle Care 327
Cleaning products.....................................327
Cleaning the exterior..................................327
Waxing.............................................329
Repairing minor paint damage............................329
Cleaning the engine...................................329
Cleaning the windows and wiper blades.....................330
Cleaning the interior...................................330
Cleaning the instrument panel and instrument cluster lens.......331
Cleaning the alloy wheels...............................334
Vehicle storage.......................................335
6Table of Contents
2013 F-250/350/450/550(f23)
Owners Guide gf, 1st Printing
USA(fus)
Page 99 of 563
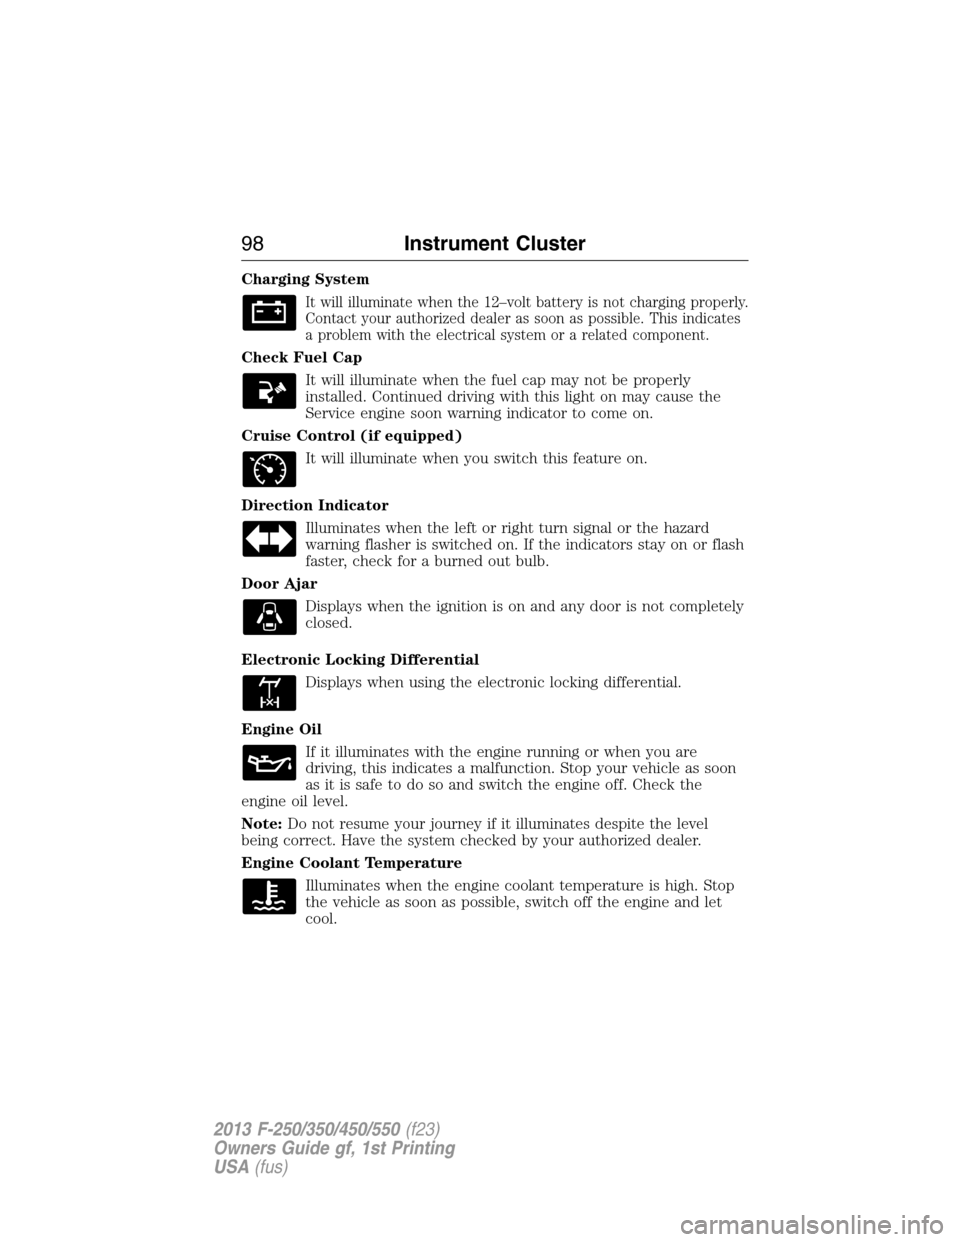
Charging System
It will illuminate when the 12–volt battery is not charging properly.
Contact your authorized dealer as soon as possible. This indicates
a problem with the electrical system or a related component.
Check Fuel Cap
It will illuminate when the fuel cap may not be properly
installed. Continued driving with this light on may cause the
Service engine soon warning indicator to come on.
Cruise Control (if equipped)
It will illuminate when you switch this feature on.
Direction Indicator
Illuminates when the left or right turn signal or the hazard
warning flasher is switched on. If the indicators stay on or flash
faster, check for a burned out bulb.
Door Ajar
Displays when the ignition is on and any door is not completely
closed.
Electronic Locking Differential
Displays when using the electronic locking differential.
Engine Oil
If it illuminates with the engine running or when you are
driving, this indicates a malfunction. Stop your vehicle as soon
as it is safe to do so and switch the engine off. Check the
engine oil level.
Note:Do not resume your journey if it illuminates despite the level
being correct. Have the system checked by your authorized dealer.
Engine Coolant Temperature
Illuminates when the engine coolant temperature is high. Stop
the vehicle as soon as possible, switch off the engine and let
cool.
98Instrument Cluster
2013 F-250/350/450/550(f23)
Owners Guide gf, 1st Printing
USA(fus)
Page 100 of 563
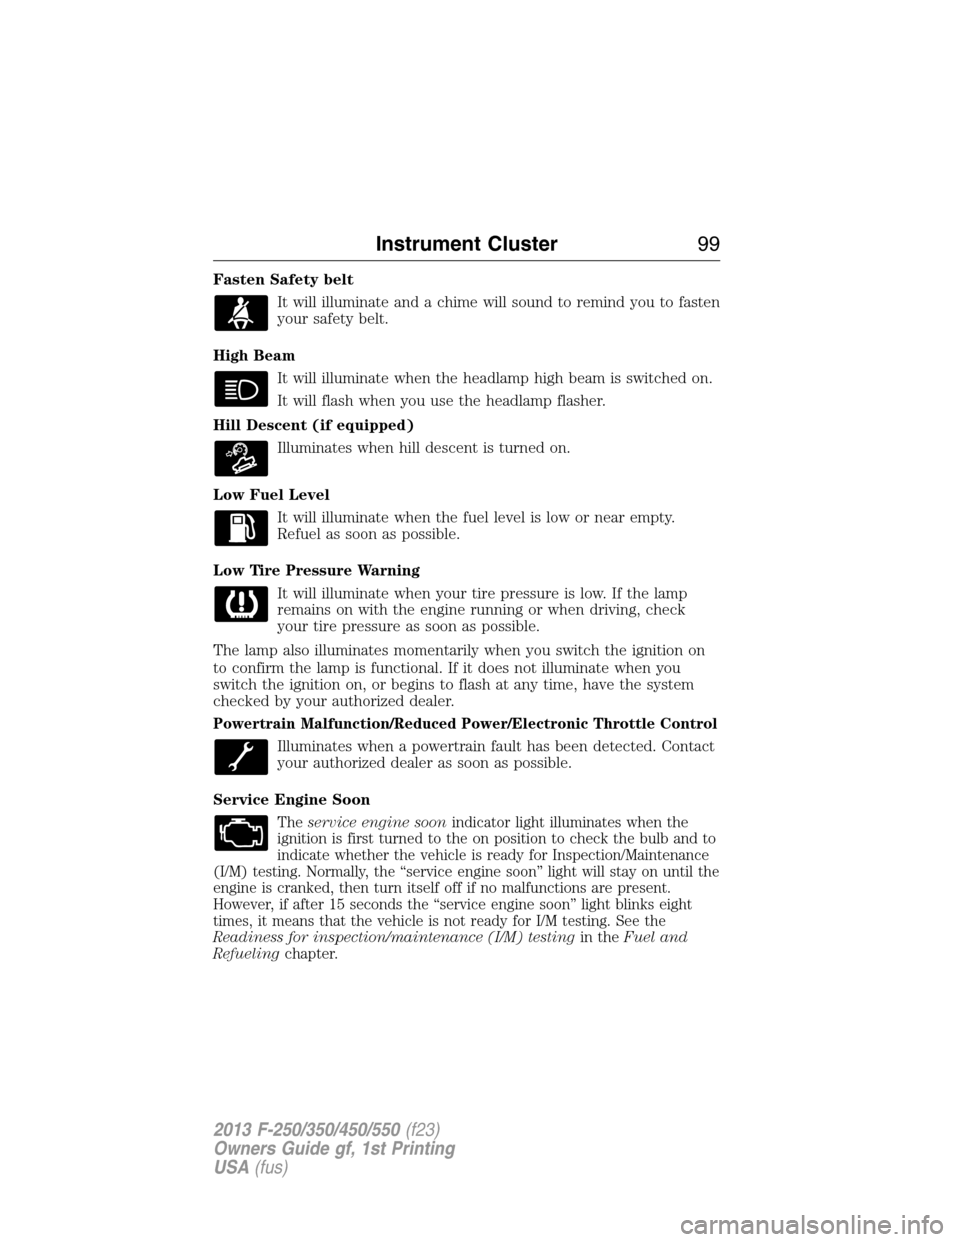
Fasten Safety belt
It will illuminate and a chime will sound to remind you to fasten
your safety belt.
High Beam
It will illuminate when the headlamp high beam is switched on.
It will flash when you use the headlamp flasher.
Hill Descent (if equipped)
Illuminates when hill descent is turned on.
Low Fuel Level
It will illuminate when the fuel level is low or near empty.
Refuel as soon as possible.
Low Tire Pressure Warning
It will illuminate when your tire pressure is low. If the lamp
remains on with the engine running or when driving, check
your tire pressure as soon as possible.
The lamp also illuminates momentarily when you switch the ignition on
to confirm the lamp is functional. If it does not illuminate when you
switch the ignition on, or begins to flash at any time, have the system
checked by your authorized dealer.
Powertrain Malfunction/Reduced Power/Electronic Throttle Control
Illuminates when a powertrain fault has been detected. Contact
your authorized dealer as soon as possible.
Service Engine Soon
Theservice engine soonindicator light illuminates when the
ignition is first turned to the on position to check the bulb and to
indicate whether the vehicle is ready for Inspection/Maintenance
(I/M) testing. Normally, the “service engine soon” light will stay on until the
engine is cranked, then turn itself off if no malfunctions are present.
However, if after 15 seconds the “service engine soon” light blinks eight
times, it means that the vehicle is not ready for I/M testing. See the
Readiness for inspection/maintenance (I/M) testingin theFuel and
Refuelingchapter.
Instrument Cluster99
2013 F-250/350/450/550(f23)
Owners Guide gf, 1st Printing
USA(fus)
Page 197 of 563
Readiness for Inspection/Maintenance (I/M) Testing
Some state, provincial and local governments may have
Inspection/Maintenance (I/M) programs to inspect the emission control
equipment on your vehicle. Failure to pass this inspection could prevent
you from getting a vehicle registration.
If the service engine soon indicator is on or the bulb does not
work, the vehicle may need to be serviced. SeeOn-board
Diagnostics (OBD-II)in this chapter.
Your vehicle may not pass the I/M test if the service engine soon
indicator is on or not working properly (bulb is burned out), or if the
OBD-II system has determined that some of the emission control systems
have not been properly checked. In this case, the vehicle is considered
not ready for I/M testing.
If the vehicle’s engine or transmission has just been serviced, or the
battery has recently run down or been replaced, the OBD-II system may
indicate that the vehicle is not ready for I/M testing. To determine if the
vehicle is ready for I/M testing, turn the ignition key to the on position
for 15 seconds without cranking the engine. If the service engine soon
indicator blinks eight times, it means that the vehicle is not ready for I/M
testing; if the service engine soon indicator stays on solid, it means that
the vehicle is ready for I/M testing.
The OBD-II system is designed to check the emission control system
during normal driving. A complete check may take several days. If the
vehicle is not ready for I/M testing, the following driving cycle consisting
of mixed city and highway driving may be performed:
15 minutes of steady driving on an expressway or highway followed by
20 minutes of stop-and-go driving with at least four 30-second idle
periods.
Allow the vehicle to sit for at least eight hours without starting the
engine. Then, start the engine and complete the above driving cycle. The
engine must warm up to its normal operating temperature. Once started,
do not turn off the engine until the above driving cycle is complete. If
the vehicle is still not ready for I/M testing, the above driving cycle will
have to be repeated.
196Fuel and Refueling
2013 F-250/350/450/550(f23)
Owners Guide gf, 1st Printing
USA(fus)
Page 226 of 563
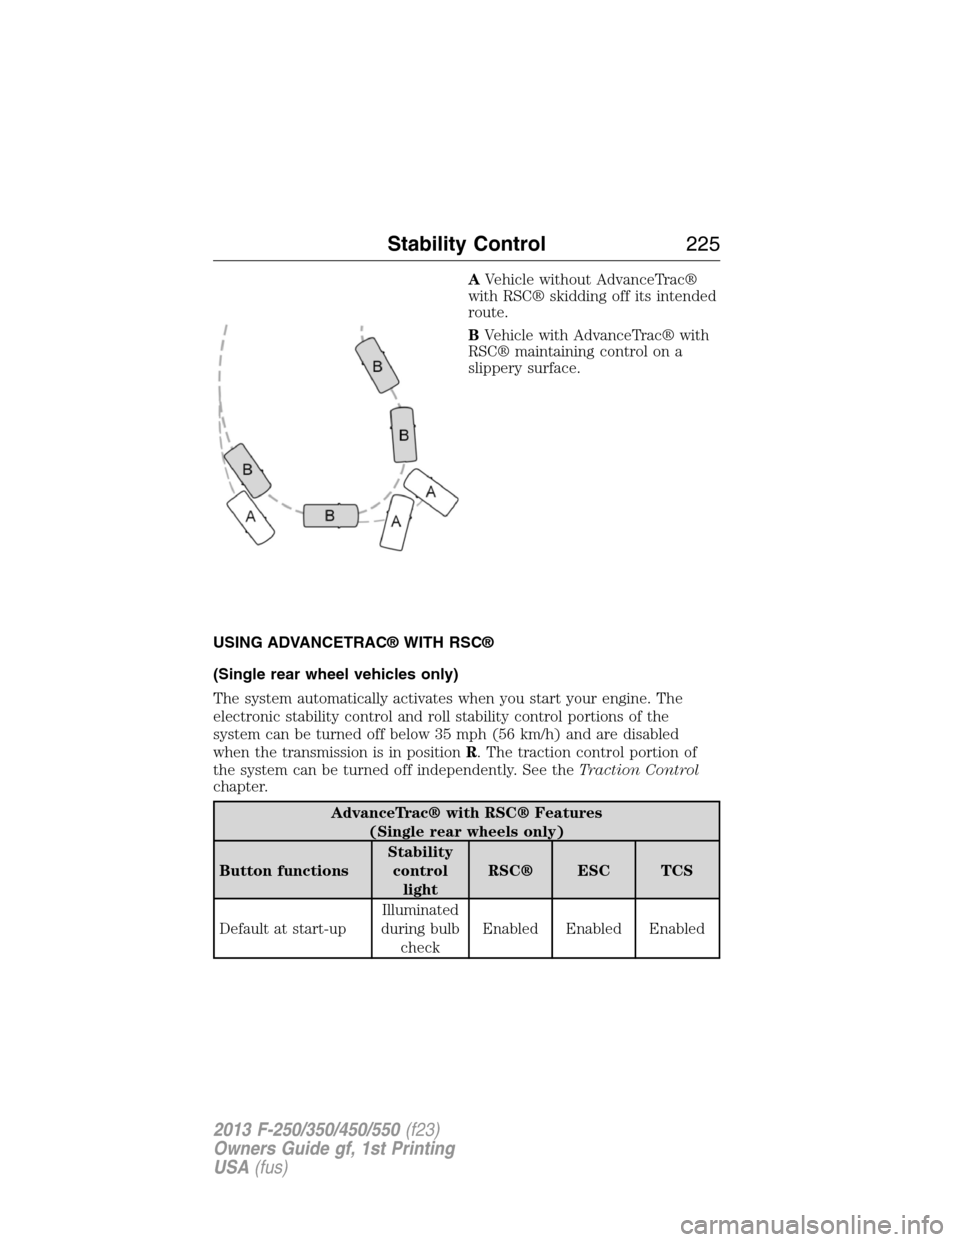
AVehicle without AdvanceTrac®
with RSC® skidding off its intended
route.
BVehicle with AdvanceTrac® with
RSC® maintaining control on a
slippery surface.
USING ADVANCETRAC® WITH RSC®
(Single rear wheel vehicles only)
The system automatically activates when you start your engine. The
electronic stability control and roll stability control portions of the
system can be turned off below 35 mph (56 km/h) and are disabled
when the transmission is in positionR. The traction control portion of
the system can be turned off independently. See theTraction Control
chapter.
AdvanceTrac® with RSC® Features
(Single rear wheels only)
Button functionsStability
control
lightRSC® ESC TCS
Default at start-upIlluminated
during bulb
checkEnabled Enabled Enabled
Stability Control225
2013 F-250/350/450/550(f23)
Owners Guide gf, 1st Printing
USA(fus)
Page 321 of 563
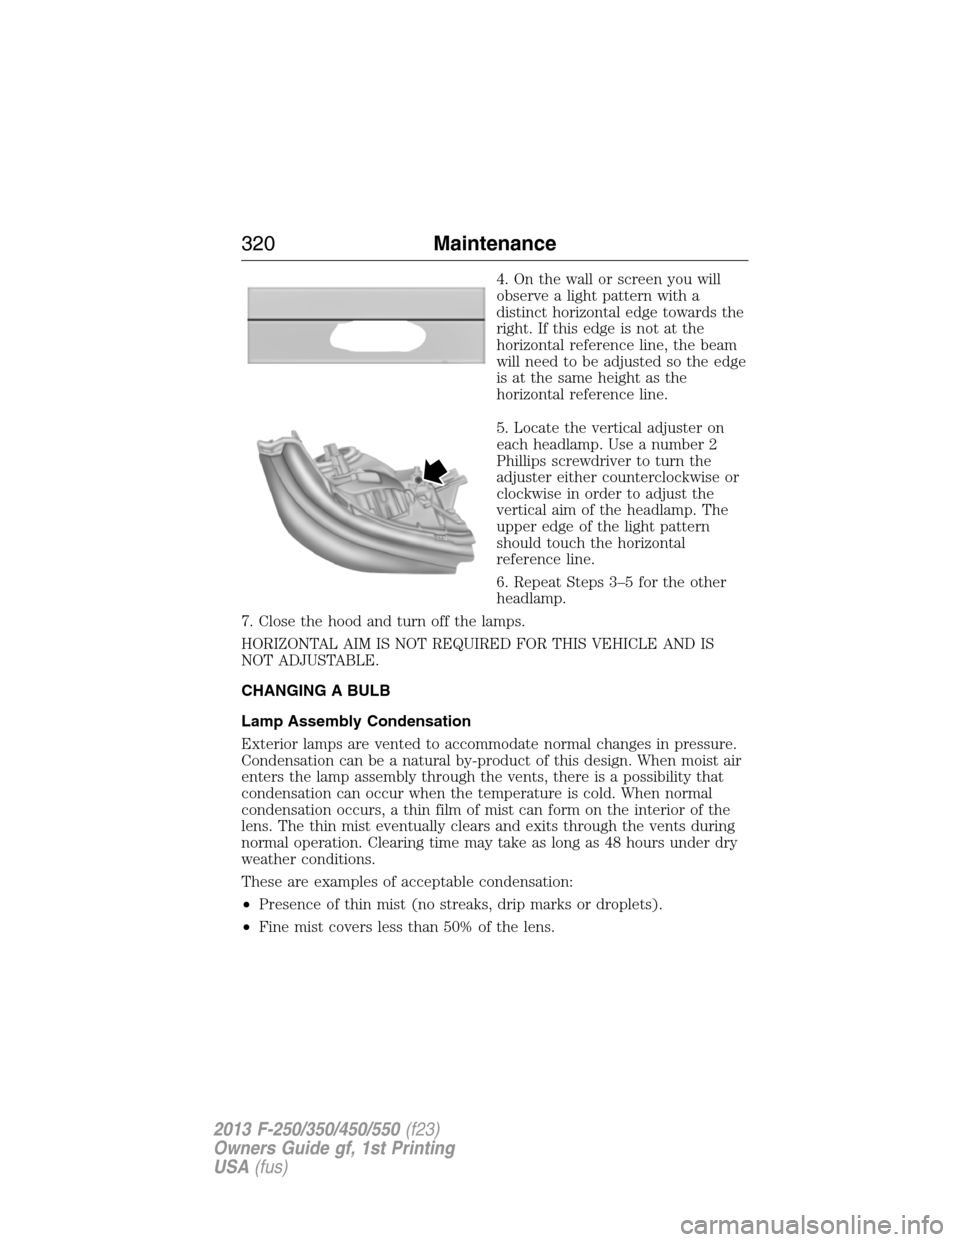
4. On the wall or screen you will
observe a light pattern with a
distinct horizontal edge towards the
right. If this edge is not at the
horizontal reference line, the beam
will need to be adjusted so the edge
is at the same height as the
horizontal reference line.
5. Locate the vertical adjuster on
each headlamp. Use a number 2
Phillips screwdriver to turn the
adjuster either counterclockwise or
clockwise in order to adjust the
vertical aim of the headlamp. The
upper edge of the light pattern
should touch the horizontal
reference line.
6. Repeat Steps 3–5 for the other
headlamp.
7. Close the hood and turn off the lamps.
HORIZONTAL AIM IS NOT REQUIRED FOR THIS VEHICLE AND IS
NOT ADJUSTABLE.
CHANGING A BULB
Lamp Assembly Condensation
Exterior lamps are vented to accommodate normal changes in pressure.
Condensation can be a natural by-product of this design. When moist air
enters the lamp assembly through the vents, there is a possibility that
condensation can occur when the temperature is cold. When normal
condensation occurs, a thin film of mist can form on the interior of the
lens. The thin mist eventually clears and exits through the vents during
normal operation. Clearing time may take as long as 48 hours under dry
weather conditions.
These are examples of acceptable condensation:
•Presence of thin mist (no streaks, drip marks or droplets).
•Fine mist covers less than 50% of the lens.
320Maintenance
2013 F-250/350/450/550(f23)
Owners Guide gf, 1st Printing
USA(fus)
Page 323 of 563
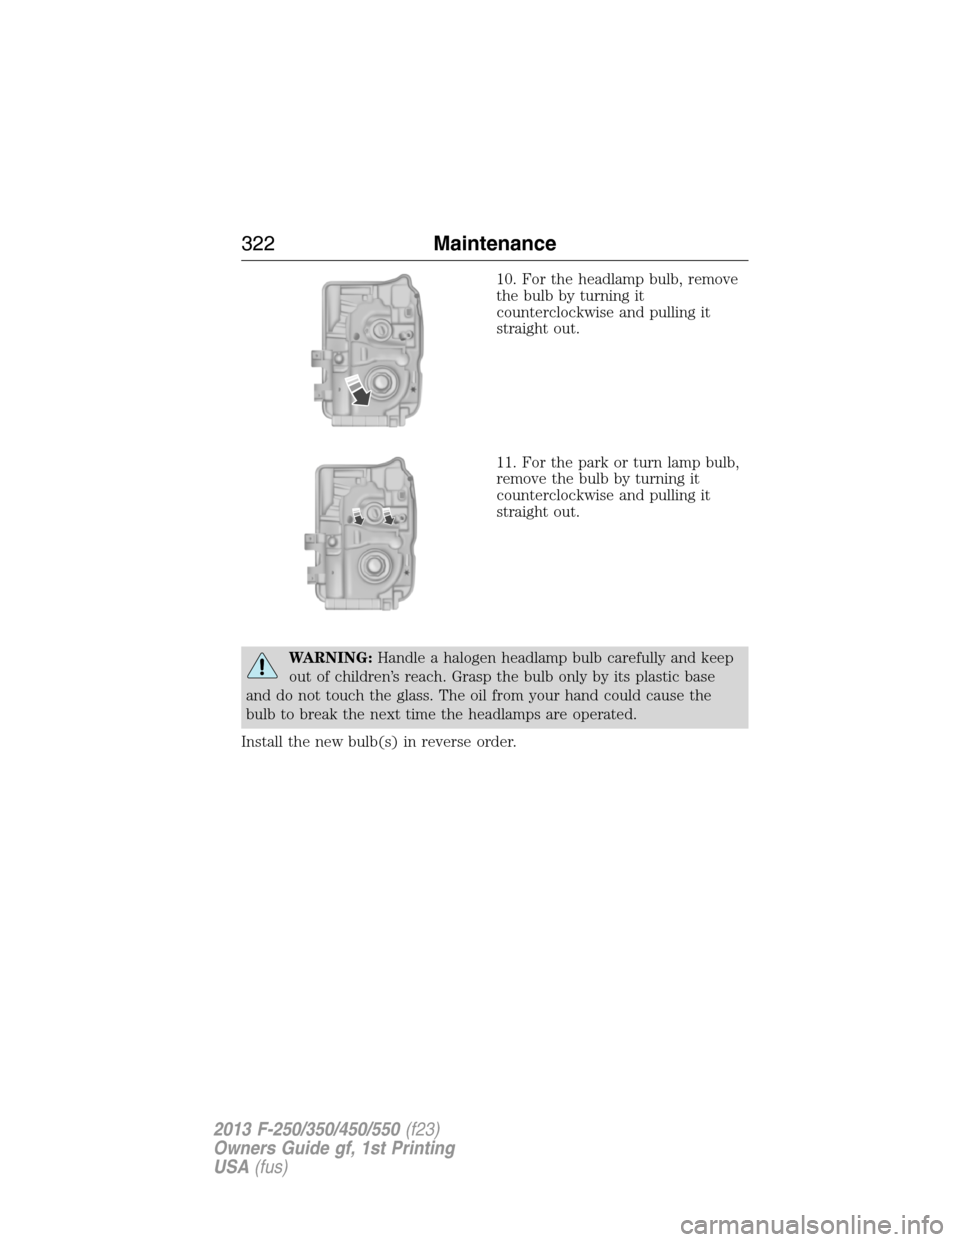
10. For the headlamp bulb, remove
the bulb by turning it
counterclockwise and pulling it
straight out.
11. For the park or turn lamp bulb,
remove the bulb by turning it
counterclockwise and pulling it
straight out.
WARNING:Handle a halogen headlamp bulb carefully and keep
out of children’s reach. Grasp the bulb only by its plastic base
and do not touch the glass. The oil from your hand could cause the
bulb to break the next time the headlamps are operated.
Install the new bulb(s) in reverse order.
322Maintenance
2013 F-250/350/450/550(f23)
Owners Guide gf, 1st Printing
USA(fus)
Page 324 of 563
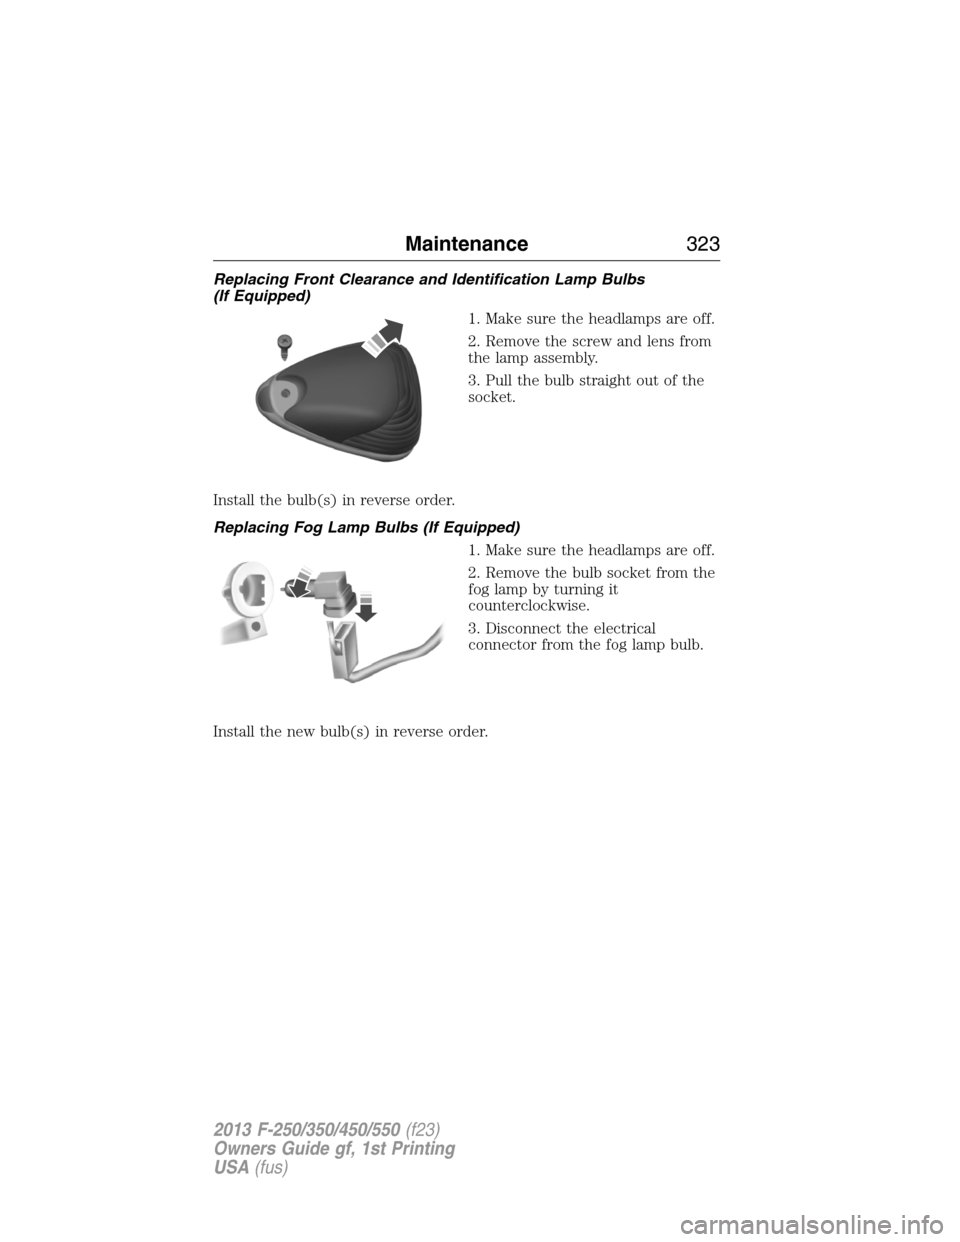
Replacing Front Clearance and Identification Lamp Bulbs
(If Equipped)
1. Make sure the headlamps are off.
2. Remove the screw and lens from
the lamp assembly.
3. Pull the bulb straight out of the
socket.
Install the bulb(s) in reverse order.
Replacing Fog Lamp Bulbs (If Equipped)
1. Make sure the headlamps are off.
2. Remove the bulb socket from the
fog lamp by turning it
counterclockwise.
3. Disconnect the electrical
connector from the fog lamp bulb.
Install the new bulb(s) in reverse order.
Maintenance323
2013 F-250/350/450/550(f23)
Owners Guide gf, 1st Printing
USA(fus)